Tumaker NX PRO DUAL Manuel utilisateur

Index
•Printer specifications
2
•Generic specifications
4
•Unpacking method
5
•Installation and set up
6
•Quick guide
8
•Calibration
9
•Adjust pellet extrusion
11
•Calibrate dual height
12
•Calibrate offset
13
•Dual options
14
•Nozzle change
15
•Externas SD Card
16
•Head cleanning and Simplify3D
18
•Security and recommendations
20
•Warranty
21
TUMAKER
PRINTERS
USER MANUAL
VIDEO - TUTORIALS

2
Volver al índice
PRINTER SPECIFICATIONS
Filamento
Pellet
Simple
Dual
Dual: Direct Drive HR –Direct Drive HR
Specifications NX Pro BIGFOOT 200 Pro BIGFOOT 350 Pro BIGFOOT 500 Pro
Printer volume:
270x185x200mm
495x470x200mm
495x470x350mm
495x470x500mm
Printer dual:
235x185x200 mm
475x470x200mm
475x470x350mm
475x470x500mm
Copy printer
147x185x200 mm
250x470x200mm
250x470x350mm
250x470x500mm
Printer size:
550x440x460mm
860x720x510mm
860x720x660mm
860x720x810mm
Package size:
605x501x500mm
1006x940x735mm
1006x940x885mm
1006x940x1035mm
Printer weight:
31kg
68kg
75kg
82kg
Package weight:
33kg
100
120kg
140kg
Pellet
Specifications NX Pro BIGFOOT 200 Pro BIGFOOT 350 Pro BIGFOOT 500 Pro
Printer volume:
295x185x200mm
500x470x200mm
500x470x350mm
500x470x500mm
Printer dual:
-
-
-
-
Copy printer
-
-
-
-
Printer size:
550x440x410mm
860x720x510mm
860x720x660mm
860x720x810mm
Package size:
605x501x500mm
1006x940x735mm
1006x940x885mm
1006x940x1035mm
Printer weight:
30kg
68kg
75kg
82kg
Package weight:
32kg
100kg
120kg
140kg
Specifications NX Pro BIGFOOT 200 Pro BIGFOOT 350 Pro BIGFOOT 500 Pro
Printer volume:
295x185x200mm
500x470x200mm
500x470x350mm
500x470x500mm
Printer dual:
-
-
-
-
Copy printer
-
-
-
-
Printer size:
550x440x410mm
860x720x510mm
860x720x660mm
860x720x810mm
Package size:
605x501x500mm
1006x940x735mm
1006x940x885mm
1006x940x1035mm
Printer weight:
30kg
68kg
75kg
82kg
Package weight:
32
100kg
120kg
140kg
Direct Drive HR

3
Volver al índice
Specifications NX Pro BIGFOOT 200 Pro BIGFOOT 350 Pro BIGFOOT 500 Pro
Printer volume:
250x185x200mm
480x470x200mm
480x470x350mm
480x470x500mm
Printer dual:
205x185x200mm
455x470x200mm
455x470x350mm
455x470x500mm
Copy printer
147x185x200mm
250x470x200mm
250x470x350mm
250x470x500mm
Printer size:
550x440x410mm
860x720x510mm
860x720x660mm
860x720x810mm
Package size:
605x501x500mm
1006x940x735mm
1006x940x885mm
1006x940x1035mm
Printer weight:
30kg
68kg
75kg
82kg
Package weight:
32kg
100kg
120kg
140kg
Dual: Pellet - Pellet
Specifications NX Pro BIGFOOT 200 Pro BIGFOOT 350 Pro BIGFOOT 500 Pro
Printer volume:
290x185x200mm
490x470x200mm
490x470x350mm
490x470x500mm
Printer dual:
280x165x200mm
475x450x200mm
475x450x350mm
475x450x500mm
Copy printer
147x185x200mm
250x470x200mm
250x470x350mm
250x470x500mm
Printer size:
550x440x410mm
860x720x510mm
860x720x660mm
860x720x810mm
Package size:
605x501x500mm
1006x940x735mm
1006x940x885mm
1006x940x1035mm
Printer weight:
30kg
68kg
75kg
82kg
Package weight:
32kg
100kg
120kg
140kg
Dual: Direct Drive HR - Pellet

4
Volver al índice
SPECIFICATIONS
DETAILS
Optimized filaments:
ABS, ASA, NYLON, PET-G, PLA, PP, XT-CF20, TPU, PLA-3D870, PVA
Recommended pellets:
3-5mm circular
Filament nozzle:
0.25 - 0.4 - 0.6 - 0.8 mm
Pellet nozzle:
0.4 –0.6 –0.8 –2.0 –4.0 –5.0mm
Nozzle temperature:
45° - 300°
Layer resolution:
10µm
Build plate levelling:
Semi-automatic and manual
Heated bed:
45° - 120°
Energy:
Power rating: 500W (NX PRO) & 950W (BF PRO)
Noise level: 44 dB (closed door, 40dB)
Display:
5” colour touch screen
Modo de control: Web
Software:
Software Professional Simplify3D
Connectivity:
Wi-Fi, micro-SD card, USB, Ethernet (optional)
Warranty:
1 year limited warranty
GENERIC SPECIFICATIONS
Filamento
Pellet
Simple
Dual
ELEMENTS INCLUDED IN
THE PRINTER
Filament
Pellet
Simple
Dual
Make sure the following items have been delivered to you with the printer. If not, please contact us.

5
Volver al índice
UNPACKING METHOD RANGE BF
STEP 1
Unscrew the screws on the box that are rounded off with a felt-tip pen.
STEP 2
Remove any parts of the housing that have been
unscrewed.
STEP 3
Remove the upper protective materials.
STEP 4
Carefully remove the machine from the box, with the help of
another person, by grasping the upper part as shown in the
picture.
STEP 5
With the help of another person, move the machine to the
desired working place, holding the machine at the bottom,
as shown in the picture.
STEP 5
Place the machine on a safe and level site.
Filament
Pellet
Simple
Dual

6
Volver al índice
Filament
Pellet
Simple
Dual
DISPLAY
WIRING
The light indicator will stay on while the printer is on.
To start with the installation and set-up, connect the power
cable to the slot on the back of the printer and plug it into the
power socket. Switch on the printer by pressing thebutton.
Connect your device to the network of the printer.
•WifiSSID: INDART3D_XXXXXX
•Password: indart3d
•Access IP: 192.168.1.114
Access the web interface through the access IP in your browser.
OPTIONAL: Connect the printer to the local network
If you want to put the printer on the network and access it from any device on the same network, follow the next step.
Go to Console, type and send: M587 S ”Name of your Wi-Fi” P ”password of your Wi-Fi”
If you know a free IP on your network, you can add the following commands after the password, leaving a space:
Ixxx.xxx.x.xxx otherwise the router will assign a random IP.
INSTALATION AND SET UP

7
Volver al índice
Access the Macros / Others / Connect to the NET section and run it. Next, on the printer screen you will see the assigned
IP.
If you already have your IP, access from it, go to System and open the config.g file
ATENTION changing parameters not indicated in this file may imply the malfunction of the machine.
In the Network section replace: M552 S2 for M552 S1.
Click Save
Press YES to reset the board
I have the IP
You can now access the printer from any device connected to this network.
If you have not entered the IP by command in the console, it is recommended to do so, so that the router does
not change it: M587 S ”Wi-Fi name ” P ” Password” I192.168.X.XXX
If you have not obtained the IP or have any other problem, do not hesitate to consult at:https://tumaker.com/en/technical-support/

8
Volver al índice
QUICK GUIDE
Filament
Pellet
Simple
Dual
Load Filament
Before loading make sure you have the base separated from the nozzle (min 10mm).
Press Load Filament and select the material to use.
Follow the steps indicated on the screen.
Level the Build Plate
Heat the base to the temperature you want to print at
Make sure you have a clean tip.
Execute the calibration process found in the Macros “Calibration” section and follow the steps.
Use the knurled nuts on the base to fit the Nozzle to the Build Base.
If it was your first calibration you may have to repeat this process.
During printing, fine-tune using Z Baby stepping until proper adhesion is achieved.
Load Pellet

9
Volver al índice
Load G-Code / Print
In Jobs select: UPLOAD FILE (S) TO G-CODE and upload your “.gcode” file
With the left button click on the file you want to print
With the right button select more options
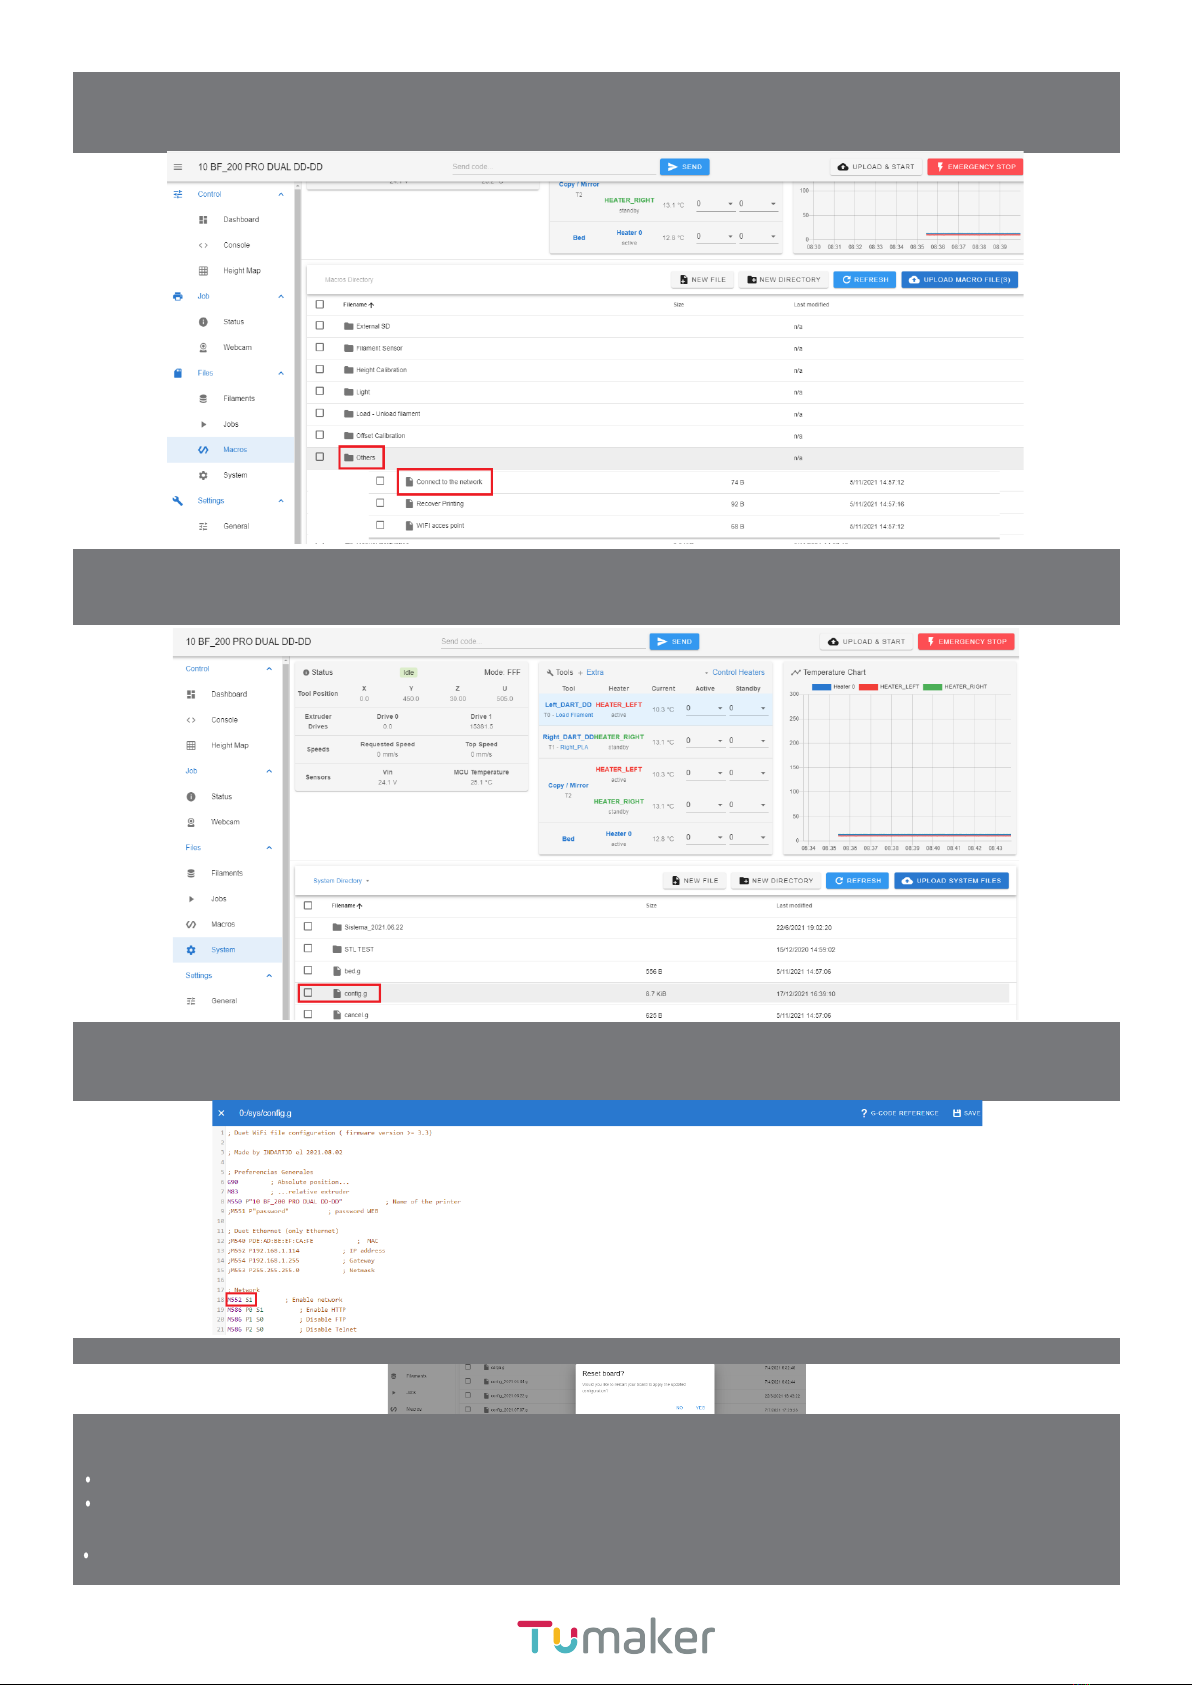
You can create folders to organize your files by clicking
SEMI-AUTOMATIC CALIBRATION
Filamento
Pellet
Simple
Dual
True Bed Compensation (G32)
Heat the base to the printing temperature that you intend to use.
Adjust the height of the nozzle from the base to the desired height.
Use only the panel shown on the screen.
You can use a gauge or a sheet if you want.
Level the Build Plate
Make sure you have a clean tip.
Execute the calibration process found in the Macros “Calibration” section and follow the steps.
Use the knurled nuts on the base to fit the Nozzle to the Build Base.
If it was your first calibration you may have to repeat this process.
If you already have your base level, you can skip this step.
Semi-Automatic Levelling
To perform the semiautomatic calibration, go to Machine Control / Dashboard / Compensation and Calibration / Real Bed
Compensation (G32).

10
Volver al índice
Load Compression Map
If you have restarted the printer, you must load the Height Map again, to do this, execute Load Height Compensation Map
saved in the SD card (G29 S1).
Print Bed Setting
During printing, fine-tune using Z Baby stepping until proper adhesion is achieved.
Height Map
Once the Height Compensation is done in the Height Map you will see something similar to this.
Advanced
If you want to modify the number of points to be polled, you can make the changes from System / Config.g
Go to; Probe Z and change the P parameter of the following command M557 X15:215 Y15:195P3:3
You can also download or edit your heihtmap.csv file to correct any point or to save different height maps created.
Autres manuels pour NX PRO DUAL
1
Ce manuel convient aux modèles suivants
3
Table des matières
Autres manuels Tumaker Imprimante 3D


