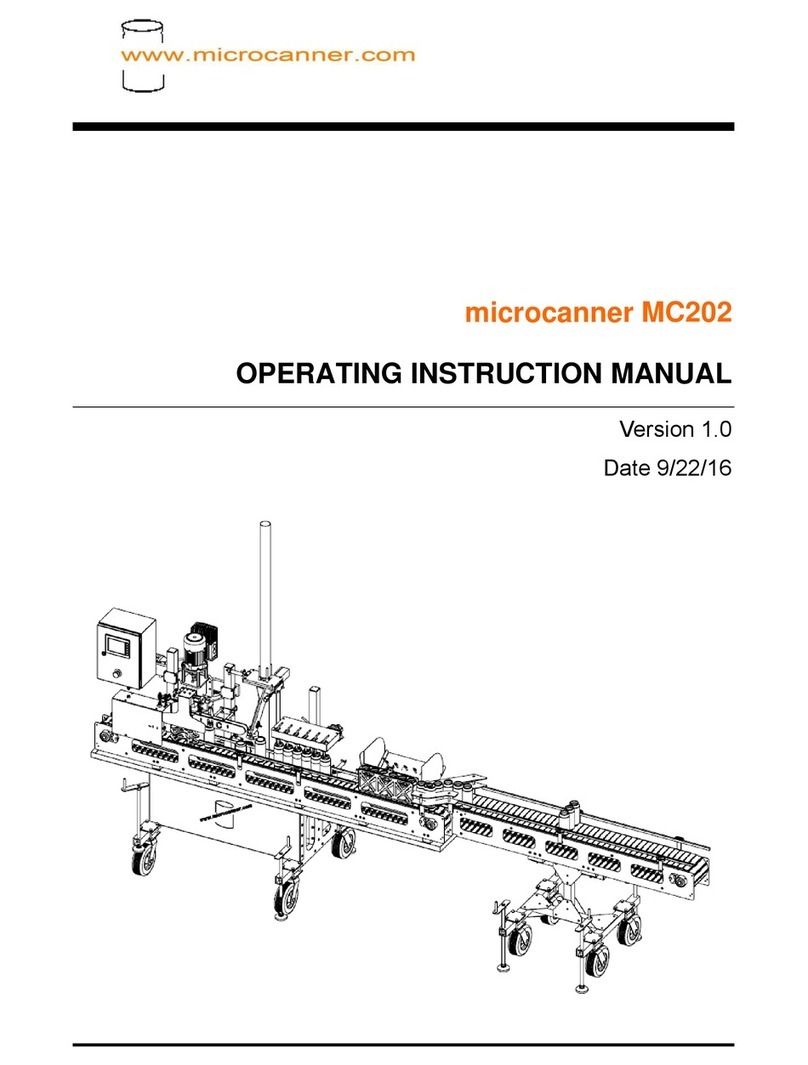
Microcanner MC CRAFT Manuel utilisateur

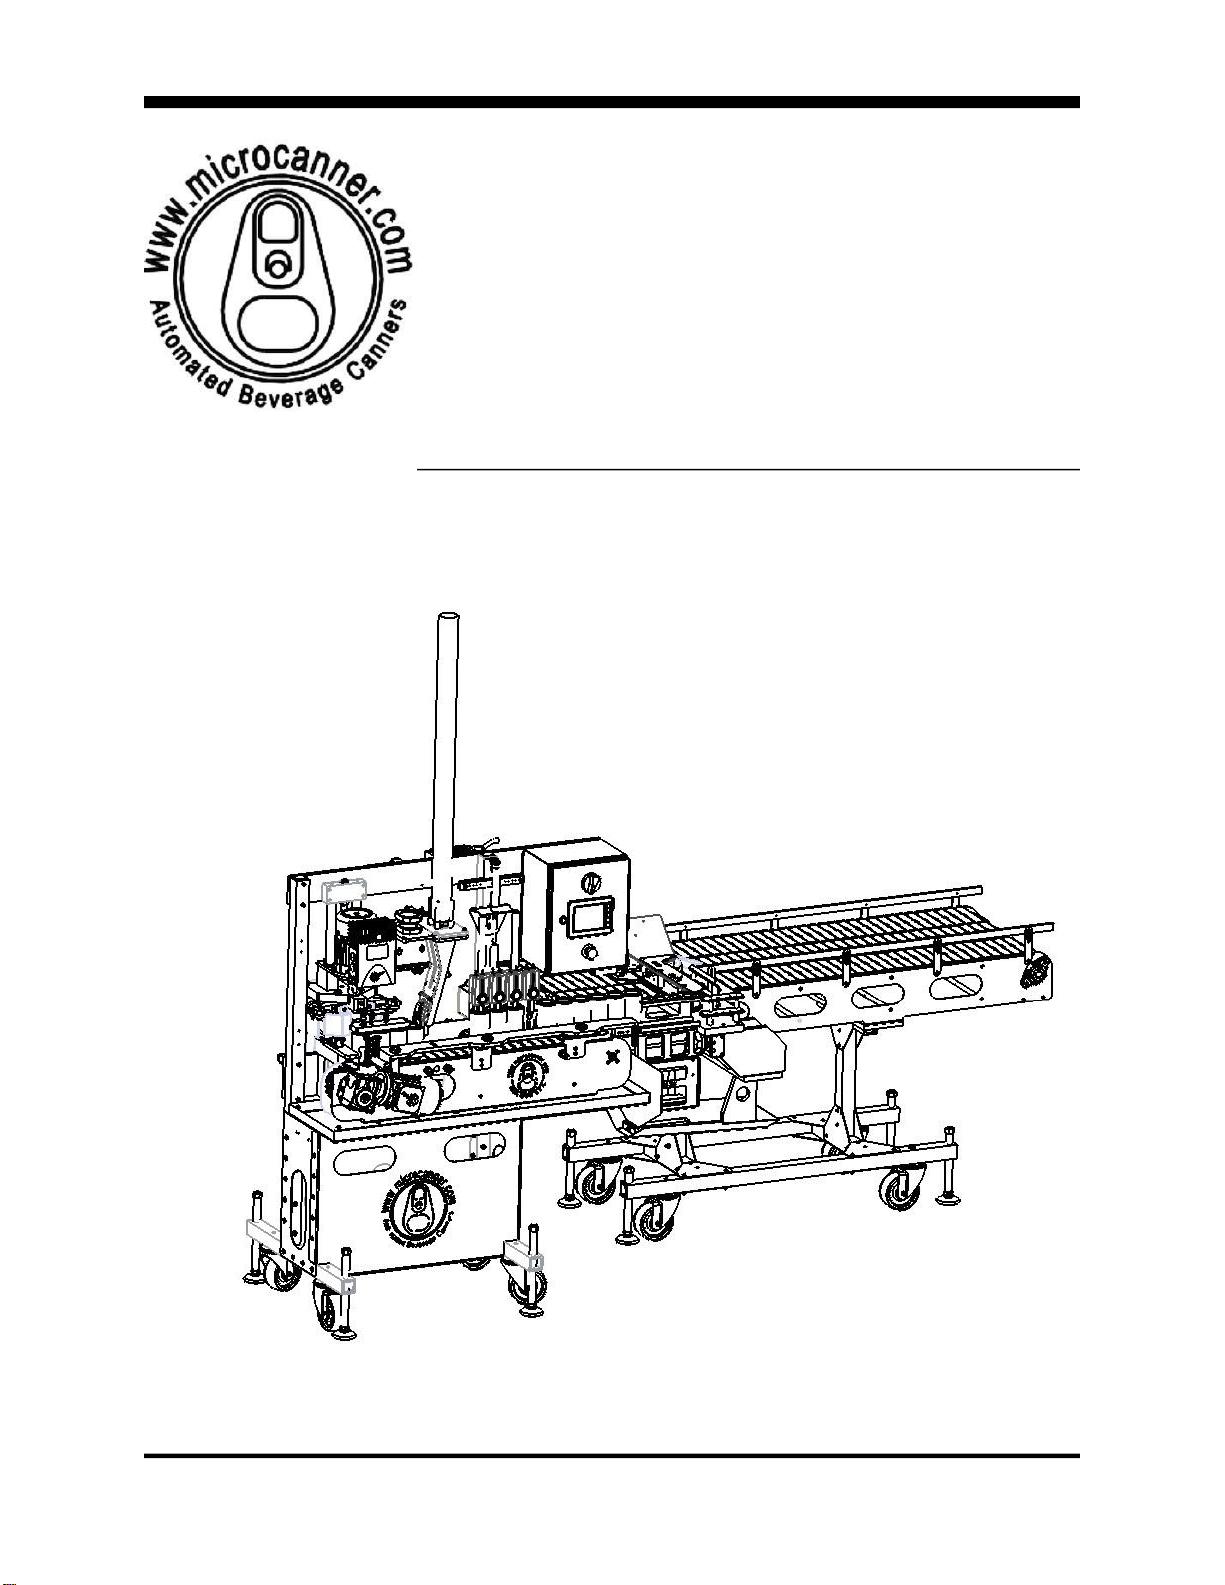
microcanner MC CRAFT
OPERATING INSTRUCTION
MANUAL
Version 1.0
Date 070220

microcanner MCCRAFT
MC CRAFT (V1.0) Page 2 of 19
WARNING!
OPERATING AUTOMATED EQUIPMENT IS DANGEROUS. DO NOT
OPERATE
THE MC CRAFT CANNING SYSTEM UNTIL YOU HAVE READ THIS
MANUAL AND HAVE RECEIVED PROPER TRAINING. PRECAUTIONS MUST
BE TAKEN TO SAFEGUARD OPERATORS. OPERATORS MUST BE
TRAINED AND AWARE OF DANGER POINTS, IF SOMEONE FAILS TO
FOLLOW SAFETY RULES, INJURY OR DEATH COULD RESULT.
IMPORTANT SAFETY PRACTICES
●Conveyors are dangerous and present entanglement hazards. Loose clothing,
hair, and jewelry should be avoided at all costs. Never place hands near or
inside of a moving conveyor.
●NEVER permit children, or un-trained operators anywhere near an operating
machine.
●In the event of an emergency, hit the E-stop.
●Never perform adjustments without being in E-Stop mode, or unplugging.
●Never plug into an outlet that is not GFCI. Water and electricity do not mix.
●Never open the control panel while powered up / plugged in.
●Keep clear of all moving parts.
●Clear machine jams only when in E-stop mode or fully powered down.
●It is recommended that you wear safety glasses anytime during operation of
the MC CRAFT canning system.

microcanner MCCRAFT
MC CRAFT (V1.0) Page 3 of 19
TABLE OF CONTENTS
1 INTRODUCTION.......................................................................................3
2 MACHINE REQUIREMENTS ..................................................................4
3 GENERAL MACHINE SERVICE.............................................................4
4 START UP PROCEDURE.......................................................................6
5 SEAM SETUP GUIDE.............................................................................9
6 CHANGE OVER PROCEDURE ............................................................12
7 HMI OPERATIONS ................................................................................14
8 TIPS FOR A SUCCESSFUL RUN.......................................................19
1 INTRODUCTION
●Thank you for purchasing a microcanner MC CRAFT canning system. This
manual is written for your benefit to help you fully understand how to operate
and service your machine. With proper operation and service your machine will
offer you years of service.
●The MC CRAFT canning system is designed to run 8,12,16oz 202 series cans
and Sleek Series cans with a few simple changeover steps. This machine can
be special ordered to run Slim series cans. The machine will run up to 75
cases per hour, this will vary from product to product based on carbonation
and/or specific gravity along with temperature of the product.

microcanner MCCRAFT
MC CRAFT (V1.0) Page 4 of 19
2 MACHINE REQUIREMENTS
●For safety purposes you should plug your machine into a 110v 20 amp GFCI
outlet. Please note that the motors use a V.F.D. (variable frequency drive) to
convert 110v single phase to 220 volt, 3 phase power. The type of GFCI
commonly purchased in a big box store will not work. A licensed electrician with
experience in motor control should be contracted to perform the work.
●Clean dry air supply to the machine. Below is one we would suggest.
o http://www.smcusa.com/products/idfb-refrigerated-air-dryer.aspx o Model IDF
B3E-11N should be adequate. Consult your local SMC representative prior
to purchase.
o Failure to provide dry air will destroy valves and void the warranty.
o The Air Regulator on the machine is to be set at 80 P.S.I. If your
pressure needle jumps around during operation, you will need to supply
a surge tank near the machine.
●CO 2delivery system that is regulated to 18 P.S.I. This line should have
a standard quick connect for hooking up to the filler head.
●Water supply for rinse tunnel, and pre-rinse if applicable. Simple garden hose
connection. Water supply should not exceed 55 psi.
●1 ½ Tri-clamp product supply line from brite tank, preferably insulated
●34°F product @ 2.64 Co2 @ 15 PSI head pressure (head pressure will vary
and a longer line set may be required when running high gravity, high IBU
double IPA beer)
●1 ¹⁄ ” Tri-clamp with sanitizer to rinse filler valves (pump kit is supplied)
3 GENERAL MACHINE SERVICE
Like any other piece of equipment, like a new car or tractor, your canning
machine needs to be cleaned, lubricated and periodically serviced. Screws
loosen, Filters plug up with contaminates, sensors vibrate out of adjustment
and seam tooling wears. It is important to assign a technician to learn the
system and take good care of it.
●Prior to each use, all screws and sensors should be checked for tightness.

microcanner MCCRAFT
MC CRAFT (V1.0) Page 5 of 19
●During each use seams should be checked at least every 200 cans to assure
that bad cans are not being made due to worn out or loose tooling.
●Drain beer from the fill line and run sanitizer through it after use. Thoroughly
clean fill level sensors and spray with alcohol.
●Following each use, the entire machine should be hosed off (no pressure
washers). A bucket of warm water and dawn soap should be prepared, and
the machine be scrubbed with a soft plastic bristled brush. All water spots
should be polished off using vinegar and rags.
●After cleaning a food grade zero weight grease
( https://www.mcmaster.com/1445K41/)needs to be applied to all conveyor
bearing zerc fittings. There are 4 conveyor bearings on the feeder line
and 2 zercs on the main line at the end of the shafts.
●Grease must also be applied to 1 st operation and 2 nd operation
tooling. While greasing, spin the form wheel. Stop pumping when you just
start to notice the rpm of the wheel drop from the grease contact.

microcanner MCCRAFT
MC CRAFT (V1.0) Page 6 of 19
●Grease Shaft Zerc behind the cap in place sensor thoroughly between canning
runs.
●Prior to running the machine check to see if any water has accumulated in
the catch bowl of the filter regulator to the right, or the water separator to
the left.
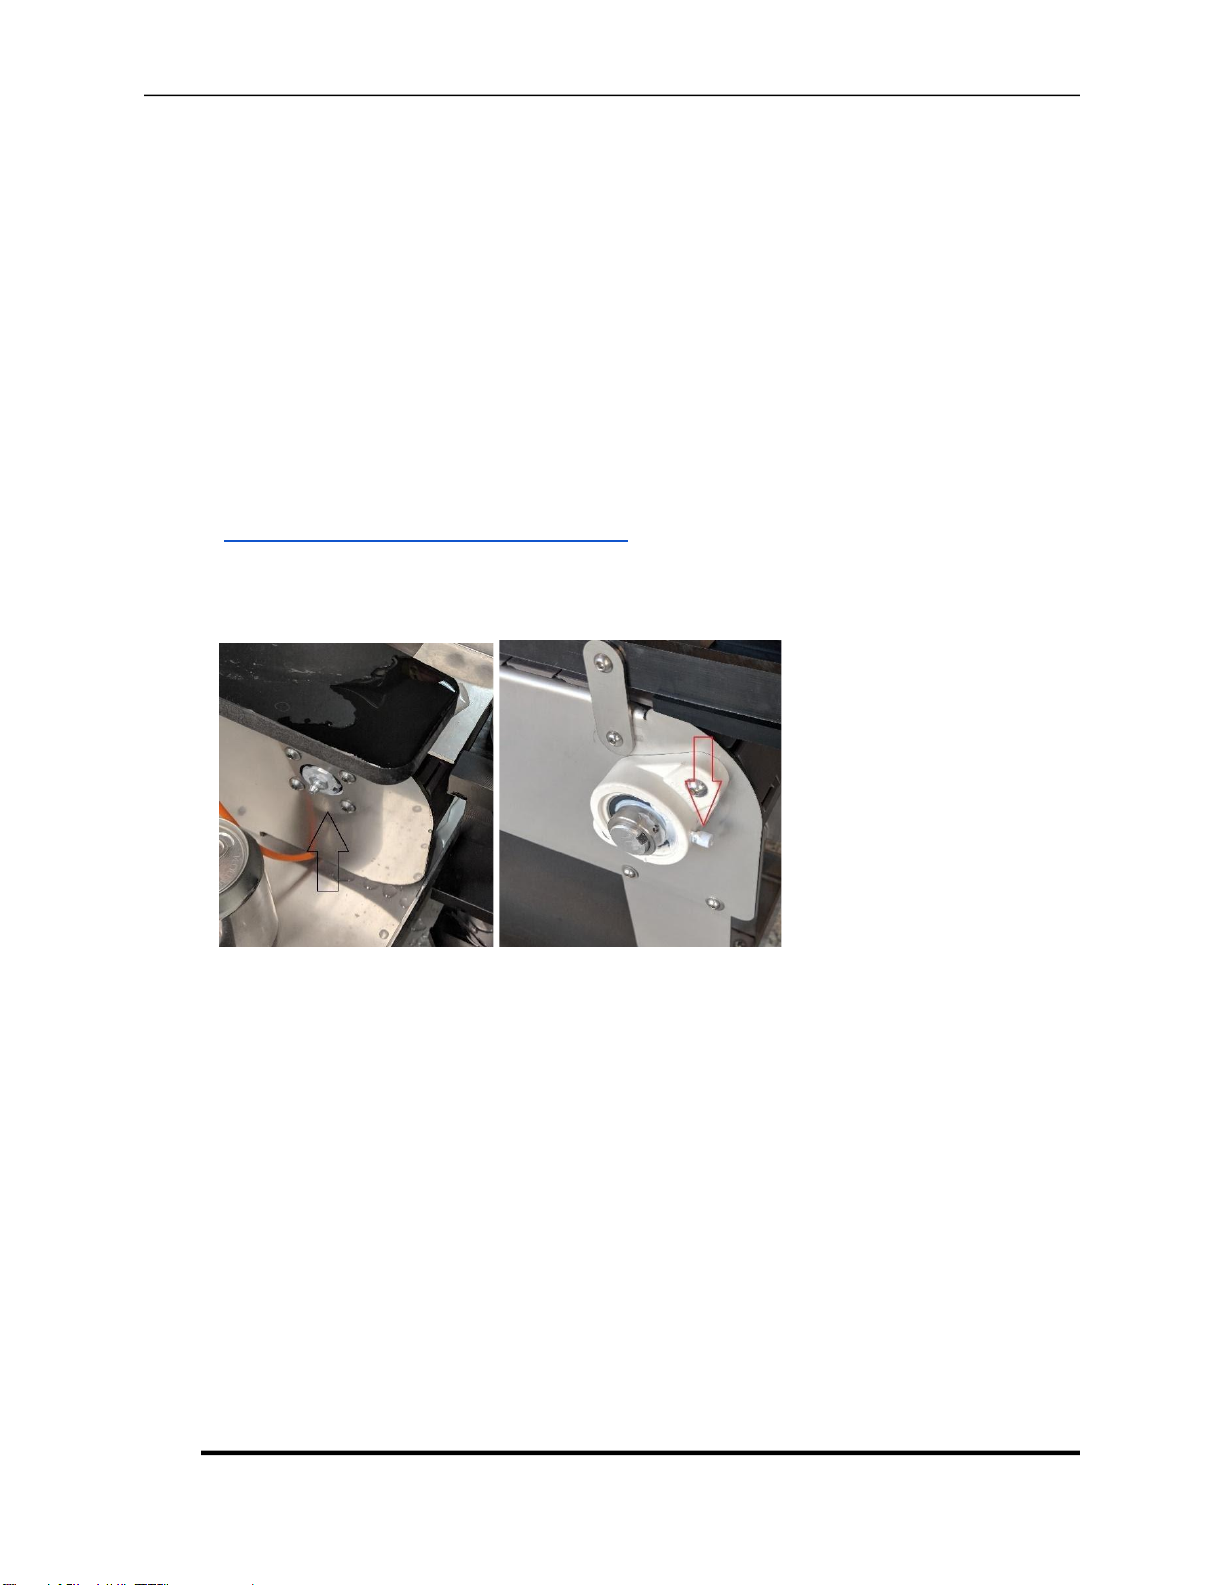
o To empty the catch bowl, push down on the grey thumb slide, then
turn and pull down to take the bowl off. Empty the bowl of any water.
4 START UP PROCEDURE
1. Put the machine into desired location.

microcanner MCCRAFT
MC CRAFT (V1.0) Page 7 of 19
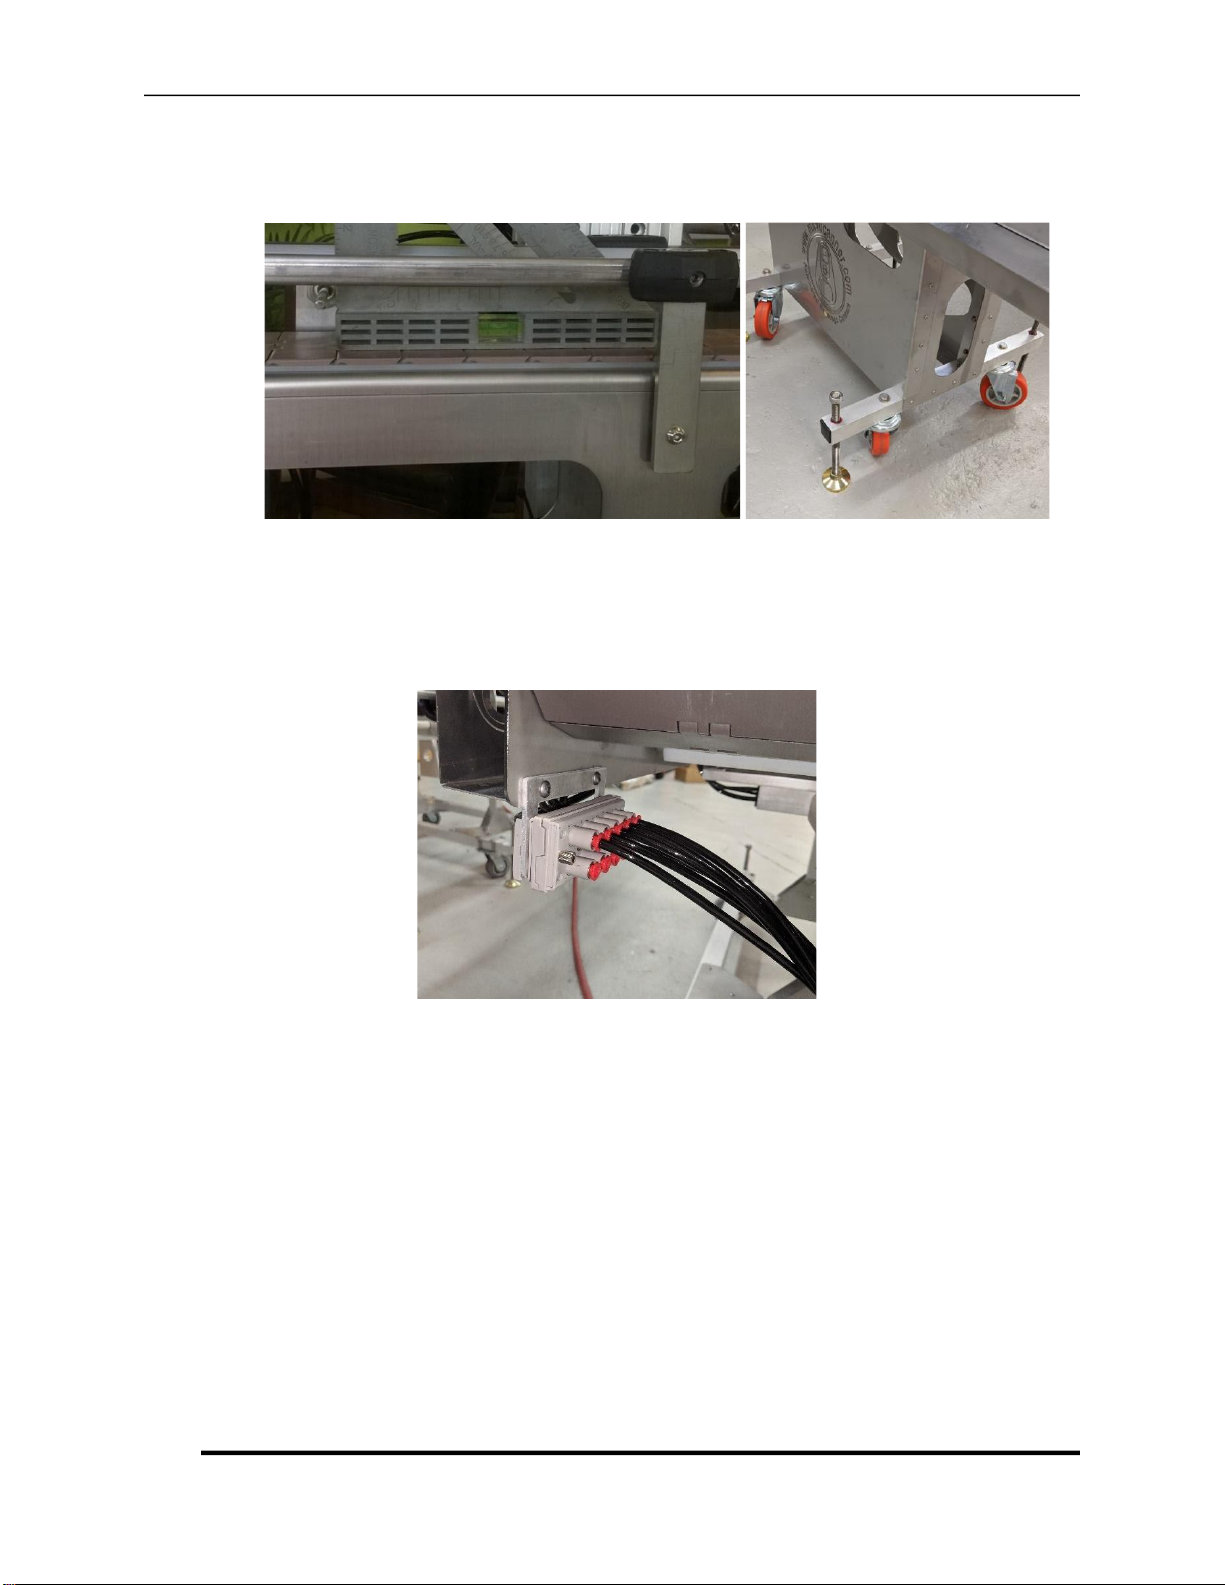
2. With a bubble level on the bed of the conveyor, raise the machine by
lowering the threaded foot pads by hand until the machine is completely level.
3. Place and level add-on rinse / feed system, if applicable
a. Start by adjusting foot pads to adjust until rinse platform and print track are
aligned.
b. Connect the proximity cable sensor and the multi-port manifold
4. Verify that the machine and feeder is setup to run the desired size.
5. Verify that the cap shedder is at the appropriate running height. Run a can
by hand under the shedder to verify the end catches and falls on top of the
can.

microcanner MCCRAFT
MC CRAFT (V1.0) Page 8 of 19
6. Plug in the machine power, infeed power, hook up the air supply, connect
Co2 on the quick connect fitting located behind the filler head, attach cold
water supply to both the line and the rotary feed / rinse package, and attach
supply of sanitizer to the filling station.
7. With the machine on, e-stop button off, and the fill station raised, put the
machine into paused mode. On the fill station screen (F3) on the HMI hit
the on/off button to open the valves and let the sanitizer flow completely
through the fill lines.
a. During this process leave 4 cans under the filling station so they will
fill with sanitizer.
b. Make sure sanitizer has fully made it through the system.
c. Using the fill station screen, lower the fill station so that the fill tubes
and float switches can be soaked with sanitizer.
d. On the HMI turn the fill valves off.
e. Let sit for desired amount of time.
f. Raise the fill station.
g. Remove the 4 cans filled with sanitizer.
h. Fully purge system with product.
8. Load ends into cap feeder station.
9. Turn machine to automatic mode.
10.Engage the “hold back cans” button on the first screen.

microcanner MCCRAFT
MC CRAFT (V1.0) Page 9 of 19
11.Load cans
*Be sure to check the seam dimensions (5.4) on the first few cans, and
periodically throughout the run.
5 SEAM SETUP GUIDE
5.1 GETTING STARTED
●Prior to getting started review seam setup dimensions (7.3) and
controls (7.6) in the HMI operations section (7).
●Your machine will be setup prior to shipment, but you will want to
verify that the seams are still in spec prior to every run, and
periodically while running.
5.2 GENERAL SEAMING INFORMATION
●There are 3 main components to the operation.
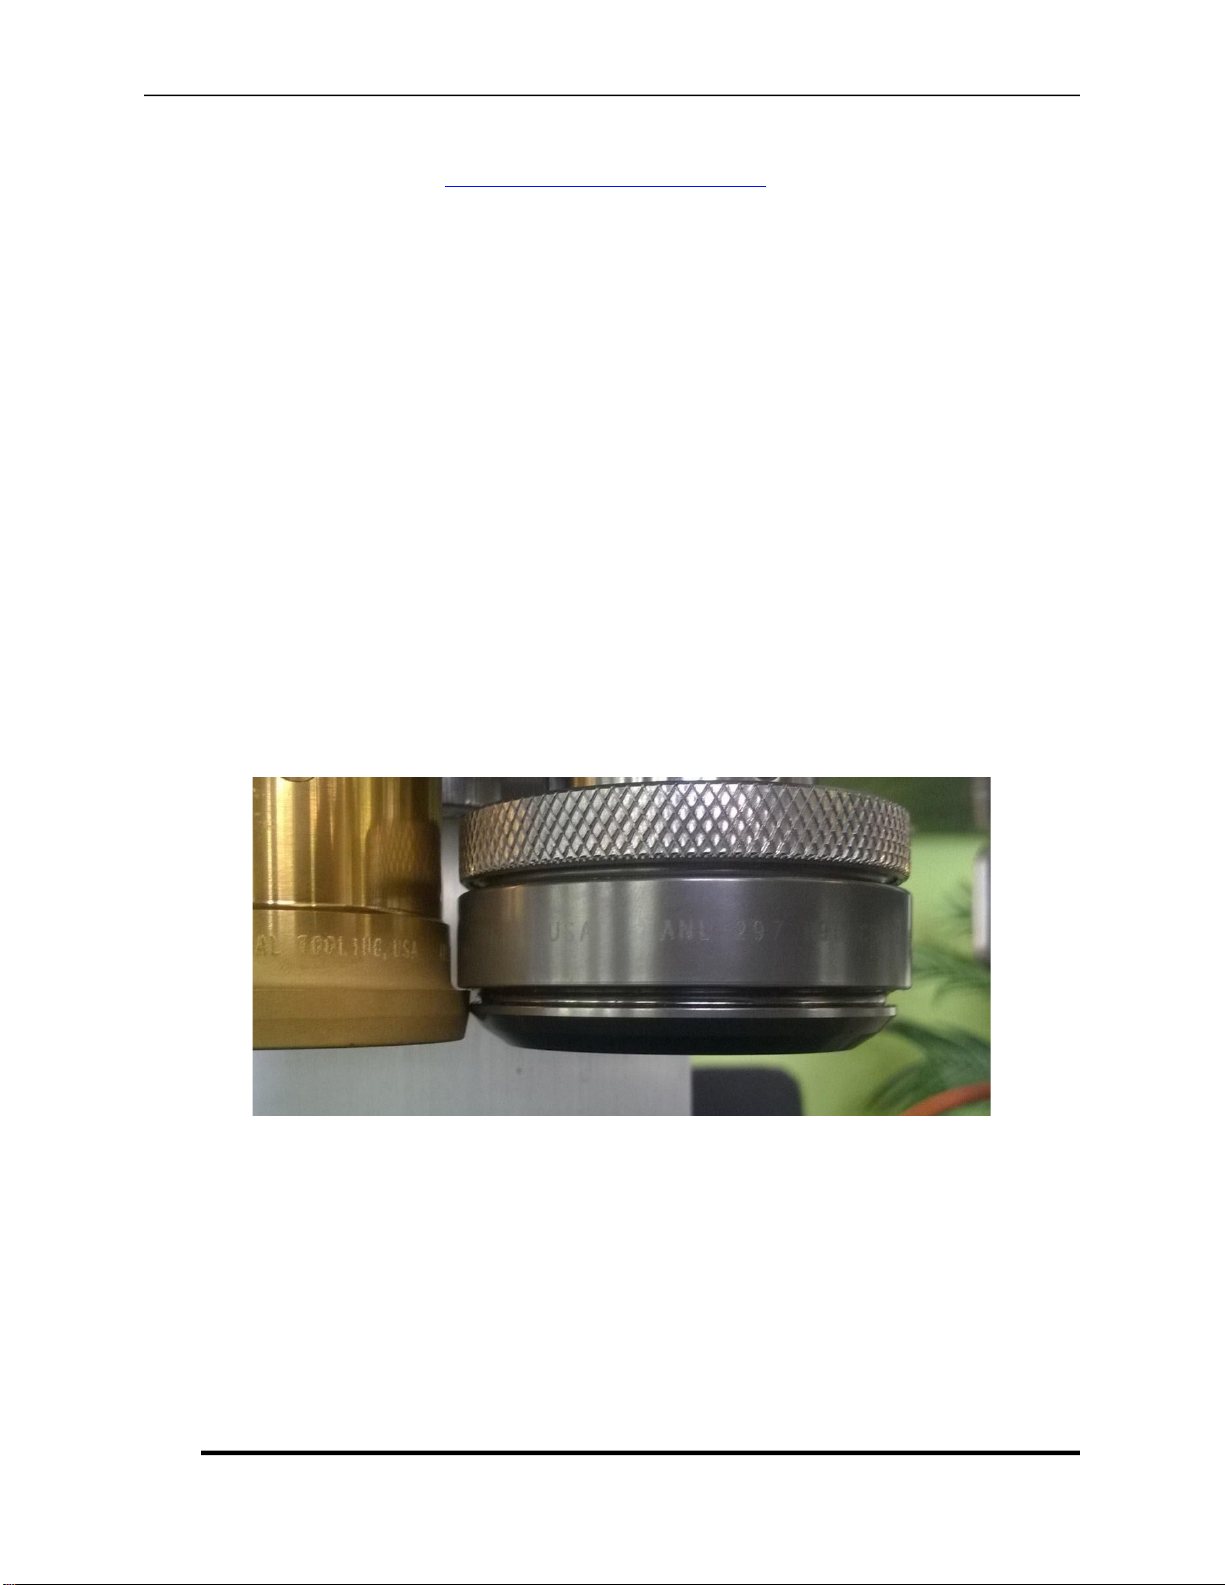
1. The center chuck is what the can is pressed into and holds the
can in place for seaming.
2. The 1st operation form tool is to the right of the chuck, and
starts the seam by curling the end around the lip of the can.
3. The 2nd operation form tool is to the left of the chuck, and acts
more as an anvil to flatten and seal the seam

microcanner MCCRAFT
MC
CRAFT (V1.0) Page 10 of 19
●Check out http://www.doubleseam.com/ for a wealth of great
information.
5.3 how to adjust seam form tooling
1. You should read this section 5.3 and the next 5.4 to get a good
understanding of the necessary steps required to properly setup your
tool prior to adjusting any tooling.
2. It is recommended that any step in this section 5.3 be done with the
air powered down, turned off, and the seaming arms moved manually
to verify fit and function. Failure to follow this step could result in
damage to tooling and voiding warranty of the tooling.
3. Unless your chuck becomes loose, or a bearing fails, there is never
any need to adjust it.
4. When setting up the 1st and 2nd op form tools you want to have
about a paper thickness of air gap (.003”) between the shoulder of
the chuck, and the shoulder of either form tool.
5. To adjust the height on either form tool you first need to loosen the
2 jam nuts, then the two set screws that lock the threads of the form
tools. Never use a set screw that is not brass or brass tipped as you
risk damaging the threads of the form rolls. You then turn the form
tools clockwise to raise the tool, or counter-clockwise to lower the tool.
Once in position, retighten the 2 set screws, and jam nuts. Take care
Table des matières
Autres manuels Microcanner Équipement industriel