Lynxspring TSD 10 Manuel utilisateur

2900 NE Independence Ave
Lee’s Summit, MO 64064
1 (877) 649-5969 www.lynxspring.com
©2022 Lynxspring, Inc.
All Rights Reserved
Revised 3/9/2022

1. BOX CONTENTS
2.3 Procedure
e
5.2 Wi- Fi Switch
2

2. Fully Enclosed Bezel (2 Parts Back and Front)
3. USB to Ethernet Adaptor
5. Power Supply with UK and EU wall plugs
6. Screw and Restart Alan Key
1. 2 x M5 8mm Security Screw (T25)
The Tablet can be powered using the supplied Standard Wall Socket power supply.
link
Secure the rear part of the bracket to the wall or panel, ensuring an opening is available for cable
NOTE:
material types and thickness. Please use screws/bolts that are appropriate for the surroundings.
so.
3

2.3 Procedure
1. Secure the rear bezel metalwork to the wall or
matching the cut-out area on the bezel is available for
cable access.
3. Place the tablet into the bezel frame. It should be held in
place by the foam on the side of the bezel and sit directly in
the lugs, and fasten in place with the tamperproof screws.
PLEASE NOTE:
be required to secure the bezel
cover together.
4

into any content that has been setup.
key provided in the kit.
5
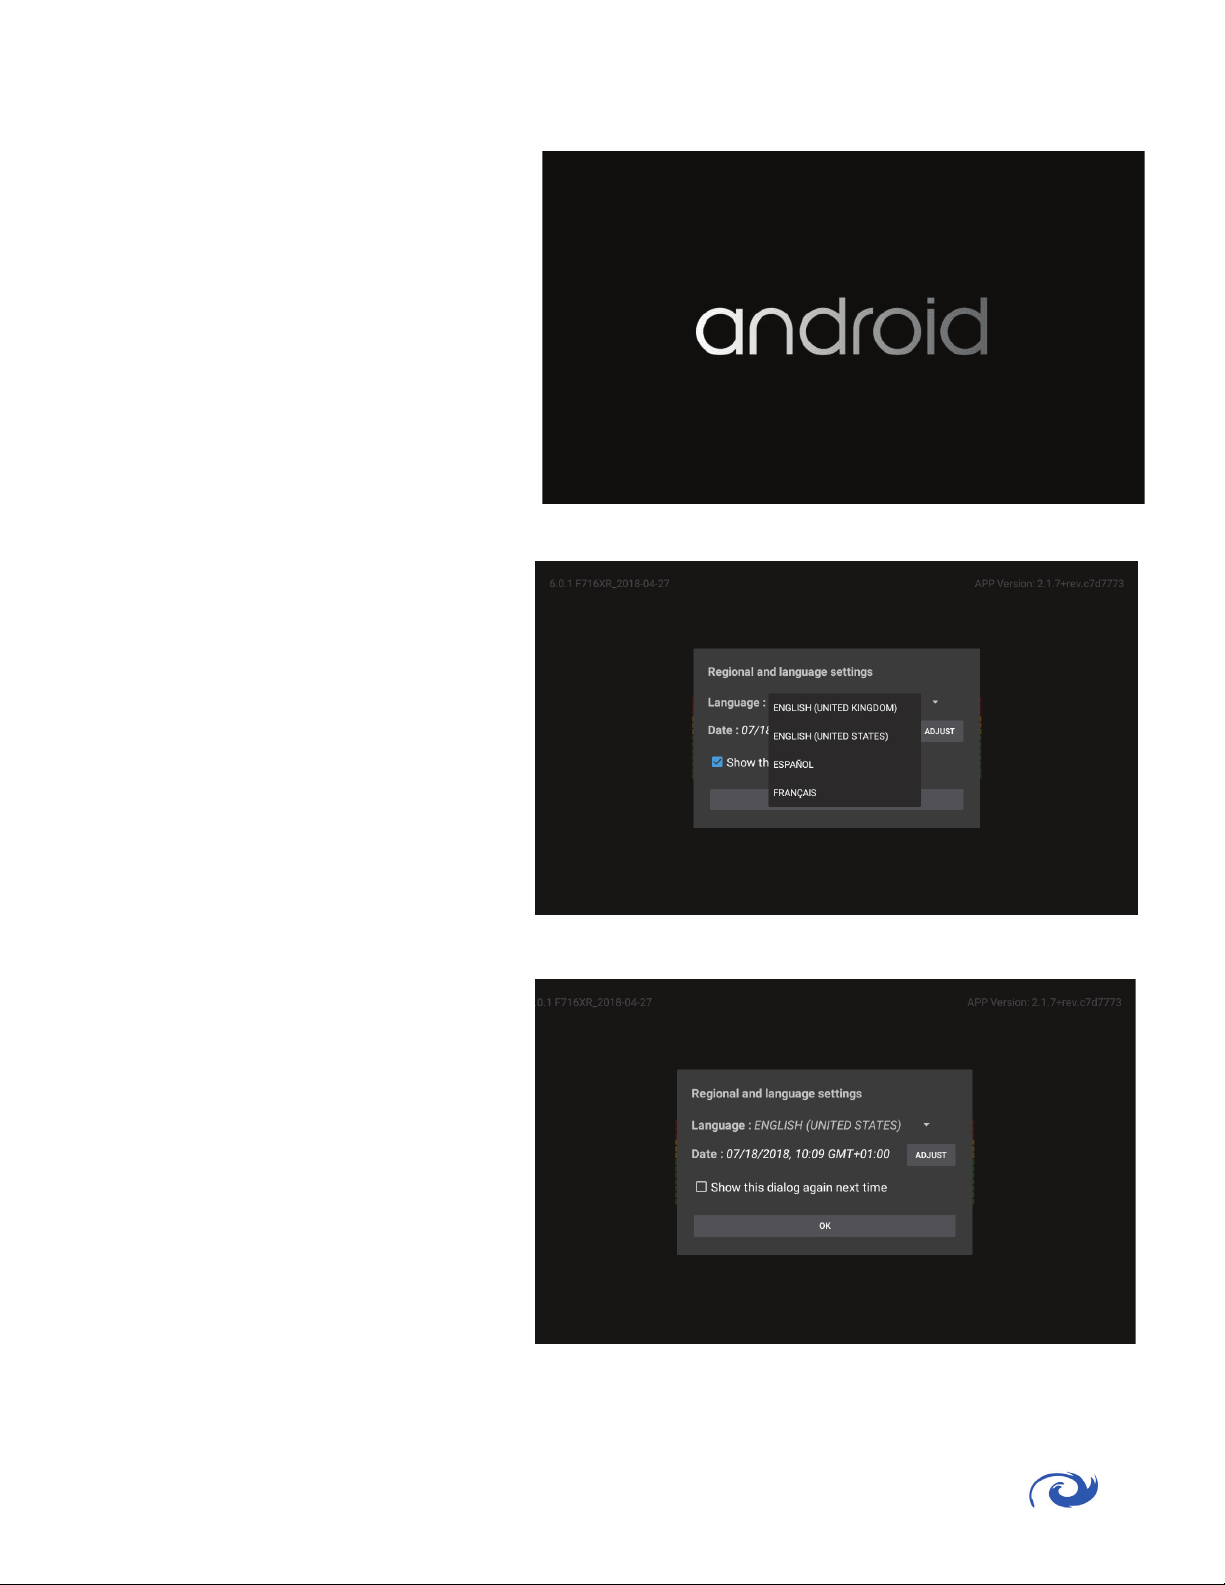
following screens will be observed.
No user input is required at this
point.
will be shown. Select the desired
set here if incorrect.
dialog box is not required again.
in GENERAL SETTINGS. Click OK to
6

This sec on describes the process connec ng to a network with DHCP. If a Sta c IP connec on is
required, go to either sec on 4.3 for Sta c Ethernet or 4.4 For Sta c WI-FI , then return to sec on 4.2.
For WIFI
below.
For ETHERNET
4.3.
WI-FI Connec� on Only
Select the Network from the list that has
been discovered.
WPS if preferred)
WI-FI Connec� on Only
Enter the password for the network and
click CONNECT.
7

WI-FI Connec� on Only
should now be present. Click Next.
all sources available on the network.
Once search and discovery is complete,
the Networks and Content Sources
The discovery process will list the
MAC address and associated IP
addresses. The list is sorted by IP
address in ascending order.
8

9
Select the desired Source by clicking on the blue
arrow. This will add it to the content to be
displayed.
Any number of sources can be selected,
or if desired, the same source can be
web pages, from the same source.
Click on the box to expand and view
• The source can be
renamed if required.
•
• A custom URL can be added.
Include any custom port
numbers in the URL, :8080,
:8443 etc. A colon must be
used before port numbers.
• Click to collapse the box and
save any changes.
Example Content Confi gura� on
Set Source Name:
fi r s t - fl o o r
Enabled
Set Custom URL:
:8443/fi rst-fl oor/index.html

Collapse the input box to save the
Repeat the previous steps for
each source to be added.
To reorder, press and hold the drag
and drop handle found on the right
of each saved source, then drag up or
down.
The source at the top of the
10
Table des matières
Manuels écran tactile populaires d'autres marques

Elecro Engineering
Elecro Engineering Poolsmart Plus Instructions d'installation

Johnson Controls
Johnson Controls IQ4 HUB Manuel utilisateur

Elo TouchSystems
Elo TouchSystems ET2270L Manuel utilisateur

Elo TouchSystems
Elo TouchSystems ET1002L Manuel utilisateur

Elo TouchSystems
Elo TouchSystems 3201L Manuel utilisateur

Duratec
Duratec S15 Manuel utilisateur


