Key Digital KD-X3x1WUTx Manuel utilisateur

3x1 4K/18G 328 ft. (100m) HDBaseT Transmitter Wall Plate
with Auto Switching, HDMI, Display Port and VGA Inputs,
USB 2.0, LAN, CEC Control Keypad, Audio De-Embed,
IR and RS-232 Pass-Thru, IP Control, Power over HDBaseT.
KD-App and KDPlug & Present
™
Ready.
The Experts in Digital Video Technology and Solutions™
Operating Instructions
KD-X3x1WUTx
2
Table of Contents
Quick Setup Guide ............................................................... 2
Integration Options ............................................................... 3
Connections, Buttons, and LEDs...................................................... 9
TCP/IP Commands .............................................................. 14
Specifications .................................................................. 16
Important Product Warnings: ....................................................... 17
Safety Instructions & Power Supply Use:............................................... 17
Warranty Information............................................................. 17
Always follow the instructions provided in this Operating Manual.
Please visit www.keydigital.com for the latest product
documentation and software downloads. Product features
and specifications are subject to change without notice.
Introduction
Key Digital®KD-3x1WUTx is an HDBaseT wall-plate transmitter + universal presentation switcher +
soft-codec enabling interface with HDMI, Display Port, and VGA inputs, as well as USB-A and USB-B
connections. KD-X3x1WUTx is ideal for professional video installations in conference rooms, class
rooms, lecture halls, auditoriums, and more. KD-X3x1WUTx is natively received by KDX100MRx or by
KD-UPS52U Presentation Switcher. Both Rx options have audio de-embedding for ease of integration
with audio systems. Additional Key Digital Presentation Switchers also support integration with KD-
X3x1WUTx. KD-X3x1WUTx features push-button or IP switching and is KD-App Ready. CEC Manager™
keypad enables basic controls of the connected display for a simplistic all-in-one integration system.
KD-X3x1WUTx is HDCP 2.2 compliant and supports 4K/UHD 24/25/30/60 (4:4:4) resolutions with up to
18Gbps bandwidth. 4K/UHD signals are extended up to 100m / 328ft and 1080p up to 150m / 492ft
via single CAT5e/6 cable.
In addition to AV signals, KD-X3x1WUTx extends USB 2.0, IR, RS-232 for controlling remotely located
equipment. The wall-plate unit fits in a standard US three-gang box and is powered by the Rx unit or
Presentation Switcher for convenient installation.
Default IP Address: 192.168.1.239, Port 23

1
Key Features
›Presentation Switching: 1 HDMI, 1 Display Port, and 1 VGA with Analog Audio, source selection by
push button or IP control
›Installation: Fits in standard US 3-gang wall box or table and wall AV boxes.
›Rx Options: Native integration with KD-X100MRx black box HDBaseT Rx or KD-UPS52U Presentation
Switcher. Future Rx options may be available.
›Soft-Codec Enabling System: USB Host + Device ports on wall plate and chosen Rx / Presentation
Switch create connectivity hub for professional USB cameras and microphones, audio DSP, keyboard,
mouse, or touchscreen display with connected computer
›Ultra HD/4K: Supports up to 4096x2160 or 3840x2160 24/25/30/60hz at 4:4:4 (signals up to
18Gbps bandwidth)
›Auto-Sensing: Automatic selection of newly detected source and switching from newly disconnected
source when enabled
›CEC Manager™: Power, volume, and muting controls of the connected displays/projectors without
any additional control wiring
›KD-App Ready: Network scan & detect populates pre-built GUI including connected display/projector
controls via CEC Manager™
›KDPlug & Present™Ready: Add KD-CX800 to build a programming-free automation system
›Ease of Integration: Complete configuration using Key Digital Management Software™Pro
›HDCP Licensing: Fully licensed and compatible with HDCP 2.2
›HDR10 and Dolby Vision: More life-like images through a greater range of luminance levels
›Power Over HDBaseT: Wall-plate unit powered by Rx/Presentation Switch unit
›Installation: Tx unit designed for installation in standard US three-gang box
›Signal Extension: For resolution and cable quality
»4K/UHD (18G): Up to 100m / 328ft
»1080p: Up to 150m / 492ft
›Deep Color Support: Up to UHD/4K 30Hz 4:4:4/12 bits or 60Hz 4:2:2/12 bit
›Full Buffer System™: Manages TMDS re-clocking / signal re-generation, HDCP authentication to
source & display, EDID Control handshake, and Hot Plug Detection Voltage
›EDID Management: Internal library with 15 internal EDID handshakes including 4K with HDR in
addition to native EDID data copied from the Rx display/device
›IR Sensor: Wall-plate collects line-of-sight IR from remote(s) without external IR wiring
›RS-232: Bi-Directional control to/from Tx and Rx/Presentation Switch unit
›Lossless compressed digital audio: Support for Dolby®TrueHD, Dolby®Digital Plus, Dolby Atmos®,
and DTS-HD Master Audio™
›Control System Support: Fully controllable by all TCP/IP and RS-232 supported control systems via
open API: Compass Control®Pro, AMX®, Crestron®, KNX®, RTI®, Savant, URC®, Leviton®etc.

2
Included Accessories
›USB-A to USB Micro Data Cable
›Aluminum decora plate (qty 1) + Decora mounting screws with flat head (qty 6)
›Gang-box mounting screws (qty 6)
›6-pin phoenix terminal (qty 1)
›3-pin phoenix terminal (qty 1)
›2-pin phoenix terminal (qty 1)
Quick Setup Guide
Rx UNITS SOLD SEPARATELY. Go to Presentation Solutions section for compatible Rx models.
CONNECT:
Begin with the KD-UPS52U unit, KD-X100MRx, KD-X3x1WUTx, USB camera (sold separately), all
input/output devices, and audio system powered off.
1. Connect HDMI, Display Port, and VGA sources to the input ports of Tx unit
2. (Optional) Connect HDMI, Display Port, USB-C, VGA sources to presentation switcher (sold
separately). Port connectivity varies by presentation switcher model.
3. Connect HDMI displays / projectors to the HDMI output port of the RX unit / presentation switcher
4. Connect USB devices into desired USB A ports and USB host computer to desired USB B ports at
wall plate transmitter, HDBaseT Rx, or presentation switcher.
»a. Note: When using KD-UPS52U presentation switcher the connection location of the USB
devices and host is determined by the USB mode selection switch. Please refer to KD-UPS52U
Quick Setup Guide for more information.
5. Connect CAT5e/6 cabling to Tx and Rx unit / presentation switch. Use 568-B standard termination
on both ends. Avoid couplers and excess CAT cable length.
6. To send the selected audio source into audio systems, connect from the analog or digital audio
de-embed outputs of the Rx unit / presentation switcher, or connect to the analog audio de-embed
port of the wall plate
7. Connect control system or PC to LAN port of the KD-X3x1WUTx or the Rx for network connectivity
8. Connected monitors are controlled by CEC Manager
™
on the HDMI connection. Alternatively,
connect IR/RS-232 wiring from control system into pass-thru ports of KD-X3x1WUTx and IR/RS-232
ports of the Rx unit / Presentation Switch
9. Screw-in power supply to the KD-UPS52U or KD-X100MRx unit, and then connect power to outlets.
10. Power on HDMI sources and displays, audio systems, connected computers, USB devices and hosts

3
Integration Options
Integration with KD-X100MRx Receiver:
Amplifier
KD-X100MRx
KD-X3x1WUTx
WiFi Router
WiFi
TCP/IP
KEY DIGITAL
APP READY
USB
KD-CAMUSB
DSP/Mixer
DisplayPort
HDMI
USB
HDMI
Audio
Audio
Audio
KD-AMP220
Input Control Vol
Mic Mute
Line BassL/R PCM
12
Treble
KD-AMP220
HDBT
VGA
USB

4
Integration with KD-UPS52U:
USB
AppleTV Signage
(USB-C)
PC (DisplayPort)
KD-X100MRx
KD-X3x1WUTx
Presentation Switcher KD-PS42 with KD-AMP220
DSP/Mixer
Cable/Satellite
USB-C
DisplayPort
HDMI
USB
HDMI
HDMI
HDMI
HDMI
WiFi Router
RS-232
RS-232
WiFi
Audio
KD-AMP220
Input Control Vol
Mic Mute
Line BassL/R PCM
12
Treble
KD-AMP220
KEY DIGITAL
APP READY
TCP/IP
HDBT
HDBT
TCP/IP
KD-UPS52U
KD-CAMUSB
DisplayPort
VGA
USB

5
CONFIGURE:
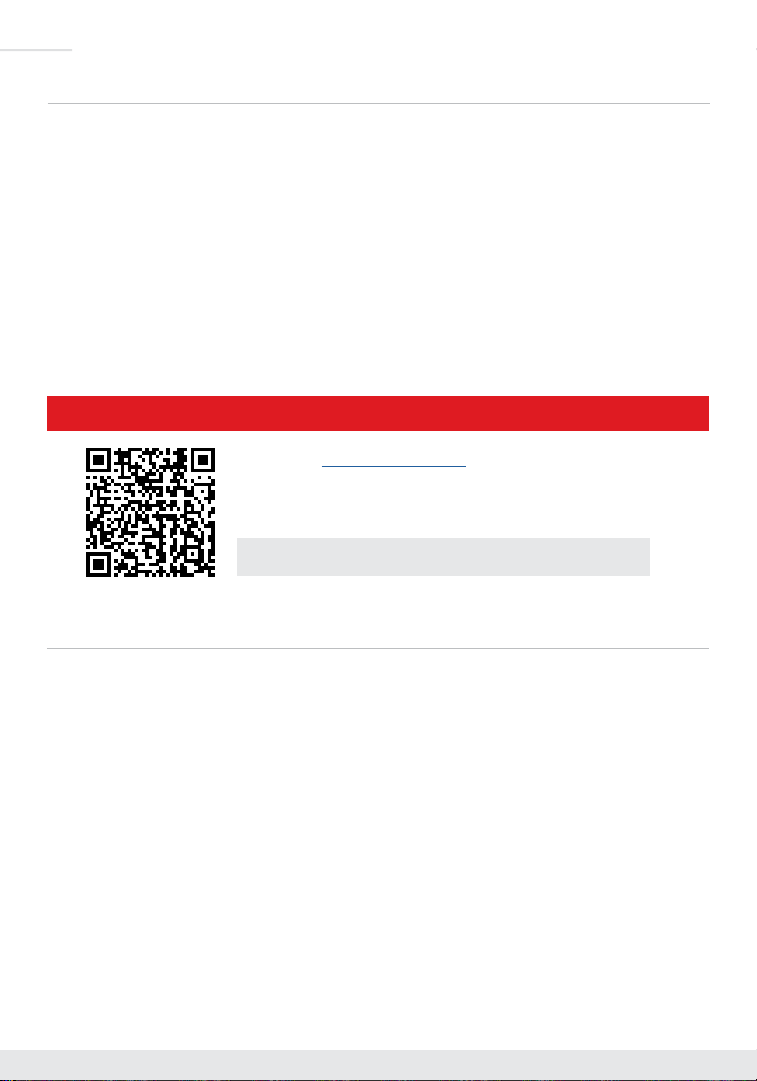
Configure and control your KD-X3x1WUTx via Key Digital Management Software™Pro (KDMS™Pro)
that can be downloaded here: KDMS™Pro Download
1. Connect to KD-X3x1WUTx from your PC using the USB micro port on the face
of the unit
2. Open KDMS
™
Pro software and perform a USB Device scan (fig. 1a-1b)
3. Choose the device from the Devices window (fig. 2a)
4. Set the desired Device Name in the KD-X3x1WUTx Information window (fig. 2b)
5. In the Network Settings section of the Properties window, enter the desired IP settings (fig. 2c)
»a. IP Address (default is 192.168.1.239)
»b. Subnet Mask (default is 255.255.255.0)
»c. Gateway (default is 192.168.1.1)
»d. Port (default is 23)
»i. Note: If using KD-App, please do not change the port number.
6. Save (fig. 2d)

6
7. If using KD-App or KDMS for control, set the desired Input/Output names by entering the Input/
Output Settings section of the properties window, and selecting the Change Input/Output Name
button (fig. 3a), selecting the desired input/output and entering the name (fig. 3b)
3a
3b
8. Set the EDID rotary to position “A” for 4K video with 2ch audio. Choose setting “4”
for 1080p video with 2ch audio. Refer to the Connections, Buttons, and LEDs
section for more options and information.
9. Set the Forced HPD to the ON position to fix a high HPD state to connected displays.
10. Additional settings may be adjusted in the KDMS software. Full access to all
settings/commands is achieved via terminal session using Tera Term or PuTTy
software.
11. Ensure that CEC is enabled on your displays/projectors. Depending on the
manufacturer, HDMI-CEC may be given a different name. View THIS article for a list
of CEC names and how to enable CEC on popular displays.
12. Your unit is now ready to control from the KDMS Control Panel, KD-App, or by professional
control system.

7
CONTROL:
Option 1: Control via Push Button
1. Display Control via CEC Manager
™
»a. Requires CEC supported display with CEC enabled
2. Input Select
»a. Advances through inputs 1, 2 and 3 respectively
»b. Press and hold for 5 seconds to active Auto switching. Solid illumination of the button’s
backlighting indicates mode has been set
Option 2: Control via KD-App, Key Digital Management Software™
›KD-X3x1WUTx is controllable by:
»Key Digital’s user-friendly iOS App (downloadable in the App Store)
»Key Digital Management Software (downloadable here).
›Configuration Steps:
»Connect and configure KD- X3x1WUTx as described in this Quick Setup Guide.
»Download and open KD-App and/or KDMS
»Ensure the iOS device and/or PC computer are on the same network with KD-X3x1WUTx
»Perform a network scan in the KD-App/KDMS
»Select and control the selected KD-X3x1WUTx

8
Option 3: Control via professional control system
KD-X3x1WUTx allows control over TCP/IP interface for bi-directional communication. You may connect to
the LAN port of the KD-X3x1WUTx, KD-X100MRx, or KD-UPS52U to deliver network connectivity to the Key
Digital devices.
Default IP Address: 192.168.1.239, Port 23
›For TCP/IP control, the default static IP address is 192.168.1.239, with port 23
›RS-232 connection is used for control pass-thru to connected devices, not for unit control of the
KD-X3x1WUTx
›For the past 10 years, most Key Digital switches have supported a standard audio+video switching
command. KD-X3x1WUTx is also controllable by this command, so if you have previously integrated
Key Digital switches by third-party control systems you may have success using the same driver/
module.
»Switching – Video + Audio together (two commands supported)
»SPO01SIyy - yy = input number (01-02)
»SPOSIyy - yy = input number (01-02)
Table des matières
Autres manuels Key Digital Émetteur


Manuels Émetteur populaires d'autres marques


Dejero
Dejero EnGo 3x Manuel utilisateur

Rosemount
Rosemount 4600 Manuel utilisateur

Speaka Professional
Speaka Professional 2342740 Manuel utilisateur

trubomat
trubomat GAB 1000 Manuel utilisateur

Teledyne Analytical Instruments
Teledyne Analytical Instruments LXT-380 Manuel utilisateur

Rondish
Rondish UT-11 Manuel utilisateur


