Audiovox VOD129 Manuel utilisateur

OPERATION
MANUAL
VOD129
12.1" OVERHEAD LCD
MONITOR WITH
DVD PLAYER
XXX-XXXX

Important Notice
An LCD panel and/or video monitor may be installed in a motor vehicle and visible to the driver if the LCD panel or video monitor is used
for vehicle information, system control, rear or side observation or navigation. If the LCD panel or video monitor is used for television
reception, video or DVD play, the LCD panel or video monitor must be installed so that these features will only function when the vehicle
is in "park" or when the vehicle's parking brake is applied.
An LCD panel or video monitor used for television reception, video or DVD play that operates when the vehicle is in gear or when the
parking brake is not applied must be installed to the rear of the driver's seat where it will not be visible, directly or indirectly, to the operator
of the motor vehicle.
Licensed under one or more of the following patents,
Patent NOS. 5,775,762 and 5,927,784
Warnings
•Do not use any solvents or cleaning materials when cleaning the video monitor.
•Do not use any abrasive cleaners, they may scratch the screen.
•Use only a lightly dampened lint free cloth to wipe the screen if it is dirty.
•Lock the LCD screen in the fully closed position when not in use.
•Before putting on headphones always adjust the volume setting to the lowest position.
•Remember to leave the dome light switch in the off or auto positions when the vehicle is unattended, as the dome lights, if left on, can drain
the vehicle's battery.
•Do not put pressure on the screen.
•Caution children to avoid touching or scratching the screen, as it may become dirty or damaged.

3
FEATURES
Congratulations
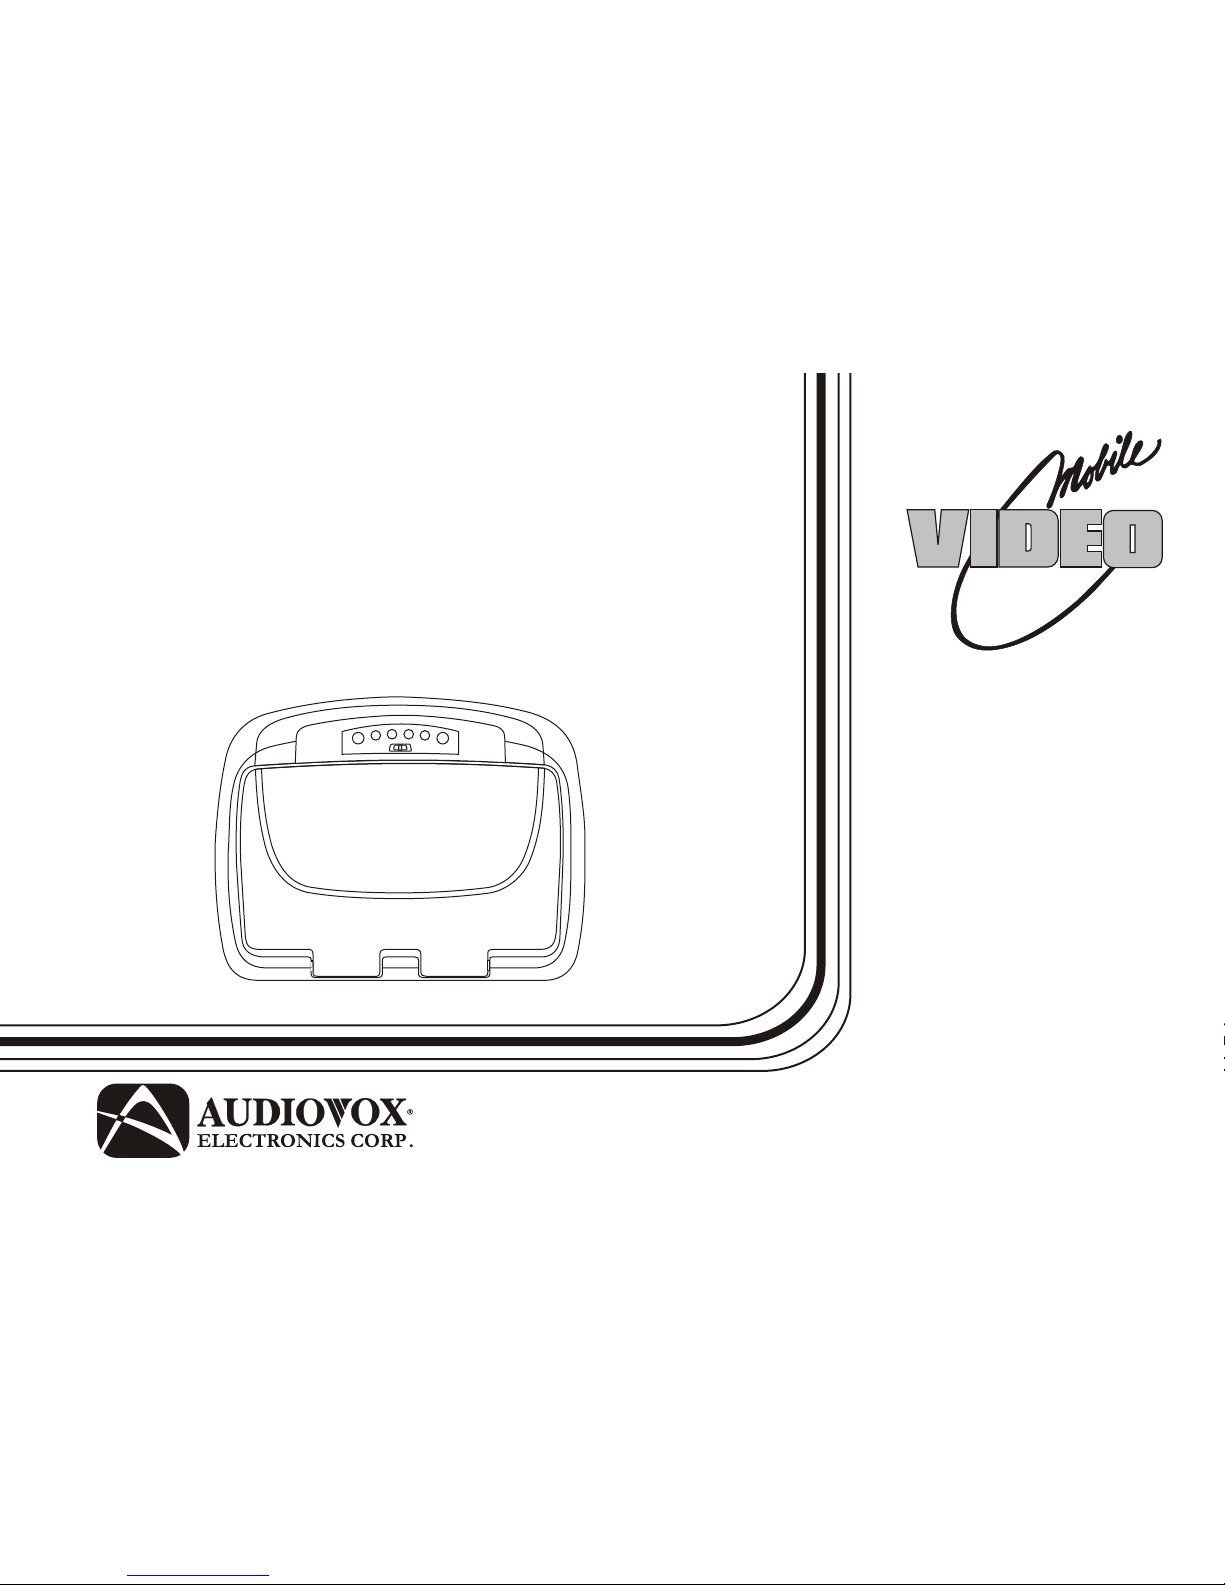
Congratulations on your purchase of the AUDIOVOX
VOD129 DVD Player with Drop-Down Video / Monitor. The
VOD129 has been designed to give you and your family
many years of video entertainment in the mobile environment.
Please read the directions that follow to familiarize yourself
with the product to ensure that you obtain the best results
from your equipment.
Please note: Installation options vary, see the individual
owner's manuals for each component in your system to
obtain a full understanding of each component's operation.
Safety Precaution
For safety reasons, when changing video media it is
recommended that the vehicle is not in motion, and that you
do not allow children to unfasten seat-belts to change video
media or make any adjustments to the system. System
adjustments can be accomplished using the remote control,
while seat-belts remain fastened. Enjoy your AUDIOVOX
entertainment system but remember the safety of all
passengers remains the number one priority.
• 12.1” TFT (Thin Film Transistor) Active Matrix LCD
(Liquid Crystal Display) Monitor
•Built-in DVD Player
• OSD (On Screen Display) for Control of Picture Quality
and Functions
•
•Four Audio/Video Source Inputs (DVD/USB, AV1, AUX
and GAME).
• Dome Lights with 3-Position Switch.
•Built-in 16 Channel Frequency Wireless FM Modulator.
•Last Position Memory for DVD.
•
•
•
•
•
•Playing DVD, CD and MP3 Disc.
Single Channel Infrared Transmitter for IR Wireless
Headphones
AV Output Via RCA Pigtail
Screen Mode Selection (4:3, 16:9)
Wireless Game Controller
Full Function Remote Control
Backlit Controls

4
CONTROLS AND INDICATORS DIAGRAM (FRONT VIEW)
1. EJECT () Control
This control is used for ejecting discs from the disc
compartment. (Note: Disc can be ejected with the unit turned
Off. Vehicle ignition must be in Run or ACC position). After
the Disc is removed the unit will turn Off after 15-20 seconds.
2. STOP (n) Control
- Touch STOP once : Stops playback,
touching the PLAY button again will resume normal playback.
- Touch STOP twice : To stop playback.
3. PLAY (u) Control
This control is used to start playback of a disc.
4. Source Select
Use to select one of the four sources: DVD/USB, AV1, AUX and
GAME
5. FMM Source Select Control
Used to select the frequency in sequence rotation:
FMM OFF, CH1 88.1MHZ, CH2 88.3MHZ, CH3 88.5MHZ,
CH4 88.7MHZ, CH5 88.9MHZ, CH6 89.1MHZ, CH7 89.3MHZ,
CH8 89.5MHZ, CH9 89.7MHZ, CH10 89.9MHZ, CH11
90.1MHZ, CH12 90.3MHZ, CH13 90.5MHZ, CH14 90.7MHZ,
CH15 90.9MHZ, CH16 91.1MHZ.
6. POWER ( ) Control
Used to turn the system on/off.
7. Dome Lights
Provide additional interior illumination.
7
8
9
10
11
654321
12
13

5
CONTROL FUNCTION DESCRIPTION
(FRONT VIEW)
8. Infrared Transmitter and Sensor
Transmits audio to wireless headphones. Also allows the
remote control to operate the VOD129 and to control other
accessories in the system.
9. Three Position Dome Light Switch
ON - Turns on the dome lights.
OFF - The dome lights will not turn on in this position.
AUTO - Automatically switches on the dome lights in
Conjunction with the vehicle's interior illumination.
10. Ventilation Openings
11. LCD Cut Off Switch
Used to turn off the LCD panel monitor backlit when in the
closed position.
12. LCD Panel
13. Screen Release
Press to release the screen.
1
1. REAR IR SENSOR
CONTROL FUNCTION DESCRIPTION
BACK
( VIEW)
CONTROL FUNCTION DESCRIPTION
(SIDE VIEW)
1. DVD Disc insertion Slot
For loading and removing discs. Unit will turn On and load
disc when disc is inserted. Insert disc with label side facing
up.
Note: Disc slot will be lit when unit is turned Off for easy
loading at night.
2. USB INPUT FOR USB THUMB DRIVE
3. AUX IN
The Jack is applicable for audio and video input.
4. HEADPHONE JACK
The jack is applicable for wired headphone with a 1/8” (3.5mm) plug
to listen audio output.
1
2 3 4

6
MAIN FUNCTION OPERATION
M1 M2
POWER EJECT
TV DVD
SOURCE
MUTE
DVD SOURCE VOLUME
PIX
SYSTEM MENU DISC MENU ZOOM
REPEAT
ENTER
SUBTITLESETUPDISPLAY
AUDIO
1 2 3 4
5 6 7 8
9 0
IRT
ON/OFF
FMM
ON/OFF
1
2
3
4
5
6
7
8
9
10
11
12
13
14
15
16 17
18
19
20
21
22
23
24
25
26
27
28
29
30
CR2025
REMOTE CONTROL OPERATION
Initial Use
When purchased the remote control has a battery installed with a
Pull Tab to prevent battery discharge. Remove the Pull Tab before
attempting to use the remote.
Battery Replacement
1. Remove the battery holder.
2. Insert the battery into the battery holder and insert the battery
holder into the remote. Be sure to observe the correct polarity.
3. Align the battery holder with the remote control and push until
the holder clicks.

7
*Function control is available on the unit and the Remote Control.
** Function not available in this model.
1. POWER*
Press this button to turn the unit ON and OFF.
2. MONITOR SELECT
M1 Button – Sets the remote control code to allow control of the unit set to M1 mode.
M2 Button** – Sets the remote control code to allow control of the unit set to M2 mode.
3. SOURCE*
Each time the button is pressed, the change mode as DVD/USB, AV1, AUX and GAME
4. TV Mode Select
Switches certain function keys on the remote control for monitor functions.
5. DVD Source
This button is only active when remote control is in DVD mode. Each time the buttons is pressed one of the source (DVD and USB)
will be selected. If the USB are not plugged in, it will remain on DVD Source. Press to change source in sequence of DVD > USB.
6. PIX ( Picture Select )
Each time this button is pressed, the OSD picture adjustment displays the “Adjustment bar” for BRIGHTNESS, CONTRAST, COLOR,
TINT(For NTSC only) or RESET. Once the desired adjustment bar is displayed, use the VOLUME+/ –VOLUME– button to adjust the
setting. The display will automatically turn off if no adjustments are made within 6 seconds, or if any other button is pressed.
7. SYSTEM MENU
Allow the user to access the system menu. Press cursor (pq) buttons to select desired picture control FMM screen mode, OSD language and
source default during power up.
8. CURSOR (pqtu)
Use these buttons to access menu selections on the screen.

8
9. ENTER
Used to implement a selected setting or menu option.
10. DISPLAY
Press to display the current disc information while the disc is playing. Press the cursor (pq) buttons to select the Title or Chapter. For
Title/Chapter selection use the numeric buttons to enter the desired Title Chapter selection.
11. SCAN BACKWARD (7)
Press to search in a backward direction. Press repeatedly to change the search speed from 2, 4, 8, 16 times the normal speed.
12. PLAY*
Press to activate the play mode while a disc is loaded in the disc compartment.
13. PREVIOUS (9)
Press to return to the previous chapter or track.
14. PAUSE (II)
Press to pause playback.
15. NUMBERS
Allow the user to ENTER the numbers 0-9 for selection of the tracks, titles chapters or password setting.
16. FMM ON/OFF
Turns the FM Modulator power on/off.
17. IRT ON/OFF (Optional)
Turns the Infrared Transmitter IRT ON or OFF for IR Wireless Headphones.
18. NEXT (:)
Press to skip to the next chapter or track.

9
19. STOP (<)*
Press to stop playback.(It can be resumed playback).
Press twice at once to stop playback fully.
20. SCAN FORWARD (8)
Press to search in a forward direction. Press repeatedly to change the search Speed from 2, 4, 8, 16 times the normal speed.
21. AUDIO
Press to display and selectAudio language in DVD mode. Each time you press the button, the language changes.
Note: The available languages vary from disc to disc.
22. SETUP
Press to display the Setup Menu which allows the user to change the DVD player options such as TV DISPLAY, OSD LANGUAGE,
PARENTAL CONTROL etc. Refer to the settings and adjustments section for more information.
23. SUBTITLE
Press to display and select the subtitle language in DVD mode. Each time you press the button, the subtitle language changes.
Note: The type and number of languages for subtitle vary from disc to disc.
24. REPEAT
Allows the user to repeat a selected title, chapter, or track.
25. DISC MENU
Allow the user to access the disc menu.

26. ZOOM
Press this button to enlarge the picture when playing a DVD disc.
Press ZOOM button DVD player perform
Once Q1- Enlarge the picture 2 times of the original size
Second Q2- Enlarge the picture 3 times of the original size
Third Q3- Enlarge the picture 4 times of the original size
Forth Q off- Picture is returned to original size
27. VOLUME DOWN (-) or UP (+)
Press to decrease or increase the level of the picture adjustments. Press to decrease or increase the volume of the wired headphones.
The volume also use to adjust the picture setting level after the picture select button is pressed.
28. DVD Mode Select Button
Switches certain function keys on the remote control for DVD function.
29. MUTE
Press to mute the audio. Press it again to restore the sound to the previously set volume.
30. EJECT ()*
This button is used to eject the disc.
10
Autres manuels pour VOD129
1
Table des matières
Autres manuels Audiovox écran tactile
Manuels écran tactile populaires d'autres marques

Elecro Engineering
Elecro Engineering Poolsmart Plus Instructions d'installation

Johnson Controls
Johnson Controls IQ4 HUB Manuel utilisateur

Elo TouchSystems
Elo TouchSystems ET2270L Manuel utilisateur

Elo TouchSystems
Elo TouchSystems ET1002L Manuel utilisateur

Elo TouchSystems
Elo TouchSystems 3201L Manuel utilisateur

Duratec
Duratec S15 Manuel utilisateur


