U-Reach uPRO Manuel utilisateur

uPRO
Media Maker
User Guide
uPRO
Media Maker
User Guide
V 1.0
www.ureach-inc.com
The Duplication Expert
U-Reach UPRO User Guide V1.0(EN).indb 1
13/4/22 上午10:18

Content Index
2
U-Reach UPRO User Guide V1.0(EN).indb 2
13/4/22 上午10:18

Function table
3
Function table
Function Description
1. Copy To copy disc to disc or copy disc from HDD.
2. Test To simulate copy process.
3. Compare To bit by bit compare between source disc and copied discs.
4. Copy & Compare To copy first and compare the copied discs later. To ensure data correctness.
5. Set Burn Speed To set burning speed for duplication.
6. Select Source To select source from any optical drive or hard disk drive.
7. Utility
1. Information
1. Disc Info.
To check the format of disc,
burning speed supported and
total capacity or data size.
2. Drive Info. To check the version, model No.
and brand name.
3. System Info. To check the model No. and
firmware version.
2. Erase Disc
1. Quick Erase To quick erase data from
rewritable disc.
2. Full Erase To full erase data from rewritable
disc.
3. PreScan Source To check source disc’s readability.
4. Track Edit
1. Copy Track
To select and combine audio
tracks from various CDs into a
single customized audio CD.
2. Close Disc
To close the disc after track
copying to make the CD playable
on CD player.
3. Disc Info. To check the audio CD’s status
of usage.
5. Eject All Disc To eject all trays.
6. Copy Counter
1. Show Count To check how many discs copy
uccessfully and failed.
2. Enable Counter To enable or disable counter
setting.
3. Clear Counter To delete the record.
7. Update BIOS To update the system’s firmware.
8. PRINT LS Label To print Lightscribe image.
U-Reach UPRO User Guide V1.0(EN).indb 3
13/4/22 上午10:18

Function table
4
8. Setup
1. Auto Start Time
Allow the system to do the Copy,
Test, Compare and Copy +
Compare functions automatically.
2. Display Mode
1. Basic
2. Show Timer
3. Show Speed
3. Button Beep
4. Eject On Start
1. Eject All Discs To eject all trays with disc inside
once the system is booted up.
2. Do Not Eject No eject any tray or disc once
the system is booted up.
3. Eject Target Only
Only eject target trays with disc
inside once the system is booted
up.
4. Eject Source Only Only eject source disc once the
system is booted up.
5. Eject All Trays To eject all trays once the system
is booted up.
5. Reader Speed To adjust the reading speed of
source drive.
6. Compare Speed To adjust the speed of drives
while comparing.
7. Language
8. Clear Setup To reset all the function back to
manufacturer’s default setting.
9. Advanced Setup
1. Power On Time To set a warm-up time from 5
seconds to 99 seconds.
2. Startup Menu
To select which function you
would like to show up in the
beginning
3. Skip Reader Error To set skip the read error and
keep copying.
4. Change Bad Master
To make the system eject
source disc and ask for another
one while the source disc is
unreadable for system.
5. CD Overburn Set to copy overburn CD.
6. Show HDD Image
Name
To show HDD image name
or capacity on Copy, Test,
Copy+Compare and Compare
function.
7. Keep Buffer To set enable or disable load
source to the buffer.
8. Boot Password To enable or disable the user
administrative password.
9. Setup Password To set up the login password.
10. Count Password To set up counter login password.
U-Reach UPRO User Guide V1.0(EN).indb 4
13/4/22 上午10:18

Function table
5
9. HDD Manager
1. Select Image To select image file from HDD as
your source for copy.
2. Disc => Image To load your source disc to the
built-in HDD.
3. Set Reader Speed
To adjust the speed of source
reader while you load image file
from the reader to HDD..
4. Show Image Info. To check the disc format and
data size of image file.
5. Rename Image To change the name of image file.
6. Delete Image To delete image file in the built-in
HDD.
7. Show HDD Info.
To check the information of the
built-in HDD includes how many
discs are stored and the free
space is available.
8. Format HDD To format the built-in HDD.
9. Load & Copy
1. Synchronous To load source to HDD first and
copy from HDD to disc.
2. Load First To load the source to HDD and
make copy at the same time.
3. OFF To disable Load & Copy function.
10. USB Copy Tool
1. Disc to USB Copy Disc to USB
2. USB to Disc Copy USB to Disc
3. USB to USB Copy USB to USB
U-Reach UPRO User Guide V1.0(EN).indb 5
13/4/22 上午10:18

Copy Disc to Disc
6
How to execute disc to disc duplication?
Source Targets after copy
100 %
=
1Select function "1.Copy" and place source disc/target disc to the
right drives. The system will detect source disc and display the disc
info on LCD.
Data size
Q'ty of target disc
Note If you want to change source drive to other port, please go sesstion "How to
select source?"
2Press
OK
button to start copying.
Data size
Copied data siz
e
Speed of burning
Copy process %
Q'ty of target
Note It’s necessary to use the same types of disc during duplication. E.g., CD to CD;
DVD to DVD.
U-Reach UPRO User Guide V1.0(EN).indb 6
13/4/22 上午10:18
Copy Disc to Disc
7
3Once duplication task is completed, disc will be ejected
automatically and LCD will show duplication result.
Elapsed time
Note Default setting of function "8.1 Auto Start Time". is 5 seconds, so the system
automatically starts duplicating after the last drive rack is retracted for 5
seconds. User can customize the setting to longer waiting time or select "Off"
to cancel this function.
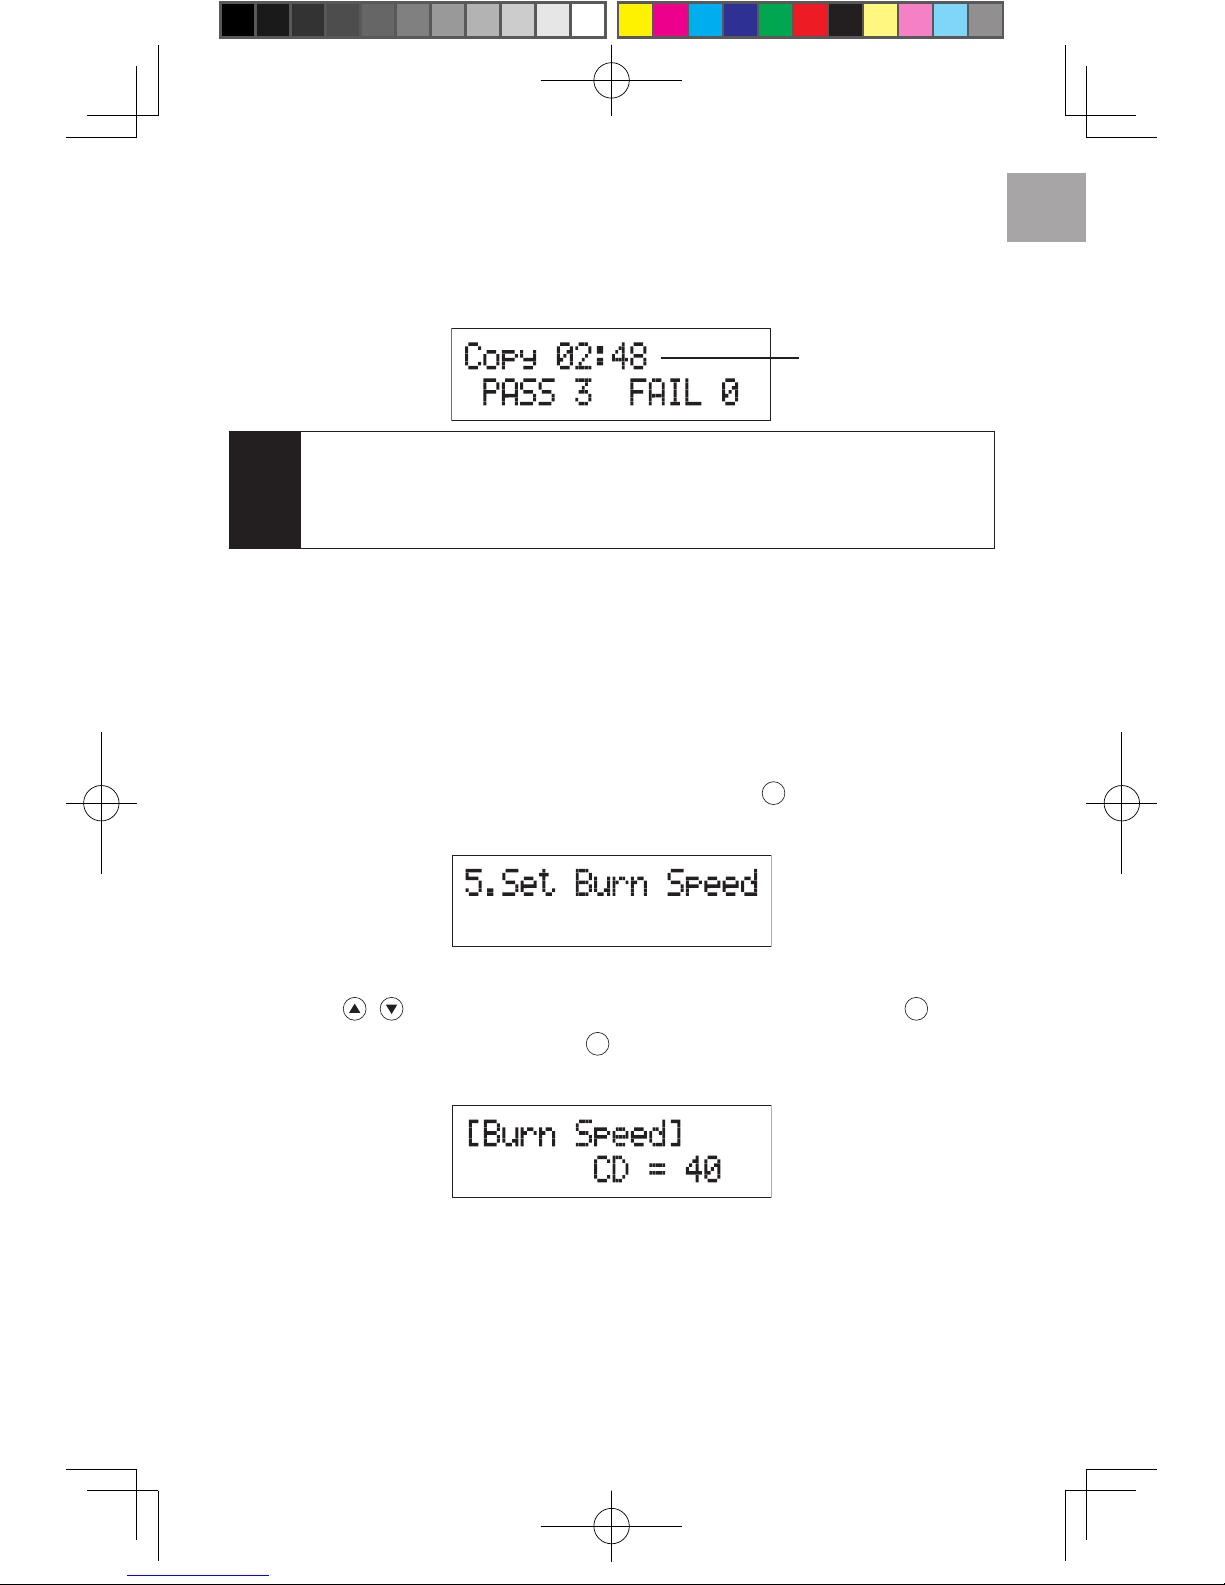
How to set copy speed?
User can change the copy speed of CD, Audio CD, DVD, DVD DL and
Blu-ray. The default setting is CD=40×, Audio CD=24×, DVD=8×, DVD
DL=2×, and Blu-ray=2×.
1Select function "5. Set Burn Speed" press
OK
button to get into
setting page.
2Press to adjust the copy speed of CD, press
OK
after
adjustment is set. After press
OK
, it switches to speed adjustment of
ther disc : Audio CD, DVD, DVD DL and Blu-ray.
U-Reach UPRO User Guide V1.0(EN).indb 7
13/4/22 上午10:18

Copy Disc to Disc
8
How to select source?
If the current source drive is broken, user can select any other drives to
be source drive. In order to reduce damage on source disc, user can
also select HDD as source.
1Select function "6. Select Source".
2Press
OK
then press to adjust setting. After adjustment is set,
press
OK
to get back to main menu.
Note • Default source drive is the first drive on the top.
• Please refer to "9. HDD Manage" for setting about HDD.
U-Reach UPRO User Guide V1.0(EN).indb 8
13/4/22 上午10:18

Copy Disc to USB Drive
9
Execute duplication from disc to USB drive.
It is able to copy data from disc to USB sticks by this function.
Disc 1 Disc 2
Disc 3 Disc 4
Disc 1 Disc 2 Disc 3 Disc 4 USB Drive
1Place the source discs into drives and attached USB stick on the
"Target port".
Note • If USB stick is connected on "source port", the system would show
"ERROR".
• The system supports FAT16/32 format of USB stick. If the format is not FAT,
system would show "target is not FAT system !"
2Select function "10.1 Disc to USB" and press
OK
to start copying.
During duplication, the system shows the quantity of duplication file,
the size of duplication file, and working progress of duplication.
U-Reach UPRO User Guide V1.0(EN).indb 9
13/4/22 上午10:18

Copy Disc to USB Drive
10
3Copy accomplish.
Note • If source disc is Audio CD, the soundtracks will be saved as .wav file and
named as CD001, CD002, CD003, etc. Other format discs are saved and
named as DISC001, DISC002, DISC003, etc.
• System is allowed to copy data from several discs to one USB drive by
"Append Data".
U-Reach UPRO User Guide V1.0(EN).indb 10
13/4/22 上午10:18
Table des matières
Autres manuels U-Reach Matériel informatique


Manuels Matériel informatique populaires d'autres marques

EMC2
EMC2 VNX Series Manuel du propriétaire

Panasonic
Panasonic DV0PM20105 Manuel utilisateur

Mitsubishi Electric
Mitsubishi Electric Q81BD-J61BT11 Manuel utilisateur

Gigabyte
Gigabyte B660M DS3H AX DDR4 Manuel utilisateur

Raidon
Raidon iT2300 Manuel utilisateur

National Instruments
National Instruments PXI-8186 Manuel utilisateur


