halves. This not only preserves the stoppers for later use, but also allows the stopper on one side to hold and seal
the stopper on the other as the parts are bolted together.
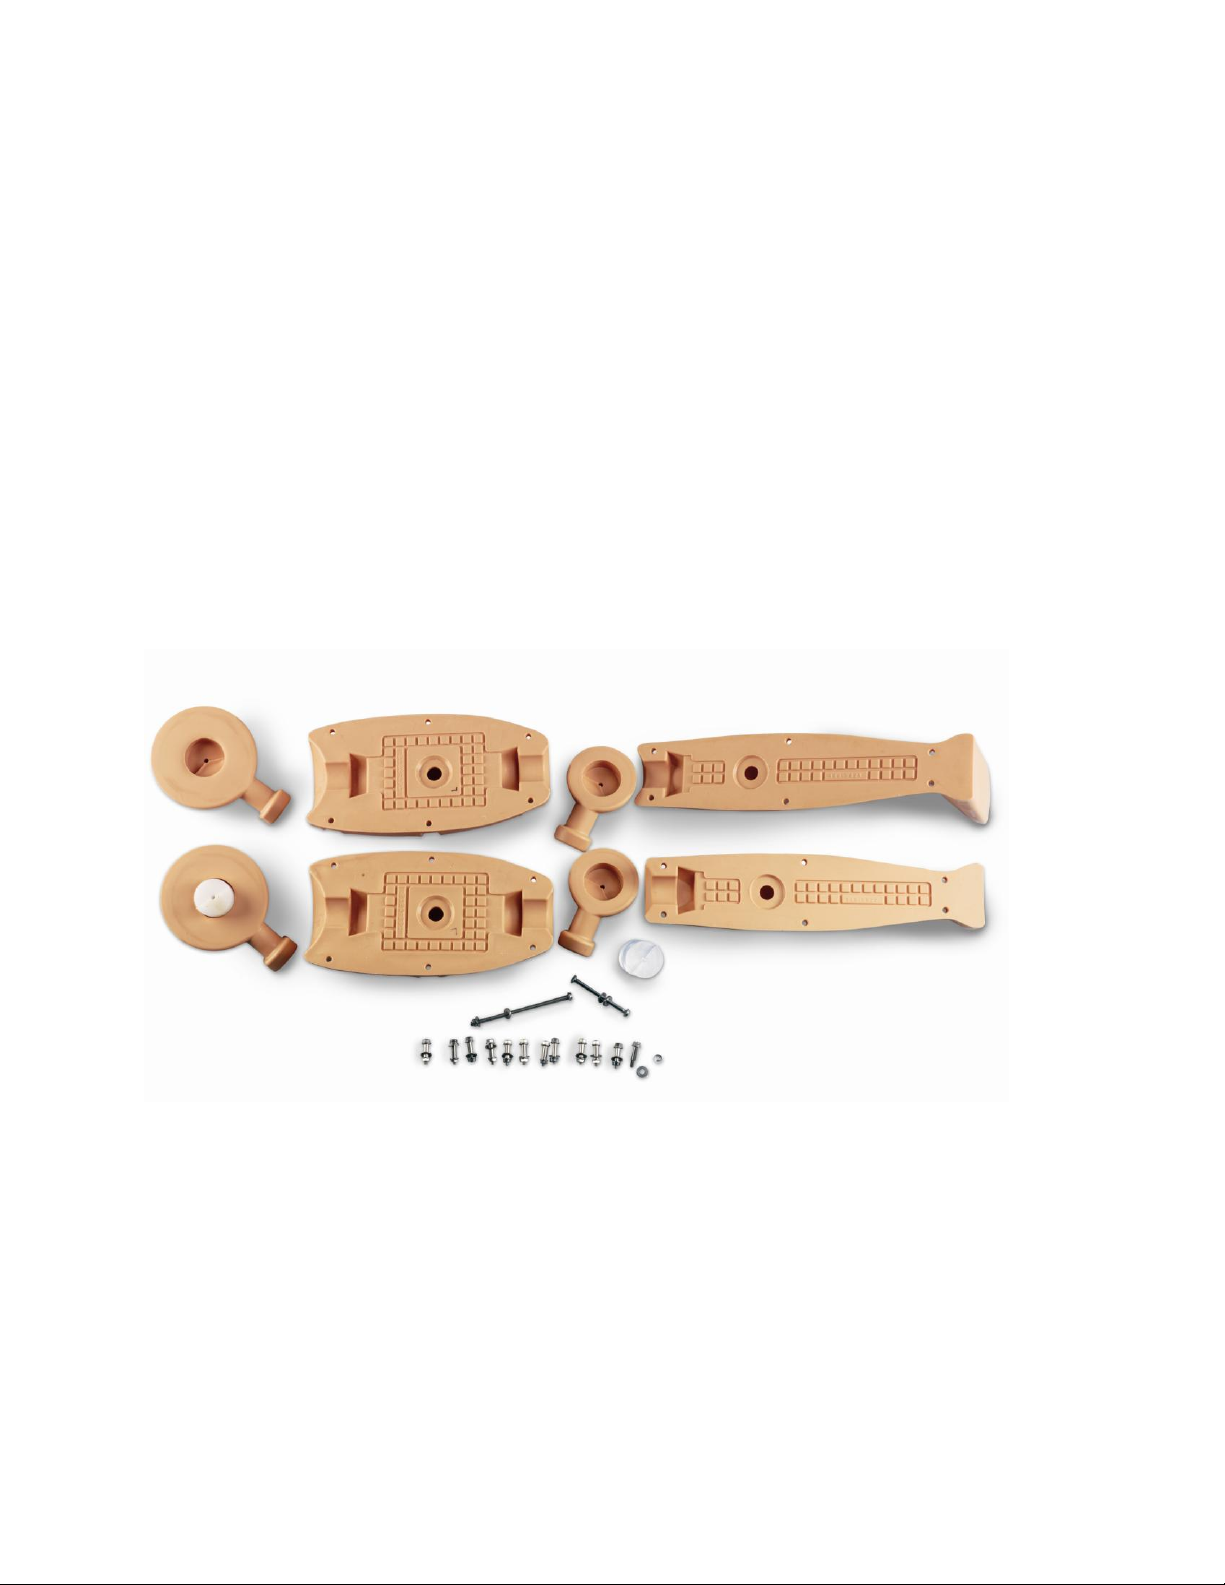
Hardware found in the carton of the Randy 9000
If all of the parts are filled with water, the manikin will weigh 170 pounds. If all of the body parts are filled with dry
sand, the manikin will weigh 250 pounds. It is recommended that if you want to make a lighter manikin that you do
so by completely filling one half of an extremity so that the weight doesn’t shift during the movement of the
manikin and disrupt any balance achieved by the rescuers. Another way to make a lighter manikin is to only fill one
half of any extremity. For instance, if you fill one half of the right thigh and no other parts of the right leg, the
manikin will be lighter than if you also fill one half of the lower leg.
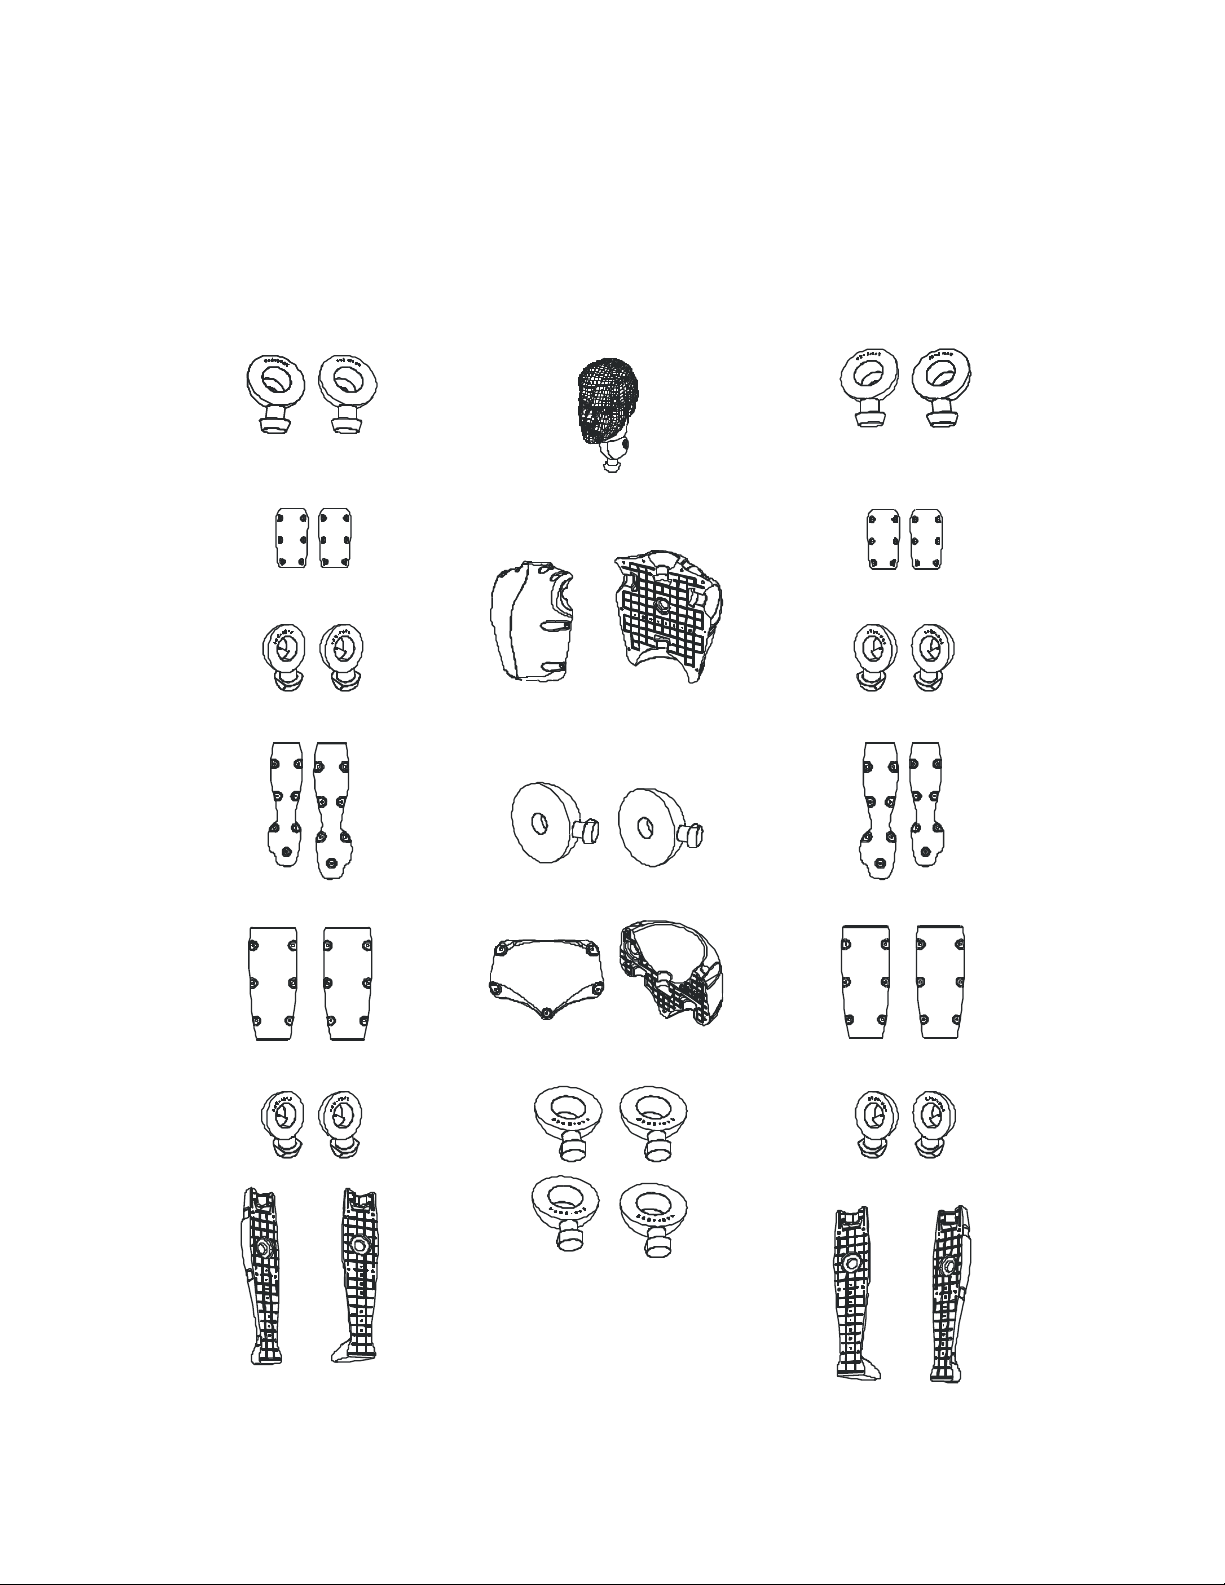
Once you have determined the appropriate parts to fill, the substance you want to use to fill them, and the
number of parts to fill, and have accomplished the filling process, start the assembly of the manikin by laying the
back pieces of the manikin in their relative position. Then place the ball joints in their respective locations
throughout the body. Take note that the knee joints and the elbow joints have limited range of motion in one
direction. It is possible to put these joints in backward, or 180 degrees out of alignment. It will be easy to see in the
lower leg since the foot will be backward. If that’s the case, simply turn the ball joint over in the lower leg so that
the stop points the toes the other way. The same holds true with the elbow joints and the lower arm positioning.
Or, in other words, you may end up with an arm that only bends backwards. Simply change its position to the
other side of the manikin so that the forearm bends forward, or reverse the positioning of the ball joint.
You’ll note that the ball joint ends are held firmly in place by the addition of the front half of the body parts. During
the placement of the front halves, you may choose to insert the hardware and start securing the bolts. Do not
tighten all of the bolts until the manikin is fully assembled in case you have not anticipated the need to either fill or
drain one of the parts. Once you are satisfied that the manikin is weighted and constructed appropriately, secure
the bolts down to their tightest torque. Mentioned earlier in these instructions is the fact that these shoulder bolts
Bolt 18-8 Stainless Oal 6"
Bolt 18-8 Stainless Oal 8"
Plug Round Tapered 1" Height
Stop 2" Diameter X 1.90" Long
Acorn Nut High Crown 10-24 Ss
Nutdriver 1/2" Hex Dia 3/8"
Nutdriver 7/16 Hex Dia 3/8"
Nutdriver 3/8" Hex Dia 3/8"
Locknut 1/4-20 18-8ss Serrated
Carton Paperboard 3x2x 5 1/4
Plug 5/8" Large End Id Push-in
Bolt 3/8 Hex Hd Indented 70pk
Washer Flat 18-8 Ss 1/4 Screw
Nut Flange Serrated Hex 18-8ss
Bolt 18-8 Ss Oal 4" Pkg Of 4
Bolt 18-8 Stainless Oal 5"