Riverside Hydronics®, LLC 34-525 04/14
3220 Galvez Ave. - Fort Worth, Texas 76111 - Tel 1-800-990-5918 Page 9
BACK UP GATEWAY FILES: It is highly recommended to back up the configuration files before
performing any update or editing of the configuration. In order to back up the configuration files stored on
the gateway, perform the following steps.
Clear or move any files from the Field Server Configuration files folder. There is a short cut to this
in the program group: FieldServer Utilities > Config ("C:\FieldServer Technologies\FieldServer
Utilities\Config”).
From the main menu hit U (Upload Configuration file from Field Server).
Hit U to upload the default CONFIG.CSV to your computer.
Once that is complete, you will need to enable the “Other Filenames” option by hitting the “O” in
the Upload menu.
Once this is done, perform the following for each file PROF1.CSV, PROF2.CSV, PROF3.CSV
From the Upload menu, Hit ”R” and then type the file name PROF1.CSV and hit Enter.
Hit “L” and type the same name again and hit Enter.
Hit “U” to upload the file to your computer. It will be located in the previously mentioned CONFIG
folder.
Once this has been done for all the files, back up the files in your CONFIG folder in case you
need to revert back to the original files.
UPDATE CONFIGURATION FILES ON GATEWAY: Once the files have been backed up and save to a
safe place, you can then place the new files, or edited old file in the CONFIG folder for transfer to the
gateway.
Clear any old program from the CONFIG folder, and place the files that are to be transferred to
the gateway in this folder.
From the main menu, hit “D” (Download Configuration file to Field Server).
From this menu, if you are uploading the CONFIG.CSV file, simply hit the “D” key again.
To transfer any of the other files, you will need to enable the “Other Filenames” option by hitting
the “O” in the Download Menu.
To transfer the PROF1.CSV file from the CONFIG directory on your laptop to the gateway:
From the Upload menu, hit “L” and type PROF1.CSV and hit Enter.
Hit “R” and type the same name again and hit Enter.
Hit “D” to Download to the Gateway.
Once all files that are required have been transferred to the gateway, get back to the main menu by
hitting ESC, from the main menu, hit “!” to reboot the gateway (or remove power from gateway). It will
take a couple of minutes to reboot. Once it has finished, from the main menu, hit “E” to see if there are
any errors after loading the new configuration files.
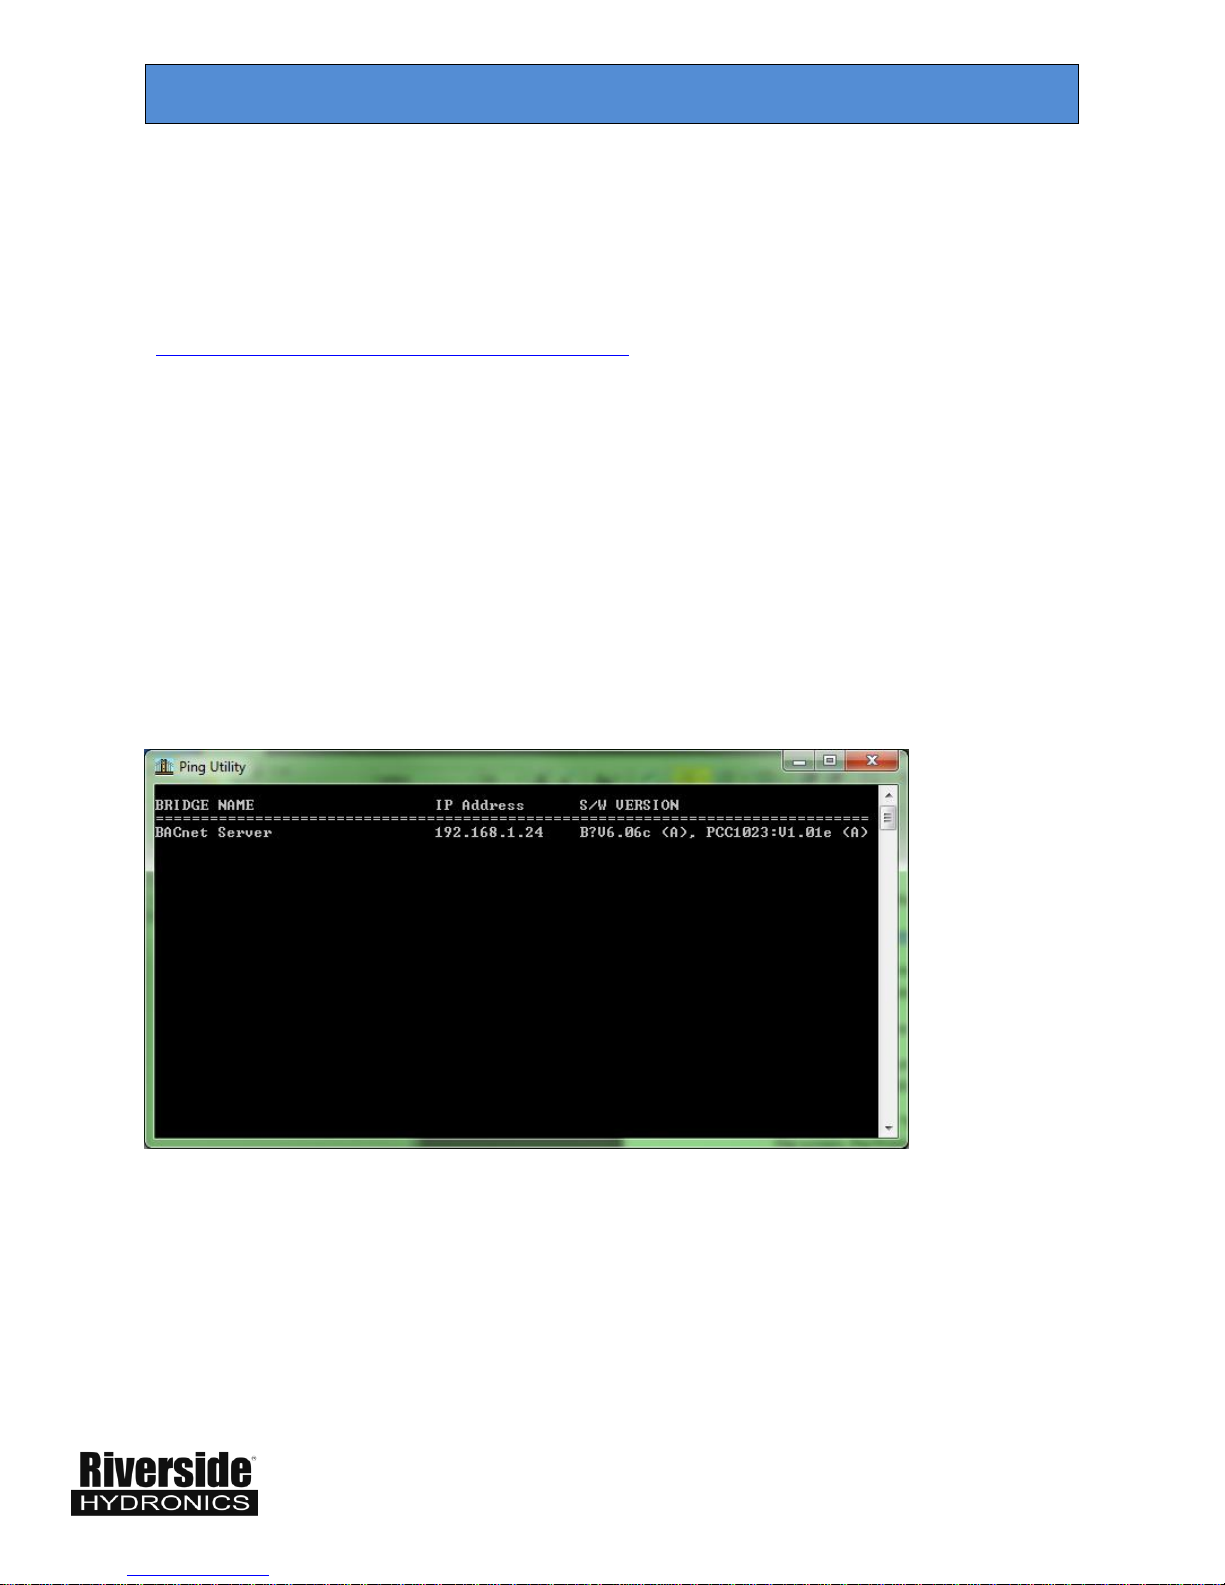
The default IP for the OnTrac is 192.168.1.100 and the Default for the gateway is 192.168.1.24. If the
building IP network require different IP addresses, it is necessary to change both the Protonode
PROF1.CSV client configuration for the OnTrac and the OnTrac IP. This topic is covered in detail in the
34-525C-1 BACnet document, and the 34-525C-2 LONworks Document. See the OnTrac manual
Document 34-152 for instructions on changing the OnTrac IP address.
CONNECTION TO PROTONODE USING UTILITIES