Pacific PL8430SSBG070 Manuel utilisateur
1
Pacific Living
Outdoor Gas Oven
Owner’s Manual
(for the followings models: PL8430SSBG070,
PL8BLKBG070 Ovens with Carts)
WARNING
Improper installation, adjustment,
alteration, service or maintenance can
cause injury or property damage. Read
this instruction manual thoroughly
before installing or servicing this
equipment.
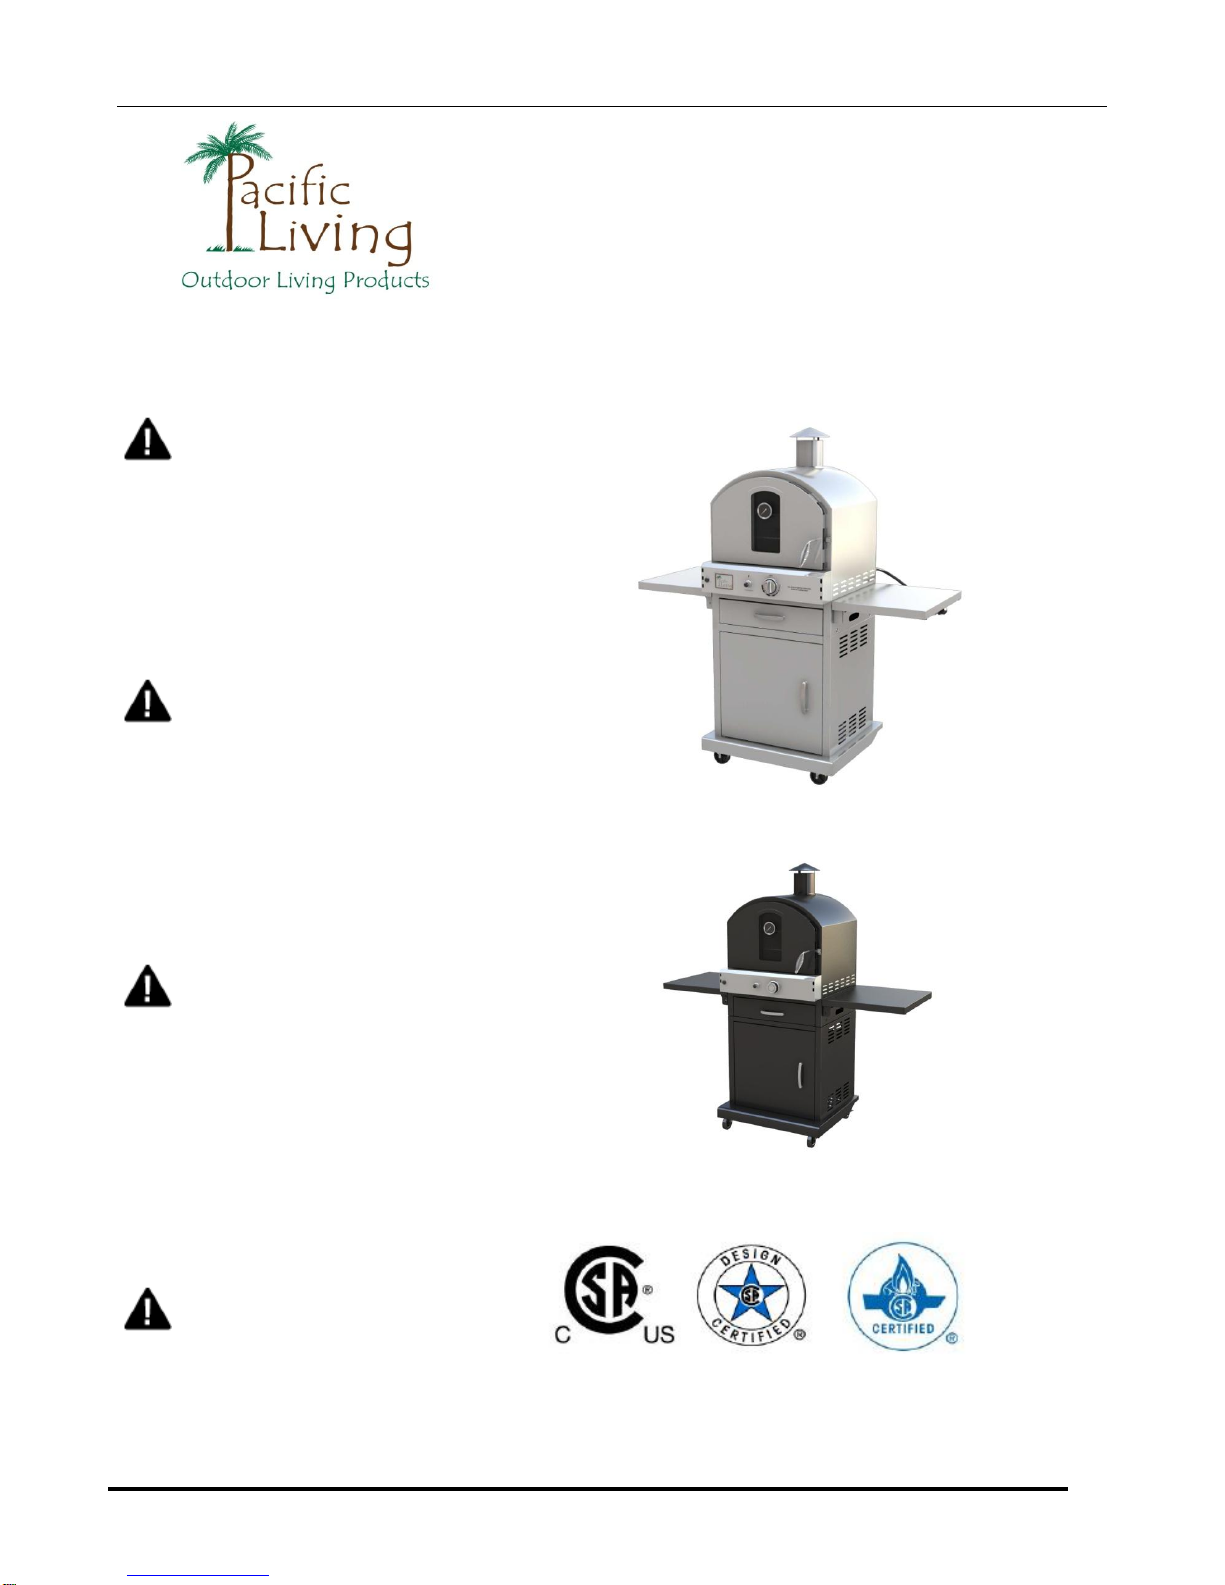
MODEL # PL8430SSBG070 with cart included
Model # PL*BLKBG070 with cart included
WARNING
1. Do not store or use gasoline or other
flammable vapors and liquids in the
vicinity of this or any other appliance.
2. An LP tank not connected for use
should not be stored in the vicinity of
this or any other appliance.
DANGER
If you smell gas:
1. Shut off gas to the appliance.
2. Extinguish any open flames.
3. Open the oven door.
4. If the odor continues, keep away from
the appliance and immediately call your
gas supplier or fire department.
WARNING
For Outdoor Use Only

2
ATTACH YOUR RECEIPT HERE
Serial Number____________________ Purchase Date____________________
Questions, problems, missing parts? Before returning to your retailer, call
our customer service department at 1-866-410-0408, Monday - Friday, 8
a.m. - 5 p.m., PST.
Oven Operation 1-2-3
Before Cooking:
Step 1 Keep your oven a safe distance away from your property.*
Step 2 Always perform a leak test.*
Step 3 Keep children away from the oven.
During Cooking:
(To avoid tripping safety valves, please follow these instructions carefully!)
Step 1 Turn gas tank on slowly.
Step 2 Use protective gloves when oven gets hot.
After Cooking:
Step 1 Burn oven for 10-15 minutes to burn off food residue.
Step 2 Wait until the oven is completely cooled before closing oven door.
Step 3 Clean up grease build-up and cover your oven.
* Please refer to the owner's manual for details.
WARNING
1. Do not store or use gasoline or
other flammable liquids or vapors in
the vicinity of this or any other
appliance.
2. An LP cylinder not connected for
use should not be stored in the
vicinity of this or any other appliance.
DANGER
If you smell gas:
1. Shut off gas to the appliance.
2. Extinguish any open flame.
3. Open oven door.
4. If odor continues, keep away from
the appliance and immediately call
your gas supplier or your fire
department.
Always read and understand the WARNINGS and INSTRUCTIONS that are contained in this
manual before attempting to use this gas outdoor oven to prevent possible bodily injury or property
damage. Always keep this manual for convenient future reference.

TABLE OF CONTENTS
3
Safety Information…………………………………….………...….………….………….…………. 4
Package Contents…..………………..…..….……...…...................………………………………. 6
Hardware Contents……………………………………………………………….………………….. 7
Assembly Instructions………………..……………….……………………………………………..8
LP Gas Assembly……………………………………………………............................................. 15
Natural Gas Conversion ……………………………………………………………………………. 21
Operating Instructions..………………………….……...…………………………….................... 29
Care and Maintenance……………………………….……………………………………………… 31
Troubleshooting …………………………………………………………………..….……………... 40
Warranty……………………………………………………………………………………………….. 42
Explored Diagram……………….……………………………………………………………….….. 43
Replacement Parts List…….………………………………………………………………………..44

Safety Information
4
Please read and understand this entire manual before attempting to assemble, operate or
install the product. If you have any questions regarding the product, please call customer
service at 1-866-410-0408 Monday to Friday from 8 a.m. to 5 p.m. PST.
1. The installation of this appliance must conform with local codes or, in the absence of local codes,
with either the National Fuel Gas Code, ANS Z21.89a-CSA 1.6a-2012, or Natural Gas and Propane
Installation Code, CSA/CGA-B149.1.
2. This oven is intended for use outdoors and should not be used in a building, garage or any other
enclosed area.
3. This outdoor oven is not intended for installation in or on recreation vehicles and/or boats.
4. A minimum clearance of 61 cm (24 inches) from combustible constructions to the sides of the
oven and 61 cm (24 inches) from the back of the oven to combustible constructions must be
maintained. This outdoor cooking gas appliance must not be placed under overhead combustible
construction.
5. The use of an electrical source requires that when installed, the oven must be electrically
grounded in accordance with local codes or, in the absence of local codes, with ANSI/NFPA 89, or
the Canadian Electrical Code, CSA C22.1. Keep electrical supply cords and the fuel supply hose
away from heated surfaces.
6. Inspect the hoses before each use for excessive abrasion or wear, or cuts that may affect safe
operation of the oven. If there is evidence of excessive abrasion or wear, or the hose is cut, it must
be replaced prior to the oven being put into operation. The replacement hose assembly must be
those specified by the manufacturer.
7. Keep your oven in an area clear and free from combustible materials, gasoline and other
flammable vapors and liquids.
8. DO NOT obstruct the flow of combustion and ventilation air to this appliance.
9. Keep the ventilation openings of the tank enclosure free and clear from debris.
10. Check all gas connections for leaks with a soapy water solution and brush. Never use an open
flame to check for leaks.
11. Never use charcoal in the oven.
12. Never use the oven in windy areas.
13. Only a 9 kg (20 lb.) LP-gas cylinder is allowed. The
cylinder must be constructed and marked in
accordance with the Specifications for LP Gas
Cylinders of the U.S. Department of Transportation
(D.O.T.) or the National Standard of Canada,
CAN/CSA-B339, Cylinders, Spheres and Tubes for
Transportation of Dangerous Goods. A 9 kg (20 lb.)
LP-Gas cylinder’s dimensions are:
14. Never use the oven without the drip tray installed
and hung under the burner box. Without the drip tray,
hot grease and debris could leak downward and produce a fire hazard.

Safety Information
5
15. Use only the gas pressure regulator supplied with this appliance.
This regulator is set for an outlet pressure of 11.0 WC.
16. The cylinder used must include a collar to protect the cylinder valve
17. Do not store a spare LP-gas cylinder under or near the appliance
18. Never fill the cylinder beyond 80 percent full
19. If the information in “17” and “18” is not followed exactly, a fire causing death or serious injury
may occur.
20. The outdoor cooking gas appliance must be isolated from the gas supply piping system by
closing its individual manual shutoff valve during any pressure testing of the gas supply system at
test pressures equal to or less than 1/2 psi (3.5 kPa).
21. CALIFORNIA PROPOSITION 65 WARNING: The burning of gas cooking fuel generates some
byproducts that are on the list of substances known by the State of California to cause cancer,
reproductive harm, or other birth defects. To reduce exposure to these substances, always operate
this unit according to the use and care manual, ensuring you provide good ventilation when cooking
with gas.
———————————————————————————————————————————
IMPORTANT: We urge you to read this manual carefully and follow the recommendations
enclosed. This will ensure you receive the most enjoyable and trouble-free operation of your
new gas oven. We also advise you retain this manual for future reference.
———————————————————————————————————————————
WARNING: Your oven has been designed to operate using only the gas specified by
the manufacturer on the rating plate. Do not attempt to operate your oven on other gases.
Failure to follow this warning could lead to a fire hazard and bodily harm and will void your
warranty.
———————————————————————————————————————————
WARNING: Make certain your LP (propane) tank is filled by a reputable propane
dealer. An incorrectly filled or an overfilled LP tank can be dangerous. The overfilled
condition combined with the warming of the LP tank (a hot summer day, tank left in
the sun, etc.) can cause LP gas to be released by the pressure relief valve on the
tank since the temperature increase causes the propane to expand. LP gas released
from the tank is flammable and can be explosive. Refer to your Owner’s Manual for
more information concerning filling your LP tank.

PACKAGE CONTENTS
6
PART
DESCRIPTION
QUANTITY
PART
DESCRIPTION
QUANTITY
A
Main Body
1
E
Fat Cup
1
B
Cooking Grill
2
F
Smoker Box
1
C
Pizza Stone
1
G
Flame Tamer
1
D
Bottom Grill
1

7
HARDWARE CONTENTS
The following list is included inside the outdoor oven carton:
Battery 1 pc
The following list is not included inside the outdoor oven carton, but needed when the user
is assembling the outdoor oven.
Phillips Head Screwdriver
1 pc
The following list is NOT included inside the outdoor oven carton but is included inside the
NG Conversion Kit. It is needed when the gas type is changed from LP to NG.
11X11 mm
Wrench 1 pc
Orifice Removal
Tool 1 pc
Phillips Head Screwdriver 1
pc
Conversion
Screw 1 pc
φ1.80 Orifice 1 pc
17X19 mm
Wrench 1 pc
Natural Gas Hose 1pc

8
ASSEMBLY INSTRUCTIONS
Before beginning assembly of product, make sure all parts are present. Compare parts with
package contents list and hardware contents list. If any part is missing or damaged, do not
attempt to assemble the product.
Assembly tip! (Please lightly tighten the screws during assembly of the cart. When
the cart is completed THEN TIGHTEN ALL THE screws. This will make it easier to
make all the holes align properly)
1. Use screw M6*40×2 pcs, nut
M6×2 pcs and flat washer
18*6.4*1×2 pcs to fix the weight
under the base panel. (Note:
These screws MUST be
tightened at this time as it will
be hard to reach them after cart
assembly)
2. Use screw M6*12×16 pcs to
attach swivel castor with lock×2
pcs and fixed castor×2 pcs onto
the bottom of the base panel.
(Note: The locking wheels
should go in the BACK of the
cart near the weight)

9
3. Use screw M6*12×2 pcs to fix
the left side panel onto the base
panel of the stand. (Note: The
panel should have the “small
holes at the top” to the front of
the cart assembly)
4. Use screw M3*12×2 pcs and
nut M3×2 pcs to attach the door
magnet onto the right side panel.
(Note: Please attach the magnet
BEFORE you put the right side
panel on. Check to verify that
the magnet points to the FRONT
of the cart. This holds the door
closed)
5. Use screw M6*12×2 pcs to fix
the right side panel onto the base
panel of the stand. (Note: The
panel should have the “small
holes at the top” to the front of
the cart assembly. The Right
side panel also has the door
magnet)

10
6. Use screw M4*10×4 pcs and
nut M4×4 pcs to attach the
transformer assembly onto the
outside of the back panel of the
stand. (Note: These screws can
be tightened at this time)
7. Use screw M6*12×5 pcs to
attach the stand base panel onto
the base panel, between the two
side panels.
Ce manuel convient aux modèles suivants
1
Table des matières


