O.S. engine EC-11 Manuel utilisateur

O.S. ENGINES MFG. CO., LTD.
Engine Control Unit for UAV Engines
EC-11
With EC11-LINK
INSTRUCTION MANUAL
version 2.4E
【
For GF40U-FI
】
2020.02.01

6-15 3-Chome Imagawa Higashisumiyoshi-ku
Osaka 546-0003, Japan
TEL.+81-6-6702-0225
FAX.+81-6-6704-2722
http://www.os-engines.co.jp
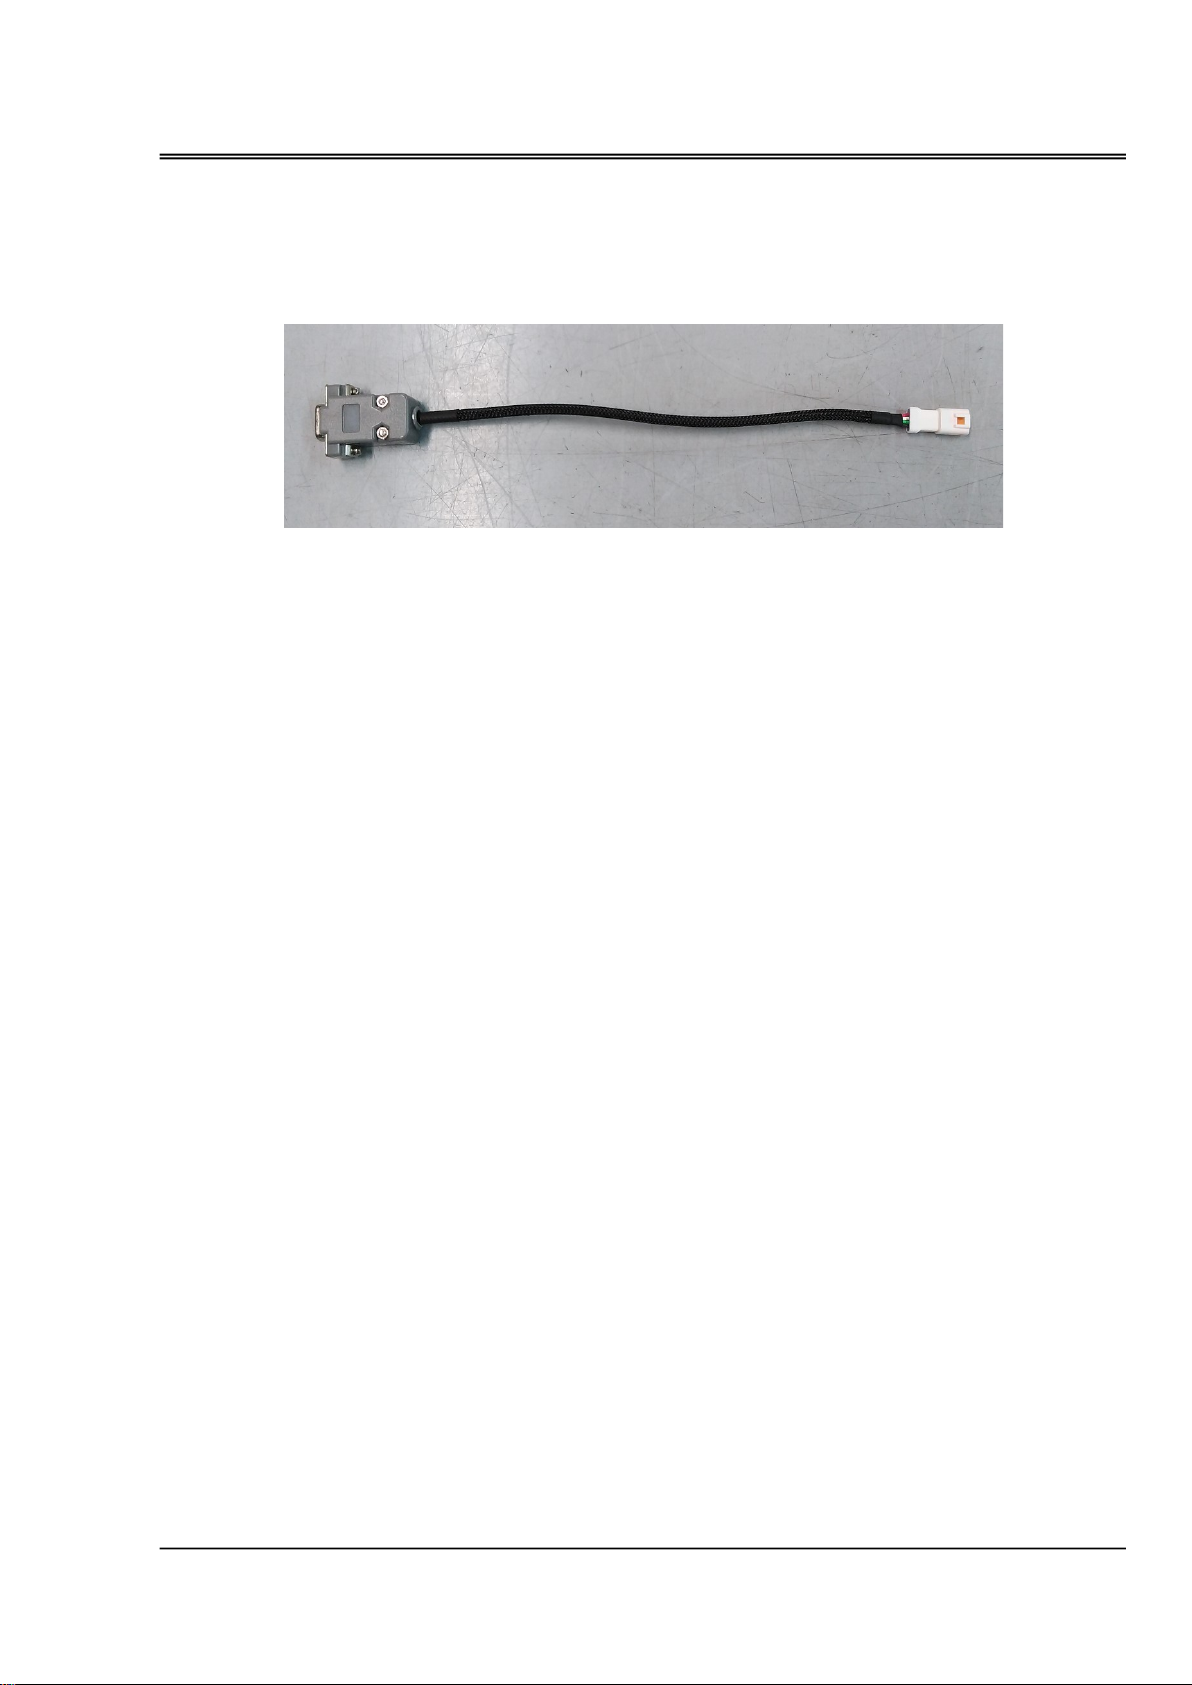
1
ABOUT THE PRODUCT
・The EC-11 is an engine control unit (ECU), which contains a 32-bit CPU. It collects the data of throttle
opening, rpm, induction manifold pressure, atomospheric pressure, induced air temperature, cylinder
head temperature and run the engine in the most suitable condition.
・The EC-11 is an engine control unit (ECU), which contains a 32-bit CPU. It collects the data of throttle
opening, rpm, induction manifold pressure, atomospheric pressure, induced air temperature, cylinder
head temperature and run the engine in the most suitable condition.
・The EC11-LINK software, which enables to change the parameters and to monitor the data in real time
in Windows® platform, is included as a standard accessory.
CAUTION:
・After overhauling the engine, after disconnecting the throttle linkage, reset the throttle position
using the EC11-LINK.
*The specifications are subject to alteration for improvement without notice.
*Consult us for any questions on this product and return for repair.

1. Engine control unit (ECU)
2. Status display LED
3. ECU connector [CN1]
4. ECU connector [CN2]
[Blinking
:
Ready
/
On
:
Working
/
Off
:
Stopped]
Power LED
Operation status LED
Crankshaft rotation sensor signal input
Injector drive signal output
Igniter started signal output
at the same time, a buzzer sounds
NAMES OF THE PARTS
(note 1.)
at the same time, a buzzer sounds
LED 1
LED 2
LED 3
Operation status LED
Power LED [On
:
Power ON
/
Off
:
Power OFF]
On
Off
On
2
fuel pressure abnormal
(pressure low)
On Blink Off Off Off
On
Off
LED3
engine stop
On
Off
Off
LED2
System error 1
Blink
Off
Blink
Blink
・
the followings are display LED message's meaning.
LED 1
LED2
LED3
engine start mode
Off
Off
Blink
Blink
Blink
On
engine operation
On
Off
Note 1. since the LED1, LED2 and LED3 are the monitor lamp of each signal, so they flashes at high speed
during engine operation.
LED1
Blink
Blink
Blink
Off
The set parameters are damaged.
Off
Blink
Off
System error 2
On
On
Blink
2
1
4
3

[A] Wiring harness A (Sensor and Communication section) {CN1}
A-1
・
Throttle signal input (PWM VIH=2.6V
,
VIL=0.4V
,
MAX5.5V)
・
Fuel trim signal input (PWM VIH=2.6V
,
VIL=0.4V
,
MAX5.5V)
A-2
・
Serial communication (UART
,
TTL logic level is 3.3V)
A-3
・
Fuel pressure sensor
A-4
・
Intake air temperature sensor
・
Cylinder head temperature sensor
・
Manifold air pressure sensor
・
Crankshaft rotation sensor
A-5
・
CAN communication
[B] wiring harness B (Drive section) {CN2}
B-1
・
Power supply (DC10V
~
17V, MAX 1.5A)
B-2
・
Fuel pump
B-3
・
Ignition signal
・
Throttle servo
・
Injector
[C] pump connection cord (extendable)
C-1
・
fuel pressure sensor
・
fuel pump unit
3
Configuration
[B]
A-1
B-1
A-2
A-3
[A]
[C]
TO FUEL PUMP UNIT
&
FUEL SENSOR UNIT
Connect to engine
B-2
B-3 Connect to engine
A-4
A-5
C-1
ECU

PWM signal
[W
:
Signal
/
B
:
GND] VIH=2.6V
,
VIL=0.4V
,
MAX5.5V
PWM signal
1520μs (neutral) ±420μs
PWM +
→
increase fuel supply The range of increase and decrease is ±30%.
[W
:
Signal
/
B
:
GND] VIH=2.6V
,
VIL=0.4V
,
MAX5.5V
・
the connector for serial communication
UART(TTL logic level is 3.3V.)
[R
:
DC+5V
/
W
:
TX
/
G
:
RX
/
B
:
GND]
Pressure sensor
[R
:
DC+5V
/
W
:
Signal
/
B
:
GND]
PT100 Platinum resistance thermometer
[G
:
No polarity
/
G-W
:
No polarity]
PT100 Platinum resistance thermometer
[Y
:
No polarity
/
Y-W
:
No polarity]
Negative pressure sensor
[R-W
:
DC+5V
/
B
:
Signal
/
B-W
:
GND]
Serial communication
Configuration
[A]
A-1
・ To be connected to a receiver or throttle signal cable from flight controller.
Specification
A-3
・To be connected to Fuel pressure sonsor via Pump connection cord.
A-4
Specification
Specification
A-1
Fuel trim signal input
・
ECU controls quantity of fuel injection normally, so correction signal from the
outside is not necessary. Leave it unconnected or connect 1520μs (neutral) PWM
signal.When pulling out during operation, it holds the state just before.
Throttle signal input
Specification
Set the travel width so that the PWM signal width is 1100 μs or less on the throttle
closed side and the PWM signal width is 1900 μs or more on the throttle opening
side.
・
In case manual adjustment of fuel injection is necessary, connect to a receiver or
fuel injection signal cable from flight controller.
A-2
Specification
・To be used to monitor parameters or to connect to a computer for initial setting.
A-4
・To be connected to Manifold pressure sensor.
Specification
Manifold air pressure sensor
Specification
Cylinder head temperature sensor
4
Fuel pressure sensor
・To be connected to the temperature sensor of the intake port of the throttle valve.
Intake air temperature sensor
A-4
・ To be connected to the temperature sensor of the cylinder head.
JST
04R
-
JWPF
-
VSLE
-
S

Hall-effect switch.
[BR
:
Signal
/
R
:
DC+5V
/
BR-W
:
GND]
・
the connector for CAN communication
CAN
[R
:
DC+5V
/
W
:
Signal(High)
/
G
:
Signal(Low)
/
B
:
GND]
DC10V
~
17V (MAX 1.5A)
[R
:
Power supply
/
B
:
GND]
[R
:
DC+12V
/
B
:
GND]
[GY
:
Signal
/
R
:
DC+5V
/
B
:
GND]
[W
:
DC+12V
/
G
:
GND (open-drain)]
Configuration
A-4
・To be connected to Crankshaft rotation sensor.
Power supply
B-2
・To be connected to Fuel pump via Pump connection cord.
Specification
[B]
Specification
Injector
A-5
Specification
CAN communication
Crankshaft rotation sensor
Specification
Throttle servo
Specification
B-3
・To be connected to Throttle servo.
[A]
B-1
・Supply power.
B-3
・To be connected to Injector harness.
5
Fuel pump
Specification
SMP-04C-BC
JST

[BR
:
Signal
/
Y
:
GND]
Extension cord
[R
:
DC+12V
/
B
:
GND]
Extension cord
[R-W
:
DC+5V
/
G
:
Signal
/
B-W
:
GND]
Extension cord (Fuel pump)
[R
:
DC+12V
/
B
:
GND]
Pressure sensor (Fuel pressure sensor)
[R-W
:
DC+5V
/
G
:
Signal
/
B-W
:
GND]
Red
White
Black
Green
Yellow
Gray
Brown
White Stripe
Configuration
・To be connected to Fuel pump.
(A-3)
Specification
Specification
[C]
・To be connected to (A-3).
Fuel pump
(B-2)
Fuel pump
Fuel pressure sensor
C-1
C-1
[B]
B-3
・To be connected to the rotation signal input cable of Igniter.
・To be connected to Fuel pressure sensor.
Specification
Specification
Ignition signal
Specification
・To be connected to (B-2).
-W
GY
G
Y
Wiring color
R
W
B
6
BR
Fuel pressure sensor

【
SERIAL SIGNAL CONVERTER
】
Configuration
・It converts UART serial signal from ECU to RS232C serial signal. Use the cable when you connect the ECU
to a computer.
7

【
EQUIPMENT YOU NEED
】
【
INSTALLATION OF THE SOFTWARE
】
【
CONNECTING
】
・
Connect the serial signal converter to the Serial Communication Connector (A-2) of the ECU.
・
Connect the ECU to the engine.
8
・Connect the D-sub connector of the serial signal converter to the RS232C serial port of the PC or to the
serial port of the RS232-to-USB converter.
・An Windows®(7/8.1/10) personal computer with a RS232C serial port, or a converter from RS232C
toUSB and a USB port. Install the device driver in advance in case of using a converter from RS232C
toUSB.
PREPARATION (EC11-LINK)
・EC11-LINK can be activated without connecting any sensors to the ECU. For example, in teaching of
throttle positions, you can activate the throttle servo as long as it is connected to the ECU.
・Using EC11-LINK, you can monitor the parameter data in real time and change the parameters.
After overhauling the engine, after disconnecting the throttle linkage, reset the throttle position
using the EC11-LINK.
・Copy the EC11-LINK_xxxx.exe(xxxx:Version number) file to any file in the PC, then execute the file.
・When you intend to delete the software, just delete the EC11-LINK_xxxx.exe file.
serial signal converter
to PC
A-2

《
connecting to EC11-LINK
》
・
Check the connectors of both the ECU and the engine.
【
2
】
connecting the ECU to the PC
・
Check the connection of the ECU and the PC.
【
3
】
turning of the ECU
・
Turn on the ECU.
【
4
】
starting up the software
【
1
】
connecting the ECU to the engine
・
Execute the file EC11-LINK_xxxx.exe, which you copied to the PC. The following window will open.
9
OPERATION (EC11-LINK)
CAUTION:
・Do not turn on the ECU when the fuel tank is empty.Operating the pump without fuel may
damage the pump.
・In case you need to turn on the ECU without fuel supply, for example, to rewright the settings by
EC11-LINK, disconnect the connector of the pump not to let the pump activate.Thirty seconds after
disconnecting the connector, the buzzer rings alarming abnormality of fuel pressure, but you can
stop it by clicking "BUZZ OFF" button in EC11-LINK display.
Ce manuel convient aux modèles suivants
1
Table des matières
Manuels Unité de contrôle populaires d'autres marques

Festo
Festo Compact Performance CP-FB6-E Manuel de la liste des pièces

Elo TouchSystems
Elo TouchSystems DMS-SA19P-EXTME Manuel utilisateur

JS Automation
JS Automation MPC3034A Manuel utilisateur

JAUDT
JAUDT SW GII 6406 Series Guide rapide

Spektrum
Spektrum Air Module System Manuel utilisateur

BOC Edwards
BOC Edwards Q Series Manuel utilisateur


