EZCast Pro QuattroPod Lite Manuel
1
QuattroPod Lite
Advanced Web Setting Manual

2
Contents
Introduction ............................................................................................................................. 3
Configure your QuattroPod Lite via Web Browser ............................................................ 3
Set up QuattroPod Lite .......................................................................................................... 4
Connect to QuattroPod Lite .................................................................................................. 6
Connect via Direct Connection ............................................................................................. 6
Connect via Router ................................................................................................................ 7
Web Setting Home Page ...................................................................................................... 8
Start Configuring your QuattroPod Lite ............................................................................... 8
1. Network Management .............................................................................................. 8
1.1. Connect to 5GHz Wi-Fi: ................................................................................... 8
1.2. Remember Wi-Fi ............................................................................................. 10
2. Device Management. ............................................................................................ 10
2.1. Language ............................................................................................................. 10
2.2. Resolution: ........................................................................................................... 10
2.3. Resolution Mode ................................................................................................. 11
2.4. Display Mode ....................................................................................................... 11
2.5. Reboot Timer ....................................................................................................... 12
2.6. One Touch Play .................................................................................................. 12
3. Admin Setting Admin .............................................................................................. 13
3.1. Wi-Fi Channel ...................................................................................................... 13
3.2. SSID ...................................................................................................................... 14
3.3. Password ............................................................................................................. 15
3.4. Sketch ................................................................................................................... 15
3.5. Central Management System ........................................................................... 15
3.6. My Screen ............................................................................................................ 16
3.7. Dynamic Wallpaper ............................................................................................ 16

3
3.8. AirView ................................................................................................................. 17
3.9. Admin Password. ................................................................................................ 18
3.10. Screen Saver ....................................................................................................... 18
3.11. Upgrade ................................................................................................................ 18
3.12. Reboot .................................................................................................................. 20
3.13. Reset to Factory Default .................................................................................... 20
4 About Device ............................................................................................................ 21
Introduction
Thank you for choosing QuattroPod Lite, the most practical and
effective casting equipment powered by EZCast Pro.
QuattroPod Lite can cast a devices’ content into an external
screen. Also, QuattroPod Lite supports Windows, macOS,
ChromeOS, Android, and iOS, which could truly realize the idea of
BYOD.
Configure your QuattroPod Lite via Web
Browser
With QuattroPod Lite, users may configure their device via a web
browser interface which greatly enhances user experience.
Based on different needs and usage scenarios, in QuattroPod Lite
Web Setting sections, customers may do custom setting including
output resolution, preferred language, max connections, etc.

4
Set up QuattroPod Lite
Please follow the steps below to set up the QuattroPod Lite
and finish the pairing process for QuattroPod Lite Receiver
and QuattroPod Lite Transmitters.
i. Connect QuattroPod Lite Receiver to an external power
supply.
ii. Connect QuattroPod Lite Receiver to an external display
via HDMI port.
iii. Once the Receiver is successfully connected, the external
display will show the landing page below.

5
iv. Connect the transmitters to receiver’s USB port. Once the
transmitters and receiver are paired, the landing page will
show the pairing status as the image below.
v. Connect the laptop, either Windows or MacBook, to the
transmitter.
6
Connect to QuattroPod Lite
Please follow the instructions below to connect your phone, tablet,
or laptop to QuattroPod Lite. We provide user with the following
methods for connection: direct connection, through Wi-Fi.
Connect via Direct Connection
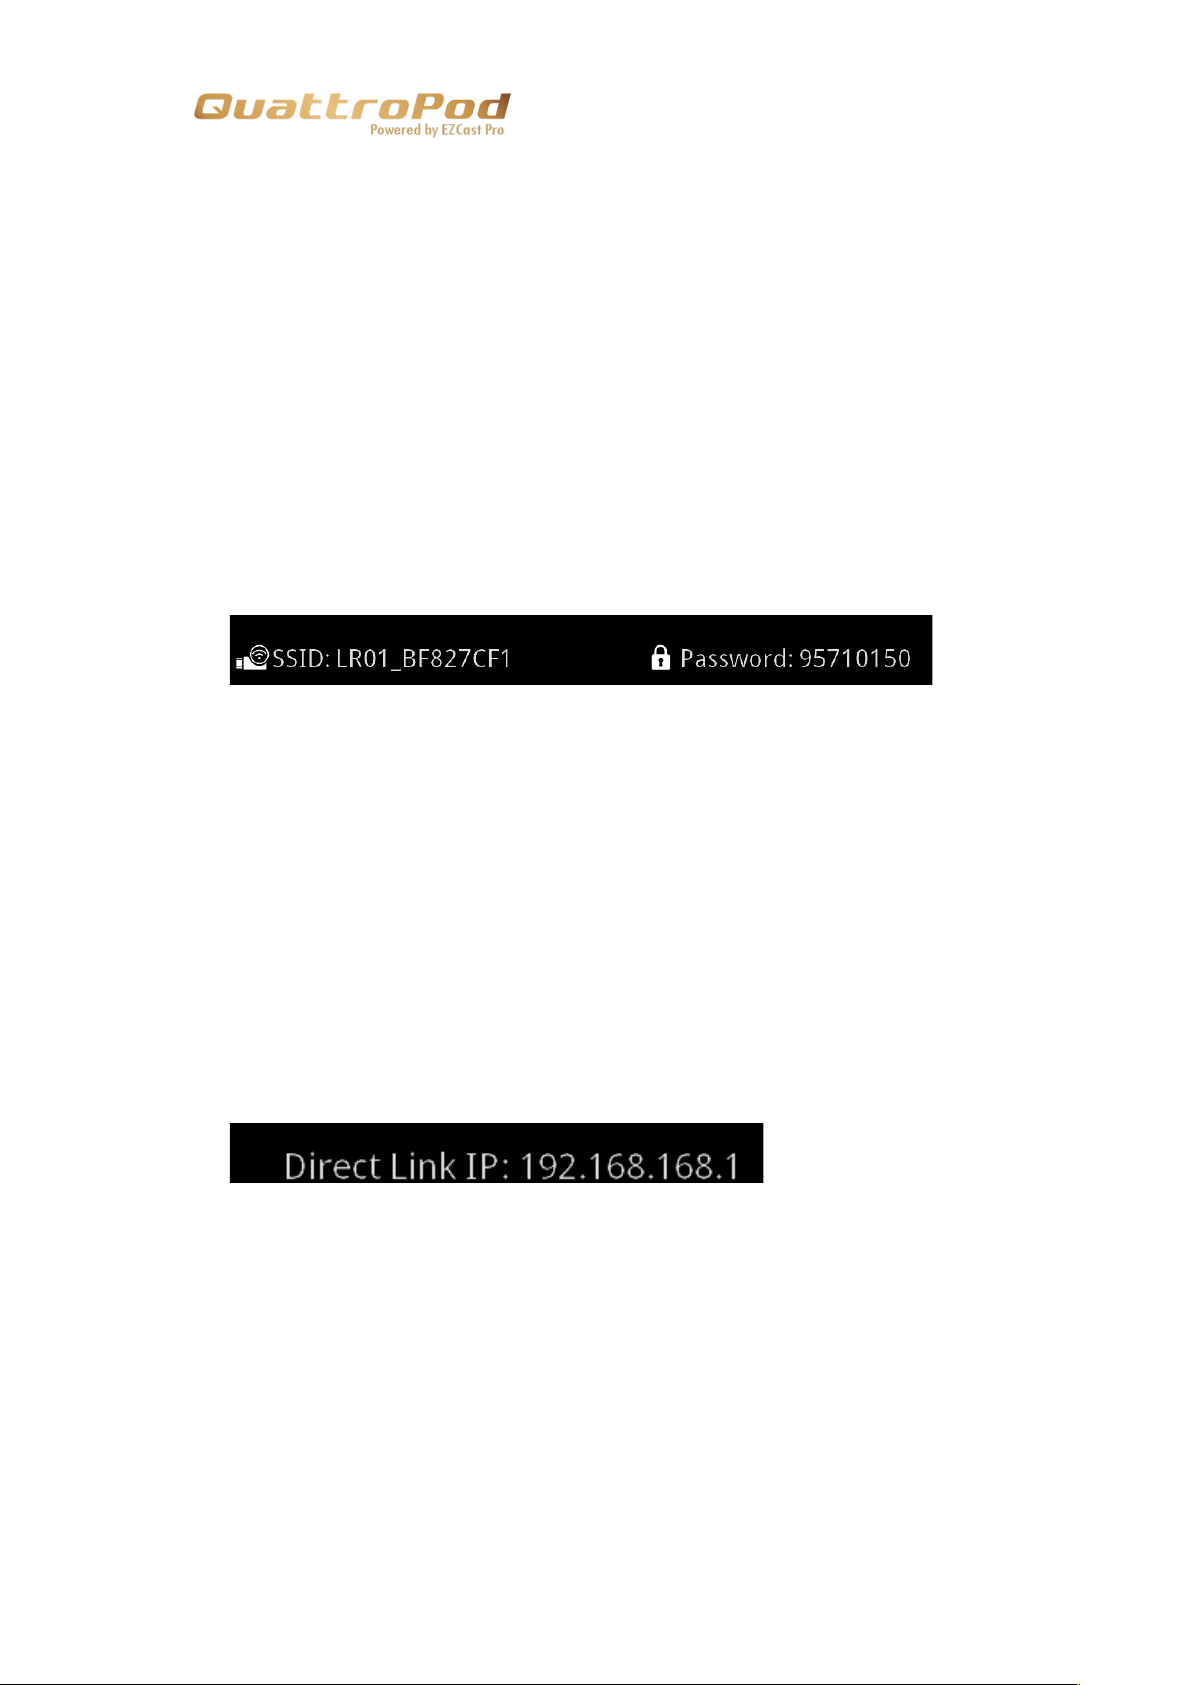
i. Please see the upper middle of the landing page for the
SSID and Password.
ii. Find the SSID on the connecting device’s Wi-Fi list.
iii. Enter the Password to connect to QuattroPod Lite receiver.
iv. Once the direct connection is established, enter the IP
address on the bottom left corner of the landing page to
your browser’s URL bar. The default IP address of
QuattroPod Lite receiver is 192.168.168.1.
v. Once the page is loaded, the browser will enter the Web
Setting Home Page shown as below.

7
Connect via Router
i. Please make sure the QuattroPod Lite receiver has
connected to the 5GHz Wi-Fi router. For more detail,
please see Chapter xxxxx.
Once the receiver is connected to the 5GHz router, enter
the IP address on the bottom left corner of the landing
page to your browser’s URL bar.
ii. Once the page is loaded, the browser will enter the Web
Setting Home Page shown as below.

8
Web Setting Home Page
Due to compliance reasons, the first time connecting to
QuattroPod Lite receiver, user will need to configure the 1. Country
2. Admin password.
QuattroPod Lite provides two level of access: Admin and Non-
Admin. Please log in as administrator for higher level of access
authorization.
Start Configuring your QuattroPod Lite
1. Network Management
Connect QuattroPod Lite to the internet via external
Wi-Fi router. Please make sure the Wi-Fi router you
wish to connect is 5GHz and encrypted.
1.1. Connect to 5GHz Wi-Fi:
Once the device is connected to QuattroPod
Lite, enter the Wi-Fi password to connect to the
external Wi-Fi.

9

10
1.2. Remember
Wi-
Fi
Allow QuattroPod Lite to remember the
previous Wi-Fi setting.
1.2.1. Remember Wi-Fi “On”: QuattroPod Lite
will remember the previous Wi-Fi
configuration.
1.2.2. Remember Wi-Fi “OFF”: QuattroPod
Lite will erase the Wi-Fi configuration
once disconnected.
2. Device Management
Please see Device Manage for the options to configure
Language, Resolution, Max Connections, etc.
2.1. Language: Please select the applicable language.
2.2. Resolution: Please select the applicable resolution for
your usage. QuattroPod Lite supports up to 4K with
frame rate 24P while the defaults output resolution is
Table des matières
Autres manuels EZCast Pro Matériel informatique

Manuels Matériel informatique populaires d'autres marques

EMC2
EMC2 VNX Series Manuel du propriétaire

Panasonic
Panasonic DV0PM20105 Manuel utilisateur

Mitsubishi Electric
Mitsubishi Electric Q81BD-J61BT11 Manuel utilisateur

Gigabyte
Gigabyte B660M DS3H AX DDR4 Manuel utilisateur

Raidon
Raidon iT2300 Manuel utilisateur

National Instruments
National Instruments PXI-8186 Manuel utilisateur


