Conair EARTHSMART ECM Series Manuel utilisateur
EarthSmartTM
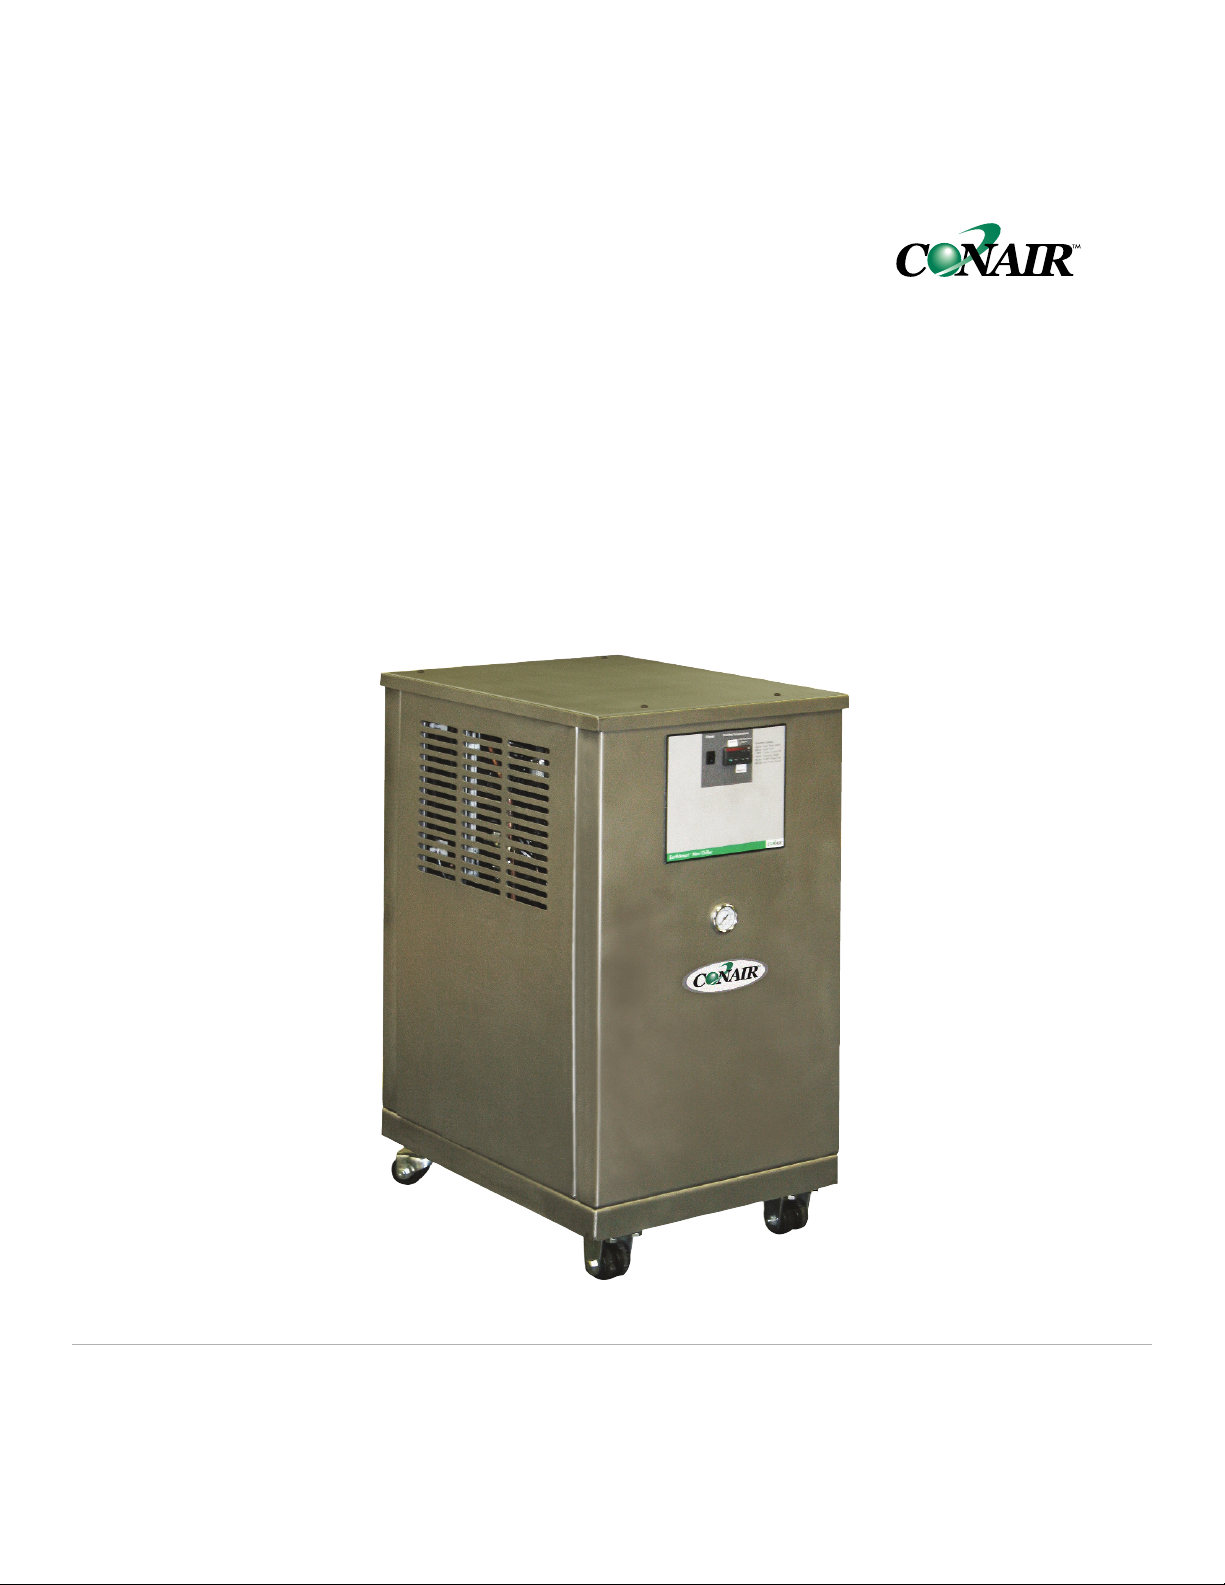
ECM Series, 0.50 to 0.75 ton models
Corporate Office: 724-584-5500 lInstant Access 24/7 (Parts and Service): 800.458.1960 l Parts and Service: 814.437.6861
USER GUIDE
UGH031-0209
www.conairgroup.com

Please record your equipment’s
model and serial number(s) and
the date you received it in the
spaces provided.
It’s a good idea to record the model and serial number(s) of your equipment and
the date you received it in the User Guide. Our service department uses this infor-
mation, along with the manual number, to provide help for the specific equipment
you installed.
Please keep this User Guide and all manuals, engineering prints and parts lists
together for documentation of your equipment.
Date:
Manual Number: UGH031-0209
Serial Number(s):
Model Number(s):
DISCLAIMER: The Conair Group, Inc., shall not be liable for errors contained in this User Guide or
for incidental, consequential damages in connection with the furnishing, performance or use of
this information. Conair makes no warranty of any kind with regard to this information, including,
but not limited to the implied warranties of merchantability and fitness for a particular purpose.
Copyright 2009 l The Conair Group l All rights reserved

Table of Contents
1-1 Introduction
Purpose of the user guide . . . . . . . . . . . . . . . . . . . . . . . . . . . . . . . . 1-2
How the guide is organized . . . . . . . . . . . . . . . . . . . . . . . . . . . . . . 1-2
Your responsibilities as a user. . . . . . . . . . . . . . . . . . . . . . . . . . . . . 1-3
ATTENTION: Read this so no one gets hurt . . . . . . . . . . . . . . . . . . . 1-4
2-1 Description
What is the EarthSmart ECM Series Chiller?. . . . . . . . . . . . . . . . . . .2-2
Typical applications . . . . . . . . . . . . . . . . . . . . . . . . . . . . . . . . . . . . .2-2
Limitations . . . . . . . . . . . . . . . . . . . . . . . . . . . . . . . . . . . . . . . . . . . .2-3
How it works: Process circulation. . . . . . . . . . . . . . . . . . . . . . . . . . .2-4
Refrigeration circulation . . . . . . . . . . . . . . . . . . . . . . 2-5
Component listing . . . . . . . . . . . . . . . . . . . . . . . . . . 2-6
Specifications: EarthSmart ECM Series Chiller. . . . . . . . . . . . . . . . . 2-8
Pump curve: EarthSmart ECM Series Chiller . . . . . . . . . . . . . . . . . . 2-9
3-1 Installation
Unpacking the boxes . . . . . . . . . . . . . . . . . . . . . . . . . . . . . . . . . . . 3-2
Warning and cautions . . . . . . . . . . . . . . . . . . . . . . . . . . . . . . . . . . . 3-3
Preparing for installation . . . . . . . . . . . . . . . . . . . . . . . . . . . . . . . . . 3-4
Making process plumbing connections . . . . . . . . . . . . . . . . . . . . . . 3-5
Filling the chiller . . . . . . . . . . . . . . . . . . . . . . . . . . . . . . . . . . . . . . . 3-6
Drain connection . . . . . . . . . . . . . . . . . . . . . . . . . . . . . . . . . . . . . . . 3-7
Checking the refrigerant charge . . . . . . . . . . . . . . . . . . . . . . . . . . . 3-8
Connecting the main power . . . . . . . . . . . . . . . . . . . . . . . . . . . . . . 3-9
4-1 Operation
EarthSmart ECM Series Chiller: Control descriptions . . . . . . . . . . . . 4-2
Starting the chiller. . . . . . . . . . . . . . . . . . . . . . . . . . . . . . . . . . . . . . 4-3
Table of Contents l i

Stopping the chiller . . . . . . . . . . . . . . . . . . . . . . . . . . . . . . . . . . . . . 4-4
Changing temperature units . . . . . . . . . . . . . . . . . . . . . . . . . . . . . . 4-5
Chiller operation sequence . . . . . . . . . . . . . . . . . . . . . . . . . . . . . . . 4-6
Resetting the high pressure switch of the compressor . . . . . . . . . . 4-8
5-1 Maintenance
Preventative maintenance schedule . . . . . . . . . . . . . . . . . . . . . . . . 5-2
Checking electrical connections . . . . . . . . . . . . . . . . . . . . . . . . . . . 5-4
Cleaning the brazed plate adapter . . . . . . . . . . . . . . . . . . . . . . . . . 5-5
Cleaning the air-cooled condenser . . . . . . . . . . . . . . . . . . . . . . . . . 5-7
Checking the reservoir level . . . . . . . . . . . . . . . . . . . . . . . . . . . . . . 5-9
Cleaning the pump strainer . . . . . . . . . . . . . . . . . . . . . . . . . . . . . . 5-10
Checking the refrigerant charge and quality . . . . . . . . . . . . . . . . . 5-12
6-1 Troubleshooting
Before beginning. . . . . . . . . . . . . . . . . . . . . . . . . . . . . . . . . . . . . . . 6-2
A few words of caution . . . . . . . . . . . . . . . . . . . . . . . . . . . . . . . . . 6-3
DIAGNOSTICS
How to identify the cause of a problem . . . . . . . . . . . . . . . . . . . . . 6-3
Alarms . . . . . . . . . . . . . . . . . . . . . . . . . . . . . . . . . . . . . . . . . . . . . 6-4
Troubleshooting. . . . . . . . . . . . . . . . . . . . . . . . . . . . . . . . . . . . . . . . 6-5
Checking or replacing the temperature sensor . . . . . . . . . . . . . . . . 6-8
Checking or resetting the circuit breakers. . . . . . . . . . . . . . . . . . . . 6-9
AAppendix
We’re here to help . . . . . . . . . . . . . . . . . . . . . . . . . . . . . . . . . . . . . A-1
How to contact customer service . . . . . . . . . . . . . . . . . . . . . . . . . . A-1
Before you call... . . . . . . . . . . . . . . . . . . . . . . . . . . . . . . . . . . . . . . A-1
Equipment guarantee . . . . . . . . . . . . . . . . . . . . . . . . . . . . . . . . . . A-2
Performance warranty . . . . . . . . . . . . . . . . . . . . . . . . . . . . . . . . . . A-2
Warranty limitations . . . . . . . . . . . . . . . . . . . . . . . . . . . . . . . . . . . . A-2
ii l Table of Contents

BAppendix
Safety adjustments . . . . . . . . . . . . . . . . . . . . . . . . . . . . . . . . . . . . . B-1
CAppendix
Water quality control. . . . . . . . . . . . . . . . . . . . . . . . . . . . . . . . . . . . C-1
DAppendix
Chiller capacity and derate chart . . . . . . . . . . . . . . . . . . . . . . . . . . D-1
EAppendix
Pressure-temperature chart for R-134A refrigerant . . . . . . . . . . . . . E-1
FAppendix
RTD resistance chart. . . . . . . . . . . . . . . . . . . . . . . . . . . . . . . . . . . . F-1
GAppendix
Overhead plumbing details . . . . . . . . . . . . . . . . . . . . . . . . . . . . . . . G-1
HAppendix
Electrical schematic . . . . . . . . . . . . . . . . . . . . . . . . . . . . . . . . . . . . H-1
IAppendix
Control Setup . . . . . . . . . . . . . . . . . . . . . . . . . . . . . . . . . . . . . . . . . . I-1
JAppendix
Plumbing schematic . . . . . . . . . . . . . . . . . . . . . . . . . . . . . . . . . . . . J-1
Table of Contents l iii

iv l Table of Contents

Introduction
Purpose of the user guide. . . . . . . . . . . . . . 1-2
How the guide is organized . . . . . . . . . . . . . 1-2
Your responsibilities as a user. . . . . . . . . . . 1-3
ATTENTION: Read this so no one gets hurt . . . 1-4
SECTION
1
Introduction l 1-1
1
Introduction

✐
Purpose of the User Guide
This User Guide describes the EarthSmart ECM Series Chiller and
explains step-by-step how to install, operate, maintain and repair this
equipment.
Before installing this product, please take a few moments to read the User
Guide and review the diagrams and safety information in the instruction
packet. You also should review manuals covering associated equipment in
your system. This review won’t take long, and it could save you valuable
installation and operating time later.
How the Guide is Organized
Symbols have been used to help organize the User Guide and call your
attention to important information regarding safe installation and operation.
Symbols within triangles warn of conditions that could be hazardous to users or
could damage equipment. Read and take precautions before proceeding.
Numbers indicate tasks or steps to be performed by the user.
A diamond indicates the equipment’s response to an action performed by the user.
An open box marks items in a checklist.
A circle marks items in a list.
Indicates a tip. A tip is used to provide you with a suggestion that will help you with
the maintenance and the operation of this equipment.
Indicates a note. A note is used to provide additional information about the steps
you are following throughout the manual.
1
◆
❒
•
✒
1-2 l Introduction

Introduction l 1-3
Your Responsibility as a User
You must be familiar with all safety procedures concerning installation, opera-
tion and maintenance of this equipment. Responsible safety procedures include:
•Thorough review of this User Guide, paying particular attention
to hazard warnings, appendices and related diagrams.
•Thorough review of the equipment itself, with careful attention
to voltage sources, intended use and warning labels.
•Thorough review of instruction manuals for associated equipment.
•Step-by-step adherence to instructions outlined in this User Guide.
1
Introduction

ATTENTION:
Read this so no one gets hurt
We design equipment with the user’s safety in mind. You can avoid the potential
hazards identified on this machine by following the procedures outlined below and
elsewhere in the User Guide.
WARNING: Improper installation, operation or
servicing may result in equipment damage or
personal injury.
This equipment should be installed, adjusted and serviced by a quali-
fied technician who is familiar with the construction, operation and
potential hazards of this type of machine.
All wiring, disconnects and fuses should be installed by a qualified
electrical technician in accordance with electrical codes in your region.
Always maintain a safe ground. Do not operate the equipment at power
levels other than what is specified on the machine serial tag and data
plate.
WARNING: Voltage hazard
This equipment is powered by single-phase alternating current,
as specified on the machine serial tag and data plate.
A properly-sized conductive ground wire from the incoming power
supply must be provided. Improper grounding can result in severe
personal injury and erratic machine operation. (Units are supplied with
a grounded plug that must be plugged into a grounded out.)
Always disconnect and lock out the incoming main power source before
opening the electrical enclosure or performing non-standard operating
procedures, such as routine maintenance. Only a qualified technician
should perform troubleshooting procedures that require access to the
electrical enclosure while power is on.
1-4 l Introduction (continued)
Table des matières
Autres manuels Conair Refroidisseur

Conair
Conair PCW-1.5 Manuel utilisateur

Conair
Conair EP2 series Manuel utilisateur

Conair
Conair EP2 series Manuel utilisateur

Conair
Conair 0.25 to 1.5 ton Manuel utilisateur

Conair
Conair ESEW-020D Manuel utilisateur

Conair
Conair VL Series Manuel utilisateur

Conair
Conair W1-1.5 Manuel utilisateur

Conair
Conair MPA Manuel utilisateur


