– 4 –
4. Mark the position and hole location.
5. Mount the base to the wall using the appropriate mounting fasteners.
6. Slide the water meter, with the control panel facing up, downward onto the base. Make sure the
horizontal groove on the back of the water meter is lined up with the top edge of the base.
7. Secure water meter to the base with the machine screw and angle holddown.
8. Check to make sure the water meter is level.
INSTALLATION CODES AND STANDARDS
The water meter must be installed in accordance with:
In the United States of America:
1. State and local codes.
2. National Electrical Code, ANSI/NFPA-70 (latest edition). Copies may be obtained from The National
Fire Protection Association, Batterymarch Park, Quincy, MA 02269.
In Canada:
1. Local codes.
2. Canadian Electric Code, CSA C22.1 (latest edition). Copies may be obtained from The Canadian
Standard Association, 178 Rexdale Blvd., Etobicoke, Ontario, Canada M9W 1R3. (electric
equipment)
In Europe:
1. Local codes.
ELECTRICAL CONNECTIONS
Electrical and grounding connections must comply with the applicable portions of
the national electrical code and/or other local electrical codes.
Appliances equipped with a exible electric supply cord are provided with a
three-prong grounding plug. This plug must be connected into a properly grounded three-prong
receptacle. If the receptacle is not the proper grounding type, contact an electrician. Do not remove
the grounding prong from this plug.
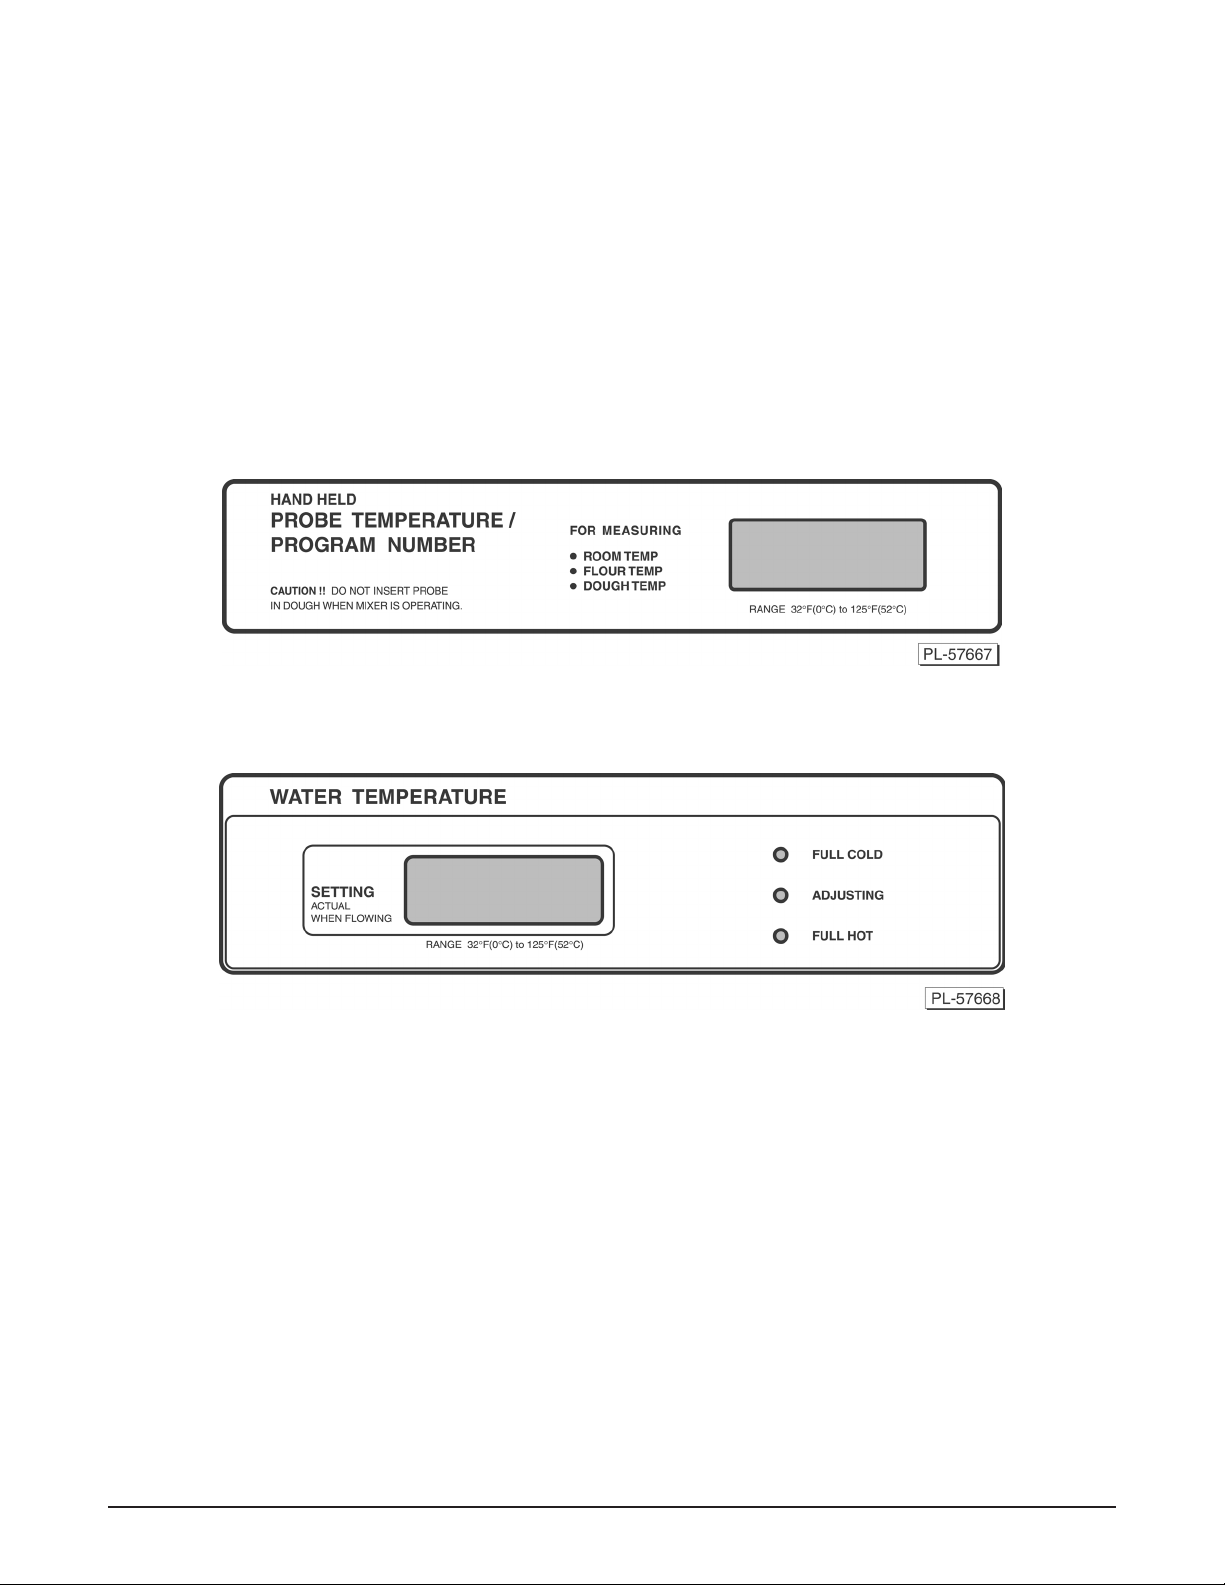
Electrical data is located on the left panel as you face the water meter. Route the power cord safely out
of the way of other equipment, personnel and moisture.
If the equipment is used in a manner not specied by the manufacturer, the protection provided by the
equipment may be impaired.
Model
Electrical Option
US Europe Auxiliary Relay Rating
WM600 WM600C WM600C
Volts 120 230/250 230/250 120/240
Hertz 50/60 50/60 50/60 Single Phase
Amp 0.5 1.4/1.3 1.4/1.3 7 Max.