
ADDER AdderView RDX Rack Drawer Manuel utilisateur
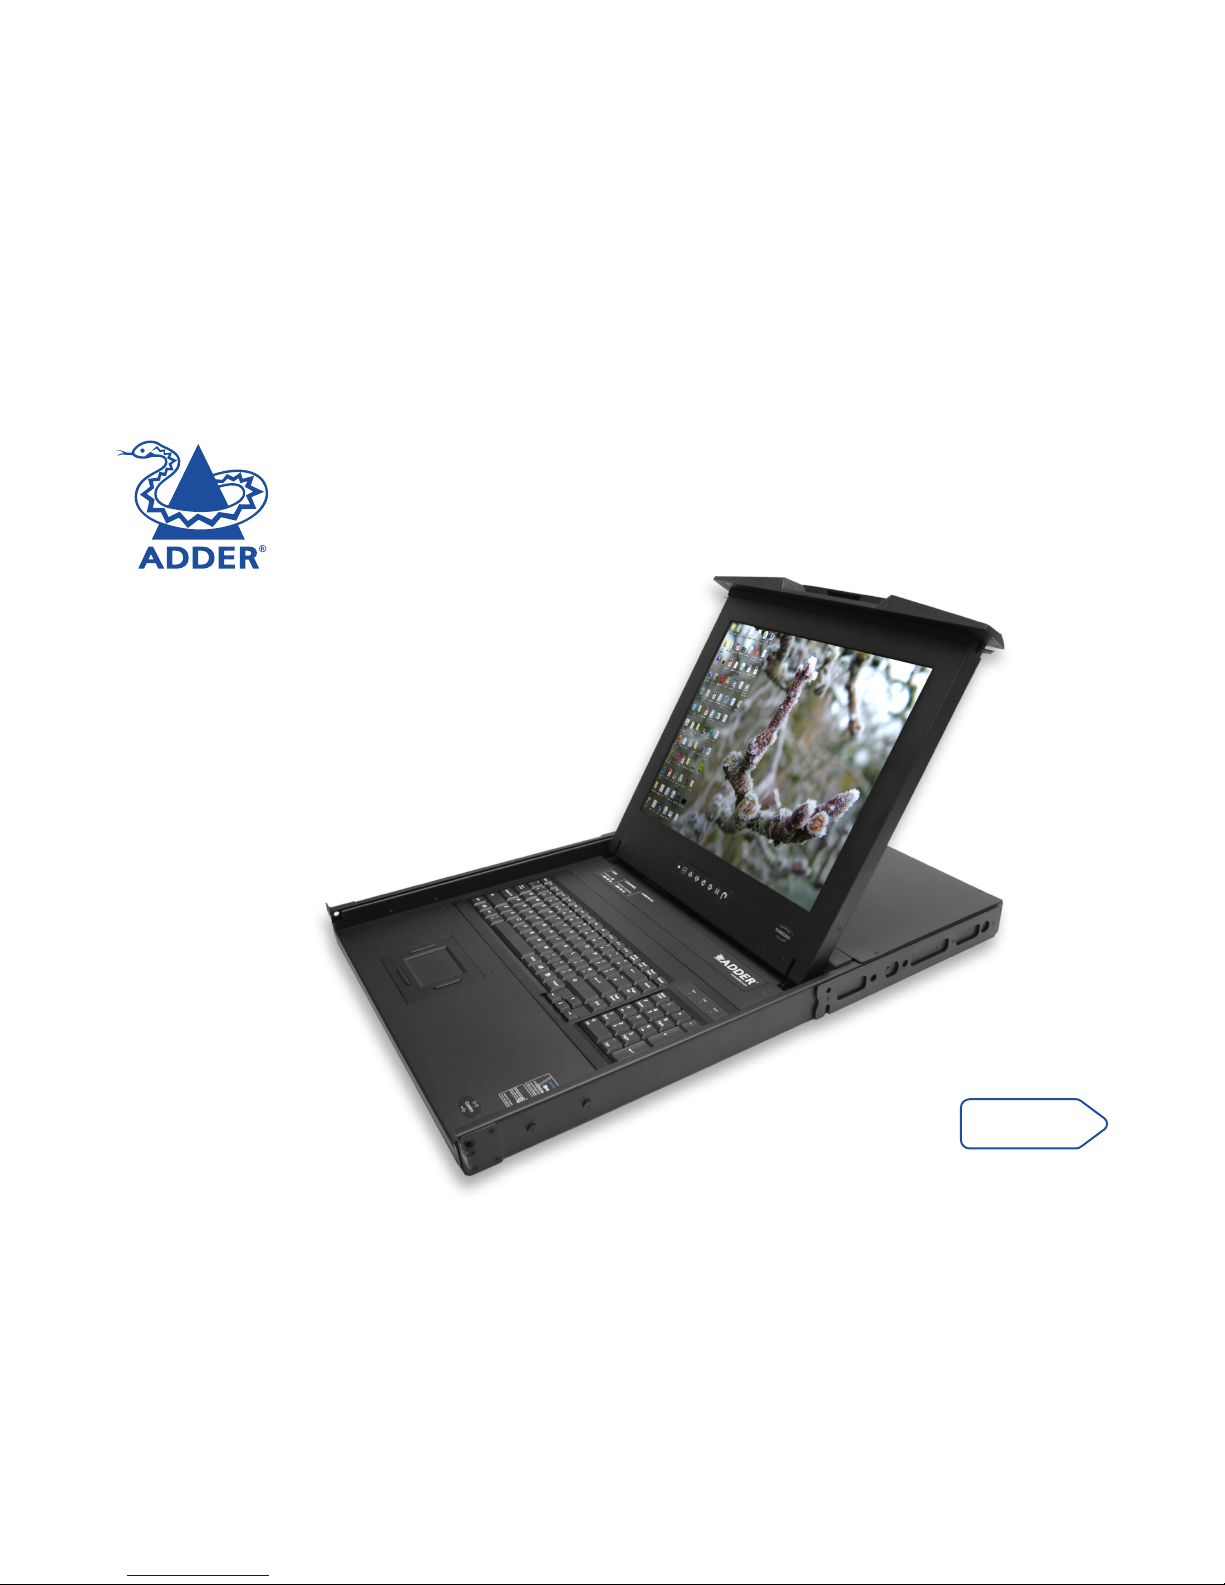
AdderView RDX Rack Drawer
User Guide

1
SECT 1
Contents
Welcome
Introduction.................................................................................2
Standard items.............................................................................3
Additional items ..........................................................................3
Installation
Suitable mounting locations.......................................................4
Mounting the rack drawer..........................................................4
Connecting the rack drawer .......................................................5
The EXTernal link (network or remote user).........................5
Computer access module links ..............................................5
Power connection ...................................................................6
Initial configuration ....................................................................7
Operation
Opening and closing the rack drawer........................................8
Operating the rack drawer .........................................................9
The screen controls .................................................................9
Using the OSD menu ..............................................................9
Selecting server channels .....................................................10
Further information
Troubleshooting ........................................................................11
Screen specifications..................................................................11
Getting assistance......................................................................11
Warranty ....................................................................................12
Safety information ....................................................................12
Radio frequency energy............................................................13

2
SECT 2
Welcome
Introduction
Thank you for choosing the AdderView RDX Rack Drawer which combines
screen, keyboard, mouse and sixteen port KVM switching while occupying only
a single rack slot. The screen and keyboard slide out to provide quick access to
all systems when working in the server room. All models also facilitate either
remote or global access for authorised users who are away from the server
room.
All KVM links to servers are made using Adder Computer Access Modules
(CAMs) that attach to the rack drawer rear panel via standard CATx cables.
These make installation straightforward while ensuring that all cabling remains
neat and uncluttered.
Certain sections of this manual refer to other Adder user guides for details about
the KVM module fitted within your rack drawer. These other guides are stored
on the CD-ROM supplied with your rack drawer and are also available on the
Adder website.
Carry handle to release the two-point lock
Clear LCD display screen
Switch for screen
auto power off
Keyboard
and mouse
touchpad
Display control panel
KVM switch with
connections at the
rear
INDOOR
USE ONLY
412 311 210 19
816 715 614 513
COMPUTER CONNECTIONSCOMPUTER CONNECTIONS
OPTIONS
12V
5A EXT
1
ON
2
Power
input
socket
Config switches
Reserved for future use
- ensure that both are
in the up (off) position.
Reserved
Network or remote extender port
Function is determined by the
model of KVM module.
The green indicator is on
when power is applied.
The amber indicator is
reserved for future use.
Options port
Used for firmware
upgrades.
Computer Connection ports
16 ports to which CAT 5, 5e or 6 link
cables are used to connect Computer
Access Modules (CAMs) which provide
the connections to each server.

3
Standard items Additional items
AdderView RDX Rack
Drawer assembly
Left and right
mounting brackets
8 x screws
(M6 x 15mm)
8 x cup
washers
6 x M6
cage nuts
12V, 5A Power supply plus
country-specific mains cable
CD-ROM
Computer Access Modules
One required per connected computer.
There are four different formats,
depending on the required computer
connections:
PS/2-style
Connectors: Analog video, PS/2-style
keyboard and PS/2-style mouse.
Part number: CATX-PS2
USB
Connectors: Analog video and USB
keyboard/mouse.
Part number: CATX-USB
Sun
Connectors: Analog video, Sun keyboard/
mouse and 3.5mm audio jack.
Part number: CATX-SUNA
Console CAM (for RD1716QIP and
RD1916QIP only)
Connectors: D-Sub 9-way female.
Part number: CATX-CONSOLE

4
3 Insert the rack drawer assembly into the mounting brackets.
Installation
Suitable mounting locations
• ItisveryimportanttolocatetheAdderViewRDXRackDrawerinasuitable
environment.
• Thesurfaceforplacingandxingtherackdrawershouldbestableand
level, or mounted into a suitable cabinet.
• Makesuretheplacehasgoodventilation,isoutofdirectsunlight,away
from sources of excessive dust, dirt, heat, water, moisture and vibration.
• Positiontherackdrawerwithrespecttorelatedfacilities.
Mounting the rack drawer
1 Determine the appropriate position for the rack drawer within your rack
frame. Insert two of the supplied cage nuts in each of the rear vertical rack
rails and one cage nut in the lower position of each front rack rail.
SECT 3
7 Tighten all eight M6 screws to complete the installation.
2 Attach the supplied left and right mounting brackets to the positions in your
rack frame where the cage nuts are located and adjust the bracket depths to
suit the depth of the rack.
For each mounting bracket:
• UsetwoM6screwsandcupwasherstoxthebrackettotherearrackrail.
• UseoneM6screwandcupwasher(onlyinthelowerholeofthe
bracket) to fix the bracket to the front rack rail.
Leave all screws loose until the rack drawer assembly has been put into place.
4 Pull and hold the left and right black arrow buttons on the rails.
5 Return the LCD keyboard drawer to park position.
6 Use the remaining two M6 screws and cup washers to fix the front
mounting ears of the rack drawer assembly to rack rails.
The unit is heavy.
Therefore when
installing, place
the rack drawer
on a sturdy, level
surface to prevent
it from accidentally
falling and causing
damage to other
equipment or
injury to persons
nearby.

5
Connecting the rack drawer
All server, network and power connections are located at the rear of the unit.
The EXTernal link (network or remote user)
The single RJ-45 socket labelled as EXT is used to allow either global or remote
users to login and control connected servers. The EXT port provides one of the
following links (dependant on the model of rack drawer):
• Anethernetnetworklink,labelled ,
or
• Aremoteextenderlink(toattachanAdderX200),labelled
KVM
only
. Note: This
port is NOT a network port.
To connect the external link
1 Wherever possible, ensure that power is disconnected from the rack drawer.
2 Connect a CAT 5, 5e or 6 link cable to the port labelled EXT:
Link cable from either a network
connection or a remote extender
EXT
3 Connect the other end of the cable as follows:
• IftheEXTportlabelshows connect the link cable to a network
switch/router.
• IftheEXTportlabelshows
KVM
only
connect the link cable to an Adder
X200unit.
Computer access module links
There are sixteen RJ-45 sockets labelled as COMPUTER CONNECTIONS on the
rear panel. Each socket supports a CAT 5, 5e or 6 link to an individual server
system.
Note: The maximum length of the CAM cable can be up to 10 metres (32 feet).
For models RD1716, and RD1916, also ensure that the overall distance between
a remote user (connected to a remote extender) and any CAM unit/server does
not exceed 300 metres (980 feet).
1 Wherever possible, ensure that power is disconnected from the rack drawer.
2 Connect a CAT 5, 5e or 6 link cable to one
of the COMPUTER CONNECTIONS ports:
4 3 2 1
8 7 65
COMPUTER CONNECTIONS
Link cable to a Computer
Access Module
3 Connect the other end of the cable to the Computer Access Module (CAM)
that is linked to the required server system.
For more information about connecting CAMs, please refer to the
appropriate Adder user guide as appropriate to the rack drawer model being
used:
• RDxx16yy --->useAdderView CATx 1000 user guide,
• RDxx16IPyy --->useAdderView CATxIP 1000 user guide,
• RDxx16QIPyy --->useAdderView CATxIP 5000 user guide.
where: xx is either 17 or 19, denoting the LCD screen size
yy is the country code, e.g. UK, US, etc.
4 Repeat steps 2 and 3 for each server system.

6
Power connection
The rack drawer is provided with a power adapter capable of supplying the
display monitor, keyboard and in-built KVM module.
IMPORTANT: You must only use the manufacturer approved power adapter with
the rack drawer.
IMPORTANT: Due to the length of the power cable, if the rack drawer is
mounted high in the rack it may not be possible to place the power adapter at
floor level. In this case it is important to mount it securely and in such a manner
that it is not suspended from its output cable.
To connect the power adapter
1 Attach the output lead from the power adapter to the 12V socket on the
rear panel of the rack drawer:
12V
5A
1
ON
2
Connecting the power adapter
to the rear panel power socket. Disconnecting the power
adapter.
2 Connect the IEC connector of the supplied country-specific power lead to
the socket of the power adapter.
3 Connect the power cord to a nearby power outlet.
Note: Both the rack drawer and the power adapter generate heat when
in operation and will become warm to the touch. Do not enclose them or
place them in locations where air cannot circulate to cool the equipment. Do
not operate the equipment in ambient temperatures exceeding 35oC. Do not
place the products in contact with equipment whose surface temperature
exceeds 35oC.
To disconnect the power adapter
When removing the power connection be aware that the plug has a locking
mechanism to prevent accidental disconnects. To remove, pull back the flat top
segment of the plug body to disengage the lock and gently pull the whole plug
from the power socket:
7
Initial configuration
The precise details for configuration of the rack drawer will depend on the model
being used. For more information, please refer to the Configuration section of the
appropriate Adder user guide as appropriate to the rack drawer model being used:
• RDxx16yy --->useAdderView CATx 1000 user guide,
• RDxx16IPyy --->useAdderView CATxIP 1000 user guide,
• RDxx16QIPyy --->useAdderView CATxIP 5000 user guide.
where: xx is either 17 or 19, denoting the LCD screen size
yy is the country code, e.g. UK, US, etc.

8
SECT 4
Operation
Opening and closing the rack drawer
The compact rack drawer is easy to open and close when required.
To open the rack drawer
1 Press the button on the carry handle at the front of the rack drawer unit and
gently pull the carry handle towards you:
2 Once the drawer is fully extended, lift up the carry handle to reveal the
screen and keyboard:
To close the rack drawer
1 Fold down the screen and locate the black arrow release button on each
side of the drawer slider:
2 Pull forward and hold the two black arrow buttons while slightly pushing
the drawer slider in to release the locks.
3 Gently push the drawer slider all the way into the rack using the carry
handle. Take care to keep your fingers away from the sliders:
Note for safe use
• Keepallliquidsawayfromtheequipmenttominimisetheriskofaccidental
spillage. Liquid spilled on to the power supply or on other hardware may
cause damage, fire or electrical shock.

9
Operating the rack drawer
The screen controls
The screen controls are located at the base of the screen:
Power indicator.
(green = on, orange = power saving mode).
Power button for the screen.
Display the OSD menu.
Scroll buttons to control OSD menus.
(To auto adjust screen, press and hold for 5 seconds).
Exit the OSD menu.
(Also used to toggle digital DVI-D and analog SVGA inputs,
where appropriate).
Using the OSD menu
Press the button to display the OSD menu:
The various sections within the menu are as follows:
Image
Controls for brightness, contrast, colour temp, red,
green and blue.
Geometry
Controls for auto adjust, H position, V position,
phase and clock.
Not used
Not used
Misc
Controls for language, OSD position, graphic mode,
OSD time, ratio, reset and timer.
Table des matières
Manuels Tiroir LCD populaires d'autres marques

Acnodes
Acnodes KD 8228 Manuel utilisateur

Ameriwood
Ameriwood 9524328PCOM Manuel utilisateur

Kesseböhmer
Kesseböhmer TANDEM solo Manuel utilisateur

Crystal Image Technologies
Crystal Image Technologies RMD-151-A Series Manuel utilisateur

APW Wyott
APW Wyott Ease Extreme HDX-1-120 Manuel utilisateur

NTI
NTI RACKMUX-V17-N Manuel utilisateur


GRASS
GRASS DWD XP Manuel utilisateur

StarTech.com
StarTech.com DuraView RACKCONS1701 Manuel utilisateur

Fisher & Paykel
Fisher & Paykel IZONA CoolDrawer RB36S Manuel utilisateur

Synergy Global Technology
Synergy Global Technology LCD1U17-44 Manuel utilisateur

Fujitsu
Fujitsu RC25 Manuel utilisateur

Acnodes
Acnodes RK 1000B Manuel utilisateur