Verizon ASK-MAE340 Manuel utilisateur

MoCA Ethernet
Adapter
Model: ASK-MAE340

1. MoCA Ethernet Adapter. . . . . . . . . . . . . . . . . . . . . . . . . . . . . . . . . . . . . . . . . . . . . . . . . . . . . . . . . . . . . . . . . . . . . 1
2. Inside the box . . . . . . . . . . . . . . . . . . . . . . . . . . . . . . . . . . . . . . . . . . . . . . . . . . . . . . . . . . . . . . . . . . . . . . . . . . . . . . 3
3. Install MoCA Ethernet Adapter . . . . . . . . . . . . . . . . . . . . . . . . . . . . . . . . . . . . . . . . . . . . . . . . . . . . . . . . . . . . . .4
3.1 Positioning the device. . . . . . . . . . . . . . . . . . . . . . . . . . . . . . . . . . . . . . . . . . . . . . . . . . . . . . . . . . . . . . . . . .4
3.2 Mounting the device to the wall . . . . . . . . . . . . . . . . . . . . . . . . . . . . . . . . . . . . . . . . . . . . . . . . . . . . . . . . .4
3.3 Setup requirements . . . . . . . . . . . . . . . . . . . . . . . . . . . . . . . . . . . . . . . . . . . . . . . . . . . . . . . . . . . . . . . . . . . .4
3.4 Installing the device. . . . . . . . . . . . . . . . . . . . . . . . . . . . . . . . . . . . . . . . . . . . . . . . . . . . . . . . . . . . . . . . . . . . 5
4.Congure your MoCA Ethernet Adapter. . . . . . . . . . . . . . . . . . . . . . . . . . . . . . . . . . . . . . . . . . . . . . . . . . . . . . 7
4.1 Log in the device’s Web User Interface . . . . . . . . . . . . . . . . . . . . . . . . . . . . . . . . . . . . . . . . . . . . . . . . . . 7
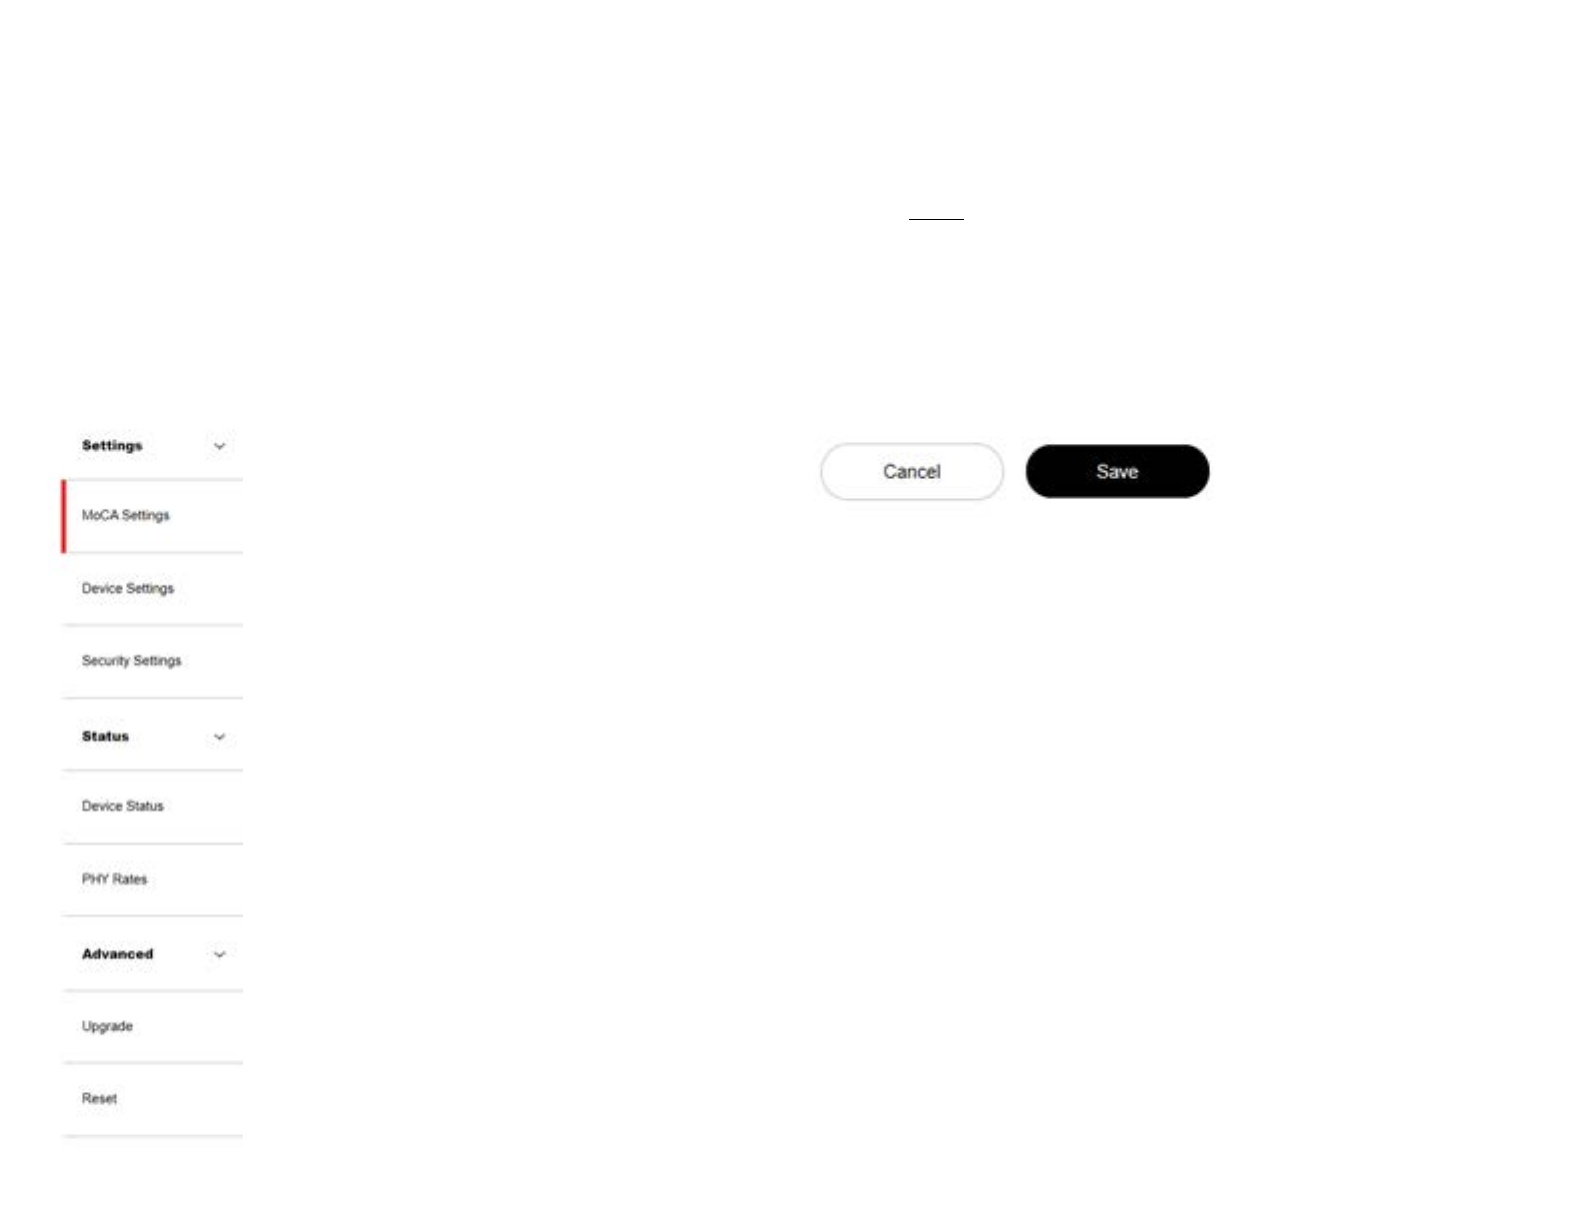
5. Web User Interface . . . . . . . . . . . . . . . . . . . . . . . . . . . . . . . . . . . . . . . . . . . . . . . . . . . . . . . . . . . . . . . . . . . . . . . . . 8
5.1 Settings . . . . . . . . . . . . . . . . . . . . . . . . . . . . . . . . . . . . . . . . . . . . . . . . . . . . . . . . . . . . . . . . . . . . . . . . . . . . . . .9
5.2 Status . . . . . . . . . . . . . . . . . . . . . . . . . . . . . . . . . . . . . . . . . . . . . . . . . . . . . . . . . . . . . . . . . . . . . . . . . . . . . . . . 15
5.3 Advanced . . . . . . . . . . . . . . . . . . . . . . . . . . . . . . . . . . . . . . . . . . . . . . . . . . . . . . . . . . . . . . . . . . . . . . . . . . . . 18
6. Troubleshooting . . . . . . . . . . . . . . . . . . . . . . . . . . . . . . . . . . . . . . . . . . . . . . . . . . . . . . . . . . . . . . . . . . . . . . . . . . . 19
7. Technical specication. . . . . . . . . . . . . . . . . . . . . . . . . . . . . . . . . . . . . . . . . . . . . . . . . . . . . . . . . . . . . . . . . . . . 20
8.Regulatory compliance notices . . . . . . . . . . . . . . . . . . . . . . . . . . . . . . . . . . . . . . . . . . . . . . . . . . . . . . . . . . . . . 21

1. MoCA Ethernet Adapter
The MoCA Ethernet Adapter uses the existing coaxial
wiring in most homes to create a high-speed Ethernet
network connection. The MoCA Ethernet Adapter complies
with MoCA 2.5 standard which can deliver up to 2.5Gbps
wired speed through your existing home coaxial wiring.
With four Ethernet ports, the MoCA Ethernet Adapter
provides wired connections of all your devices including
PC, TV, streaming devices, gaming console, and Data Reset
more devices to access content simultaneously.
DC Port
2.5G RJ-45 Port 1G RJ-45 Port
1

Interfaces & buttons
Interfaces Description
Data The “Data” port on the MoCA Ethernet Adapter is for connection
to your existing Coaxial network.
DC Port Connect the supplied 12V, 1A power adapter to this port to power
on the device.
Reset If you experience difficulties with your device or want to revert all
settings that you have changed, the reset button allows you to
reset the device back to its factory default state. A single quick
press and release the reset button restart the device. Press and
hold the reset button for 10 seconds to restore the factory default
settings.
2.5G RJ-45 Port The 2.5G RJ-45 port creates an interface to connect an Ethernet
device via your MoCA network.
1G RJ-45 Port The 1G RJ-45 ports provide 1Gbps Ethernet connection for
Ethernet enabled devices via your MoCA network.
LEDs
The LEDs indicate the system and Ethernet connection status of the MoCA Ethernet Adapter.
Indicator/ Scenario Description Light type
System System off Off
Power on Yellow
MoCA network connected White
MoCA traffic Blinking White
RJ45 10/100M connection speed Yellow
1G/2.5G connection speed White
10/100M connect (traffic) Blinking Yellow
1G/2.5G connect (traffic) Blinking White
2

2. Inside the box
Inside the product package you should nd the following items. Contact Verizon Customer
Support if any of the items is missing or damaged.
MoCA Ethernet Adapter
Ethernet Cable Coaxial Cable x2 Wall Mount Screw
Splitter Power adapter
3

3. Install MoCA Ethernet Adapter
3.1 Positioning the device
• Position the device where the cable can axcess the power outlet
and coax source
• Keep the device away from the direct sunlight.
3.2 Mounting the device to the wall
Please follow the steps below to install the MoCA Ethernet
Adapter on the wall.
Step 1: Mark on the wall where you would like to install the
device and pre-drill a hole for the anchor.
Step 2: Install the anchor and screw into the pre-drilled hole.
Step 3: Hang the device onto the screw through the mounting
hole on the device.
3.3 Setup requirements
To congure your MoCA Ethernet Adapter via a computer,
you need a router and computer that meet the following
system requirements:
• A router supports RJ-45 LAN and MoCA LAN.
•A computer with an Ethernet RJ-45 (LAN) port
(10Base-T/100Base-TX/1000Base-TX/2.5GBASE-T).
• Web browser such as Internet Explorer, Firefox, Safari,
or Google Chrome.
4

3.4 Installing the device
3.4.1 Use the MoCA Ethernet Adapter as a connector
between the coax outlet and your computer.
1. Verify that the MoCA capable router in your home is
connected to a coax outlet at the router location.
2. Connect a coaxial cable from the coax outlet to the “Data”
port on the MoCA Ethernet Adapter. If needed, use the
included RF splitter to add an additional coax connector
from the coax outlet.
3. Connect your laptop, desktop, or game console devices to
the “LAN” ports on the MoCA Ethernet Adapter.
4. Connect the provided Power Adapter to the MoCA
Ethernet Adapter.
5. Wait for the system light to turn solid white. This indicates
that the MoCA Ethernet Adapter has successfully formed
a network with the router.
5

3.4.2 Use the MoCA Ethernet Adapter as a connector
between your router and your coax outlet.
1. Connect a coaxial cable from the coax outlet to the “Data”
port on the MoCA Ethernet Adapter. If needed, use the
included RF splitter to add an additional coax connector
from the coax outlet.
2. Connect an Ethernet cable from the “2.5G LAN” port of
the MoCA Ethernet Adapter to the Ethernet port on the
modem/router.
3. Connect your laptop, desktop, or game console devices
to the “LAN” ports on the MoCA Ethernet Adapter.
4. Connect the provided Power Adapter to the MoCA
Ethernet Adapter.
5. The system light should be yellow. This indicates the MoCA
Ethernet Adapter has powered on, and it is ready for other
MoCA enabled devices to join the MoCA network.
6

4. Congure your MoCA Ethernet Adapter
The MoCA Ethernet adapter works out-of-the-box without
additional settings. If you want to change settings (such
as the IP address), you can congure via the device’s
Web User Interface.
4.1 Log in the device’s Web User Interface
Make sure that the MoCA Ethernet adapter is properly
connected to the home network (refer to section 3 on
how to install your MoCA Ethernet Adapter).
1. Find the IP address of the MoCA Ethernet Adapter from
the home router.
2. Open a web browser and enter the MoCA Ethernet
Adapter’s IP Address in the address bar.
3. The login dialog box is displayed.
4. Enter the username and password.
Username: admin
Password: password can be found by scanning the
QR code on your MoCA Ethernet Adapter’s product label.
5. You can use the Web UI to view or change the device settings.
7

5. Web User Interface
The MoCA Ethernet Adapter’s Web User Interface (Web UI) allows you to check the current
status of the device and congure its various functions. Ensure you click the Save button
to save your settings after making changes. After completing the conguration, reset the
device for the settings to take effect (please refer to Section 5.3.1 on how to reset the device).
Menu Save
Use the left side of the menu to navigate. Remember to save your changes by clicking on the
save button.
8
Table des matières
Autres manuels Verizon Adaptateur

Verizon
Verizon FiOS TV Manuel utilisateur

Verizon
Verizon ECB2200V Manuel utilisateur

Verizon
Verizon Stream TV MoCA Manuel utilisateur

Verizon
Verizon SKU2 Manuel utilisateur

Verizon
Verizon VZ4050 Manuel utilisateur

Verizon
Verizon ASK-MAE311 Manuel utilisateur

Verizon
Verizon Wireless Home Phone Connect Manuel utilisateur


