Tevion Axiss 810 Manuel utilisateur
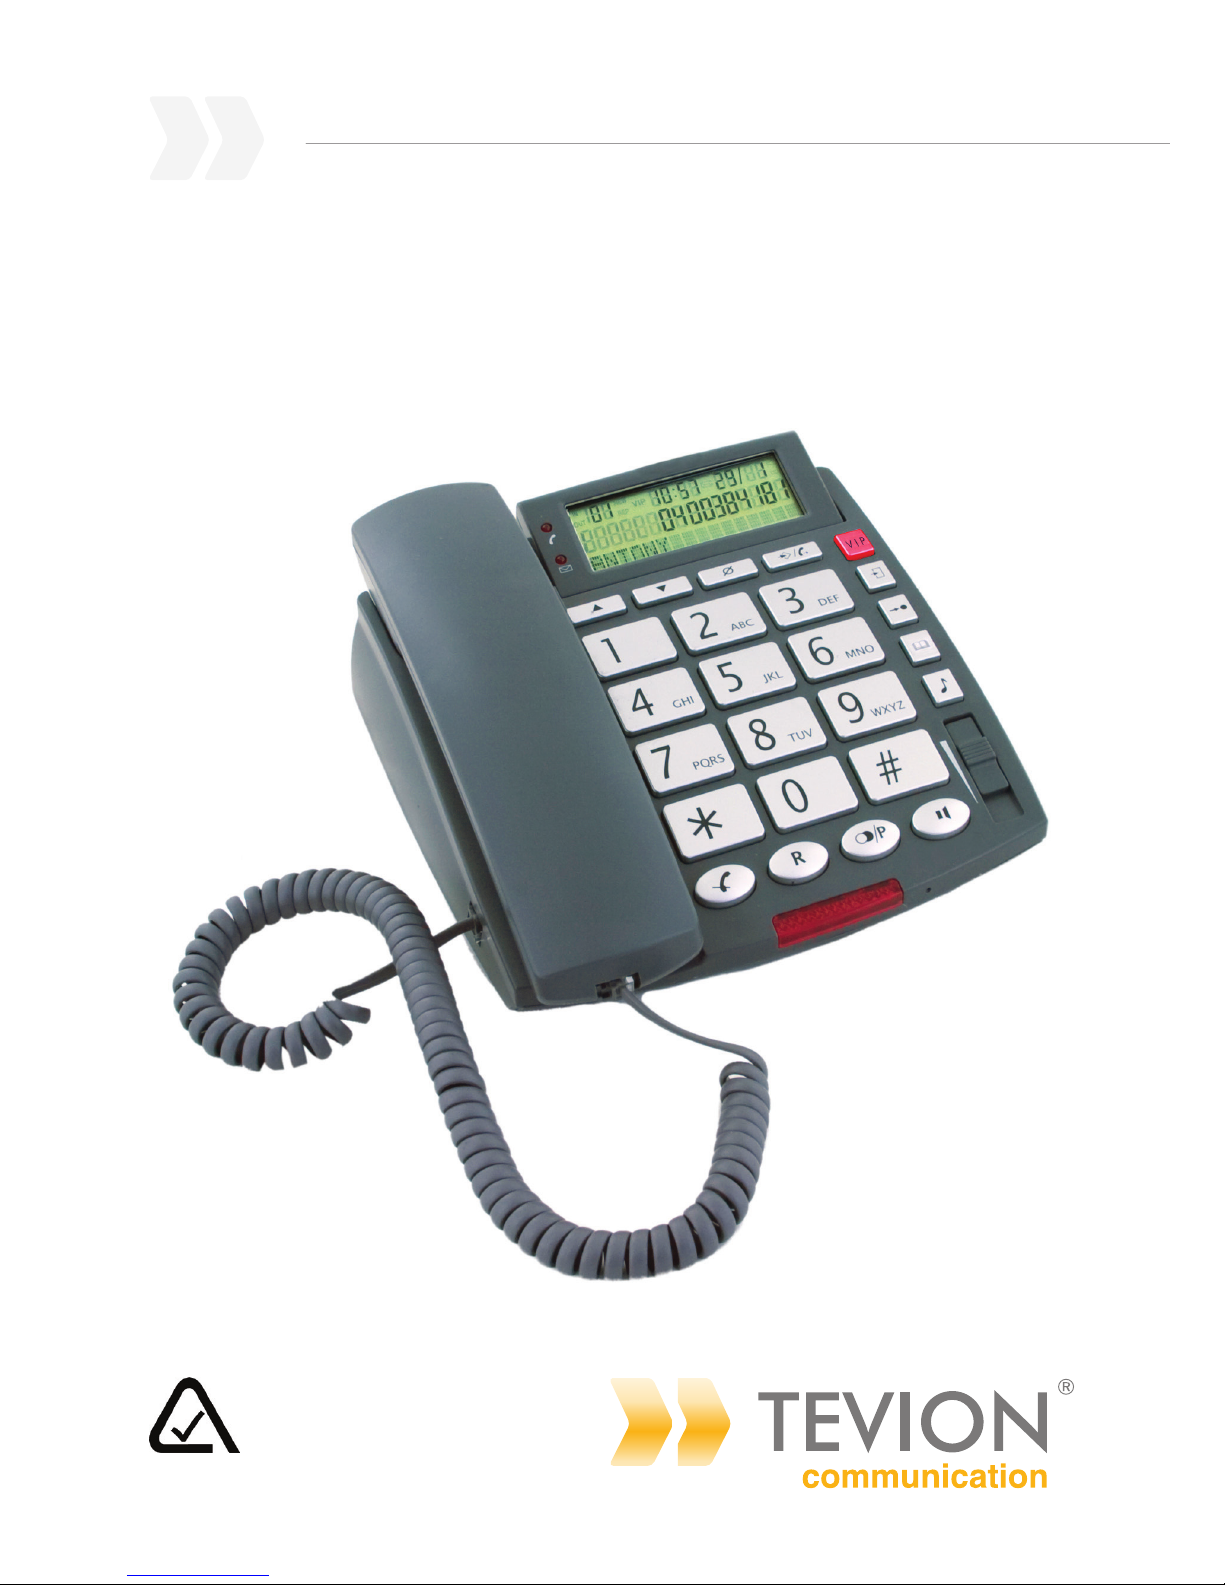
Big Button Telephone
Instruction Manual • Model Number Axiss 810
After Sales Support
TEL: 1300 886 649
N13275

After Sales Support TEL: 1300 886 649
1
What your 1year warranty means
Great care has gone into the manufacture of this product and it should
therefore provide you with years of good service when used properly. In
the event of product failure within its intended use over the course of the
1year after the date of purchase, we will remedy the problem as quickly
as possible once it has been brought to our attention. In the unlikely
event of such an occurrence, or if you require any information about the
product please contact us via our after sales support services, details of
which can be found in this manual and on the product itself.
Big Button Telephone
After Sales Support TEL: 1300 886 649
2
Contents
1 What your 1 year warranty means
3 Welcome
Before Initial Use
Safety Instructions
4 Cleaning
Disposal of the device
5 Big Button Phone part list
7 Installation
Telephone settings 1. Set the display settings
8 2. Date and time
3. Display contrast
9 4. Set the area code
5. Long distance code
10 6. Phone book 1. Add a contact
2. Edit a contact
11 7. Baby call function
8. Set the ash time
9. Ringer volume
12 Operation 1. Making a call
2. Receiving a call
3. Deactivating the microphone
13 4. Putting a call on hold
5. Redial the last number
6. Incoming caller ID list
14 7. VIP number 1. Storing a VIP number
2. Calling a VIP number
15 8. Indirect memory numbers
9. Using the phone book

After Sales Support TEL: 1300 886 649
3
Congratulations on choosing to buy a TEVION® product.
All products brought to you by TEVION® are manufactured to the highest
standards of performance and safety, and, as part of our philosophy of
customer service and satisfaction, are backed by our comprehensive 1
Year Warranty. We hope you will enjoy using your purchase for many
years to come.
Before Initial Use
1 Intended Purpose
This product is intend to be connected indoors to an analogue PSTN
telephone line.
2 Caller ID
To use 'Caller ID' (display caller), this service has to be activated on your
phone line. Normally you need a separate subscription from your telephone
company to activate this function. If you don't have the caller ID function on
your phone line, the incoming call will display blank.
Safety Instructions
Please read carefully through the following information concerning
safety and proper use. Make yourself familiar with all the functions of the
equipment. Be careful to keep this manual and if necessary pass them on to
a third party.
• Do not place the basic unit in a damp room or at a distance less than 1.5m
away from a water source. Keep water away from the telephone.
• Do not use the telephone in environments where there is a risk of
explosions.
Welcome
After Sales Support TEL: 1300 886 649
4
• Dispose of the batteries and maintain the telephone in an environment-
friendly manner.
• Pins are magnetically attracted to the earpiece of this phone, hence avoid
placing the handset near metal pins.
• Disconnect telephone line cord, before changing batteries.
Cleaning
Clean the telephone with a slightly damp cloth or with an anti-static cloth.
Never use cleaning agents or abrasive solvents.
At the end of the product life cycle, you should
not throw this product into the normal household
garbage but bring the product to a collection point
for the recycling of the electrical and electronic
equipments. The symbol on the product, user guide
and/or box indicate this.
Some of the product materials can be re-used if you
bring them to a recycling point. By re-using some
parts or raw materials from used products you make
an important contribution to the protection of the
environment.
Please contact your local authorities in case you need more information on
the collection points in your area.
Disposal of the device (environment)
After Sales Support TEL: 1300 886 649
5
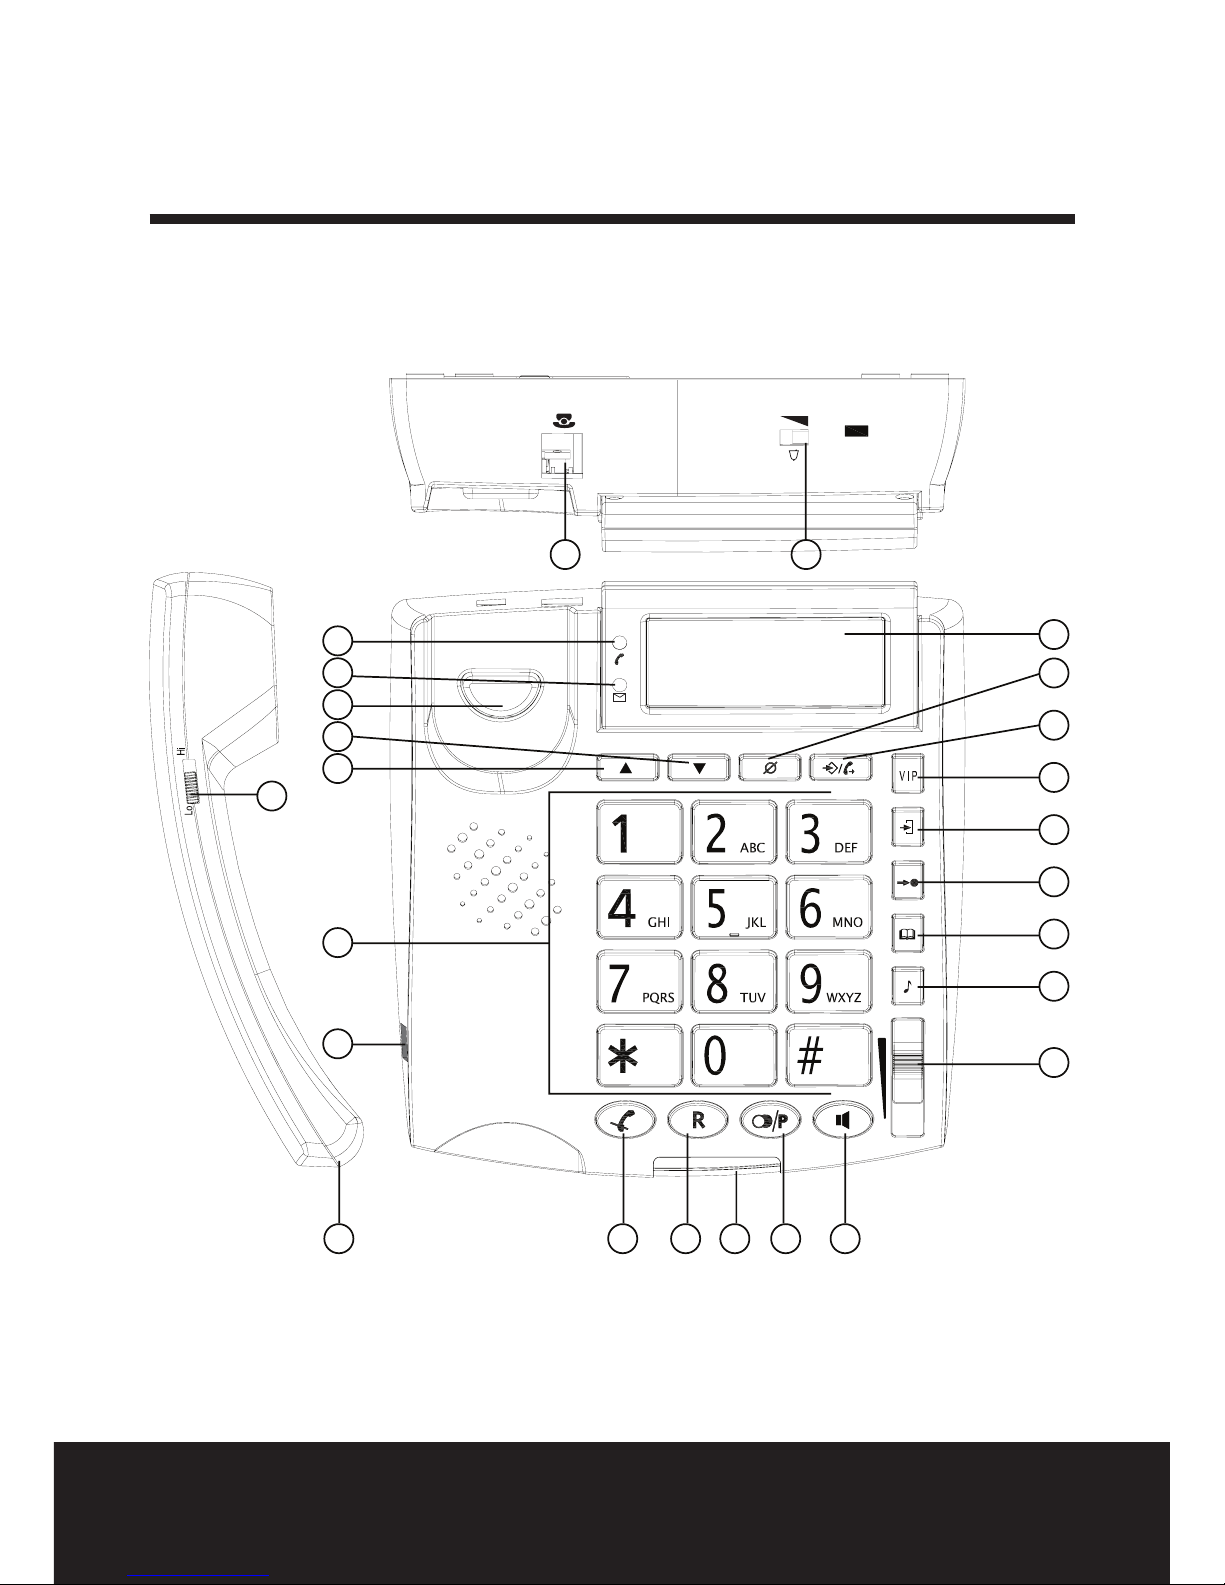
Big Button Telephone Parts List
1
2
3
4
5
6
7
8
9
101125
24
121314
15
16
17
18
19
20
21
22 23

After Sales Support TEL: 1300 886 649
6
1. LCD display
2. Delete key
3. Program / Dial key
4. VIP key
5. Number store key
6. Memory key
7. Phone book key
8. Hold key
9. Volume adjust button
10. Hands-free key
11. Redial / Pause key
12. Ringer LED
13. Flash key
14. Mute key
15. Curl cord connection
16. Numerical keypad
17. Up key
18. Down key
19. Hook key
20. New call LED
21. In-use LED
22. Line connection
23. Ringer volume button
24. Handset volume button
25. Curl cord connection
After Sales Support TEL: 1300 886 649
7
Put batteries in the battery compartment to activate the display:
• Open the battery compartment at the bottom of the unit. Use a screw
driver to remove the screw.
• Insert 4 Alkaline AA standard batteries.
• Close the battery compartment.
• Connect one end of the line cord to the telephone line wall socket and the
other end to the backside of the telephone.
NOTE: The telephone line needs to be disconnected prior to opening the
battery door.
Telephone settings
1. Set the display language
The phone supports 8 display languages: English, French, Spanish, Italian,
German, Turkish, Polish, Slovenian.
• Press .
• Use to select "SELECT LANGUAGE".
• Press to enter the settings.
• Use to select your language.
• Press to conrm.
• Press to exit the menu.
Installation

After Sales Support TEL: 1300 886 649
8
2. Date and time
When you have a subscription to the caller ID service and your telephone
provider sends the date and time together with the telephone number,
the phone's clock will be set automatically. The year must always be set
manually.
• Press .
• Use to select "DATE/TIME".
• Press to enter the year settings.
• Use to change.
• Press to move the hour setting.
• Use to change.
• Press to move the minute settings.
• Use to change.
• Press to move the month settings.
• Use to change.
• Press to move the date settings.
• Use to change.
• Press .
• Press to exit the menu.
3. Display contrast
There are 5 display contrast levels you can choose from.
• Press .
• Use to select "CONTRAST ADJUST".
• Press .
• Use to change the contrast level.
• Press .
• Press to exit the menu.
After Sales Support TEL: 1300 886 649
9
4. Set the area code
When you have a subscription to the caller ID service it can be necessary
in some countries to enter your area code. When the telephone receives a
caller ID it will remove the entered area code from the incoming number.
You can set up to 5 digits for the area code.
• Press to enter the menu.
• Use to select "SET AREA CODE".
• Press to enter the settings.
• Use to change.
• Press to move to the next digit.
• Repeat this sequence until all digits are set.
• Leave unused digits as "-".
• Press to exit the menu.
5. Long distance code (prex)
When you have subscribed as an alternative operator it sometimes is
required to dial a prex in front of the telephone number. Numbers in the
caller ID list of your telephone can be used together with the prex.
Section "Operation - Incoming Caller ID list" will explain how to add the
prex in front of a number from the caller ID list.
• Press .
• Use to select "LONG DIST ACCESS".
• Press to enter the settings.
• Use to change the digit.
• Press to move to the next digit.
• Repeat this sequence until all digits are set.
• Leave unused digit as "-".
• Press to exit the menu.
Table des matières
Autres manuels Tevion Téléphone


