Smarti BIOSLIM Manuel utilisateur

USER MANUAL
BIOSLIM
Units No 250 to 252, Second Floor, Building No D-7, Bhumi World, Pimplas Village, Bhiwandi,
Thane-421302, Maharashtra. INDIA. Contact:- (+91) 7039047042 , (+91) 02522-661518
Web: www ystems.com E-mail: enquir ystems.com
SMART-I ELECTRONICS SYSTEMS PVT. LTD.
An ISO 9001:2008 certified company
PRESENCE: MUMBAI-DELHI-BANGALORE–KOLKATA-CHENNAI-AHMEDABAD–PUNE-HYDERABAD

Disclaimer:
Please handle the equipment with care. Physical Damage to the system is not covered under
warranty.
Do not power on the system without reading this manual. Ensure proper power supply with
Earthing.
Note down the serial number and model no. of the device for future reference and quote in all
support and service requests.
To connect or interface the Card reader to the 'BIOSLIM' unit please refer to the Hardware
Installaon Guide or Manual and carefully follow the instrucons. A trained technician must
make the connecons.
Any negligence on your part may damage the Card reader interface on the BIOSLIM terminal.
Mounng the unit in strong sunlight may affect user visibility of the LCD. Ensure that the LCD
and LED's are clearly visible in all lighng condions.
The fingerprint sensor glass may periodically require cleaning - use suitable glass cleaner.
Never insert objects of any kind into the unit or through the cabinet slots as they may touch
voltage points and/or short circuit parts possibly resulng in fire or electric shock. Never spill
liquid of any kind on the unit.
When connecng up the BIOSLIM ensure that the mains power supply is safely isolated.
Power up the controller only when installaon is complete.
As this product is regularly updated, we cannot guarantee exact consistency between this product and the
informaon provided in these instrucons. We will hear no disputes that arise due to differences between
the actual product and the contents of these instrucons, and you may not be informed of changes in
advance.
Congratulaons on purchasing your new BIOSLIM and thank you for the confidence you
have shown in us. You have chosen a high-quality product that has been manufactured,
tested and packed with care.
Please familiarize yourself with these instrucons, before aempng to install the
BIOSLIM. Because prolonged reliable and trouble-free operaon will only be ensured if
it is fied properly. We hope your new BIOSLIM will bring you lasng safety and effecve
operaons for your employee aendance.
BIOSLIM series are Cost effecve BIOSLIM System with rugged design & Touchscreen
keypad. It boasts of compact aesthecs and strong design with flawless fingerprint
opcal sensor.
Preface
1

Table of Contents
2
The Contained in This Manual are Subject To Change without Noce at Any Time. It is Smart
I's goal to supply accurate and reliable documentaon. If you discover a discrepancy in this
document or Need Help, please e-mail your comments to support@smarsystems.com
Warning & Cauon________________________________________________________4
Get started with Bioslim____________________________________________________5
Specificaon_____________________________________________________________6
Descripon of keys & other parts____________________________________________ 7
Keypad Menu Details______________________________________________________7
How to Use______________________________________________________________8
Mounng Plate Details____________________________________________________21
Bioslim Connecon details_________________________________________________23
Bioslim Connnector wire details _____________________________________________24
Bioslim Reader connecon details___________________________________________25
Standalone Bioslim Configuraon___________________________________________ 26
Connecng To Host Computer______________________________________________27
Enrollment Process_______________________________________________________30
Trouble Shoong_________________________________________________________32

Please handle the equipment with care. Physical Damage to the system is not covered
under warranty.
Do not power on the system without reading this manual. Ensure proper power supply
with Earthing.
Note down the serial number and model no. of the device for future reference and quote
in all support and service requests.
To connect or interface the Card reader to the 'BIOtrak' unit please refer to the Hardware
Installaon Guide or Manual and carefully follow the instrucons. A trained technician
must make the connecons.
Any negligence on your part may damage the Card reader interface on the BIOtrak
terminal.
Mounng the unit in strong sunlight may affect user visibility of the LCD. Ensure that the
LCD and LED's are clearly visible in all lighng condions.
The fingerprint sensor glass may periodically require cleaning - use suitable glass cleaner.
Never insert objects of any kind into the unit or through the cabinet slots as they may
touch voltage points and/or short circuit parts possibly resulng in fire or electric shock.
Never spill liquid of any kind on the unit.
When connecng up the BIOtrak Access Controller ensure that the mains power supply is
safely isolated. Power up the controller only when installaon is complete.
3
Warning & Cauon
When connecng card or Biometric readers to any emergency entry, exit door, barrier or
elevator must provide an alternave exit in accordance with all fire and life safety codes
pernent to the installaon. These fire and safety codes vary from city to city and you must
get approval from local fire officials whenever using an electronic product to control a door
or other barrier.
Fire Safety and accountability Noce

4
Important Instrucons
Take the backup of the finger prints of all the users aer enrollment, through the
Template
Upload/Download Opon in Soware (Refer User Manual of Soware for taking finger
prints backup and uploading the backup finger prints back to the Bioslim devices.)
Care should be taken idenfying the wires. Improper wiring may render permanent
damage to the device or personal injury.
Refer the color code on the Reader to connect the external weigand reader on the
controller.
Check the earthing at the site before installing the controllers. Normally the earthing
should be between 1V to 2V only. Earthing on the higher side may damage the controller
or its various other components.
Get started with Bioslim
5
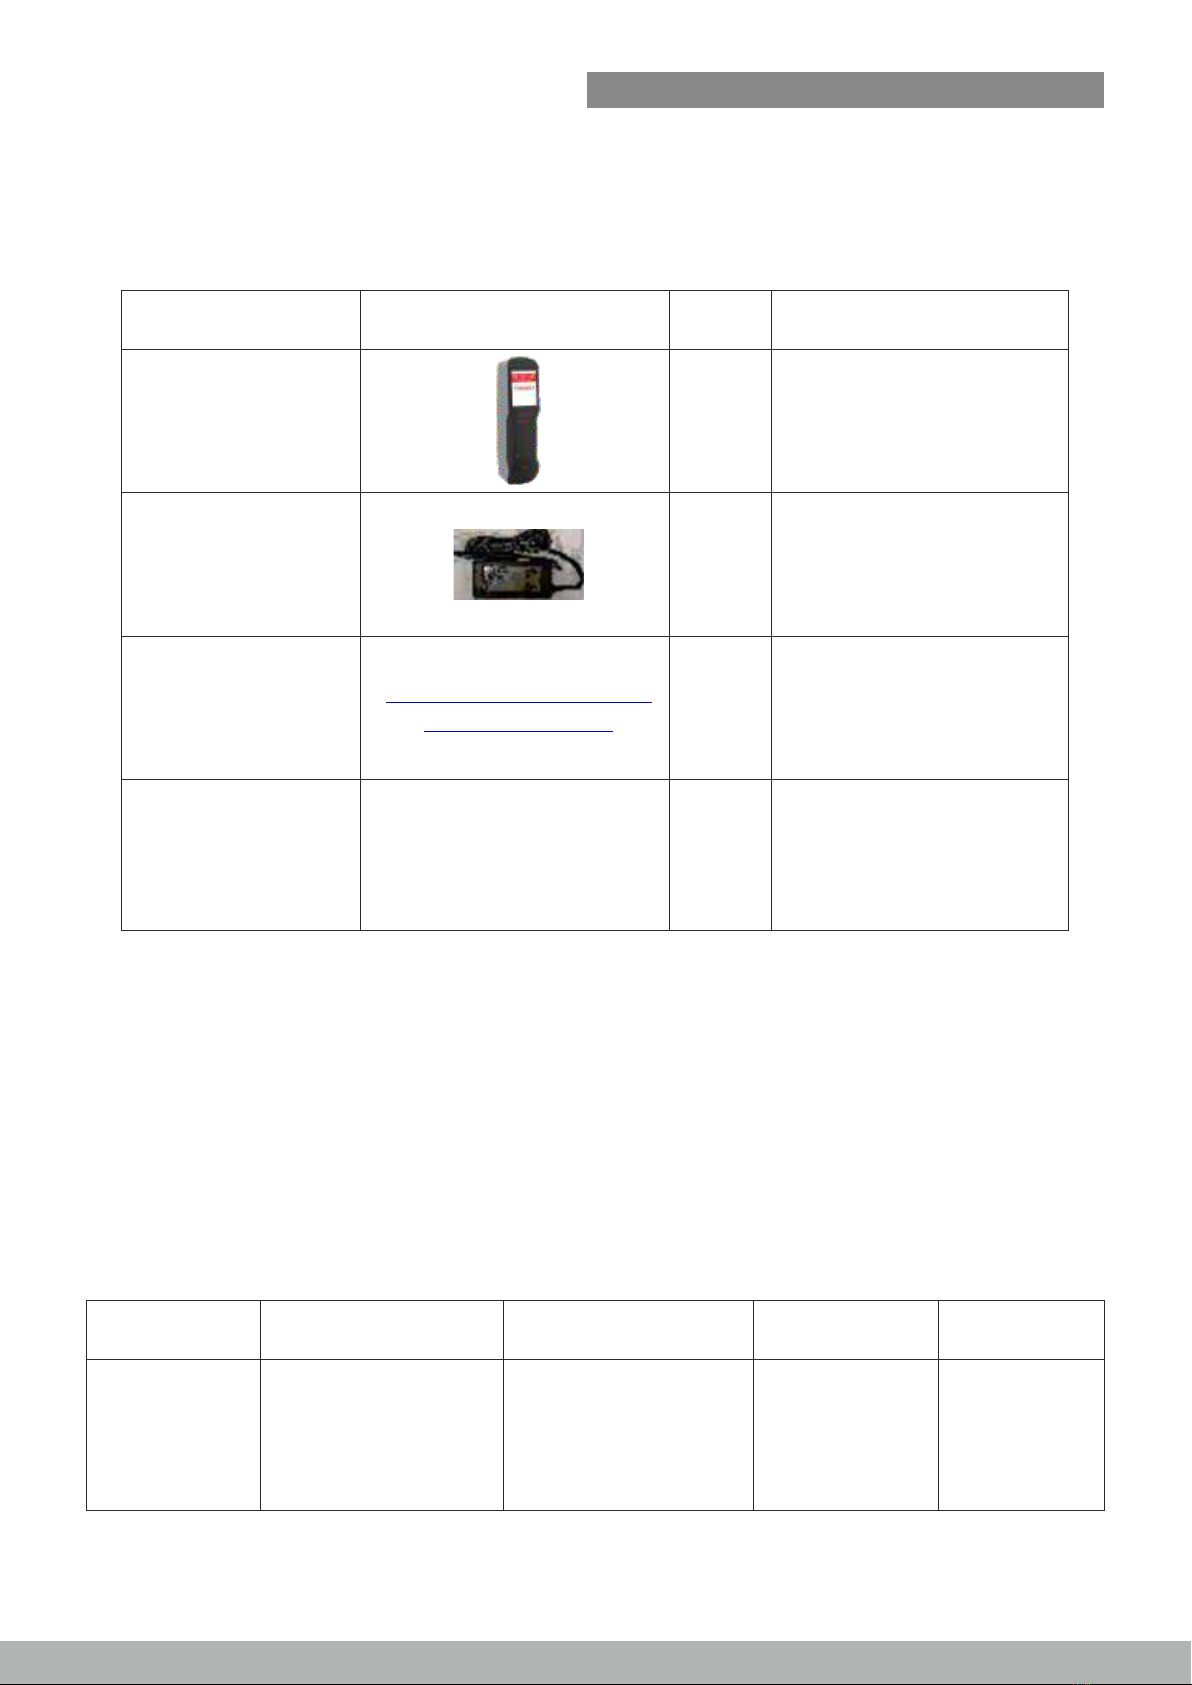
Included items:
Product Image Qty Use
Bioslim
Power Supply
Soware CD
Installaon Guide
& Test Report
1
1
1
1
Aendance System
Supplying power for
the Biometric Unit
For Device Configuraon/
Management & For
Data Downloading
For referring funcons
keys for programming
the device by keypad &
Other Installaon Details
hp://www.smarsystems.
com/Soware.html
In case you do not have the required power supply included in the package and intends
to buy your own power supply use these specificaons. Below given specificaons
should be strictly adhered to.
Power Supply Specificaon:
Device Applicaon Power Supply Input Output
Bioslim Access
(Lock Voltage)
Universal
AC Adapter
Isolated i/o
110 to 230
VAC
12 V DC/
2A (Min)

Hardware Specificaon:
Specificaon
CPU
Memory
Events/Transacons
No. of templates in sensor
No. of Users
Operaon Modes
Sensor
Communicaons Port
Baud Rate
Controller ID
Display
Keypad
LED
Language
Power Supply
Enclosure
Color
Dimension (H X W X D) in mm
Mounng
Parculars Descripon
32 Bit RISC Arm
Upto Flash 8 MB
1,00,000
1900/19000
7500
UID/Card + Finger UID/Card only Card + Finger
Card Only UID/CARD+F+ PIN UID /card +pin Card
only + pin UID only + pin Finger only Card & finger
High Quality Scratch Resistance Opcal Sensor.
TCP/IP, weigand, Rs485
9600bps (Default)
Max 9999
TFT colour display
Capacive Touch sense Keypad
Tricolor LED Bar
English
12 V DC/ 2A (Min)
IP65 ABS Plasc
Silver & Black
(209 x 57 x 47.02)in mm
Wall Mounng
Sensor Specificaon:
Parculars Descripon
Type
Image Resoluon
Enrollment Time
Verificaon Time
Idenficaon Time
Template Size
EER/FAR/FRR
Image Size (Pixels)
Sensing Area (mm)
Opcal
500 dpi
<1 sec
<1 sec
1 sec
384 bytes
<0.1%/0.001%/0.1%
272 X 320
16X19
6

Introducon
The new BIOSLIM blends loads of innovave features to streamline installaon and
administraon for small, medium or, large business enterprises for standalone door
access control deployment. BIOSLIM brings the high speed, accuracy, flexibility and user
friendly interacvity. It provides intuive and aesthec GUI on graphical LCD with easy-
to-use touch sense keypad.
Descripon of keys & other parts
Operaonal keys:
keys
To access keypad funcons& to enter UID for verificaon
Scroll keys to select menu aer admin login.
Back key to go back on previous screen
To go to the home screen
Entering into menu parameter and set the values for parameter
Descripon
7
① TFT touch Screen display
② Biometric Sensor
③ Tricolour LED Bar
④ RFID card reader
⑤ Menu Key
①
②
③
④
⑤
1 2 3
4 5 6
7 8 9
0
Menu key Enter key
Clear key
Back key
Enter key
Back key
Menu key
Scroll UP
Scroll Down
Numeric Keys (0-9)
How to Use:
8
Step 1.: Enrollment Process
Press on menu key
Enter admin id >> 11111(Default admin id) > press Enter .
Enter password >>12345(Default password) > press Enter .
1. Do Admin login
ii
iii
2. ADD User
I. Press on USER icon
ii. Add User by Showing card on reader or Enter UID > Enter >
iii. Add Finger 1 (across UID)> Press Yes>(Place Finger Twice)
iv. Add Finger 2 > Press YES or NO > Enter >
v. Logout
Aer Admin Login Success
Step 2.: Verificaon Process
i. Show Card / Enter UID and Place finger
ii. For Authorized Swipe, authorized message will be displayed along with logo
and long Beep and Led will turn Green
iii. For Unauthorized Swipe, User authorized message will be displayed along
with logo and two buzzer beep and Led will turn Red.
Power OFF >ON and check point (i) again.
15 : 39 : 15
Tue 19 Feb 2019

9
Step 1.: Enrollment Process
1. Press on Network icon
2. Select Network Seng > Enter
3. In this menu user can edit the various parameters such as, unit IP address,
subnet mask, default gateway, server IP address …..etc.
User have to set various parameters such as,
*IP Address
*Subnet mask
*Gateway
*Server IP Address
*Local port No
*Push Server1 IP
*Push Server1 Port
*Push Server2 IP
*Push Server2 Port
4. Enter>> Reset the Device.
Table des matières


