4
TURNING THE UNIT ON
To turn the unit on, press the front part of the switch down. The green LED will light up. If
it does not, or if the light is amber, consult the troubleshooting guide.
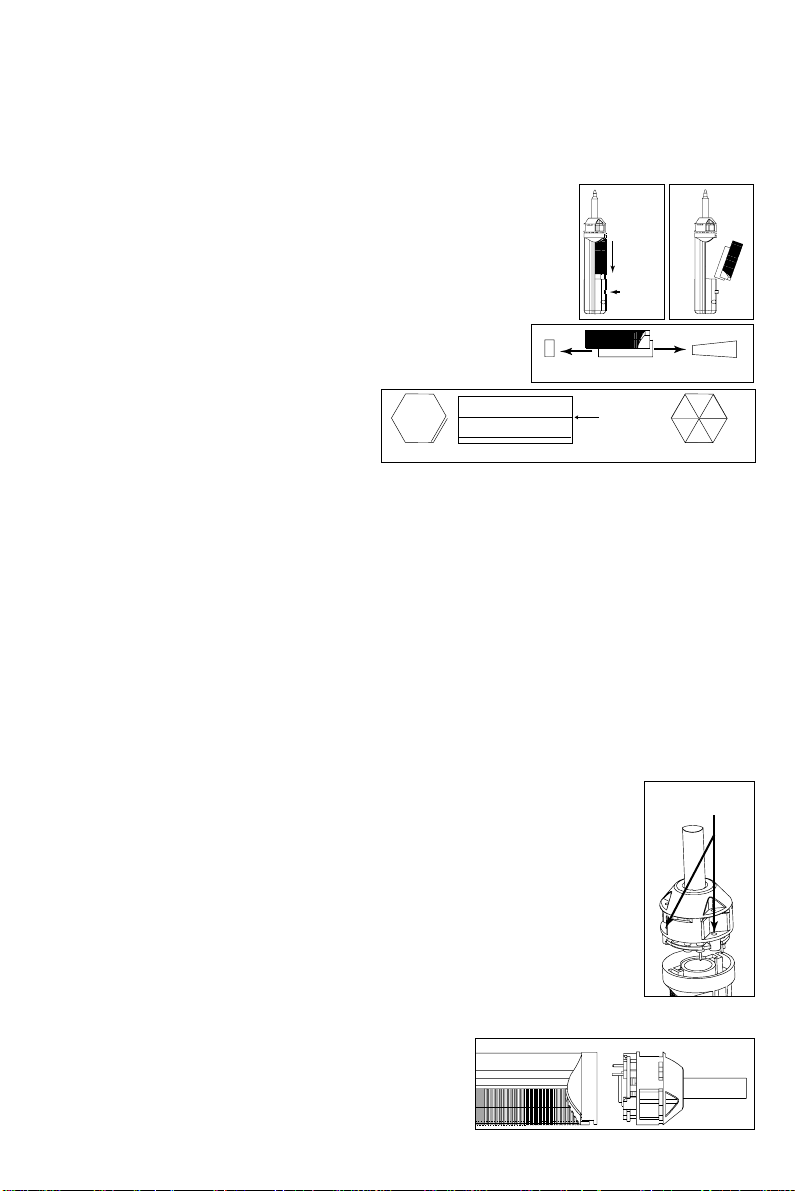
REPLACING DESOLDERING TIP CARTRIDGES
1. Turn the system off. Be sure the green LED light is off before proceeding.
CAUTION: THE TIP CARTRIDGE MAY BE HOT!
2. Pull out the cartridge using the Tip Cartridge Removal Pad. A Cartridge Pad should be
attached to your handpiece cord. If not, contact your supervisor, check your company's
tool crib, or call Metcal Customer Service. DO NOT USE METAL TOOLS (PLIERS, ETC) TO
REMOVE CARTRIDGES. METAL TOOLS CAN DAMAGE THE CARTRIDGE OR COIL ASSEMBLY!
3. Push a new tip cartridge into the handpiece.
4. Turn the unit on. The new tip cartridge will heat up to temperature in less than 45
seconds.
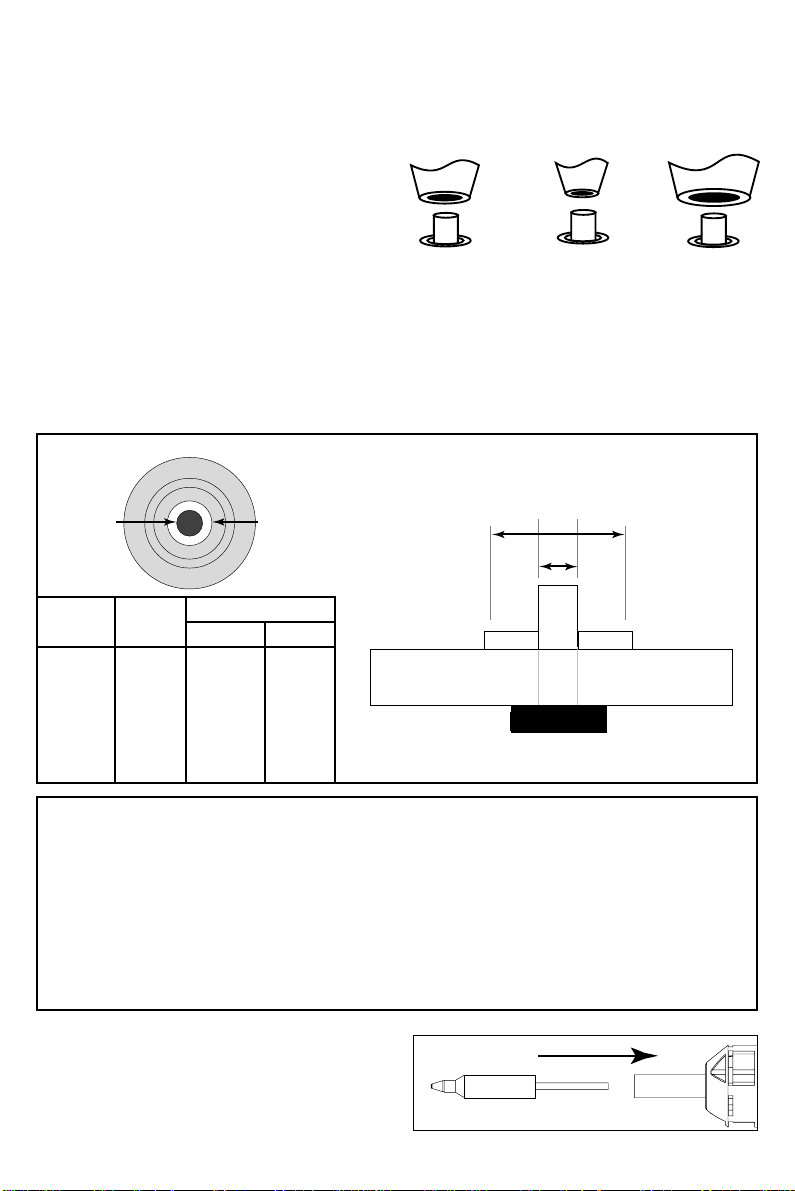
PROPER DESOLDERING TECHNIQUE
1. Choose the correct tip cartridge for the job. Too small a tip cartridge, and you will not
get an efficient vacuum seal. If your tip cartridge is too large, overextending the pad,
you could damage the board.
2. If the board has been conformal coated, you may or may not need to remove this
coating. Usually, you can desolder through the coating. IF YOU DESOLDER THROUGH
CONFORMAL COATING, CLEAN THE INSIDE OF THE TIP FREQUENTLY WITH A TIP
CLEANER AS THESE COATINGS CAN HARDEN AND CRYSTALLIZE ON THE INSIDE OF THE
TIP, CREATING A BLOCKAGE. Usually when working with conformal coated boards, you
need only score the conformal coating on the top side along the top fillet so the solder
is allowed to be pulled through from one side and out the other.
3. Flux will minimize dwell time and aid in heat transfer, but will require more frequent
replacement of your fume filter.
4. Whenever possible, work with the board in an upright or angled (not flat) position so
you can see the distance from the tip cartridge to the pad The tip cartridge should be
perpendicular to the board, allowing sufficient heat transfer and vacuum to develop.
5. Contact the fillet. As you wait, the fillet will melt and the solder will wet the tip. This is
your vacuum seal. Now move the tip closer to the pad.
6. Move the lead back and forth with the tip. This will aid heat transfer.
7. Depress the trigger. One long pull while moving the lead will typically be sufficient. A
short burst may not remove all the solder and may result in a lead that is resweated to
the board.
8. Look at the work. If the hole is still filled with solder, don't try to immediately desolder
it again. Once any solder has been removed, you must go back and resolder. Air in the
through-hole acts as an insulator and will not allow heat transfer through to the other
side.
Copyright © 1996, Metcal Inc. All Rights Reserved. 7026-0220 Rev 2