Setting it Up
The KeypadLinc does not use code wheels or dials to set programming addresses.
Instead, it accepts the first address on the powerline once the programming mode is
started. Any PLC/X10 transmitter can be used to set the primary address. The set-
tings are stored in non-volatile memory that will be retained in the event of a power
failure.
You will need a transmitter to set the button's addresses or functions. To get the
maximum number of programming options, we recommend a ControLinc Duo
(Smarthome item #4071) or a Maxi Controller (#4020). These controllers have sepa-
rate keys for the addresses (1,2,5,etc.) and the commands (ON, OFF, etc.). Many
PLC/X10 transmitters have buttons with combined functions. That is, their buttons
combine the address with a command (1-ON, 1-OFF). When single-button con-
trollers are used, the setup choices will be limited. In some of the programming
steps, it may be necessary to send only the address.
Integrated Dimmer’s Primary Address Programming
The integrated dimmer in KeypadLinc is designed to control incandescent or low-volt-
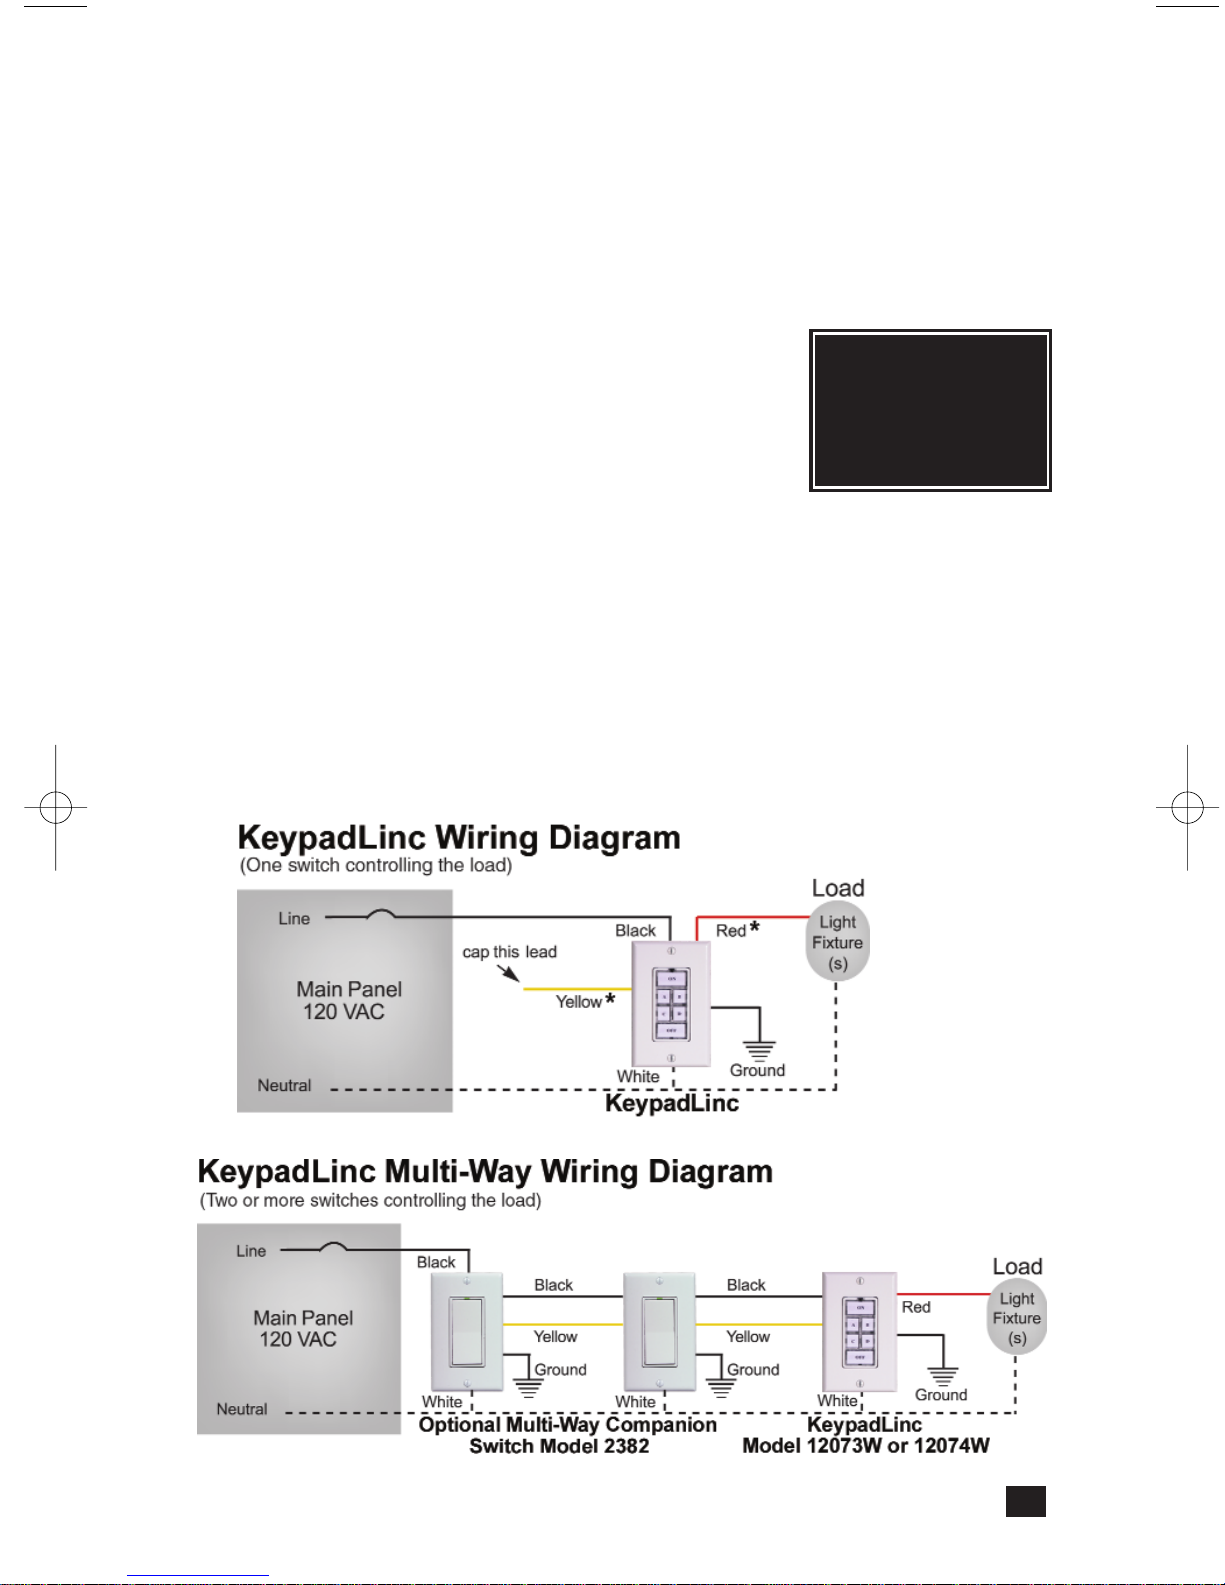
age (magnetic transformer) lighting. Connecting the red load wire (explained in the
installation section) and using the integrated dimmer is optional. The KeypadLinc will
function normally without a load connected and the red wire capped off.
Activating the BoosterLinc Mode
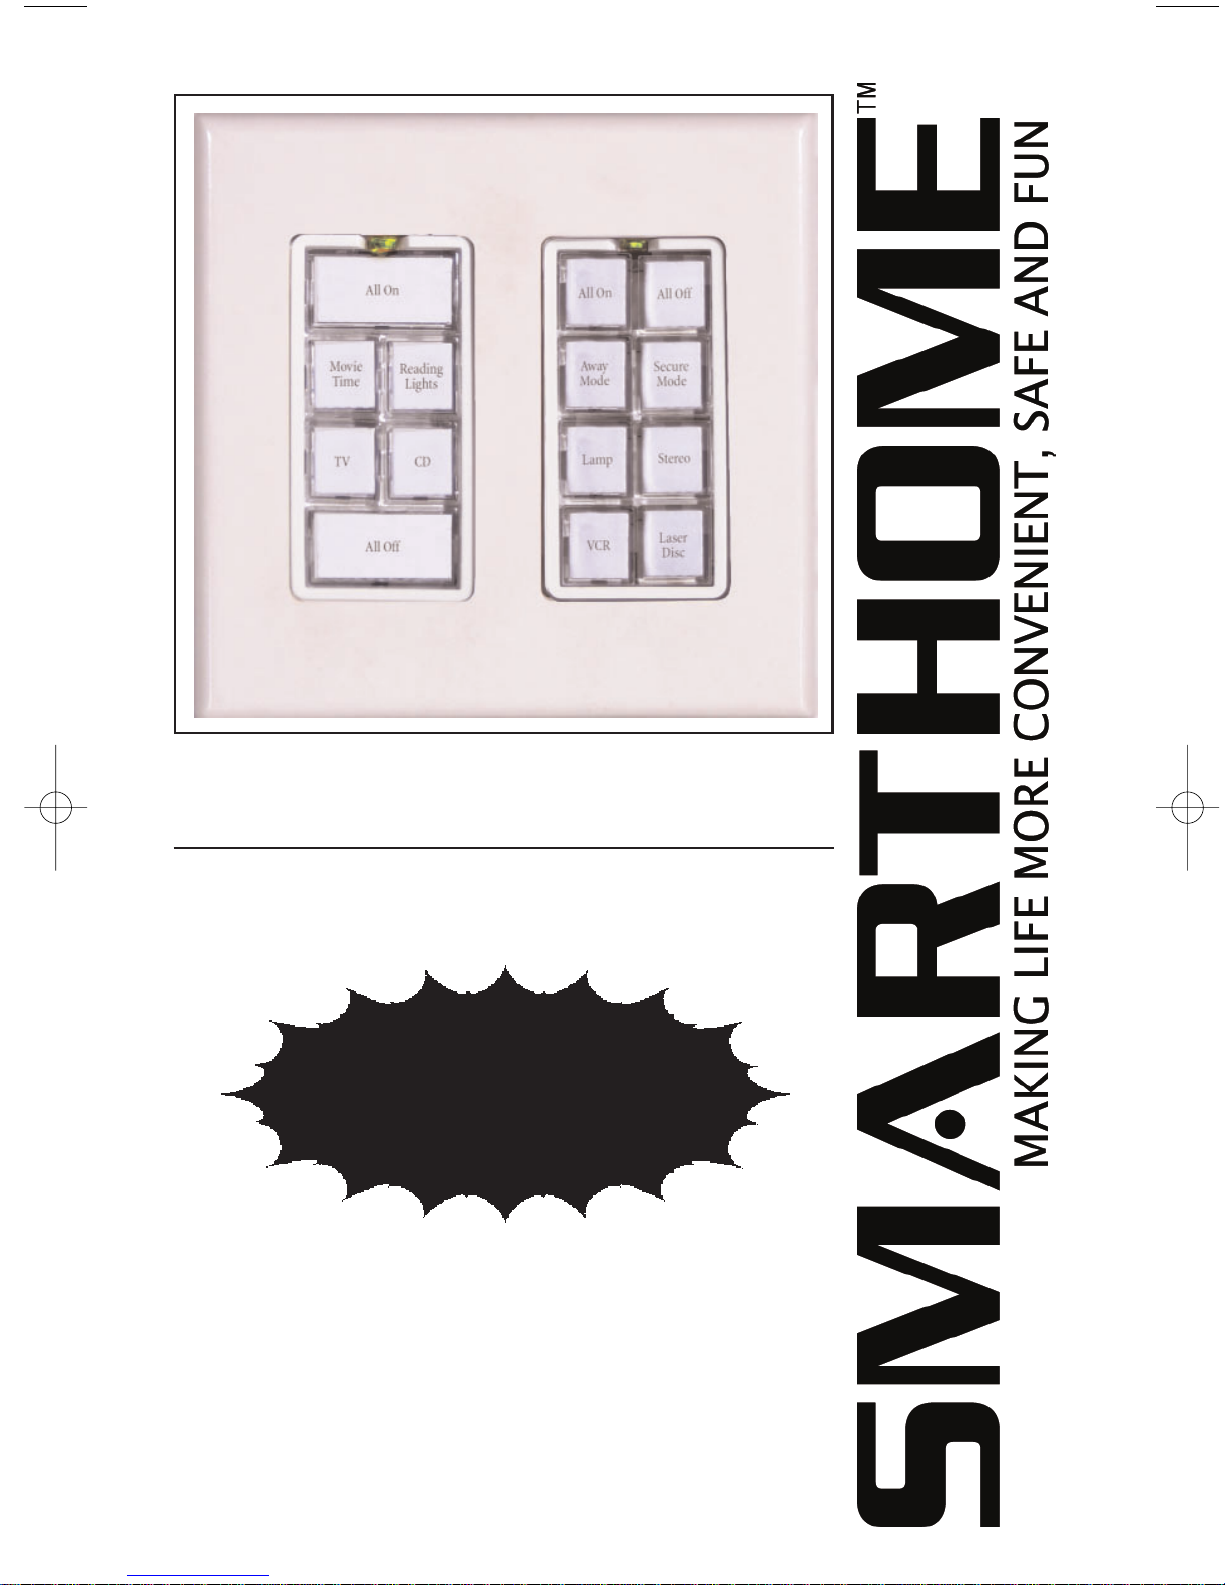
The 6-Button
KeypadLinc Controllers
includes the programming and intelligence
found in Smarthome's plug-in BoosterLinc signal booster. This feature allows it to
boost PLC/X10 signals on the AC line and improve the overall reliability of the automa-
tion system in the home. The signal boosting can be disabled if desired or if there are
other Smarthome BoosterLinc-enabled products on the same circuit breaker. Please
see page 16 for important information on this feature.
Setting the Primary Address
The dimmer ships from the factory with "A1" and BoosterLinc Mode disabled. The
Dimmer is assigned to button "A" on an 8-button KeypadLinc and the two larger but-
tons on a 6-button KeypadLinc. (See the diagram on page 16.) If KeypadLinc is
reset, it will revert back to “A1”. Any of the 256 addresses can be programmed.
1. Press and hold the Status LED/ Set Button for approximately 3 seconds until the
load comes on, then release. The green Status LED/ Set Button begin blinking.
2. Within 30 seconds, transmit the desired primary address (housecode and unit
code) from any transmitter.
3. Set the BoosterLinc Feature
a) Send an “ON” command immediately after
the house and unit code to activate the
BoosterLinc mode.
OR
b) Send an “OFF” command immediately after
the house and unit code to disable the
BoosterLinc mode.
Thelight(s)controlled by the KeypadLincwill blink
andtheStatusLED/SetButtonwillstopflashing.
6
Important: If you plan on
sending status request signals
to the integrated dimmer of
KeypadLinc Controllers or any
2-way Smarthome product,
make sure that each is pro-
grammed with a different pri-
mary address. Otherwise, their
simultaneous responses to a
status request may collide
with one another.
(For 6-Button mod-
els only)
1207x-Jun2004web.qxd 6/16/2004 3:28 PM Page 6