Small HD DP4 Manuel utilisateur
0

1 | P a g e
Table of Contents
Product Introduction.................................................................................3
Caring for your DP4 Monitor.....................................................................4
Caring for your DP4-EVF Viewfinder.........................................................5
Positioning the Eyecup..........................................................................5
What should be in the box:.......................................................................6
DP4 Monitor:.........................................................................................6
VF Only:.................................................................................................6
DP4-EVF Combined: ..............................................................................6
DP4 Diagram .............................................................................................7
Powering the DP4: ....................................................................................8
The Power Switch..................................................................................8
Battery Plates:.......................................................................................9
Powering with AC/DC Power: .............................................................11
The DP4-EVF:...........................................................................................12
Overview .............................................................................................12
Attaching the VF to the DP4................................................................13
Detaching the VF from the DP4: .........................................................14
Using the DP4-EVF ..............................................................................15
Using the DP4..........................................................................................16
Operating the Menus..........................................................................16
The Preset Menu:............................................................................17
DSLR Scale Presets ..........................................................................18
Assigning Function Buttons.............................................................19
Image Menu ........................................................................................20
Advanced Menu ..................................................................................21

2 | P a g e
False Color.......................................................................................22
1:1 Mapping ....................................................................................23
Input Menu .........................................................................................24
Changing inputs: .............................................................................24
System Menu ......................................................................................25
Misc Menu ..........................................................................................26
PIP Menu.............................................................................................26
Accessories..............................................................................................27
Attaching the Acrylic Screen Protector...............................................27
Attaching the Sunhood .......................................................................28
Updating Firmware .................................................................................29
Specifications ..........................................................................................30
Warranty .................................................................................................31
Thank You! ..............................................................................................32
3 | P a g e
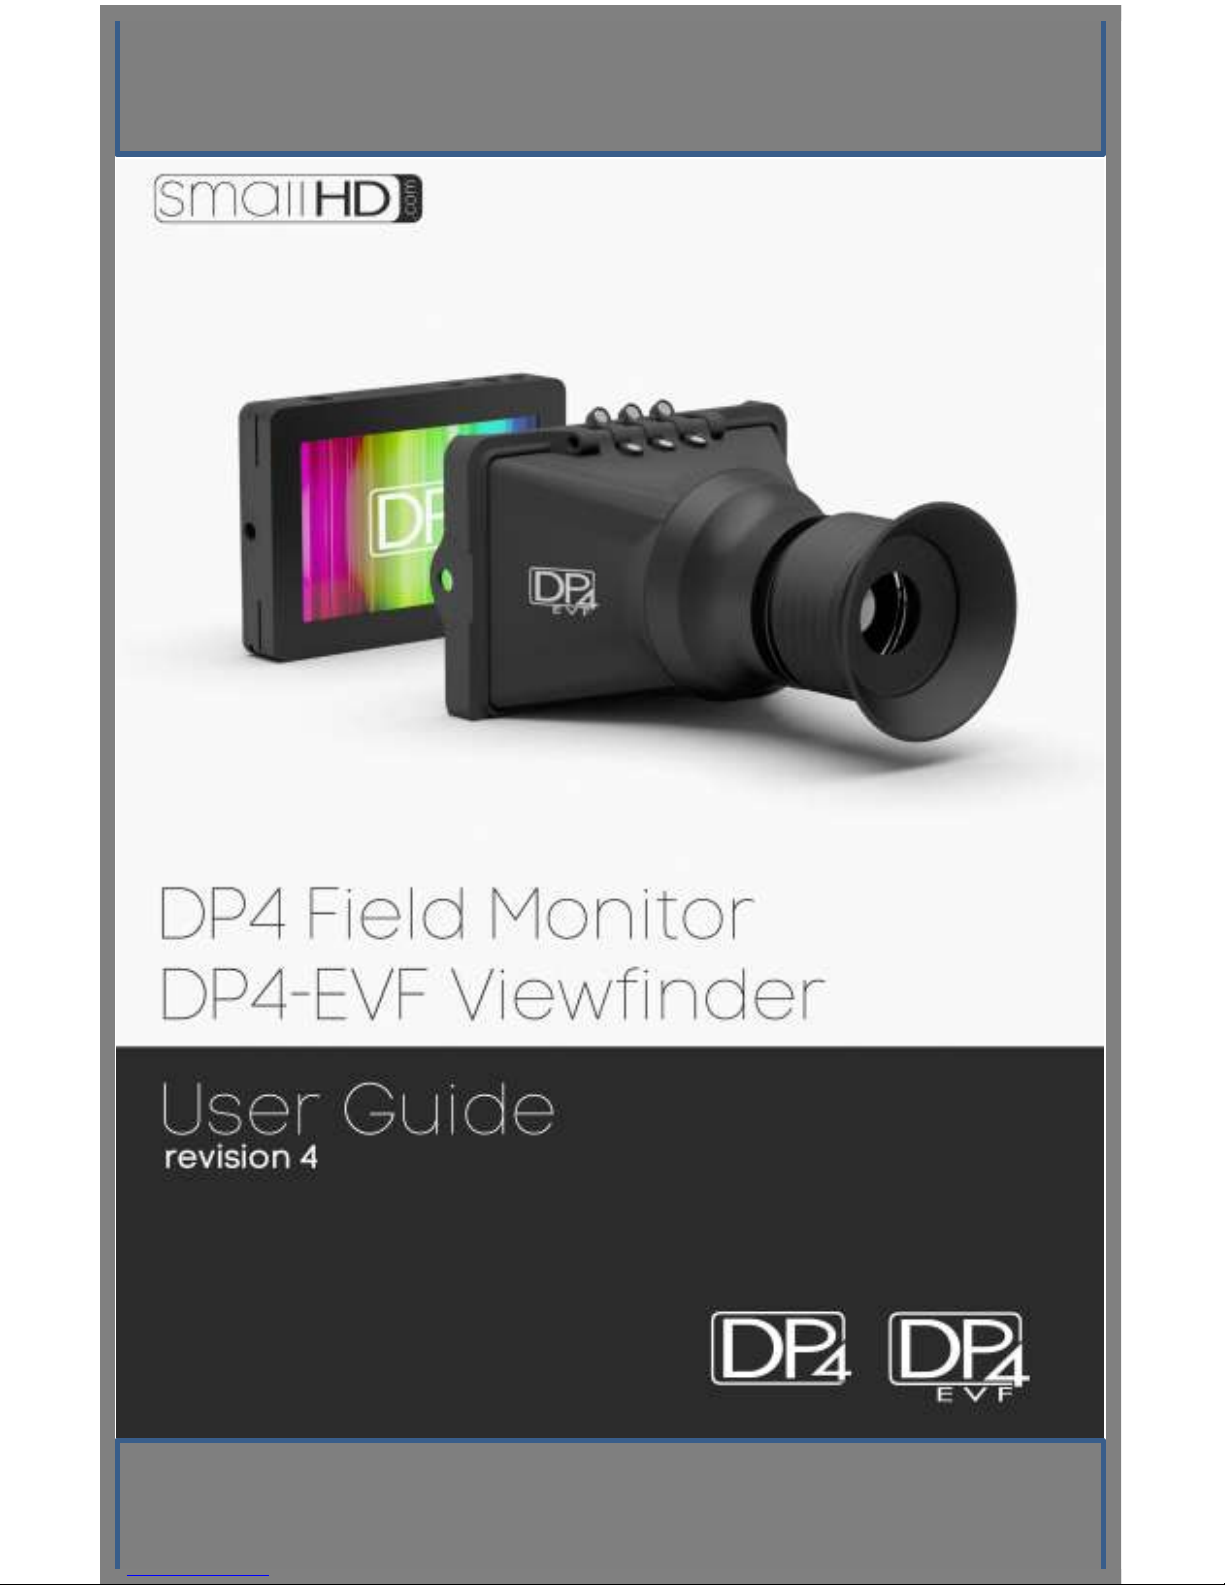
The DP4
The VF
The DP4-EVF
Product Introduction
On Camera Field Monitor
An affordable, durable, 4.3-inch on-camera monitor packed
full of inputs, outputs and professional software features.
Extensive menu options plus a simple user interface, means
quick and meaningful visual feedback when dialing in crucial
details such as focus and exposure.
Viewfinder Loupe Accessory
for the DP4 Monitor
An optical loupe accessory designed to attach to the DP4
Field Monitor. This flip-up eyepiece adds the functionality of
an EVF to the DP4, but does not remove its functionality as a
monitor.
Monitor/Viewfinder Combo
The Resulting combination the “DP4” and “VF” shown
above. The DP4-EVF operates seamlessly as either a
4.3-inch monitor or as an EVF by simply flipping the
eyepiece up or down and results by combining the
“DP4 and “VF” shown above.

4 | P a g e
Caring for your DP4 Monitor
* The DP4’s DC input is CENTER PIN POSITIVE. Always check
polarity of any custom cable implementations. SmallHD is not
liable for any power related damage to your monitor due to
incorrect polarity.
* The DP4’s max input voltage is 18vDC. Over powering can result
in damage to your DP4. SmallHD is not liable for any damage due
to overpowering the unit.
* Not all power sources are created equal. Using off-brand (non-
Canon) LP-E6 batteries can result in undesired performance and
longevity issues.
* Do not attempt to disassemble the DP4. Doing so voids
warranty.
* If the DP4 is exposed to significant amounts of water, do not
power on and contact SmallHD support. Water damage is not
covered by warranty, but taking the right precautions when a
water event occurs can sometimes preserve unit functionality.
* Clean the screen with a high quality microfiber cloth only.
Never spray the screen directly with any sort of cleaning fluid.
* Always ask us if you have any questions about general
operation. Contact SmallHD at www.smallhd.com/support
*Much more information about the DP4 and other SmallHD
products can be found online on our website and in video form
at www.smallhd.com
5 | P a g e
Caring for your DP4-EVF Viewfinder
* Heed all instructions listed above regarding the DP4 Monitor
* Do not expose the entrance of the EVF lens to direct sunlight.
Doing so can magnify the sun and cause damage to the screen.
* The aluminum lens assembly is air tight and sealed. Do not
attempt to disassemble, as risk of contamination from dirt, dust
and moisture can occur.
* Clean the outside lenses as lightly as possible with a clean
microfiber cloth only.
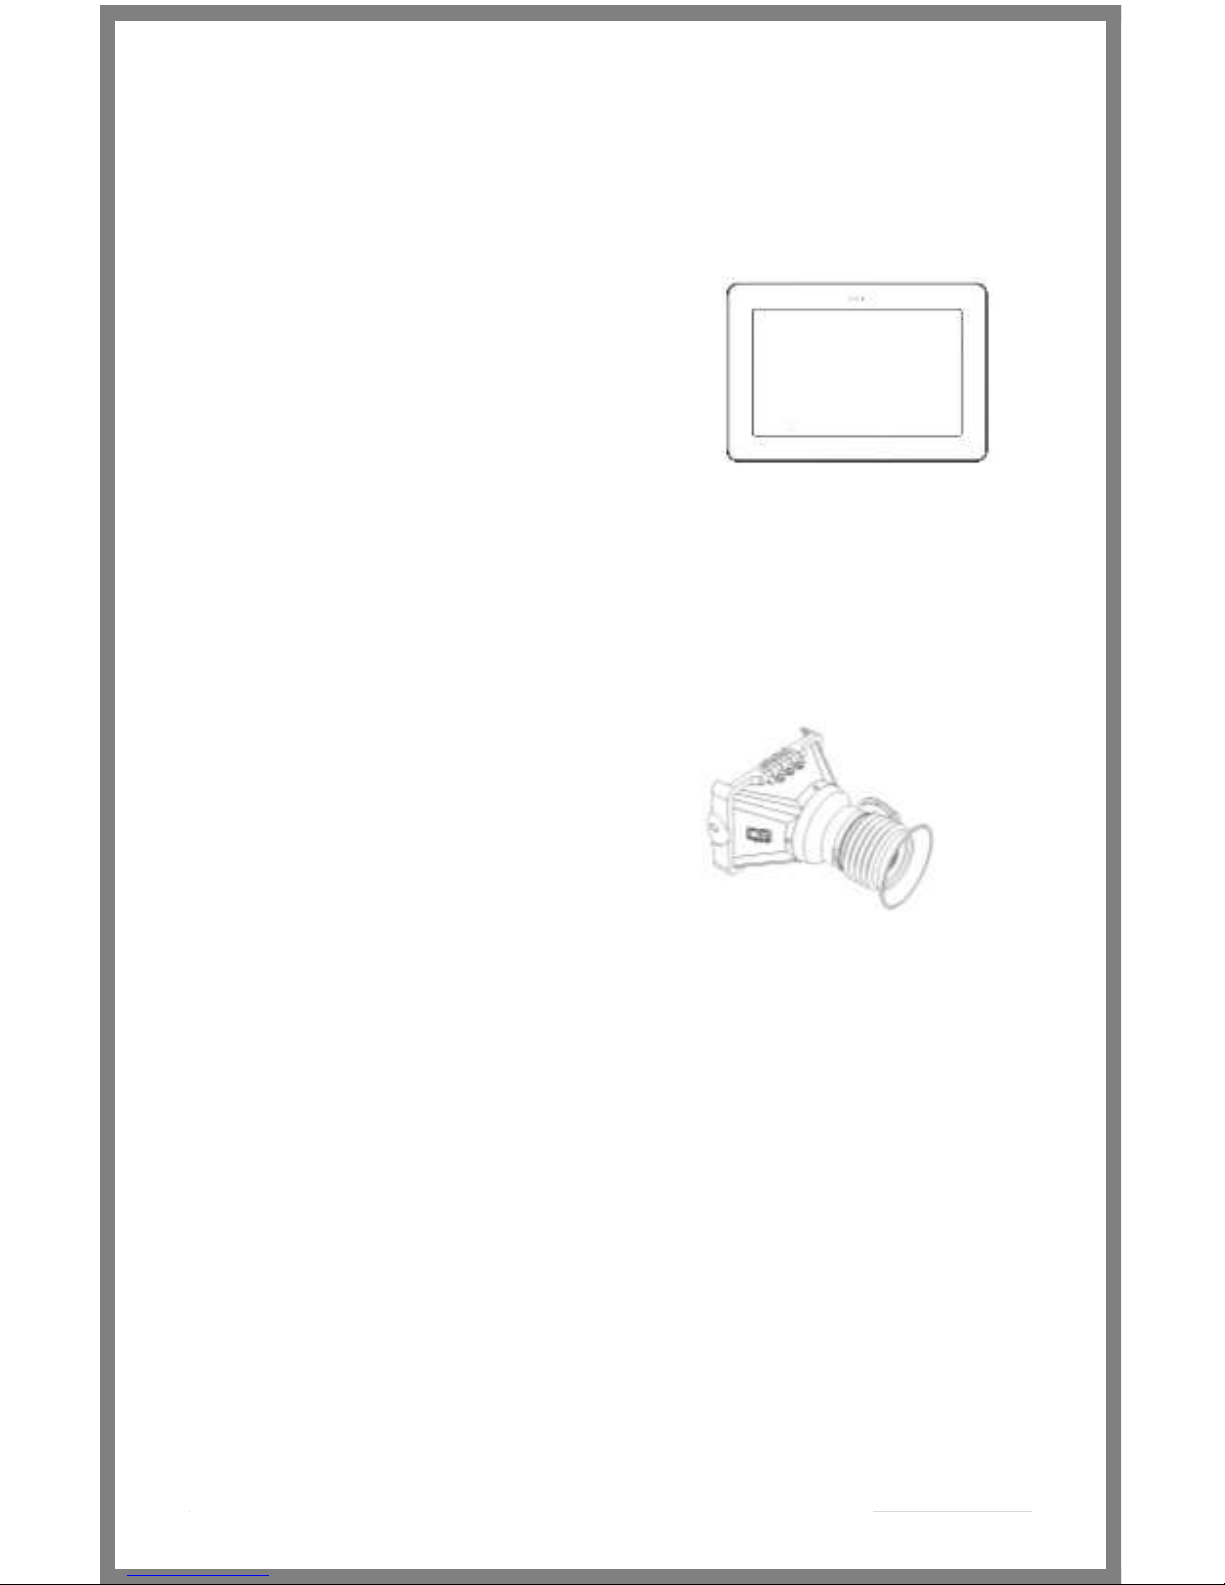
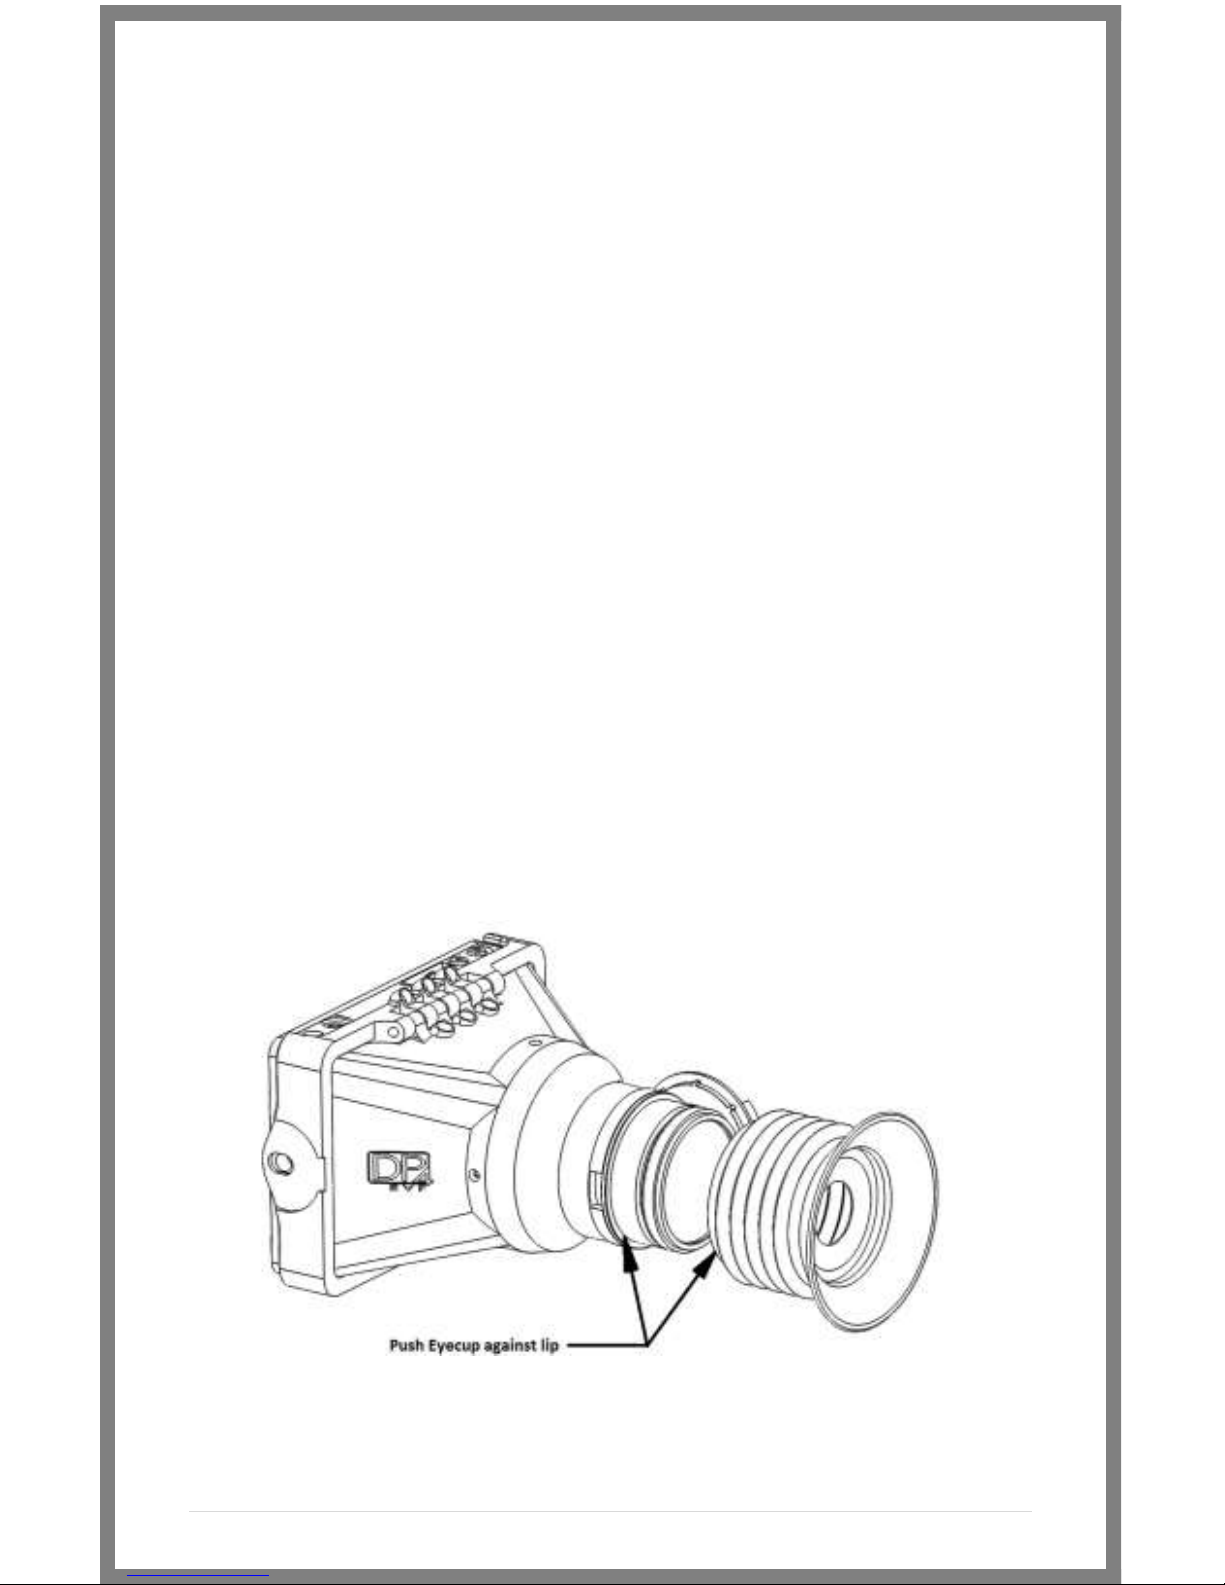
Positioning the Eyecup
The EVF Eyepiece is fixed to the assembly in a way that allows
easy rotation and removal. The eyecup can also be positioned
forward and back for optimal comfort.

6 | P a g e
What should be in the box:
DP4 Monitor:
1. DP4 Field Monitor
2. Sunhood
3. Mini-HDMI Cable (1.5ft)
4. YPbPr Breakout Cable (4ft)
5. Hotshoe Ball Mount
6. US Power Supply
7. Acrylic Screen Protector
8. SmallHD Cleaning Cloth
VF Only:
1. DP4 VF Adapter
2. SmallHD Cleaning Cloth
3. Circular Eyecup
4. Lens Cap
DP4-EVF Combined:
1. All of the above
7 | P a g e
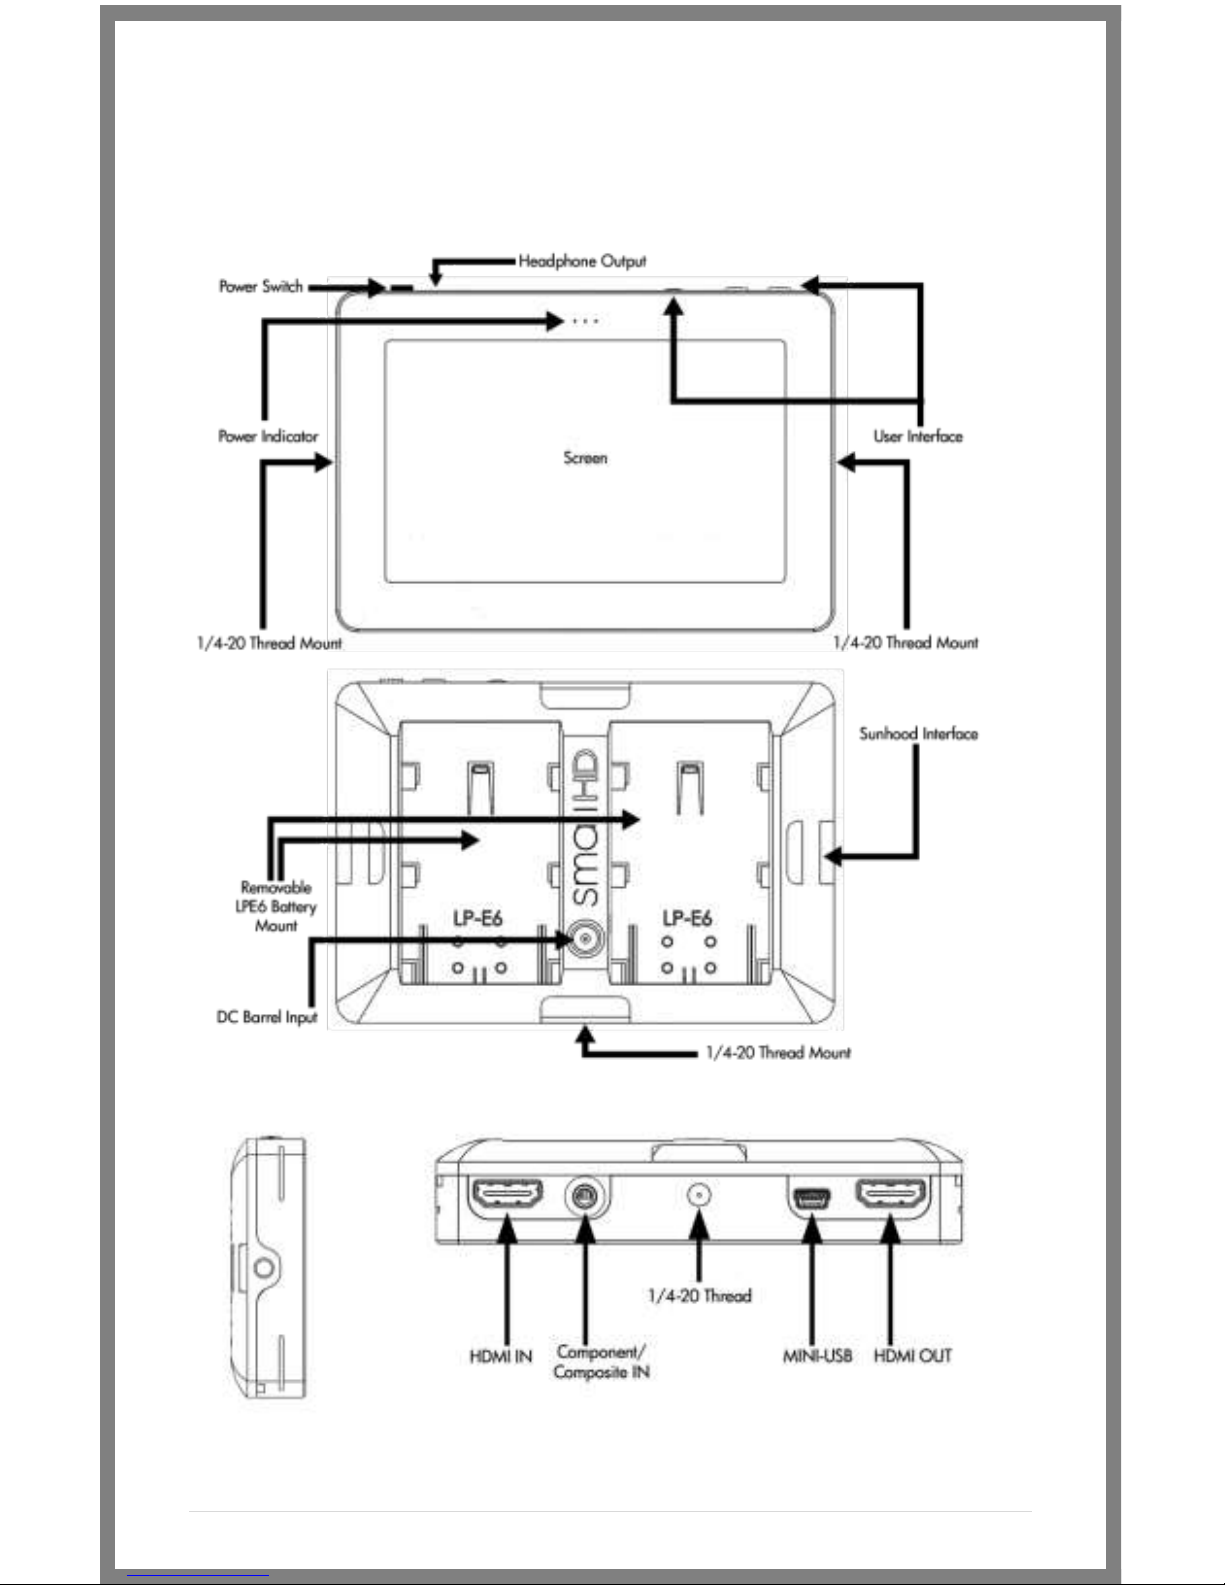
DP4 Diagram
/ Composite Out
8 | P a g e
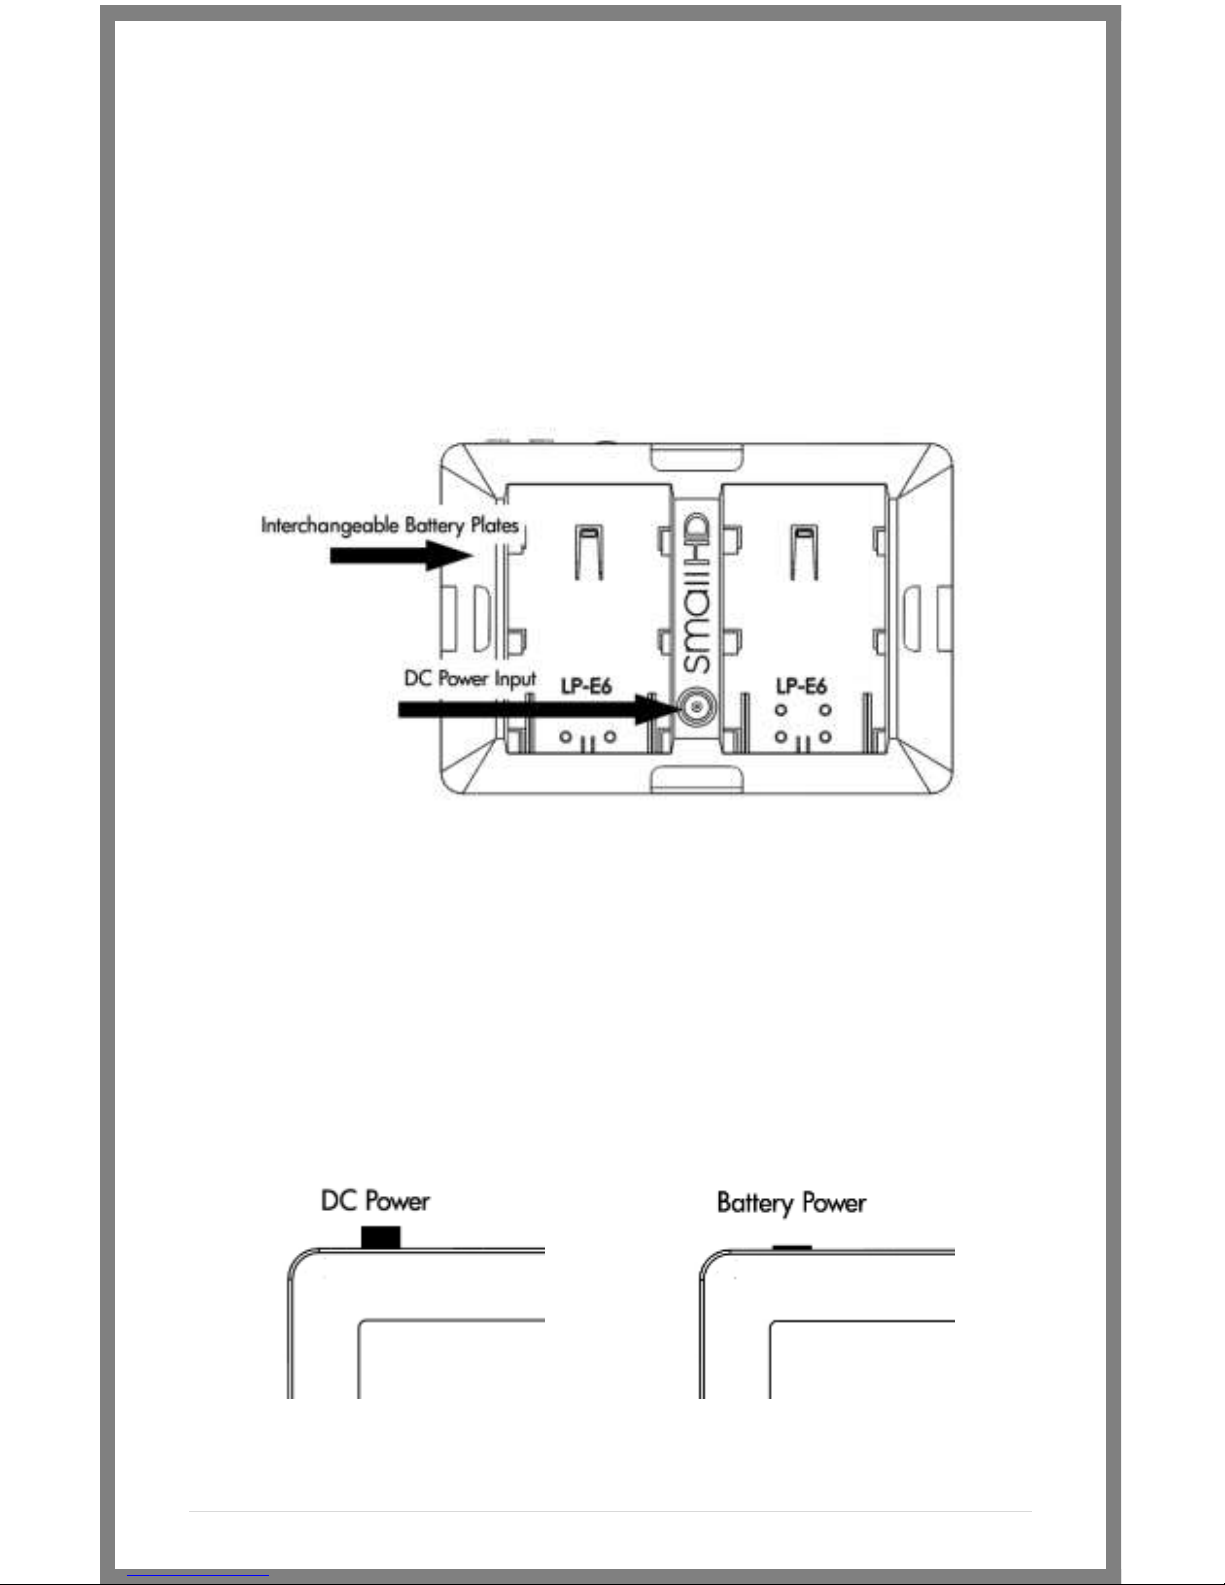
Powering the DP4:
The DP4 has two methods for powering:
* Batteries, using the interchangeable battery plates
* AC/DC Power, using the Barrel Power input on the back of the
unit.
The Power Switch
The DP4 has a dual position power switch that distinguishes
between using battery power, or the rear DC barrel power input.
The switch has a depressed state (down) and a raised state (up).
To use batteries, the switch should be DOWN. To use AC/DC
Power via the barrel power input, the switch should be UP.
9 | P a g e
Battery Plates:
The DP4 comes standard with the dual battery plate of your
choosing that is removable/replaceable with other types of plates.
* Batteries can be used either in a single or double arrangement
* Power switch should be depressed to activate battery power
* Battery voltage can be read onscreen in the DP4 Menu System
by activating “Voltage Meter” in the “System” Menu.
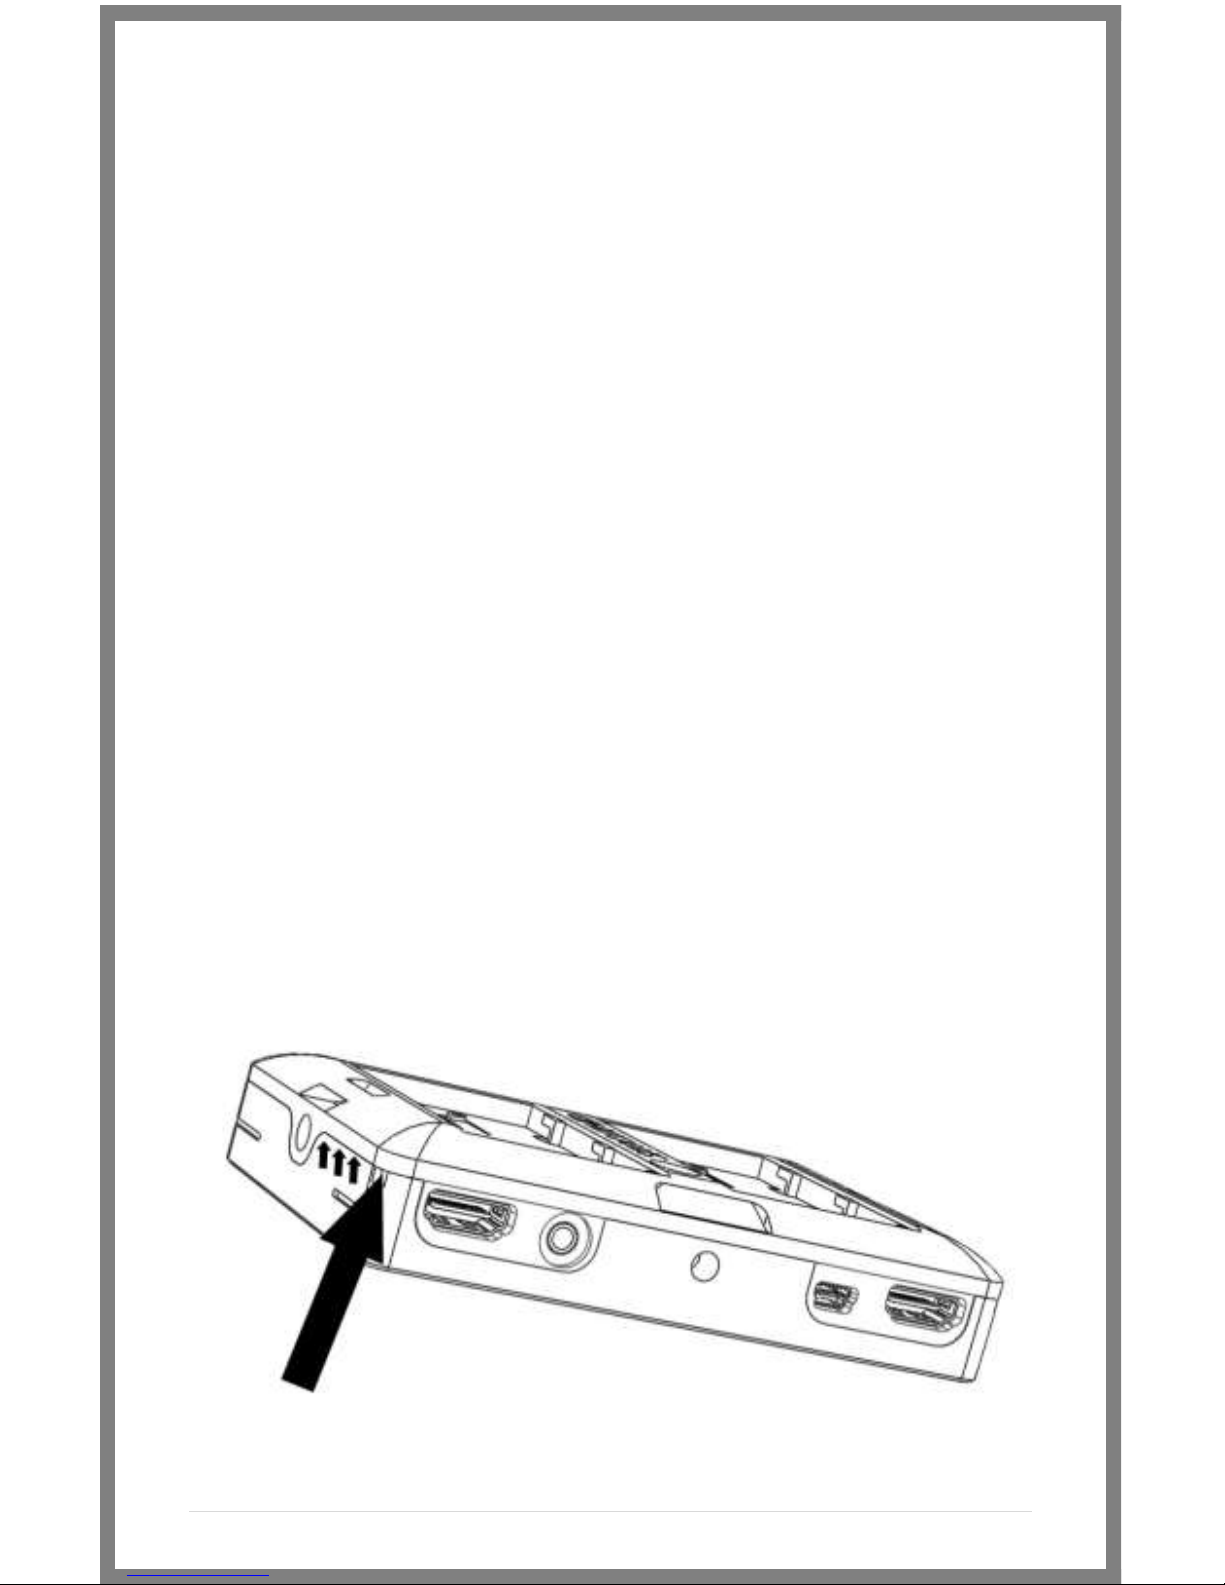
Removing Battery Plates:
The battery plates are not attached by screws, they just need the
correct amount of force applied in the correct places to detach
from the DP4 body. Some popping noises may occur during the
battery plate removal process—this is normal and expected.
Method 1:
The recommended method is to insert a small flat-head
screwdriver into the corner slot where the battery plate meets
the metal body, then pull towards the rear of the DP4, lifting the
corner of the plastic plate away from the metal DP4 housing.
Ce manuel convient aux modèles suivants
1
Table des matières
Autres manuels Small HD Accessoires pour appareils photo


