Skymsen PA-14-N Manuel utilisateur

INSTRUCTIONS MANUAL
FOOD PROCESSOR, WITH 6 DISCS DIAMETER 429 mm
MODEL
PA-14-N

2
SUMMARY
1. Introducon ...................................................................................... 3
1.1 Safety .................................................................................................................... 3
1.2 Main Components ................................................................................................. 6
1.3 Technical Characteriscs ........................................................................................ 7
1.4 Available Discs ....................................................................................................... 7
2. Installaon and Pre Operaon ........................................................... 9
2.1 Installaon ............................................................................................................ 9
2.2 Pre Operaon ........................................................................................................ 9
3. Operaon ........................................................................................ 10
3.1 Starng.................................................................................................................10
3.2 Operaon Procedure ............................................................................................12
3.3 Cleaning and Sanizing .........................................................................................12
3.4 Cauons with Stainless Steel ................................................................................14
4. General Safety Pracces .................................................................. 15
4.1 Basic Operaon Procedures ..................................................................................15
4.2 Safety Procedures and Notes before Switching the Machine ON ...........................16
4.3 Roune Inspecon................................................................................................17
4.4 Operaon .............................................................................................................17
4.5 Aer Finishing The Work.......................................................................................17
4.6 Maintenance ........................................................................................................17
4.7 Warning................................................................................................................18
5. Analysis and Problem Solving .......................................................... 18
5.1 Problems, Causes and Soluons............................................................................18
6. Maintenance ................................................................................... 20
7. Electrical Diagram............................................................................ 21

3
1. Introducon
1.1 Safety
When incorrectly used this equipment is a potenally DANGEROUS machine. Maintenance,
cleaning or any other service shall be performed by a duly trained person and with the
machine unplugged.
To avoid accidents respect the following instrucons:
Read completely these instrucons
1.1.1 To avoid to risk electric shocks and damage to the equipment never use it with wet
clothes or shoes and/or standing on wet oors. Do not plunge it into water nor any other
liquid, do not spray water directly to the equipment.
1.1.2 When the equipment is in operaon the operator shall supervise it, principally when
children might be near
1.1.3 Unplug the equipment when:
It is not in use, before to clean it, before to remove or to place some accessory. Before
maintenance or any other service.
1.1.4 Do not operate the equipment if the cord or plug are damaged. Do not lean the cord
on table edges, nor let them lie on hot surfaces.
1.1.5 When the equipment may have fall, have been damaged any way, or simply does not
work, take it to Technical Assistance to check.
1.1.6 The use of accessories not recommended by the manufacturer may cause corporal
damages .
1.1.7 Keep the hands or any other object away from moving parts while the equipment is
in operaon.
1.1.8 During operaon never wear loose clothes with wide sleeves principally around the
wrists .
1.1.9 Make sure the equipment voltage and the network voltage are the same, and the
equipment has been solidly grounded .
1.1.10 Before to start the equipment make sure the Disc # 02 (Pic.03) and the Chamber Lid
# 05 (Pic. 03) are ed securely in their correct posion .
4
1.1.11 Do not introduce the ngers nor any other object into the throat use the STUMPER
to feed the processor.
1.1.12 Do not introduce the ngers nor any other object inside the processed product
unload opening. Keep hands away from parts in movement.
1.1.13 This equipment has been designed to be used in commercial kitchens, such as
restaurants, canteens, hospitals, bakeries, Meet Shops, etc
The equipment is not recommended when :
- it is to be used connuously for industrial producon.
- Ambient with corrosive or explosive atmosphere or contaminated with water vapor, dust
ot gas
1.1.14 Equipotenaty Label
To be used to connect equipotenal wiring
45006.5
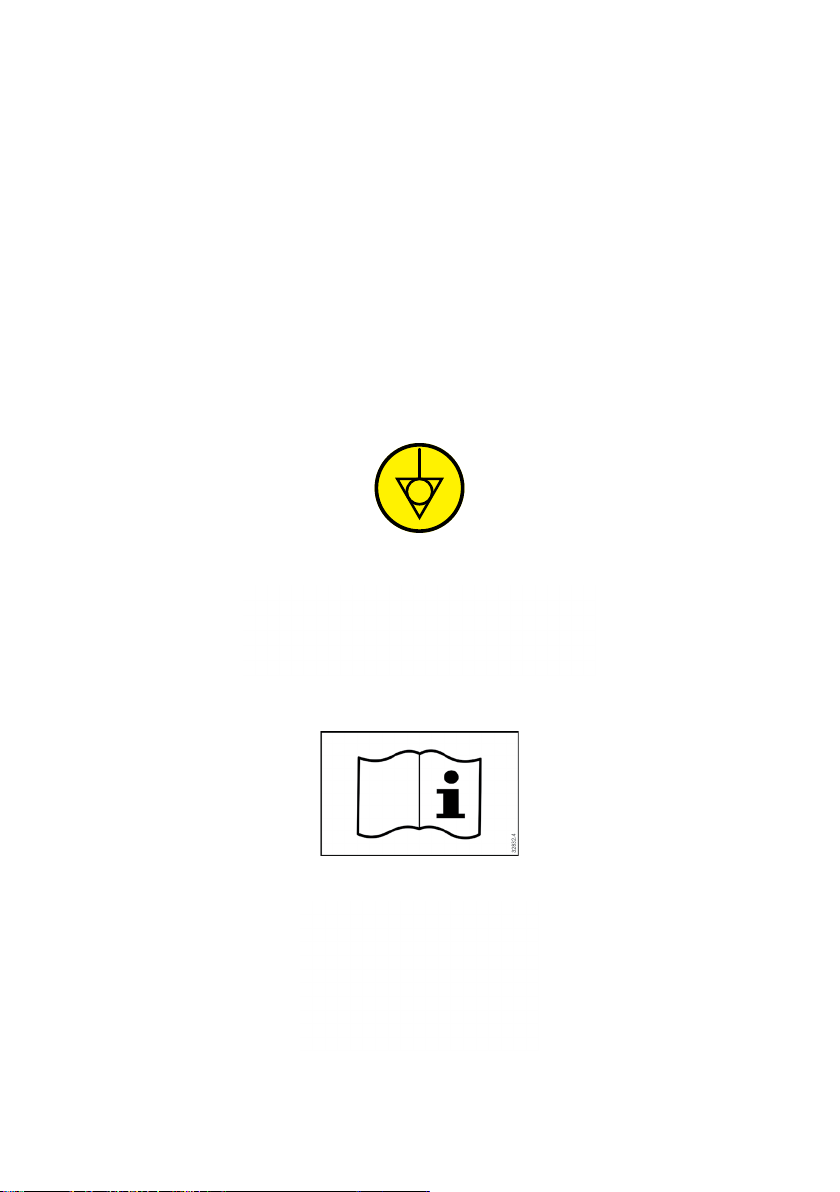
1.1.15 Aenon Label
To be used to call operator aenon to zone of danger
1.1.16 Instrucon Manual Label
To call operator aenon to read the Instrucon Manual
1.1.17 Label used to advise about aenon during Maintenance and Cleaning

5
IMPORTANT
For mayor operator protecon this equipment is provided with a safety system not
allowing to be involuntary switched ON aer an eventual energy shortage .
IMPORTANT
Make sure the cord is in perfect condions for use. If it is not, change it for a new
one in accordance with the technical specicaons and safety rules .
The substuon shall be made by a qualied professional, and shall respect the
local safety norms.
IMPORTANT
This equipment must not be used by children or any persons with reduced
physical or mental aptness, lack of experience or knowledge, unless they are
under supervision or have received from the person responsible for safety, proper
instrucons on how to use the equipment.
IMPORTANT
Children shall be watched in order to avoid them to play with the equipment.
IMPORTANT
In case of emergency take o the plug from its socket.
IMPORTANT
Never spray water directly on to the equipment.
CHAVE GERAL
GENERAL KEY
DESLIGA / OFF
LIGA / ON
46913.0
1.1.18 Main Switch Label
Shows the Main Switch
1.1.19 Original Characteriscs Label
Call aenon to the Original Characteriscs of the equipment
6
1.2 Main Components
All components are made with carefully selected materials, in accordance with Siemsen
experience and standard tesng procedures.
PICTURE 01
01 – Collecng Bowl
02 – Disc Chamber
03 – Chamber Locking Handles
04 – Stumper
05 – Stumper Arm
06 – Motor Housing
07 – Cord
08 – Feet
09 – Emergency Buon
10 – ON/OFF Switch
11 – Reset Buon
05
04
07
06
02
03
01
09
08

7
TABLE 01
CHARACTERISTICS UNIT PA-14-N
Average Producon kg/h variable
Voltage V 220
Frequency Hz 50
Power Rang CV 1
Height mm 770
Width mm 730
Depth mm 490
Net Weight kg 71,5
Gross Weight kg 99
1.3 Technical Characteriscs
The Food Processor is a table top equipment able to realize several cungs such as slices,
shredder, or grangs processing a great vegetable variety maintaining their color, juice,
nutrional propriees and having high performance.
1.4 Available Discs
TABLE 02 gives the food processor available discs
TABLE 02
DISCS SUPPLIED WITH
THE EQUIPMENT
DESIGNATION MODEL
SLICER DISC - 1,5 mm -
SLICER DISC - 3 mm -
SHREDDER DISC - 3 mm -
SHREDDER DISC - 5 mm -
SHREDDER DISC - 8 mm -
GRATER DISC -
OPTIONAL DISCS
(sold separately)
DESIGNATION MODEL
- -

8
TABLE 03
IMPORTANT
The following Cung Selecon Table 03 purpose is to guide the right Discs
Selecon to obtain some cungs types for each product.
PRODUCT CUTTING TYPE DISCS
Beet Slices Slicer 1.5 and 3
Shreds Shredder 3, 5 and 8
Carrot Slices Slicer 1.5 and 3
Shreds Shredder 3, 5 and 8
Graters Grater
Cabbage Strips Slicer 1.5 and 3
Shreds Shredder 3, 5 and 8
Mushroom Slices Slicer 1.5 and 3
Onion Slices Slicer 1.5 and 3
Pepper Slices Slicer 1.5 and 3
Radish Slices Slicer 1.5 and 3
Shreds Shredder 3, 5 and 8
Potato Slices - Chips Slicer 1.5 and 3
Shreds Shredder 3, 5 and 8
Apple Slices Slicer 1.5 and 3
Coconut Shreds Shredder 3, 5 and 8
Graters Grater
9
500 mm
2.1.2 Electric Installaon
Check electric network voltage, it shall be the equipment same voltage 220 V .
The cord has a plug with three pins, the middle one is ground. It is mandatory the three
pins to be duly connected before to start the machine.
IMPORTANT
Before to place the Disc Chamber, make sure the Disc is perfectly ed, to avoid
damages to the Chamber.
Make sure the Food Processor is stable on its posion,
Before to use it wash with water and soap all the parts that will be in contact with the
product to be processed (see item 3.3 Cleaning).
2.2 Pre Operaon
PICTURE 02
IMPORTANT
For Maintenance or Cleaning the equipment switch OFF the General Switch # 01
(Pic.02).
01
2. Installaon and Pre Operaon
2.1 Installaon
2.1.1 Placing
The equipment shall be installed on a level, stable and dry surface with preference 500
mm height.
10
PICTURE 03
3. Operaon
3.1 Starng
To switch ON the equipment follow the below instrucons:
1 - Make sure the Disc Chamber # 01 (Pic.04) is closed and duly locked .
2 - Place the ON/OFF Switch# 02 (Pic. 04) on OFF posion “O” .
3 - Make sure the Stumper # 03 (Pic;04) is on the Throat # 04 (Pic. 04)
4 - Make sure the Emergency Buon # 05 (Pic. 04) is not acvated.
5 - Push and release the Reset Buon # 06 (Pic. 04)
6 - Press ON/OFF Switch # 02 (Pic.04) to posion “I” to switch ON the processor.
3.1.1 Safety Systems
The Processor has two more safety systems:
A - the rst one do not let the processor to start with an open Disc Chamber # 01 (Pic.04)
07
05
08
06
02
04
01
03
2.2.1 Procedure to Assemble the Discs
1 - Fit the Expeller Dish # 01 (Pic. 03) on the sha # 03 (Pic. 03)
2 - Choose the Disc # 02 (Pic. 03) and t the Disc on the sha # 03 (Pic. 03)
3 - Tight the nut # 04 (Pic. 03) on sha # 03 (Pic,03)
4 - Fit the Disc Chamber # 05 (Pic. 03)
5 - Tight the Chamber Locking Handles # 06 (Pic. 03)
6 - Align the Stumper # 07 (Pic. 03) with the throat # 08 (Pic03).
Autres manuels pour PA-14-N
1
Table des matières
Autres manuels Skymsen Robot culinaire

Skymsen
Skymsen PA-14 Manuel utilisateur

Skymsen
Skymsen Master-SS Manuel utilisateur

Skymsen
Skymsen PA-7 Manuel utilisateur

Skymsen
Skymsen PA-7S Manuel utilisateur

Skymsen
Skymsen PA-7 Manuel utilisateur

Skymsen
Skymsen PA-141 Manuel utilisateur

Skymsen
Skymsen PAIE Manuel utilisateur

Skymsen
Skymsen PA-14-N Manuel utilisateur

Skymsen
Skymsen PAIE Manuel utilisateur

Skymsen
Skymsen PC-7L Manuel utilisateur


