SkyBell TRIM II PRO Manuel utilisateur

TRIM II PRO
Doorbell Camera
PRODUCT FEATURES
HD VIDEO
See your visitor up to 1080p HD and 5x zoom.
MOTION SENSOR
SkyBell alerts you even if visitor doesn’t press button – providing additional
security.

LIVE MONITORING
Monitor your front door at any time by starting the video from the app.
FREE VIDEO RECORDING
SkyBell can record each video so you download or watch them at any time.
MULTIPLE USERS
Multiple people can receive alerts to answer the door and you can have multiple
device on each account.
HEAR & SPEAK
2 way audio means you can enjoy a full conversation with your visitor.
ACTIVITY HISTORY

Review the day’s events while you were away – includes missed visitors, answered
video calls and motion alerts.
COLOR NIGHT VISION
Feel safe knowing you can see a visitor at night – in full color HD video
QUIET MODE
Turn off your home’s doorbell chime from the app so it won’t wake
up a baby!
SNAP PHOTOS
Capture a photo of your visitor with the touch of a button
RUGGED
Only SkyBell can work between -40 and 140 degrees F
THEFT GUARANTEE
If your SkyBell is stolen, we will replace it free of charge.
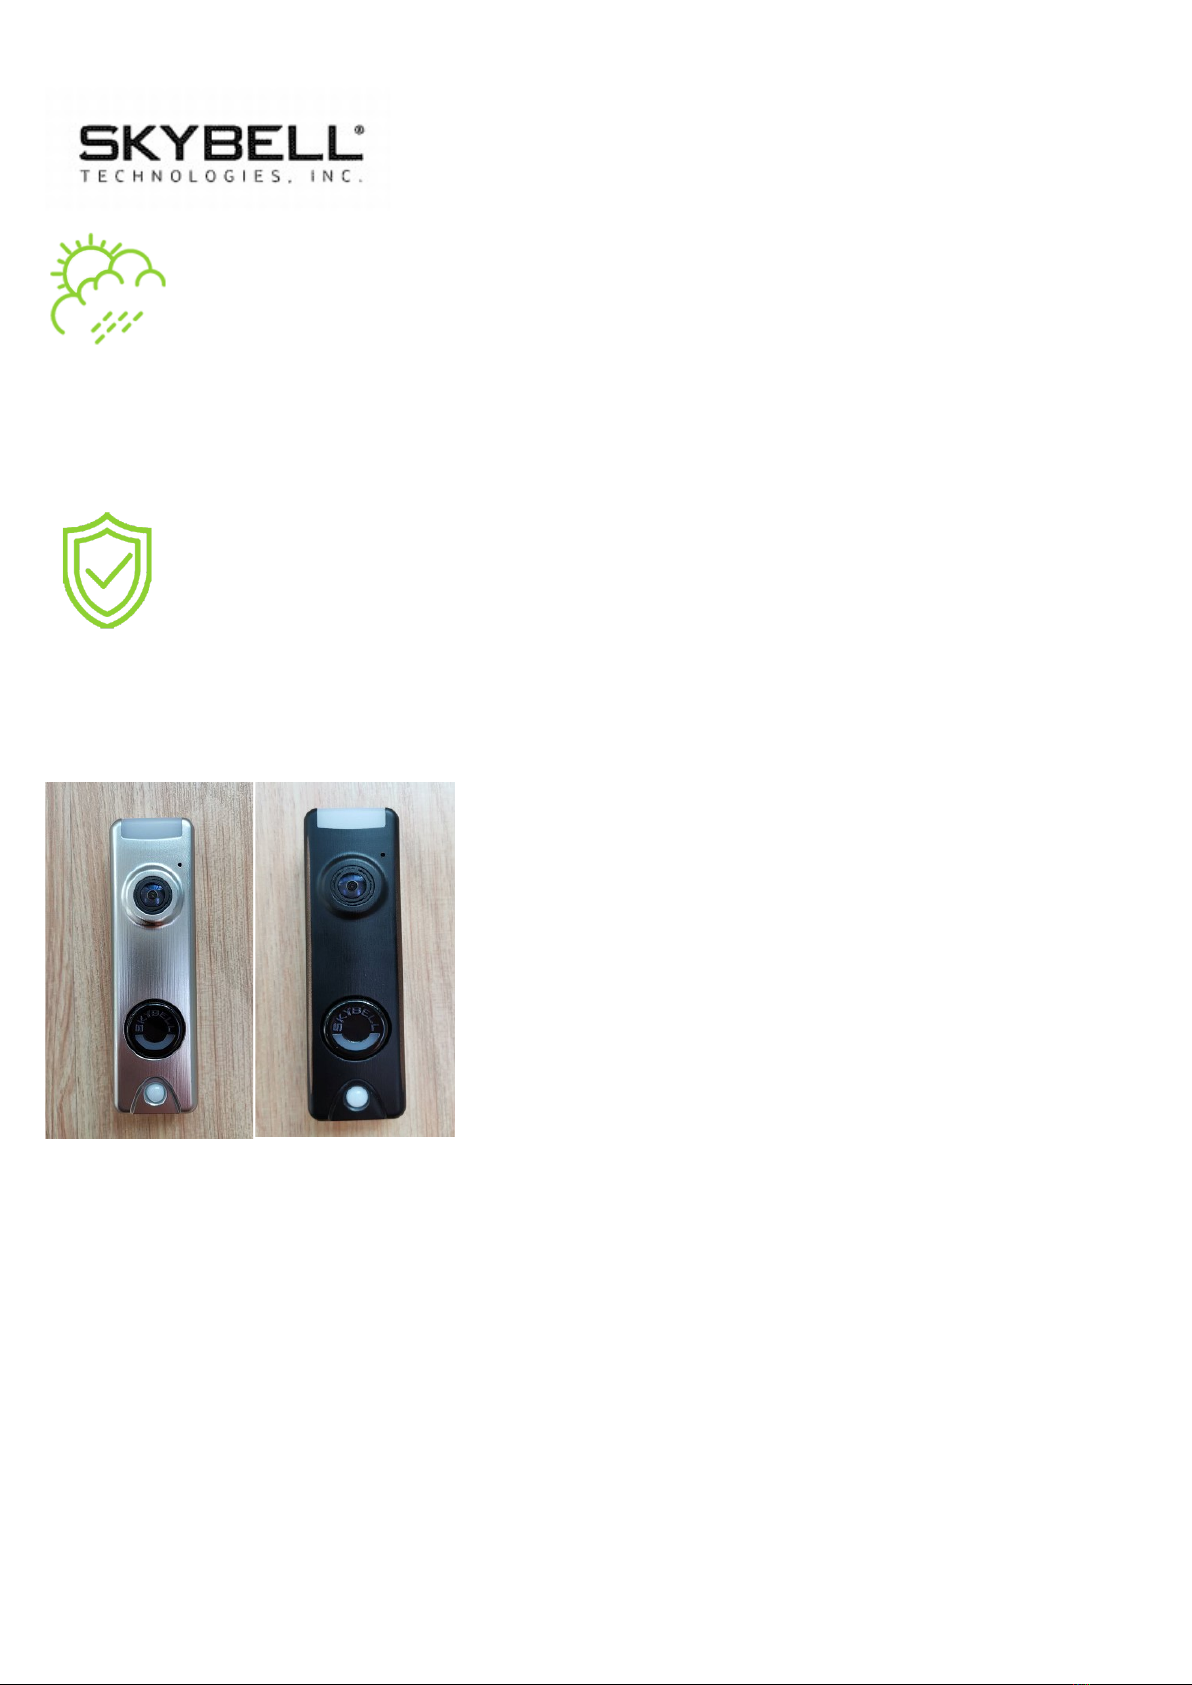
PRODUCT DESIGN
TECHNICAL SPECIFICATIONS
Power:
10-30VAC, 50/60Hz,0.5A Max or12VDC,0.5 to1.0A wired to in
home mechanical chime - digital doorbell chime compatibility
requires SkyBell Digital Doorbell Adapter - not included
TRIM2 S TRIM2 B

Wi-Fi:
802.11 b/g/n/ac, 2.4 and 5 GHz
Upload bandwidth:
2 Mbps required
Mounting:
Mounting plate affixes to flat surface and utilizes existing doorbell
wiring
Mobile device:
Alarm.com app compatible with Apple iOS, Android
Specifications
Video camera:
1080p resolution, 180° view
Night vision:
IR up to 16 feet (5 m)
Audio:
Built-in speaker and microphone
Motion sensor:
PIR detects motion up to 10 feet
Dimensions:
1.4 in/3.7 cm wide;4.8 in/12.2 cm tall
1.1 in/2.9 cm deep, 3.1 oz/87.9 g weight

Environment:
operating temp -40°F/-40°C to 113°F/45°C
Exclusively for systems powered by Alarm.com
*Alarm.com app required. Not compatible with the Sky Bell app.
MOTION SENSOR
The motion sensor on the SkyBell Trim Plus contains a Fresnel lens.
This is a flat lens made of a number of concentric rings, to reduce spherical
aberration. Spherical aberration is a loss of definition in the image arising
from the surface geometry of a spherical mirror or lens. This enhances the
accuracy of motion detection, which will improve your overall SkyBell
experience.
The SkyBell device uses a PIR sensor (passive infrared sensor), which
is an electronic sensor that measures infrared light radiating in the field
of view; think flood lights or motion detectors for your alarm system.
When the PIR sensor senses activity (meets a certain threshold) and
is activated, it immediately turns the camera on and starts to record
directly to the device. This activation triggers an initial motion event. The
SkyBell continues monitoring this activity energy from the PIR sensor and
when meeting a more stringent threshold, it sends a notification to the
phone. If the notification is answered, the SkyBell records for as long as the

activity is detected. If the notification is not answered, the SkyBell records
for 30 seconds in addition to the initial motion event, approximately
35-40 seconds.
Once the recording is complete, the device sends the video to the
SkyBell cloud servers, where it can be accessed almost immediately and is
kept for seven (7) days.
CLOUD RECORDING
Available with all SkyBell devices.
Choosing a SkyBell Device from the Devices List takes the user to the
“Activity Page” and allows them to access the videos.
There are no subscription fees.
Recordings can be “downloaded” to the user’s iOS or Android device.
Recordings are saved for seven (7) days and will be automatically
deleted starting with the oldest.
All recordings are saved to the SkyBell Cloud Server and pushed to
the user’s account.
Recordings are activated when: motion is detected; the doorbell is
pressed; or the user initiates a “watch live” on-demand call.
The SkyBell records for 30 seconds plus the addition of the initial
motion event, approximately 35-40 seconds.

Recording include audio and video.
Attach the Doorbell Mounting Bracket to the Wall
Feed the existing doorbell wires through the hole in the center of the
bracket. Affix the bracket firmly to the wall by driving the provided
wall screws through the top and bottom holes in the bracket. Failure
to make the bracket flush on the wall could cause a poor power
connection between the bracket and the doorbell camera.
Connect Power Wires to the Mounting Bracket
Loosen the terminal screws and insert the wires beneath the screws.
Do not short (touch together) the wires during this process. Tighten
the screws. The wires must be of approximately equal thickness, and
the screws should be tightened approximately the same amount so
that the screwheads are flush.
If the wires are thick, splice short lengths of additional thinner wire.
The splice joints can be hidden inside the wall, and the thinner wire
can be used to connect to the mounting bracket.
Attach the Doorbell Camera to the Mounting Bracket
Slide the top of the doorbell camera down on to the mounting

bracket
and push the front of the doorbell camera toward the wall. Tighten
the set screw located on the bottom of the camera, being careful
not
to damage it (power tools should not be used with the set screw).
The camera’s LED should begin to illuminate.
LED COLORS, BUTTON FUNCTIONS AND GENERAL
TROUBLESHOOTING
Battery Charging
If the LED is alternating between Red and Blue (HD Edition) or
pulsing Blue(Slim Line), the doorbell camera’s battery is charging.
The duration of the presyncing charge process varies due to
differences in existing doorbell circuits but normally takes less than
30 minutes. See the Power Information and Troubleshooting
section if this state persists.
Wi-Fi Connectivity
If the LED is flashing Orange, the doorbell needs to be manually
placed into AP mode. Press and hold the Main Button until the LED

begins rapidly flashing green, then release. The LED will flash green
as the Doorbell Camera scans the Wi-Fi networks in the area. The
Doorbell Camera should enter AP Mode after a couple of minutes
and the LED should begin alternating Red and Green.
Enter AP Mode (Broadcast Syncing Mode)
Press and HOLD the Main Button until the LED begins a GREEN
rapid strobe flash, then release the button. When the LED flashes
Green, it means the Alarm.com Wi-Fi Doorbell Camera is in the
process of entering AP Mode.
The LED will alternate Red and Green when the device has entered
AP Mode.
Power Cycle
Press and HOLD the Main Button until the LED begins a Blue rapid
strobe flash. The power cycle could take up to 2 minutes.
Note: You can power cycle the Alarm.com T r i m I I P r o
Doorbell Camera when it is in AP Mode (see instructions above).
Press and HOLD the button until the LED flashes Blue.
Autres manuels pour TRIM II PRO
1
Table des matières
Autres manuels SkyBell Appareil photo numérique


