Getting Started
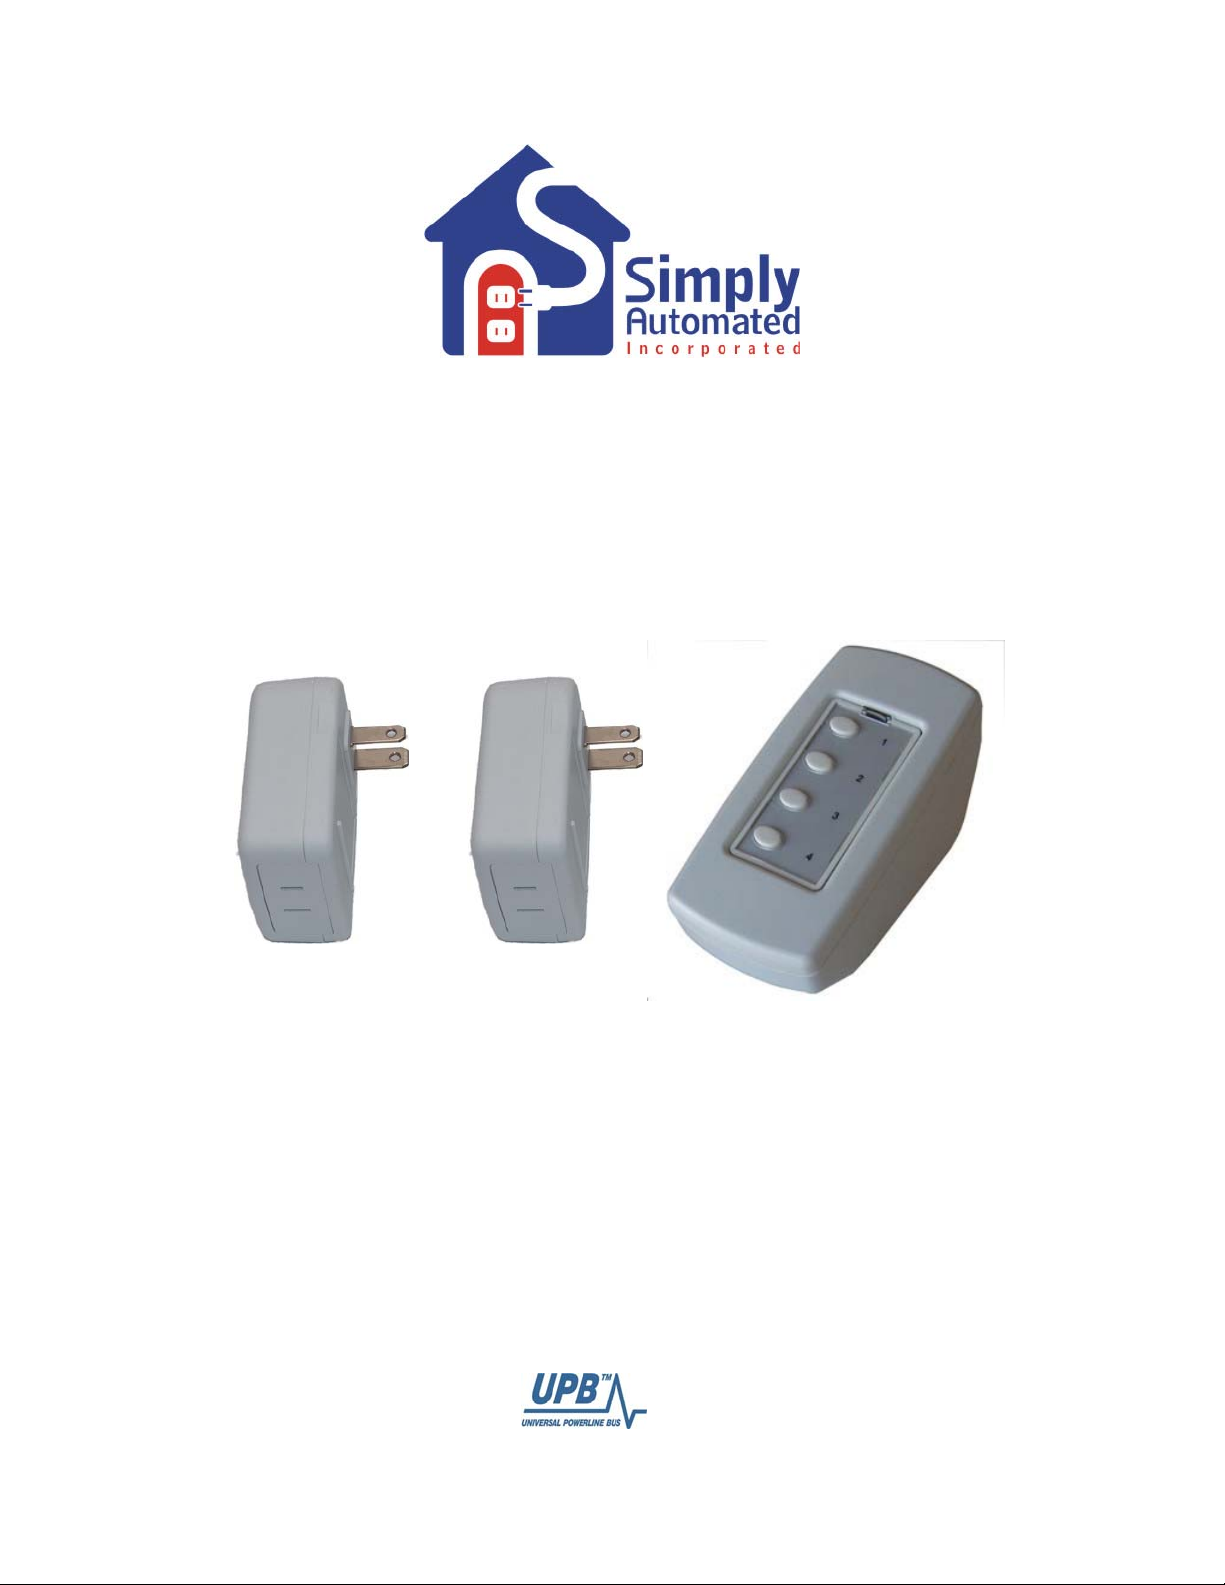
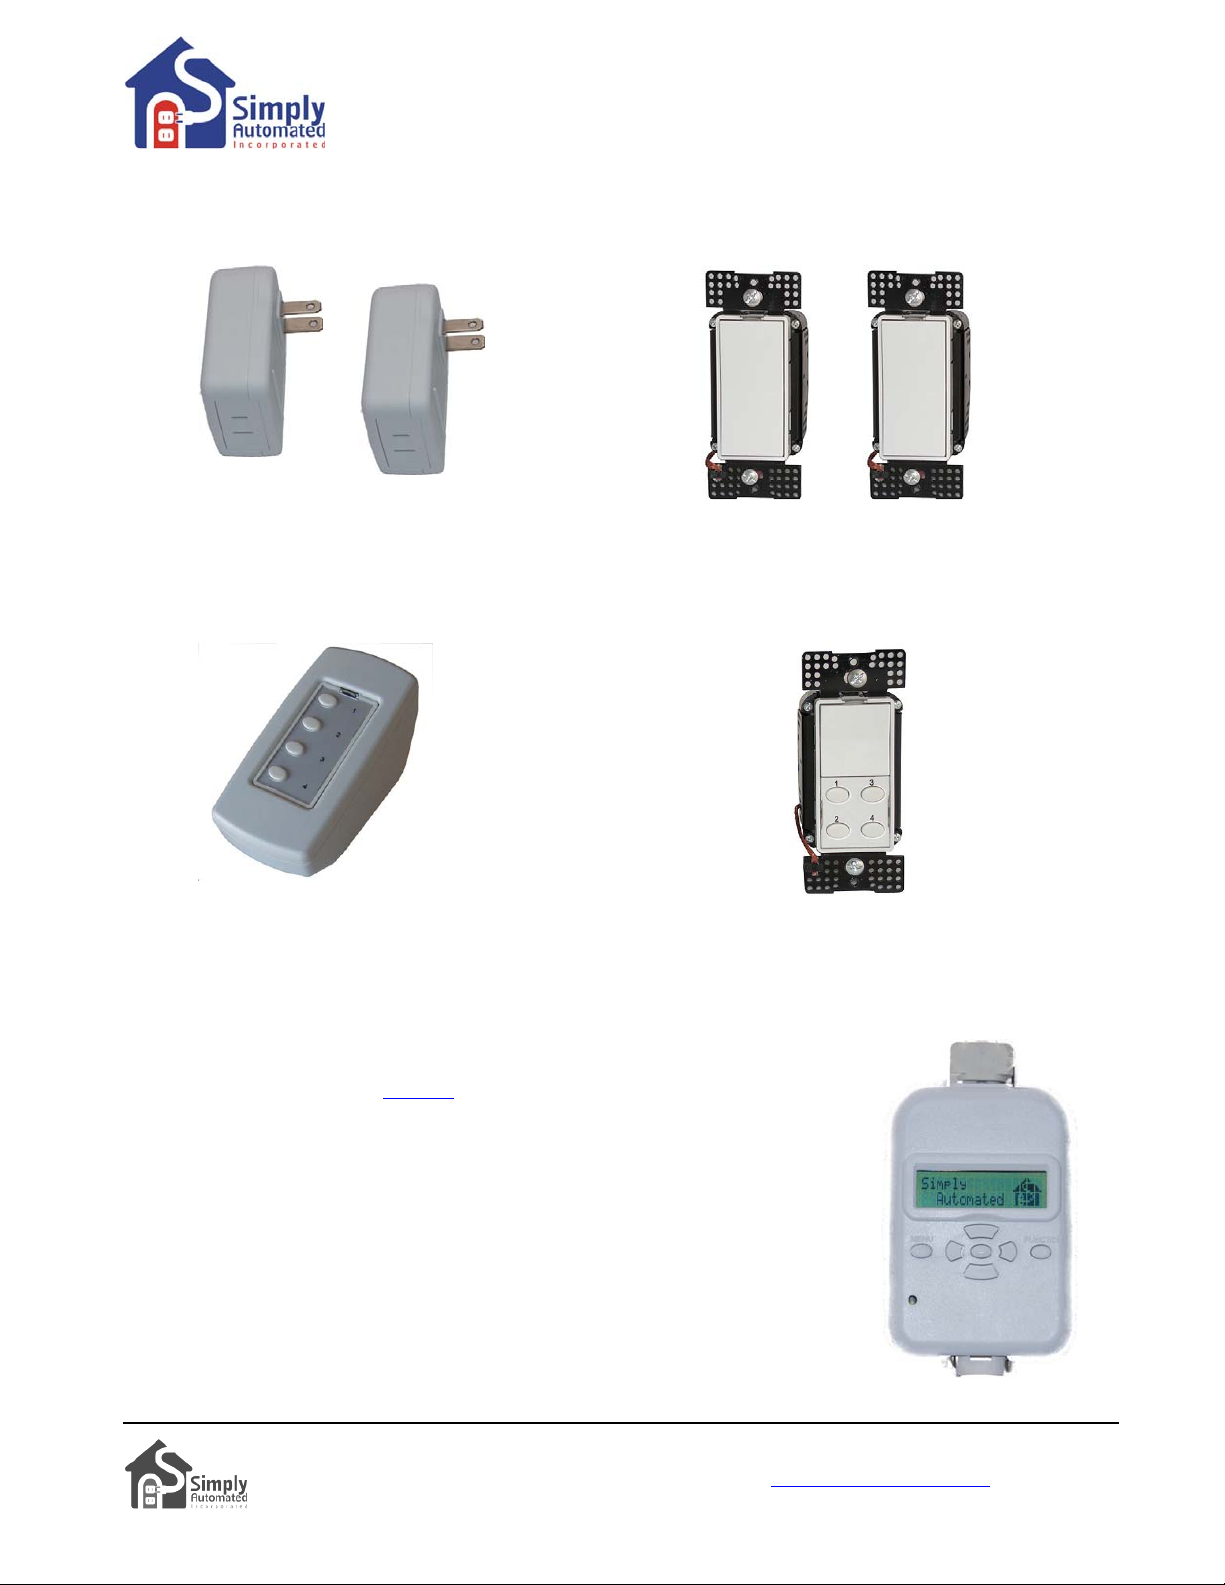
DKIT-02 Lamp Starter Kit
Helpful Hint: If tapping a button does not turn on a lamp, the lamp's switch may be in the off position. Go to the
lamp and turn on using the lamp's on/off switch. Tapping should be done quickly ensuring contact is made from
the button to the base sensor.
Both lamps can still be turned ON/OFF manually. For manual operation of either lamp, simply turn the lamp
ON, OFF and ON again using the lamp’s ON/OFF switch.
Important Note: If you are using compact florescent or florescent lighting, you should not attempt to
change the dimming level. Florescent lighting cannot be dimmed, can only be turned on at a 100% dim
level.
The lamp modules have been programmed from the factory to turn on at 100%. If you would like a different
lighting level when the lamp is off, press and hold button 1, 2 or 3 until the desired lamp dim level(s) is (are)
achieved, then release. If you would like a different lighting level when the light is on at 100%, press and hold
the button until the desired lamp dim level(s) is (are) achieved, then release. If you are using compact
florescent or florescent lighting, you should not attempt to change the dimming level. Florescent lighting cannot
be dimmed, can only be turned on at a 100% dim level.
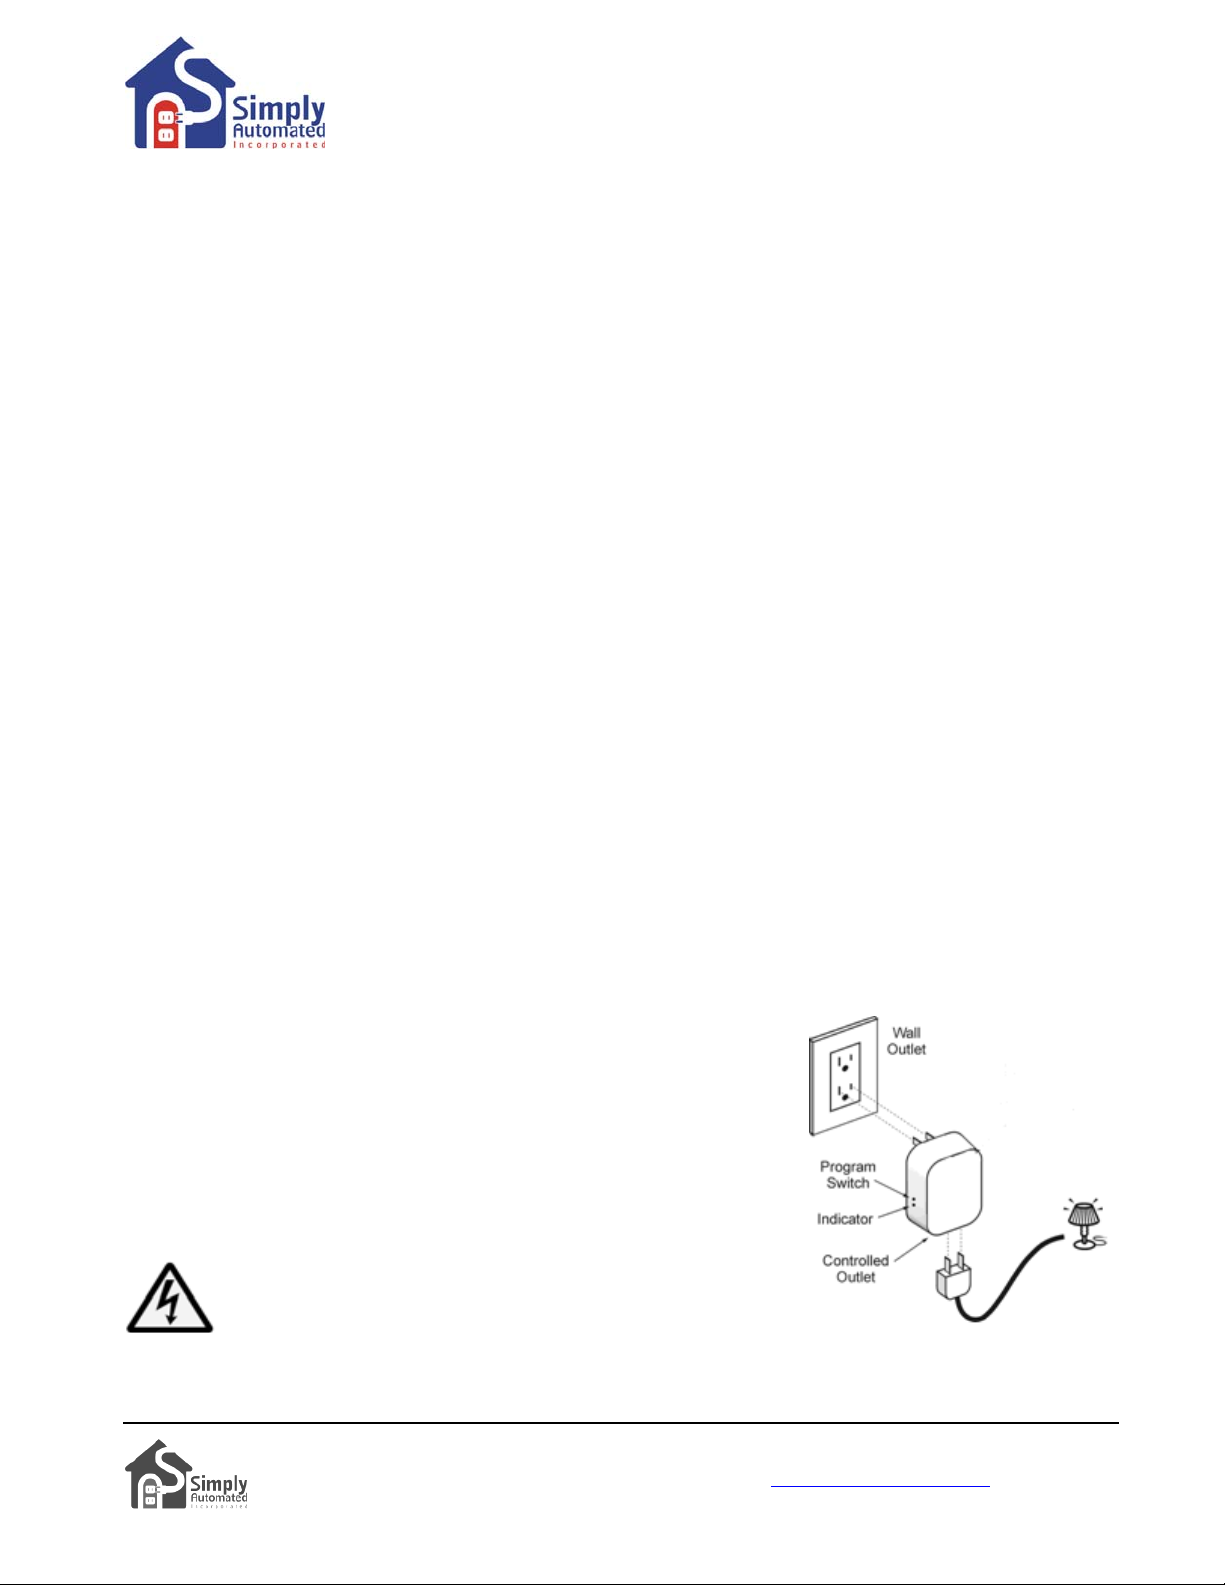
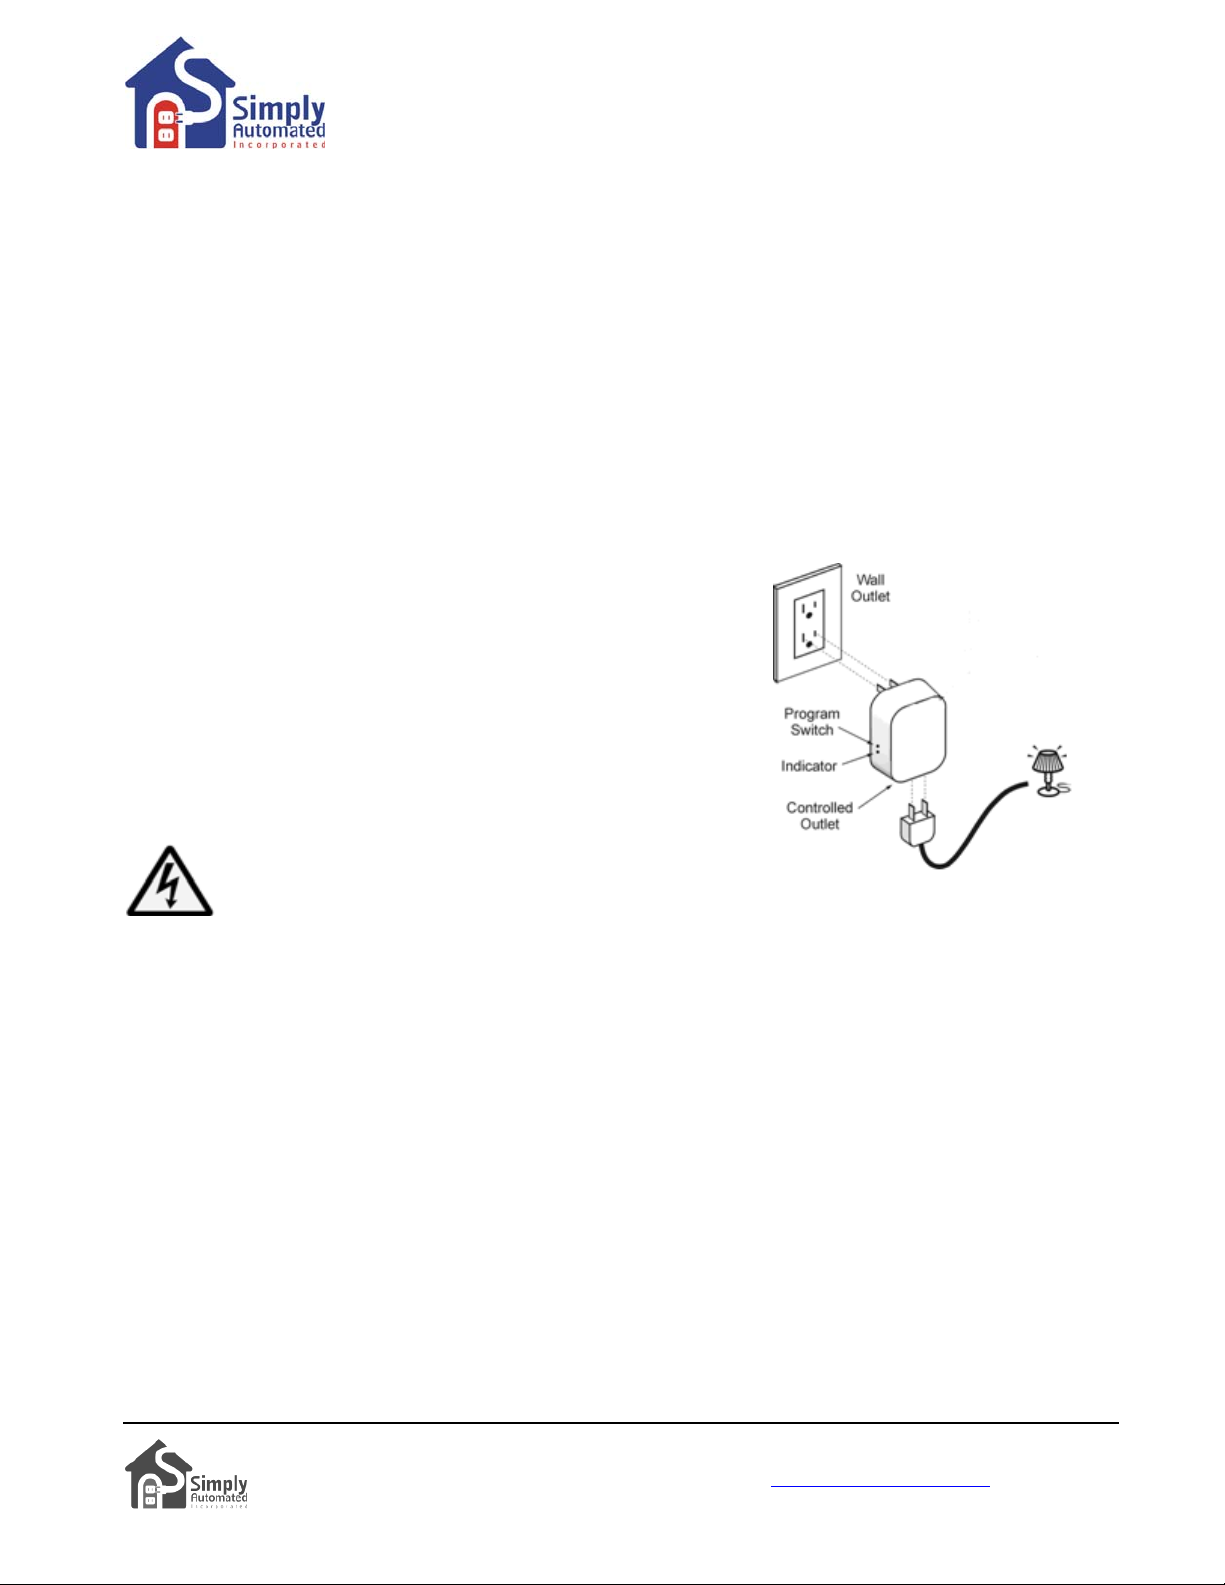
Important Note: Each lamp module has a unique ID number. You can find the ID number on the back of
each lamp module. One of the lamp modules for the Lamp Starter Kit (DKIT-01) will have ID #4 and the
other will have ID #5. This is important information to note as it relates to operation with the Scheduler-
Timer accessory (sold separately).
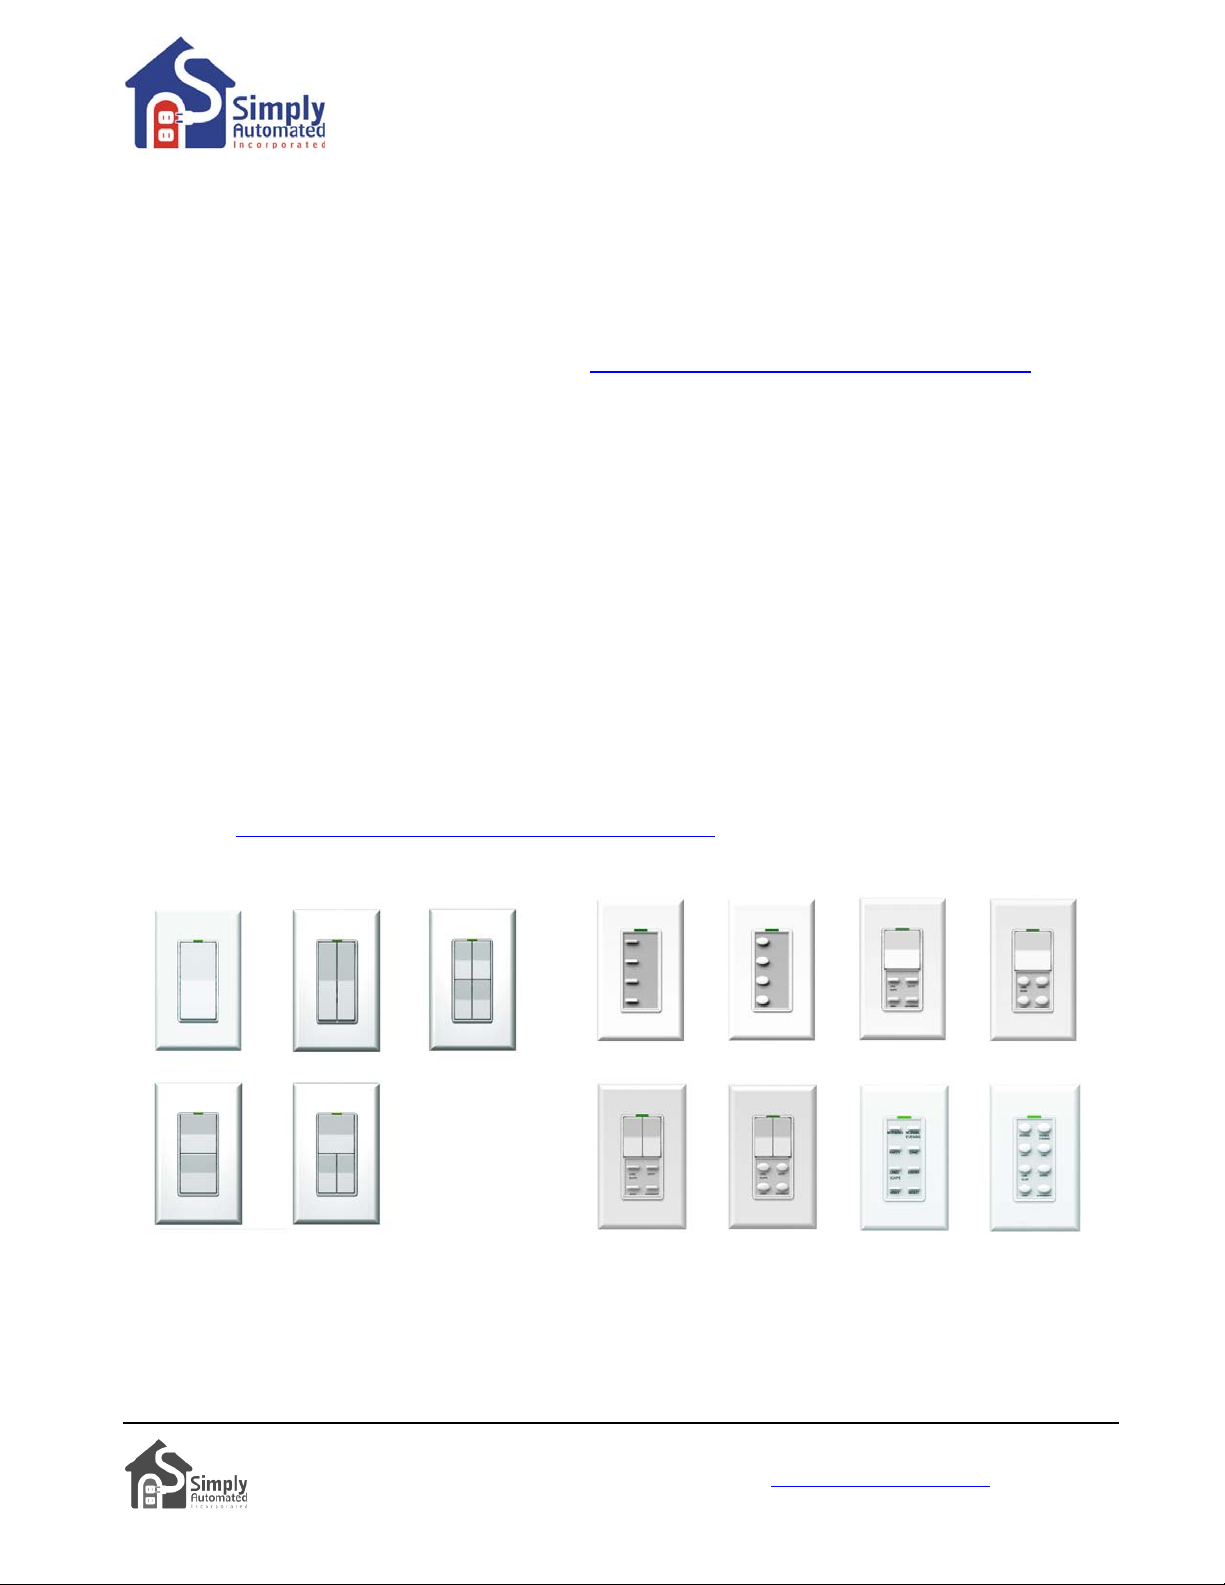
Section 3: Editing Buttons (Scenes) on Tabletop Controller with 4-Buttons
Each button on the Tabletop Controller with 4-Buttons controls a SCENE that can easily be edited from the
factory pre-sets. Button 1 turns on/off lamp module #1, button 2 turns on/off lamp module #2, button 3
turns both lamp modules on/off, button 4 turns both lamp modules off. You can change the dimming level or
number of lamp modules controlled by each button to create your own custom scenes!
Section 3.a. Changing the Dimming Level
Important Note: If you are using compact florescent or florescent lighting, you should not attempt to
change the dimming level. Florescent lighting can only be turned on at a 100% dim level.
Button 1. Button 1 is programmed from the factory to turn on lamp
module #1 at a 100% dim level. To change the dimming level:
•
Go to the Tabletop Controller, press and hold button 1 to the desired
dimming level for lamp module #1.
•Go to lamp module #1, press (quickly tap) the program switch (see
illustration) 5 times using a non-metallic toothpick to place in the
program mode. The indicator will continuously blink green
to confirm the lamp module is in the program mode.
nsertCAUTION: When programming the lamp module, do not i
any metal object (paperclip) into the module while it is
connected to power.
•
Go back to the Tabletop Controller, press (quickly tap) button 1 seven times. You have created a new
scene by re-programming button 1 from the factory pre-set dimming level.
Simply Automated, Incorporated
6108 Avenida Encinas, Suite B, Carlsbad, CA 92011 USA
Technical Support: www.simply-automated.com or 800-630-9234
452-00xx-0101 Rev. B Revised: July 7, 2009
3