Silicon power Sky Share H10 Manuel utilisateur
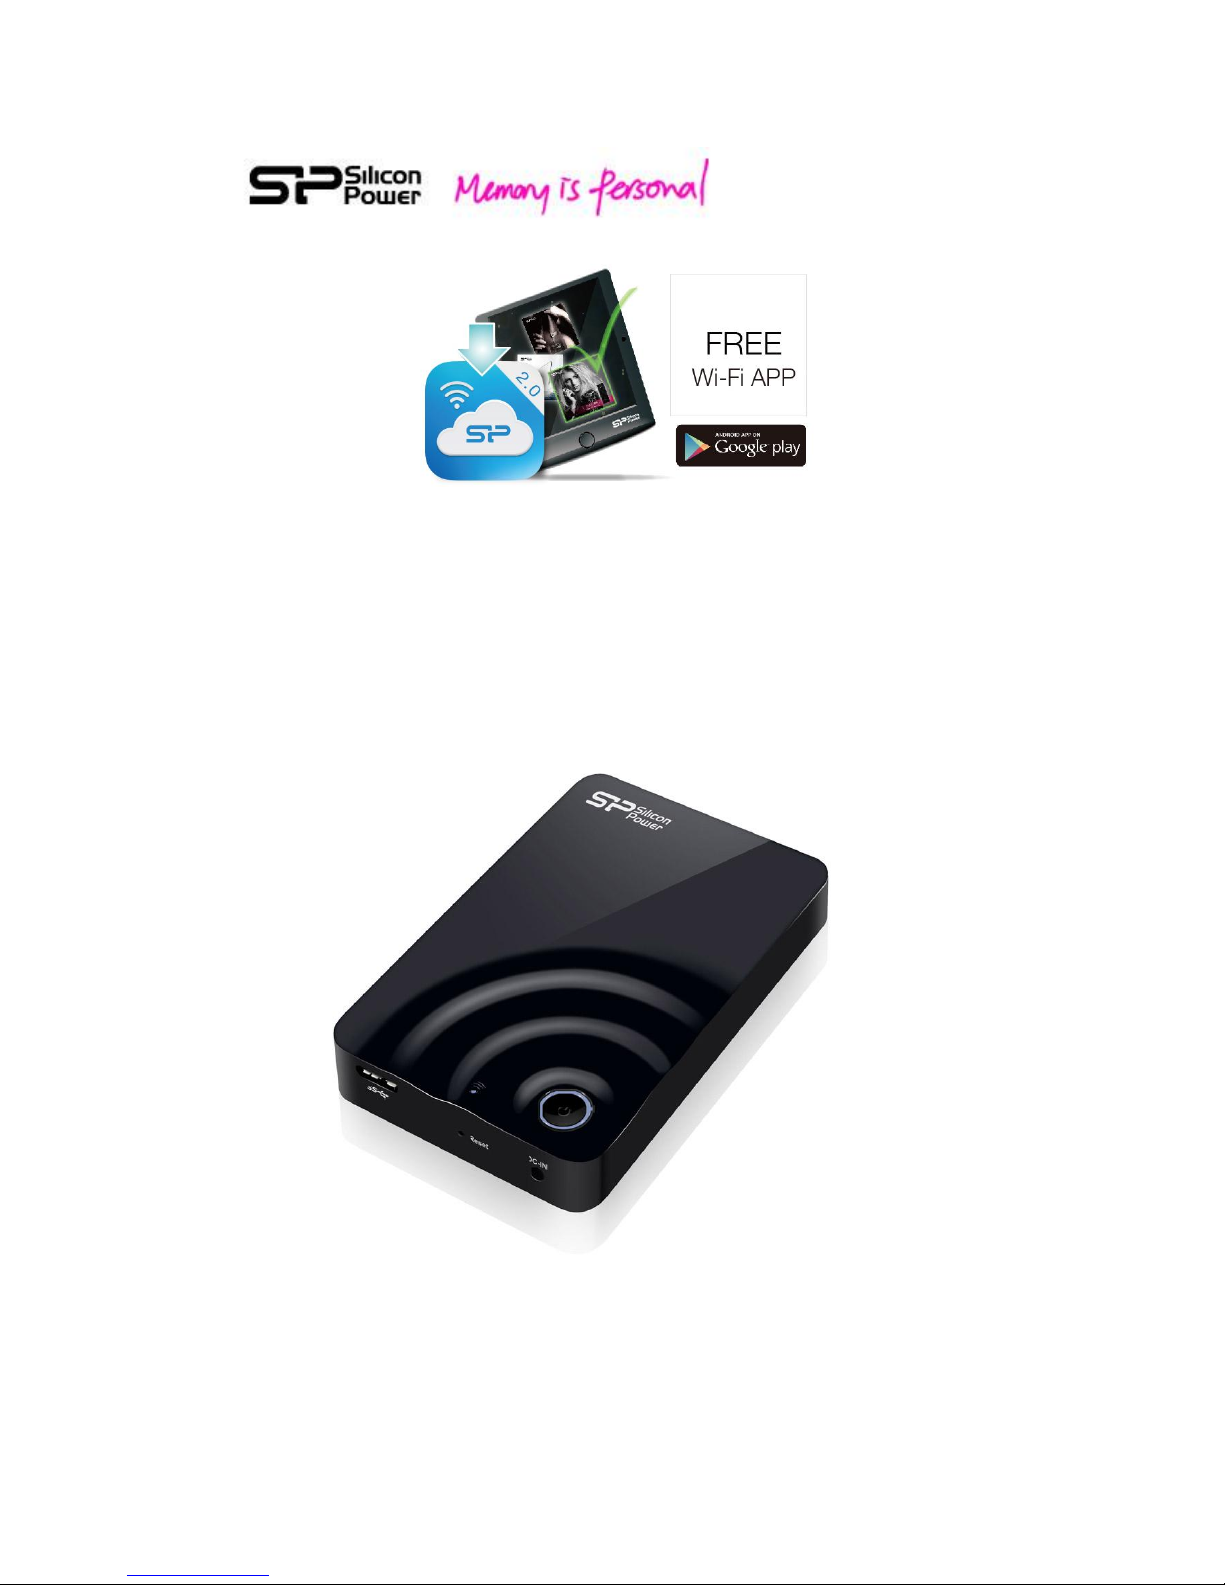
H10 Android App V2.0
User Manual

2
1. Spec and System Requirements..........................................................3
2. Setting up H10 Device .........................................................................4
3. Android App V2.0 Overview................................................................8
4. Regarding File Format .......................................................................13
5. How to Play and View Your Media Files ...........................................14
6. Downloading Content to Your Wi-Fi Device....................................139
7. Uploading Content from Your Wi-Fi Device......................................20
8. H10 Setup Page ...............................................................................219
9. How to Delete Files Stored in H10 ....................................................30
10. How to Safely Disconnect H10 from Your Computer ......................31
11. Troubleshooting ..............................................................................32

3
1. Spec and System Requirements
Capacity: 500GB, 1TB
Dimension: 133 x 86 x 23.5 mm
Weight: 255g +/- 5%
Wi-Fi Interface: IEEE 802.11b/g/n Standard
Build-in 2T2R Antenna, up to 300 Mbs
Build-in USB 3.0 (Compatible with USB 2.0),
up to 5Gb/s Transfer rate (USB 3.0 Mode)
Wi-Fi connection: up to 8 users
Connection range: up to 100 Feets
Power Supply: DC 5V/2A (Power supplied through AC-to-DC adapter)
Battery: Build-in Lithium Battery for up to 5 hours multimedia streaming (1 device)
Operating Temperature: 5℃~ 45℃
Storage Temperature: -10℃~ 70℃
Wireless security: WPA+WPA2
Operation system: Support Win 7, Win 8, Win XP, Win Vista, Mac OS X (10.5.X+), iOS
6.0+ iPhones and iPads, Android 2.3+ smart phones and Tablets
Browsers: Support Safari 5 or later version, Webkit (Android), Internet Explorer 8 or
later version, Firefox, and Google Chrome
File system: FAT32/NTFS
Supporting file types:
You can store any file in H10, but need your Wi-Fi device to support the file format
and resolution you want to play or view.
H10 Android App: The following file types can be recognized. As for playback, it
conforms to the Wi-Fi device used to connect with H10.
Video: AVI, m4v, mp4, mov, wmv, MKV, DiVX, XVid, rmvb, 3gp
Photo: JPG, BMP, PNG, GIF
Music: mp3, m4a, wma,wav, aac
Document: DOC, XLS, PPT, PDF
For other file types, you can find them in “ALL”Directory and play them if it’s
supported by your device application.
H10 Web UI:
Play any file supported by your device applications and recommended browsers
4
2. Setting up H10 Device
This setting up procedure is also provided in User Quick Guide.
If you have already completed the installation process, you may skip this section.
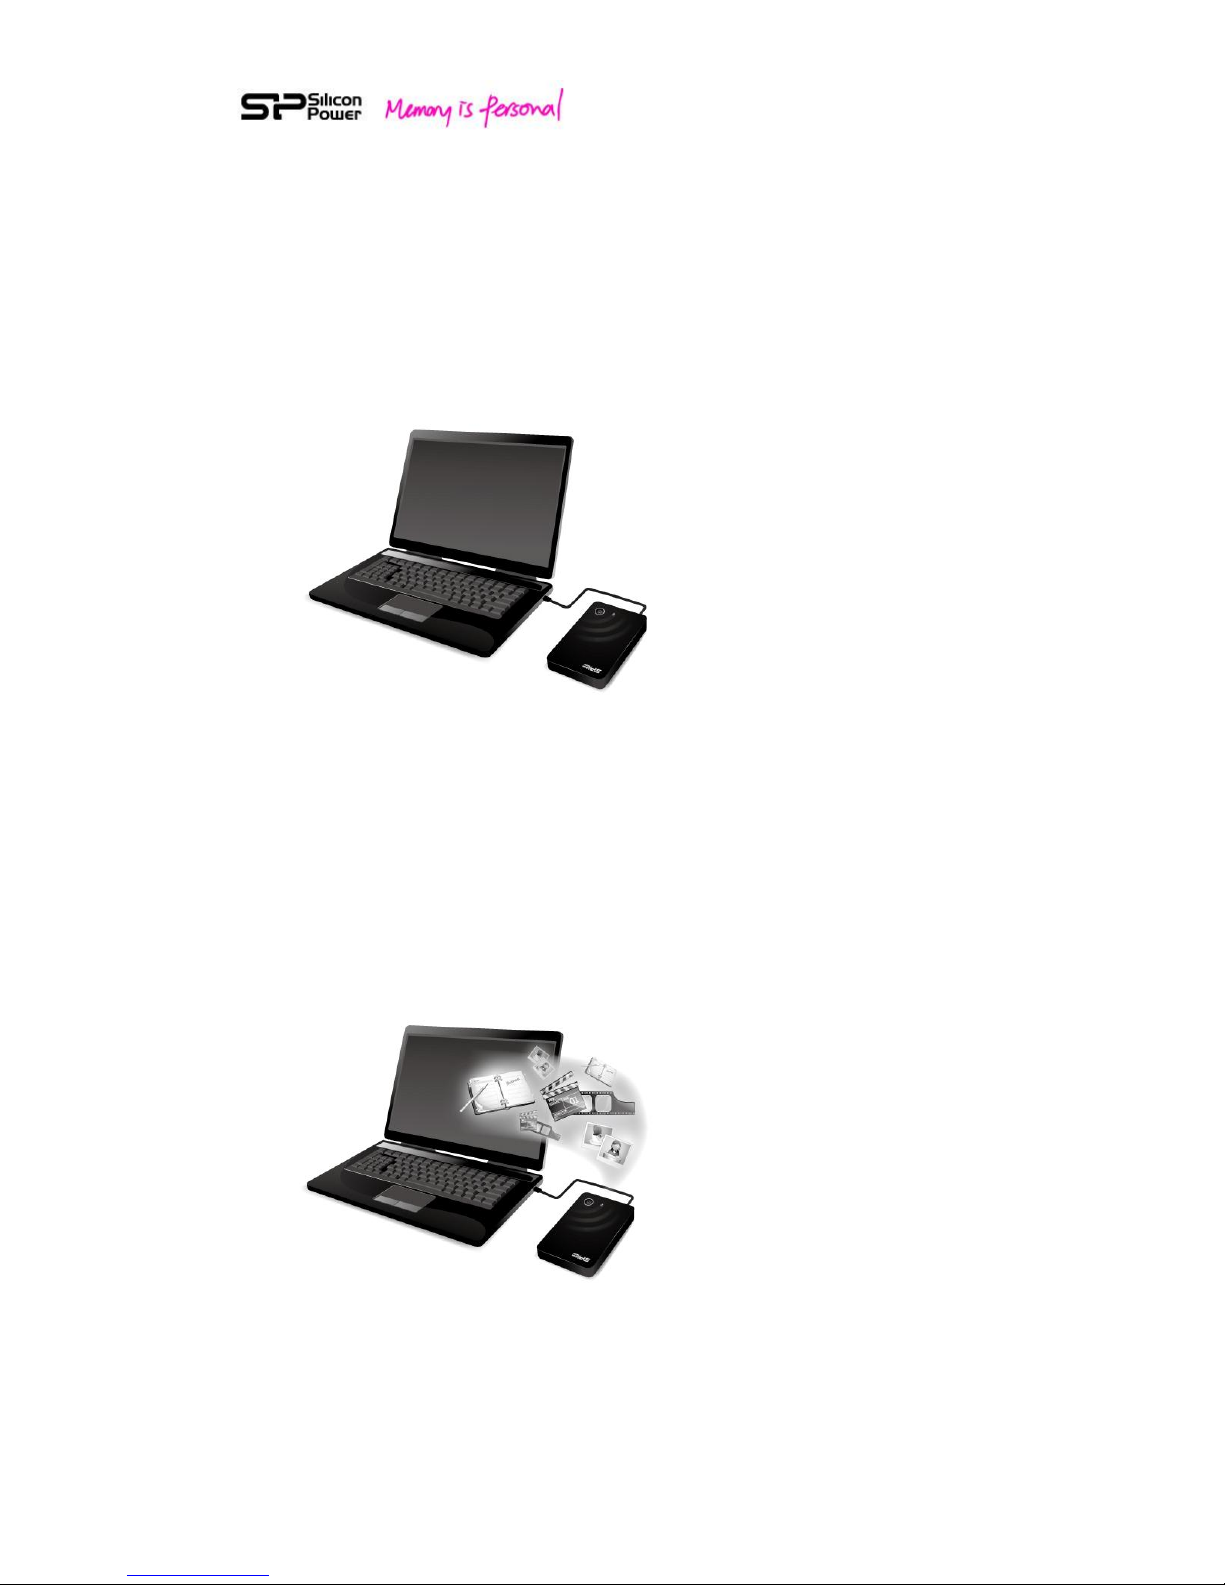
Step 1:
Fig. 1 Connect H10 to your computer by USB 3.0 cable
Plug in USB 3.0 cable into USB port (compatible with USB 2.0 device) to your
computer to have faster data transfer in Portable Hard drive mode (PHDD Mode).
Step 2:
Fig. 2 Copy files to Sky Share from your computer in PHDD mode
In PHDD mode, you can find video/photo/music/document sub-folders under H10
5
default directory. Copy your video, photo, music, document files into the respective
default folders.
Note: You can copy any file to the H10, but the device you use to connect H10 will
only play or view the file formats it supports.
There are some software applications to convert video files into different formats.
You may want to convert the files into the formats compatible with your device
before copying them to H10.
Step 3:
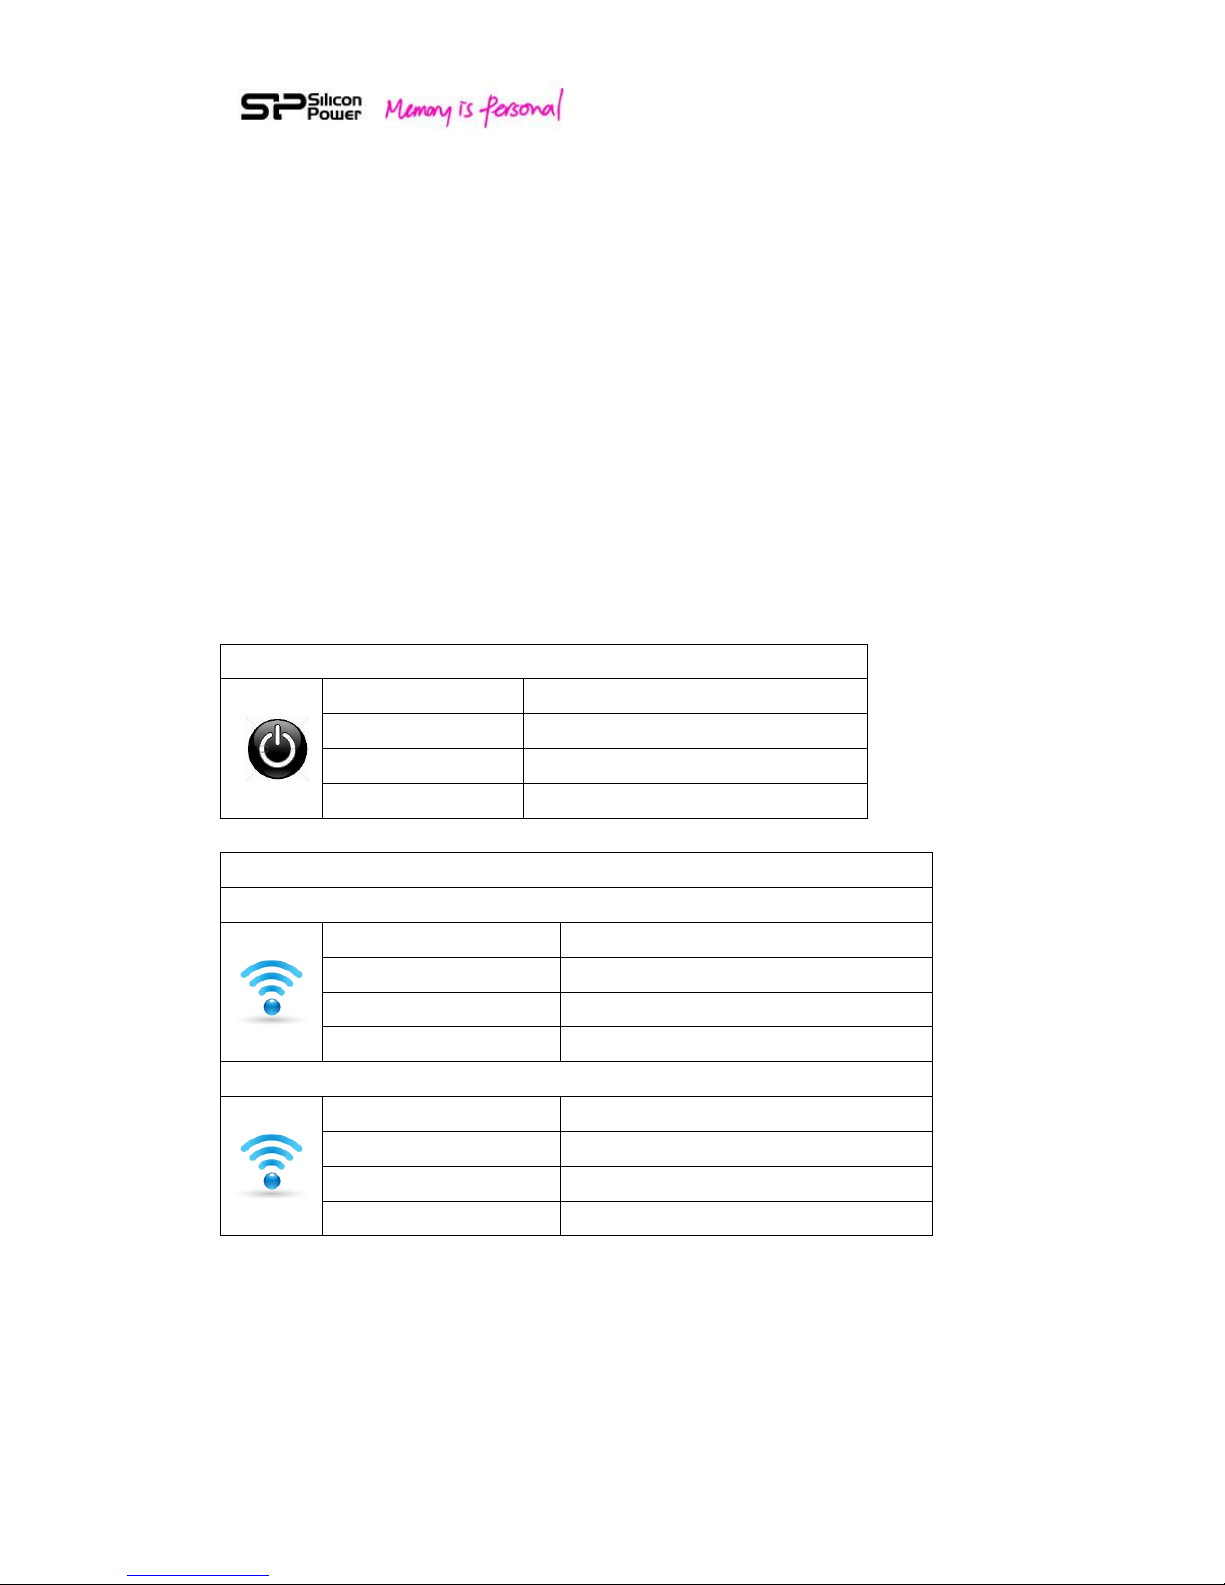
Remove USB cable, and press on the power button on the H10.
Once you power on H10, the system will automatically go into Wi-Fi mode.
After pressing the power button, the data/Wi-Fi access LED will blink in purple for
about 1 min. Once the status is ready for use, this LED will turn blue.
Power Button LED indicator:
Solid Green:
Full battery
Blinking Orange:
Half full
Solid Red:
Low battery, charging is required
Solid Orange:
Charging
Data/Wi-Fi Access LED indicator:
Wi-Fi mode (Power on)
Blinking Purple:
During setup
Solid Blue:
Ready for access
Blinking Blue:
Wi-Fi access
Solid Red:
System error
PHDD mode (Connected to PC/NB by USB cable)
Fast Blinking Blue:
During setup
Solid Blue:
Ready for access
Blinking Blue:
Data Access
LED off:
Hard drive Safety removal
Fig. 3 LED indication table
6
The H10 build-in battery is partially charged during the shipment, enabling
immediate access to H10.
When the power button turns red, please charge your H10 with the included USB to
DC cable and USB Wall adapter.
In order to use the battery efficiently, it’s recommended to activate the battery. For
battery activation, you will need to charge the battery from low to full for 3 to 5
cycles. After battery activation, you can have a longer battery hour, but will need to
take longer hours (up to 4 hours) to charge the battery from low to full status.
Step 4:
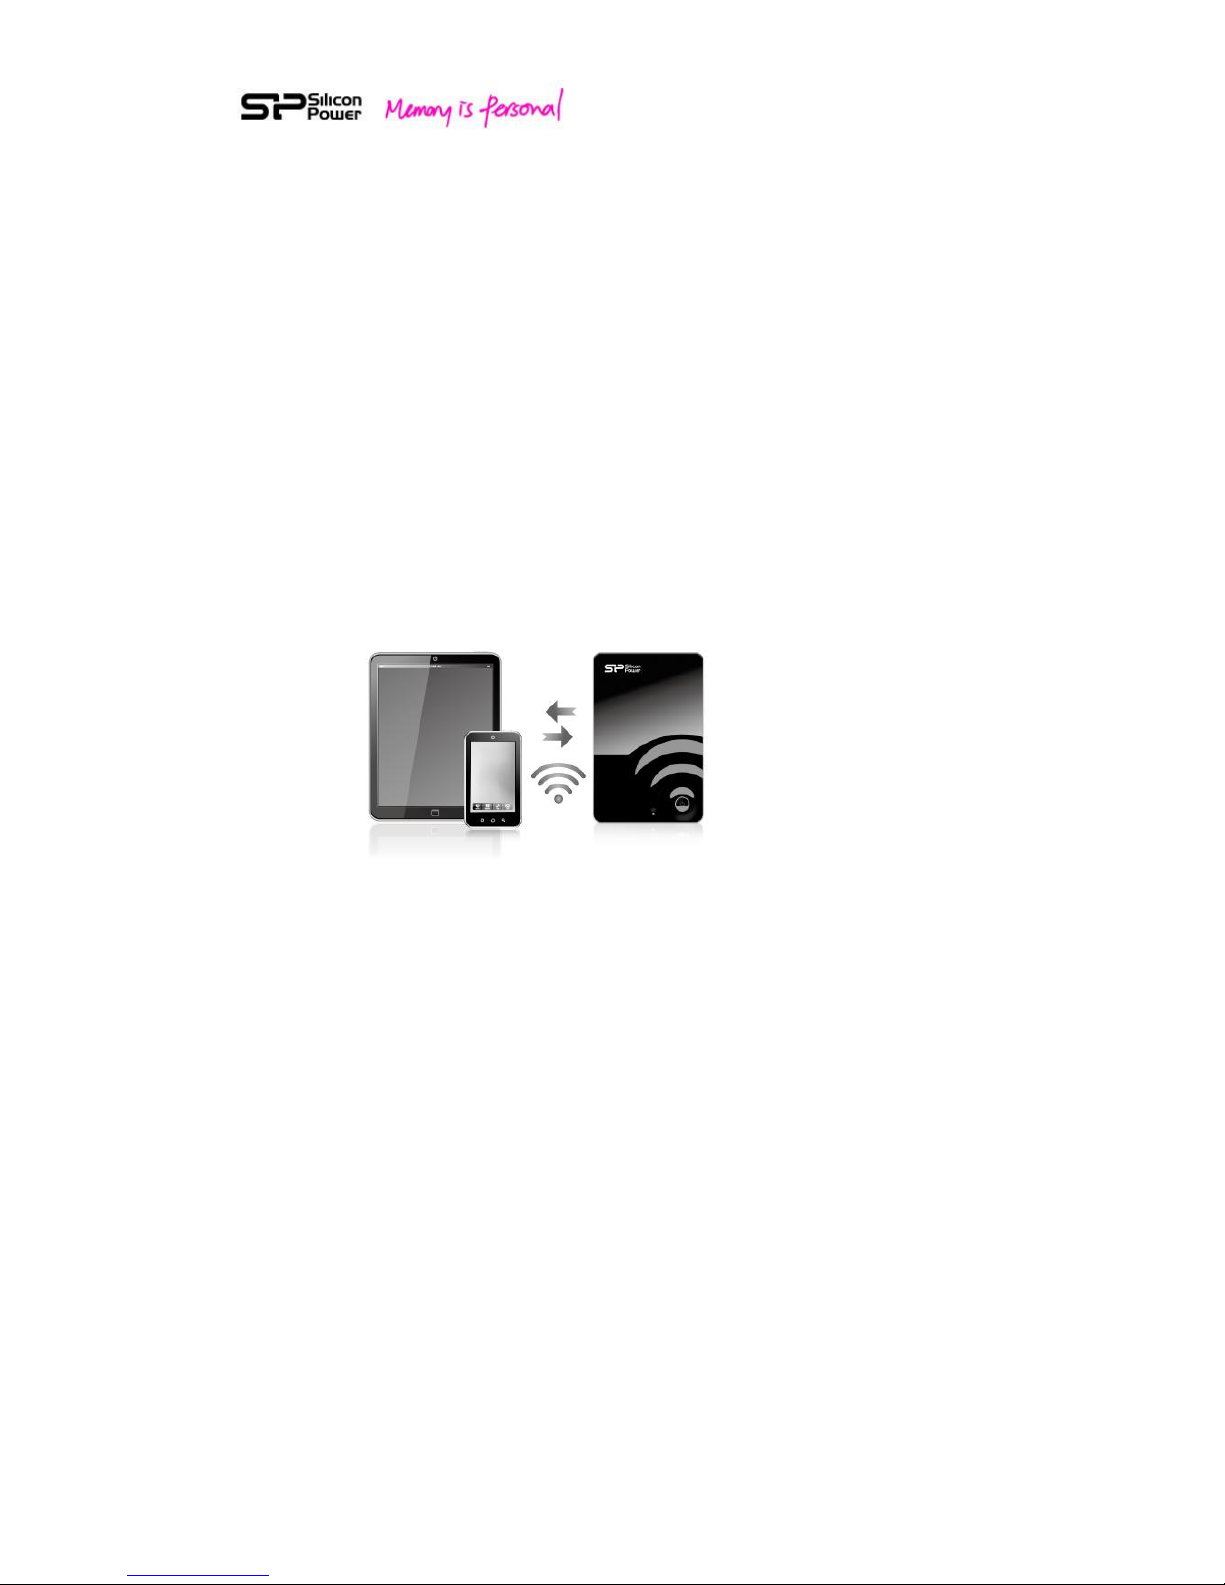
Fig. 4 Connect your Wi-Fi device to H10
For iPhone/iPad
1. Install H10 app (search for “Wi-Fi H10V2” on the app store and install it free of
charge.) Keyword: Wi-Fi H10V2
2. On the iPhone/iPad, Select Settings > Wi-Fi and then select and connect H10
from the wireless network list.
3. Tap the H10 app to open the application from iPhone/iPad home screen.

7
For Android Smartphone/Tablet:
1. Install the H10 app (search for “Wi-Fi H10V2” on the Google Play and install free
of charge).
2. On the Android Smartphone/Tablet, Select settings and then enable Wi-Fi
3. Select and connect H10 from the wireless network list
4. Tap the H10 app to open the application from Android smartphone/tablet home
screen
For Other Tablets, Smartphones and Computers
1. Enable Wi-Fi
2. Select and connect H10 from your device’s wireless network list.
3. Launch your device’s Web browser and type 192.168.49.73 on URL column. The
Web UI (user interface) will pop up for your use.
Safari of iPhone/iPad and Web kit of Android smartphone/tablet are also supported if
H10 app is not installed.
8
3. Android App V2.0 Overview
The H10 apps are available on Apple store and Google Play for free download.
For the download and setup instructions, please refer to the section 2, Setting up
H10 device.
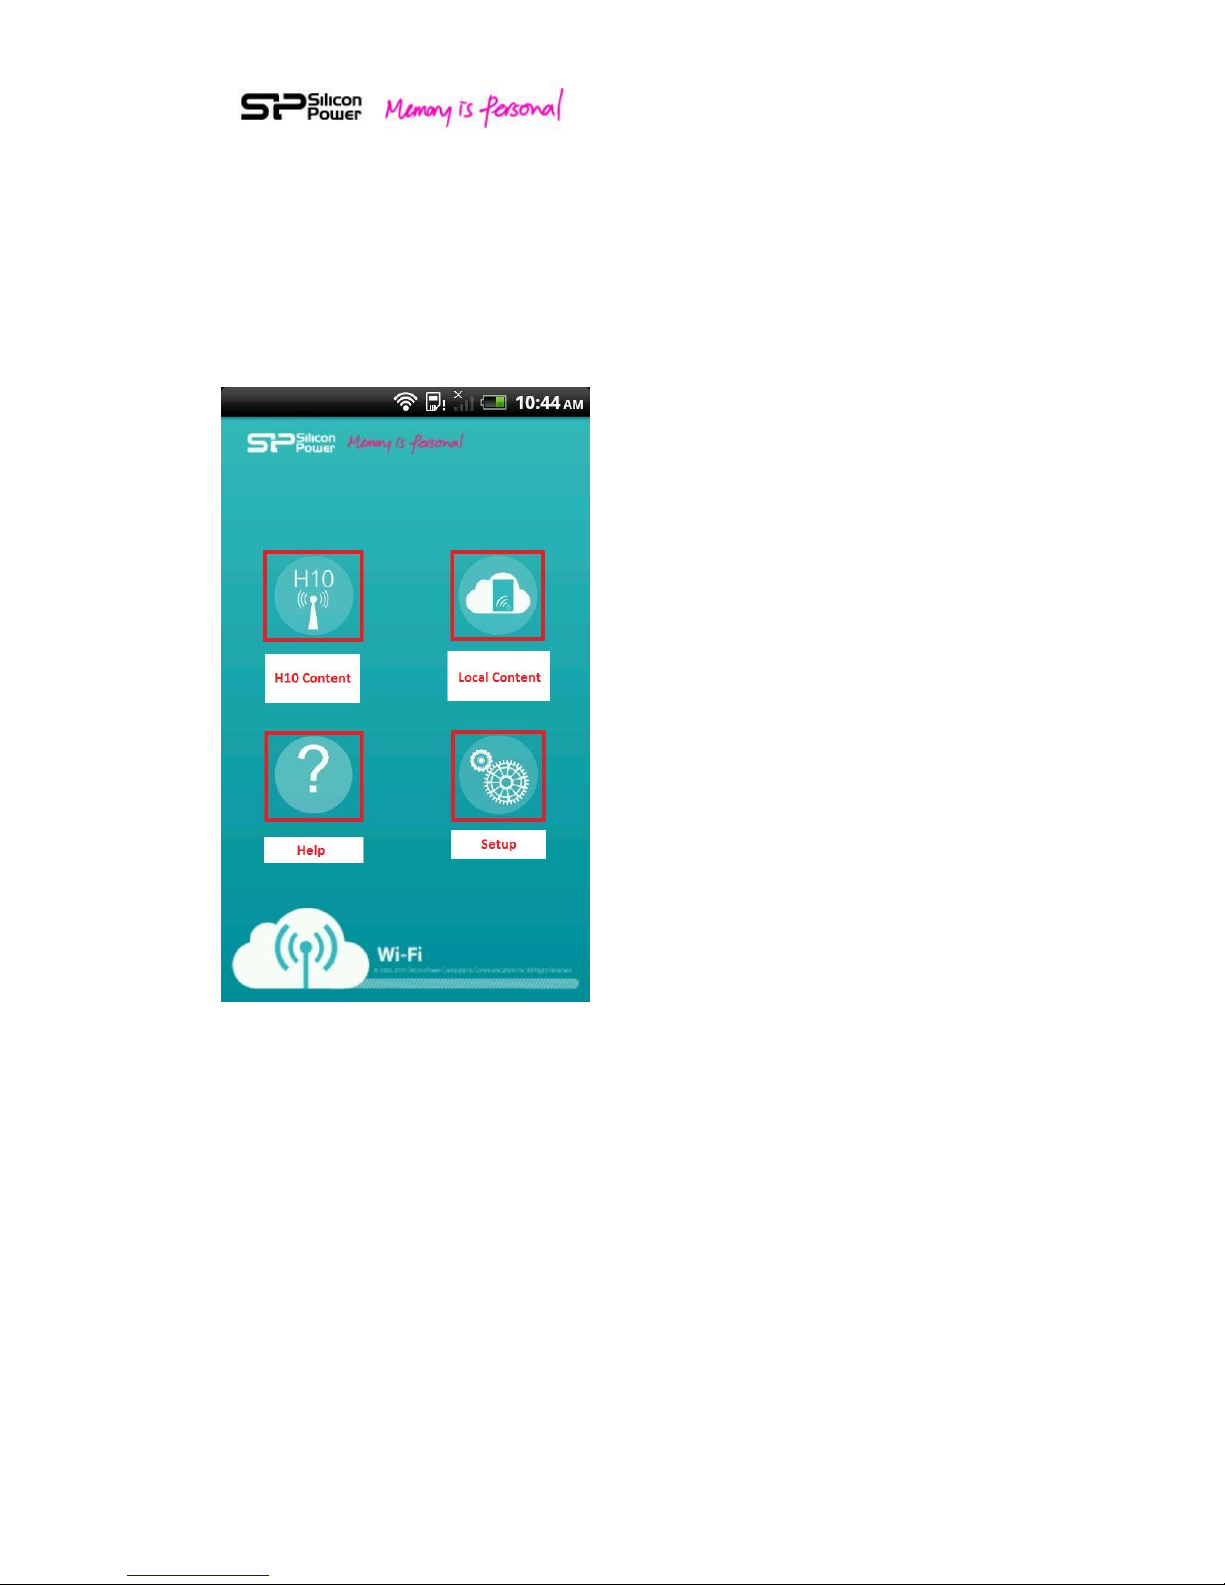
Fig. 5 Android App Front-page
Android App four functions on the front page:
1. H10 Content
2. Local drive content
3. Setup
4. Help
Tap the “H10”icon to operate all contents stored in H10 and tap “Local drive”icon
to operate all contents transferred to your Wi-Fi device from H10.
If you want to change the setting of H10, tap the “Setup”icon.
If you need some help tips, tap the “Help”icon.
9
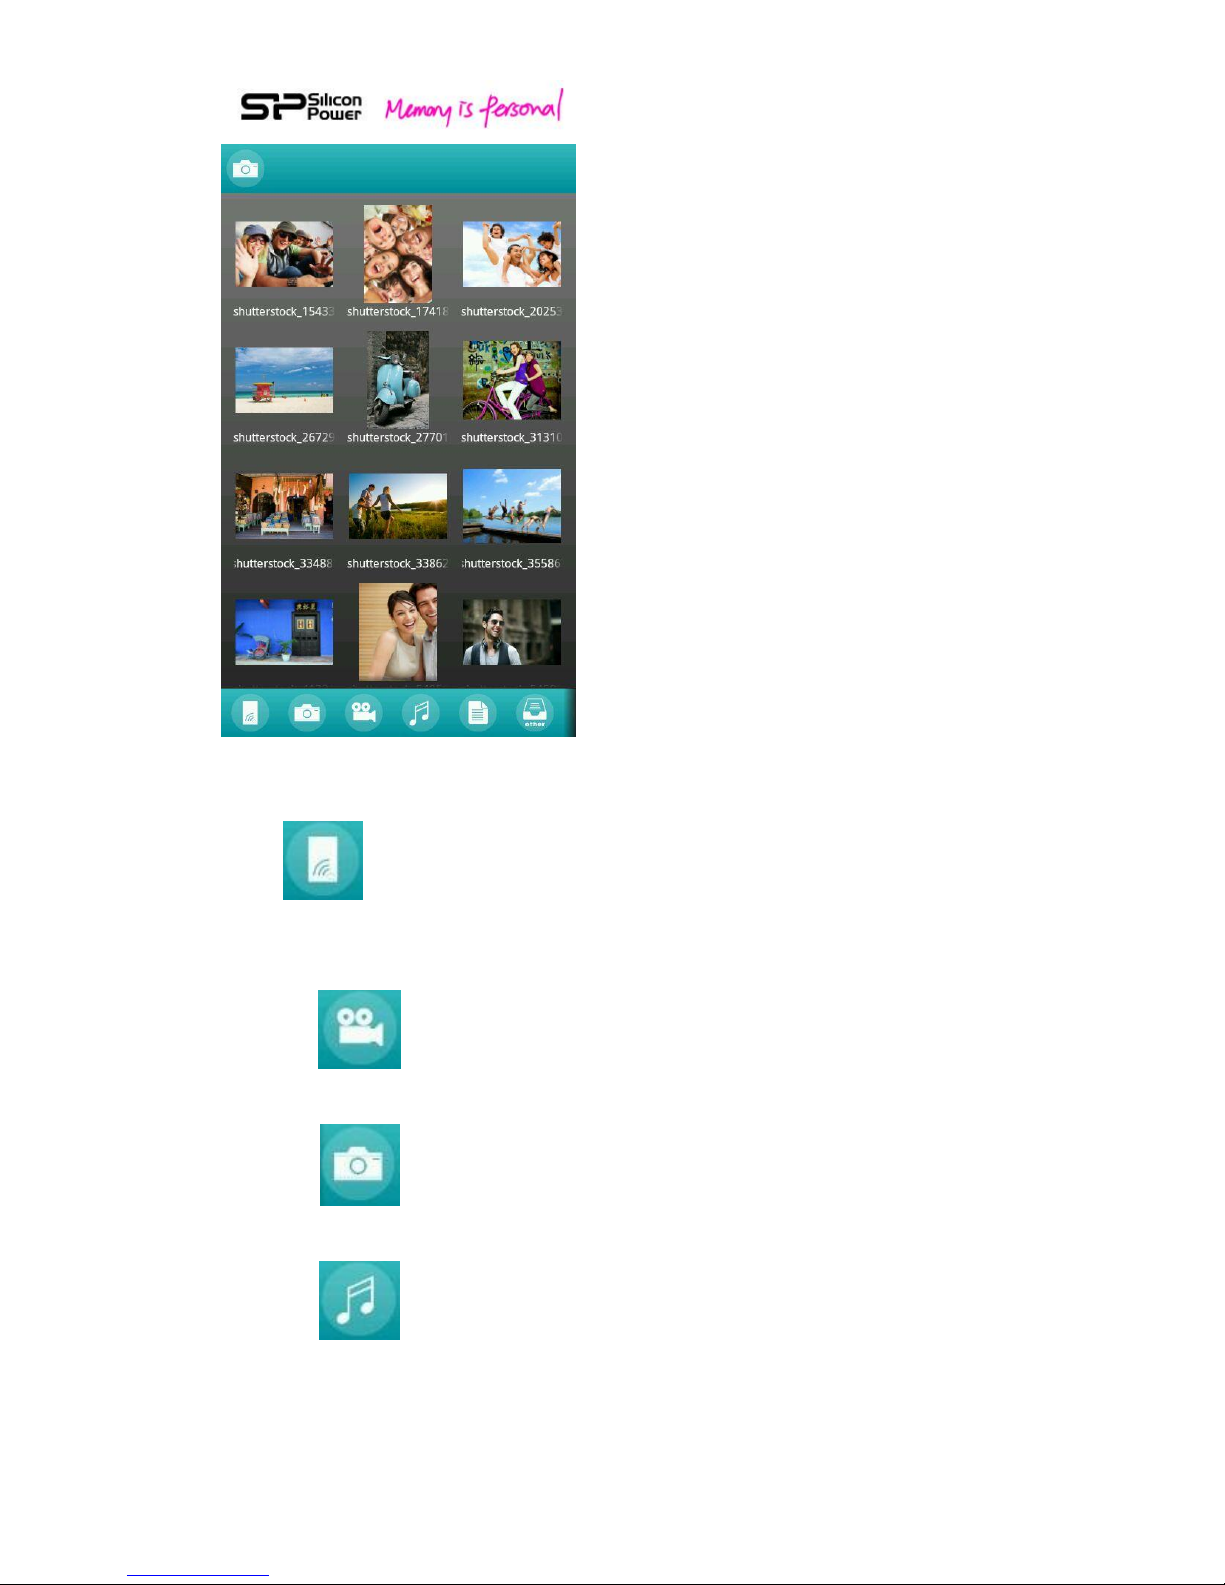
Fig. 6 Android App Overview
All:
To view all files stored.
Default Media Folders:
Video:
To view video files.
Photo:
To view photo files.
Music:
To view music files.
10
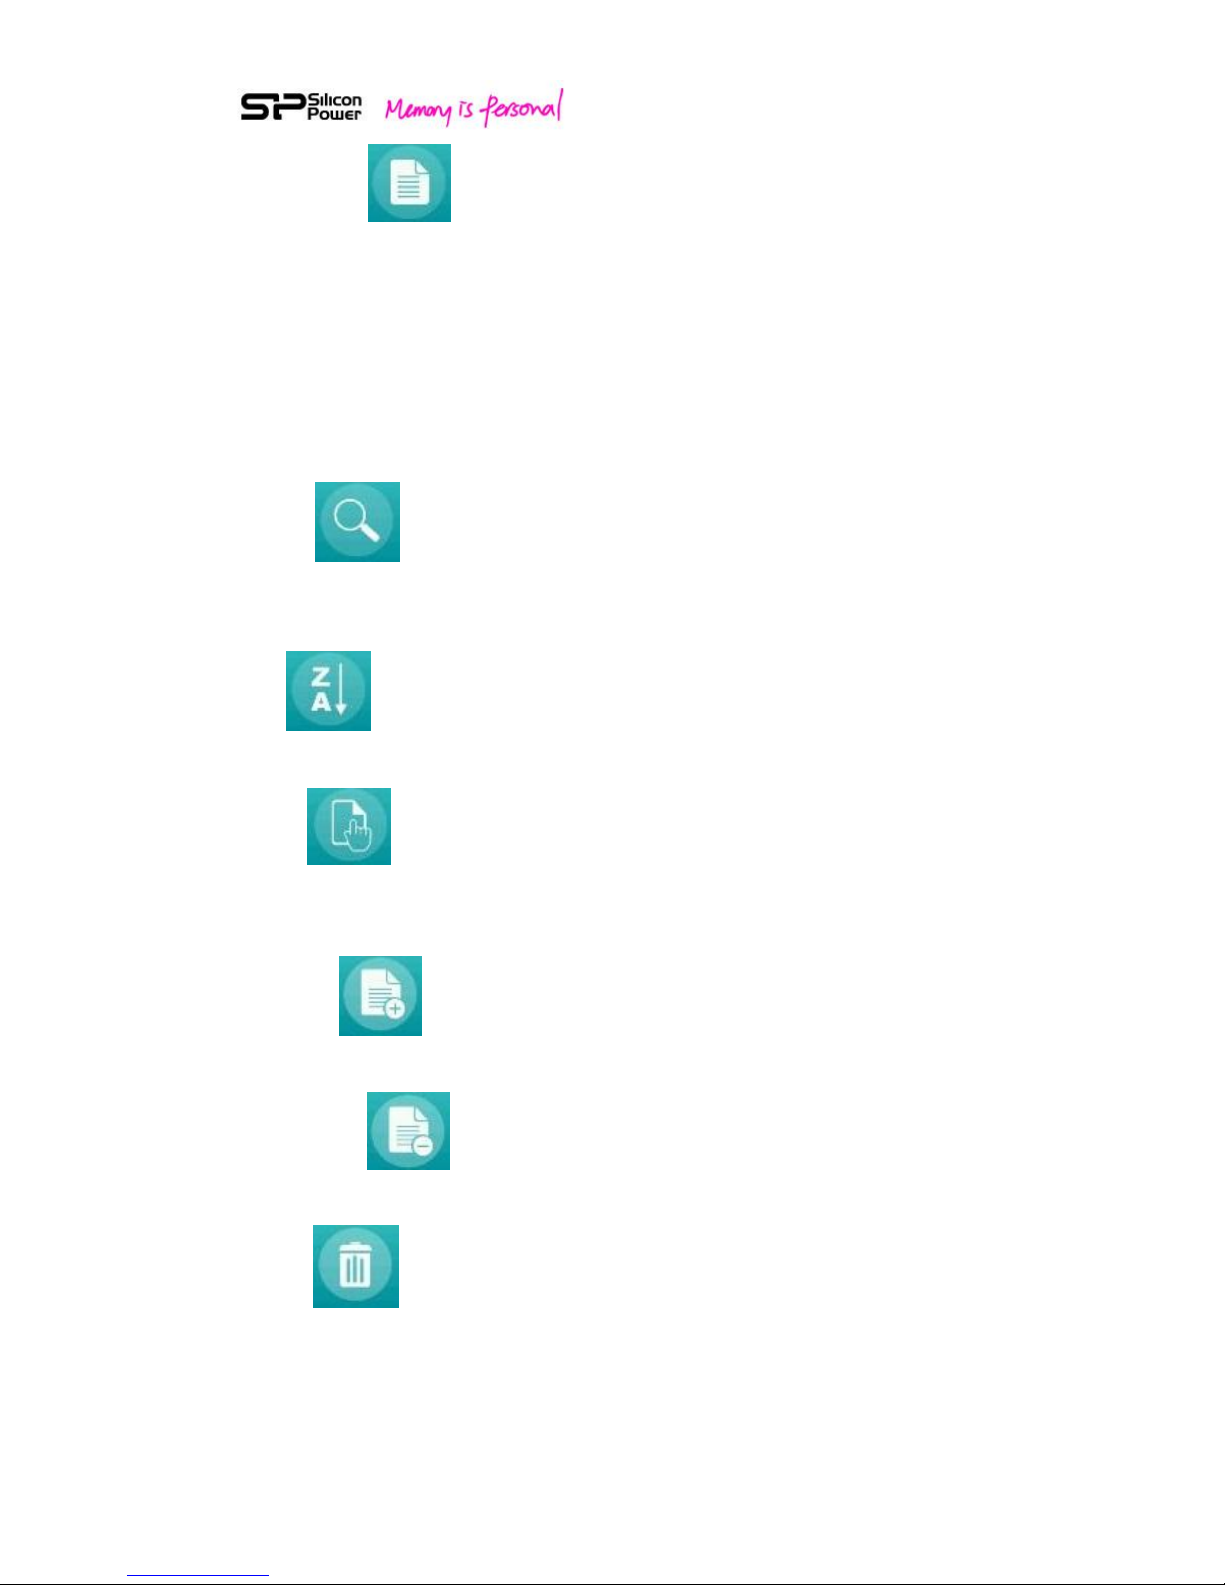
Document:
To view document files.
H10 Android App avoids sorting the whole hard drive during each power-on to have
a quick setup. Instead, a user is necessary to organize files into the respective
default folders: Video, Photo, Music, and Document.
If you mix your file types and cannot find them in these four folders, you can go to
“All”to view a complete listing of stored files.
Search:
Input keyword in the search column. H10 will display all files associated with the
keyword.
Sort:
The files can be sorted by the file type, file size or creation date.
Select:
Tap “Select”icon to select media files for further operation. Tap “Back”icon to
cancel “Select”.
Select all:
To select all files, tap “Select all”.
Deselect all:
To clear all selections, tap “Deselect all”.
Delete:
To delete selected files, tap “Delete”.
Autres manuels pour Sky Share H10
2
Table des matières
Autres manuels Silicon power Stockage


Manuels Stockage populaires d'autres marques


Spectra Logic
Spectra Logic T-Series Spectra T50e Manuel utilisateur

Panasonic
Panasonic LKM-F931-1 Manuel utilisateur

Tabernus
Tabernus Enterprise Erase E2400 Manuel utilisateur

Rocstor
Rocstor COMMANDER 3F series Manuel utilisateur

HP
HP P9000 Manuel utilisateur

Western Digital
Western Digital Ultrastar Data60 Manuel utilisateur