3
Installation Instructions
INSTALLATION MUST BE CARRIED OUT BY QUALIFIED TECHNICIAN
-The machine is supplied factory lubricated and ready to run. It should be
-
-
-
-
-
positioned on a solid, level and non-skid work surface that is nonflammable. Install
in work area with adequate light and space.
For SL- 2OO or smaller capacity models, you may place the mixer on bench
which is capable of supporting a load of mixer’s weight. For safety, the mixer
should be BOLTED in position using all four holes
located in the legs.
DO NOT attempt to lift the mixer alone.
Clean the mixer before use. It is normal for the factory
to apply a generous amount of grease in and on the
machine before initial use.
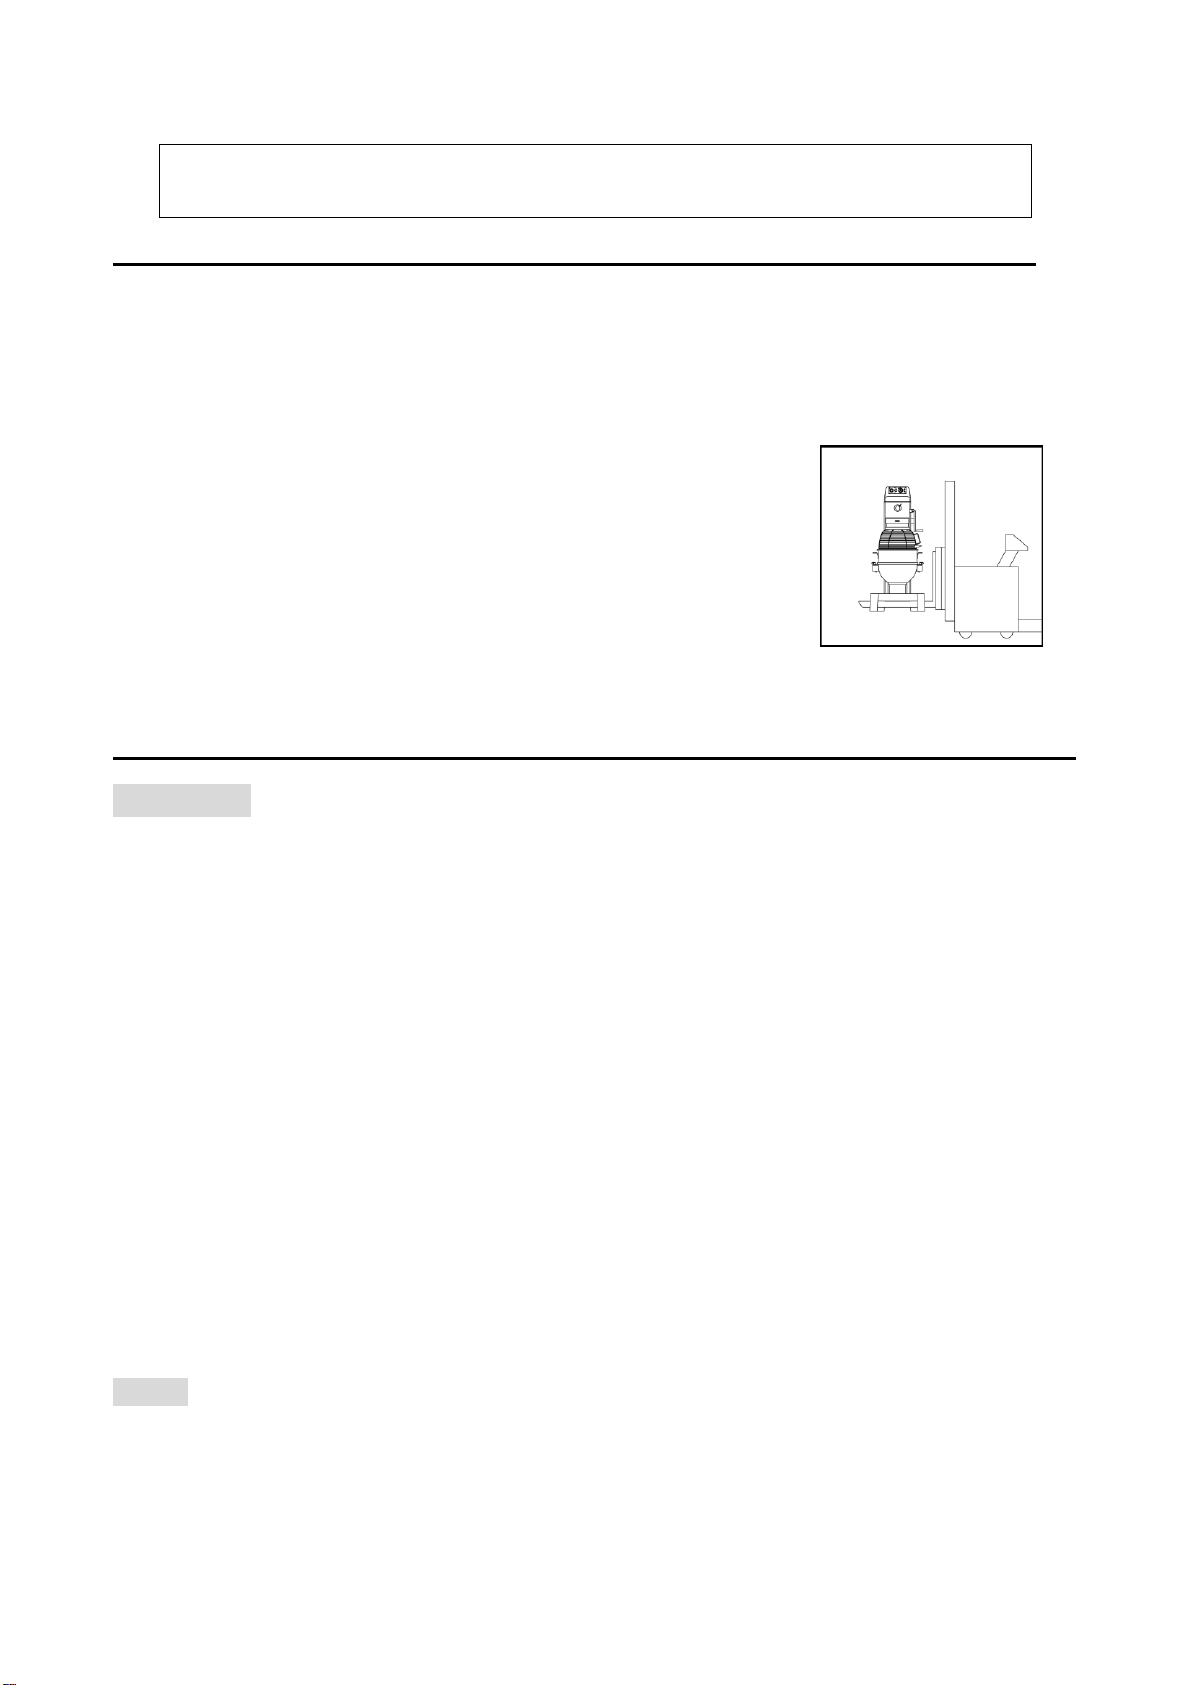
During the transportation or fitting, please do not lean
over 35 degree to avoid the gear oil leaking from the
gear oil container. Figure 1
Please use forklift to transporting. Please refer to Figure 1.
ELECTRICAL CONNECTION MUST BE MADE BY QUALIFIED ELECTRICIAN
CAUTION: NEVER USE AN EXTENSION CORD. Low amp supply could damage the
mixer or cause a fire.
Before connecting this machine to the electrical supply, check that the details on the
rating plate (located on the rear of the machine) correspond to the details of your electrical
connection.
The mixer is supplied with a trailing lead fitted with a molded plug. If the style of plug is
unsuitable for the socket you plan to use, the plug must be cut off and replaced with an
appropriate plug.
Machines are fitted with a color coded three core cable as follows:
(1) Brown: Live
(2) Blue: Neutral
(3) Green/Yellow: Earth
As the color of the wires may not correspond to the colored markings identifying the
terminals in your plug, you should proceed as follows:
-The wire which is colored blue must be connected to the terminal which is marked
with the letter N or colored black.
-The wire which is colored brown must be connected to the terminal which is
marked with the letter L or colored red.
-The wire which is colored green/yellow must be connected to the terminal which is
marked with the letter E or colored green.
NOTE: In terms of the 3-phase, when the mixer is located and connected with the plug,
please make sure that the shaft goes clockwise. (Same direction as the arrow sticker
that is located on the front of the machine) If the shaft goes counterclockwise, please
replace the wires: R.S.T. (USA) L1, L2, L3, (Europe). To replace the wires each other until
the shaft goes clockwise.