FV-G030B1
User’s Guide Rev. 1.02
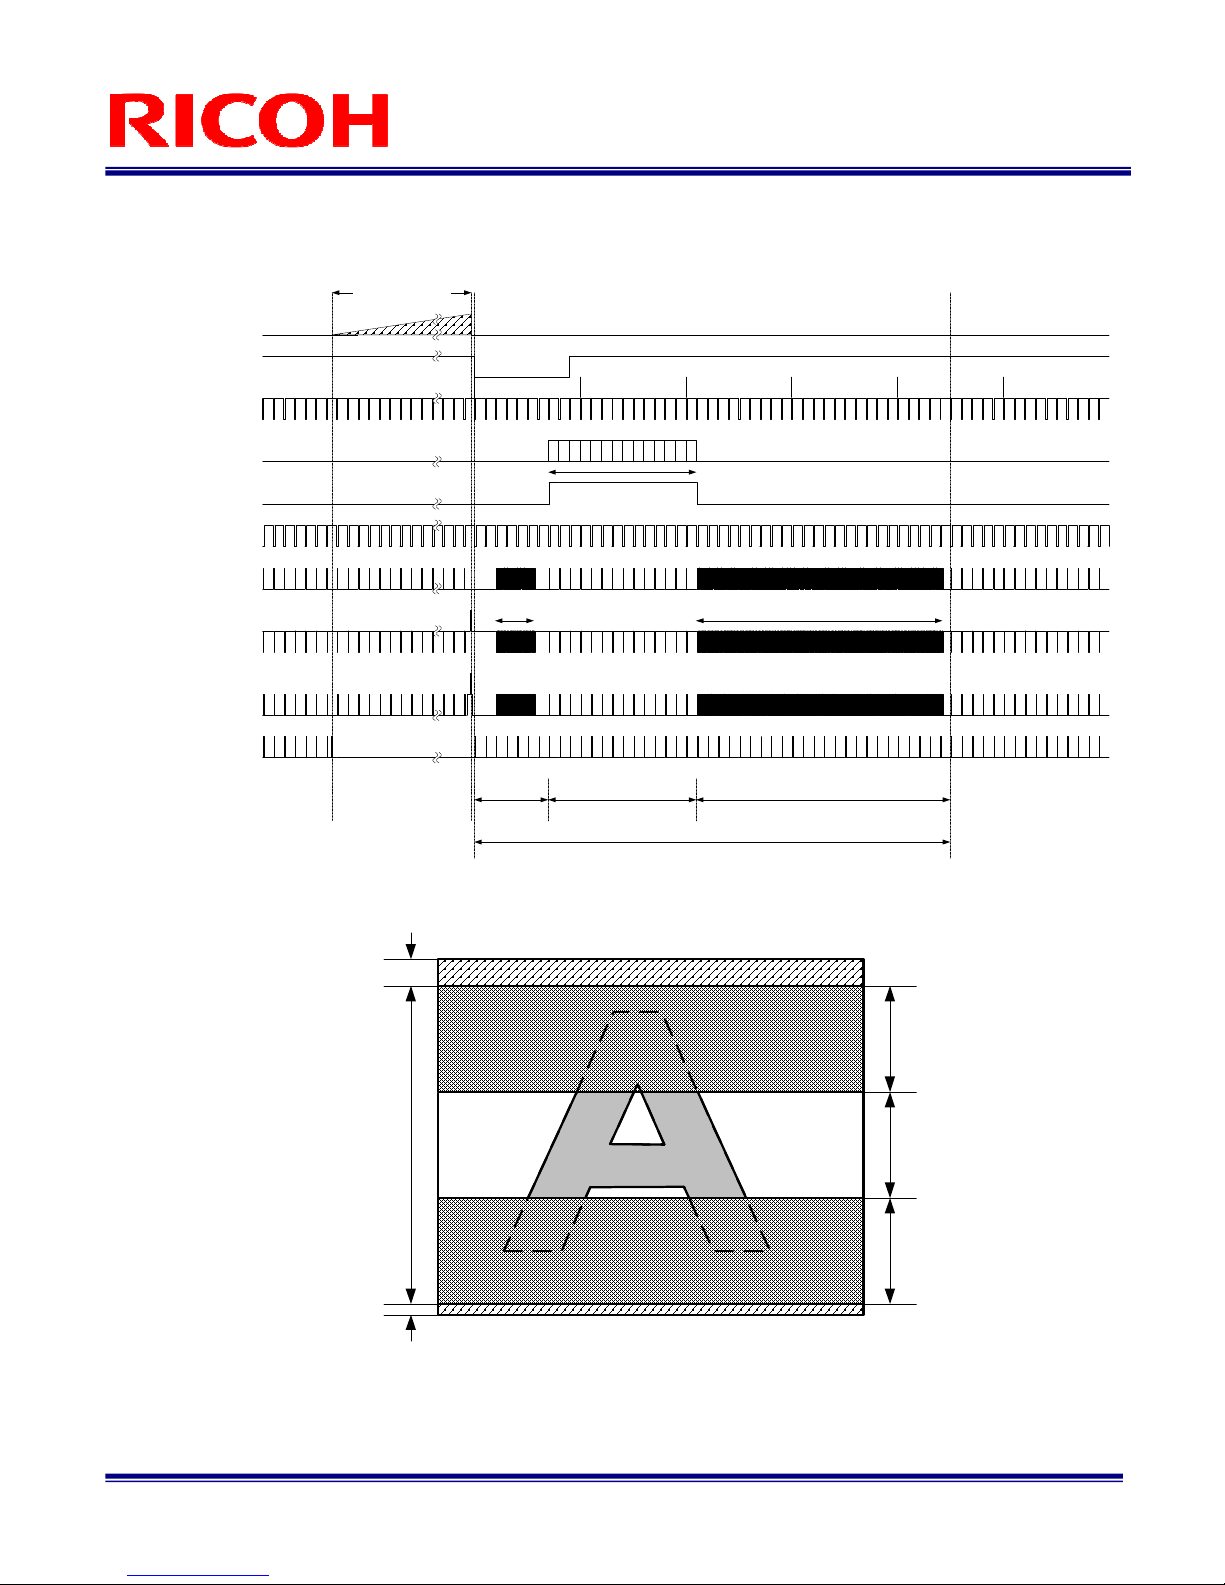
Table of Contents
1 Connector Specifications.....................................................................................................................................
1.1
RJ45 Connector ...................................................................................................................................................... 3
1.2
DC Iris Lens Connector .......................................................................................................................................... 4
1.3
Power-I/O Connector .............................................................................................................................................. 4
1.3.1
Equivalent Circuit for the Input Pin of the I/O Connector .................................................................................... 6
2 Camera Output Timing Charts .............................................................................................................................7
2.1
Horizontal Ti ing .................................................................................................................................................... 7
2.2
Vertical Ti ing......................................................................................................................................................... 7
2.2.1
Full Scanning....................................................................................................................................................... 7
2.2.2
1/2 Partial Scanning ............................................................................................................................................ 8
2.2.3
1/4 Partial Scanning ............................................................................................................................................ 8
2.2.4
AOI (Area of Interest) .......................................................................................................................................... 9
2.3
Pixel Transferring I age....................................................................................................................................... 10
Camera Operational Modes................................................................................................................................11
3.1
Nor al Mode .........................................................................................................................................................11
3.2
Pulse Width Trigger Mode .....................................................................................................................................11
3.2.1
Ti ing.................................................................................................................................................................11
3.2.2
Exposure Ti ing with the Positive Polarity Trigger Signal................................................................................ 12
3.2.3
Exposure Ti ing with the Negative Polarity Trigger Signal .............................................................................. 12
3.3
Edge Preset Trigger Mode.................................................................................................................................... 13
3.3.1
Ti ing................................................................................................................................................................ 13
3.3.2
Exposure Ti ing with the Positive Polarity Trigger Signal................................................................................ 14
3.3.3
Exposure Ti ing with the Negative Polarity Trigger Signal .............................................................................. 14
3.4
Edge Preset Trigger Mode (Trigger Input While the I age Is Out) ...................................................................... 15
3.4.1
Ti ing................................................................................................................................................................ 15
3.4.2
Exposure Ti ing with the Positive Polarity Trigger Signal................................................................................ 16
3.4.3
Exposure Ti ing with the Negative Polarity Trigger Signal .............................................................................. 16
3.5
H Reset Mode ....................................................................................................................................................... 17
4 Communication Protocol....................................................................................................................................18
4.1
Co unication Method........................................................................................................................................ 18
4.2
Co unication Settings....................................................................................................................................... 18
4.3
Co unication For at ........................................................................................................................................ 18
4.4
Ca era Control Co and................................................................................................................................... 21
4.4.1
Ca era Co and List (Device Code: 000000) ............................................................................................... 21
4.4.2
Ca era Co and List (Device Code: 100000) ............................................................................................... 23
4.4.3
Descriptions of the Ca era Control Co ands (Device code: 000000);........................................................ 25
4.4.4
Descriptions of the Ca era Co ands (Device code: 100000);..................................................................... 31
4.5
GenICa Co and / Ca era Co and Reference Table................................................................................ 35