QTek S200 Manuel utilisateur

Pocket
Quick Start Guide

2
1. What’s in the Box?
Headset
Pocket PC Phone
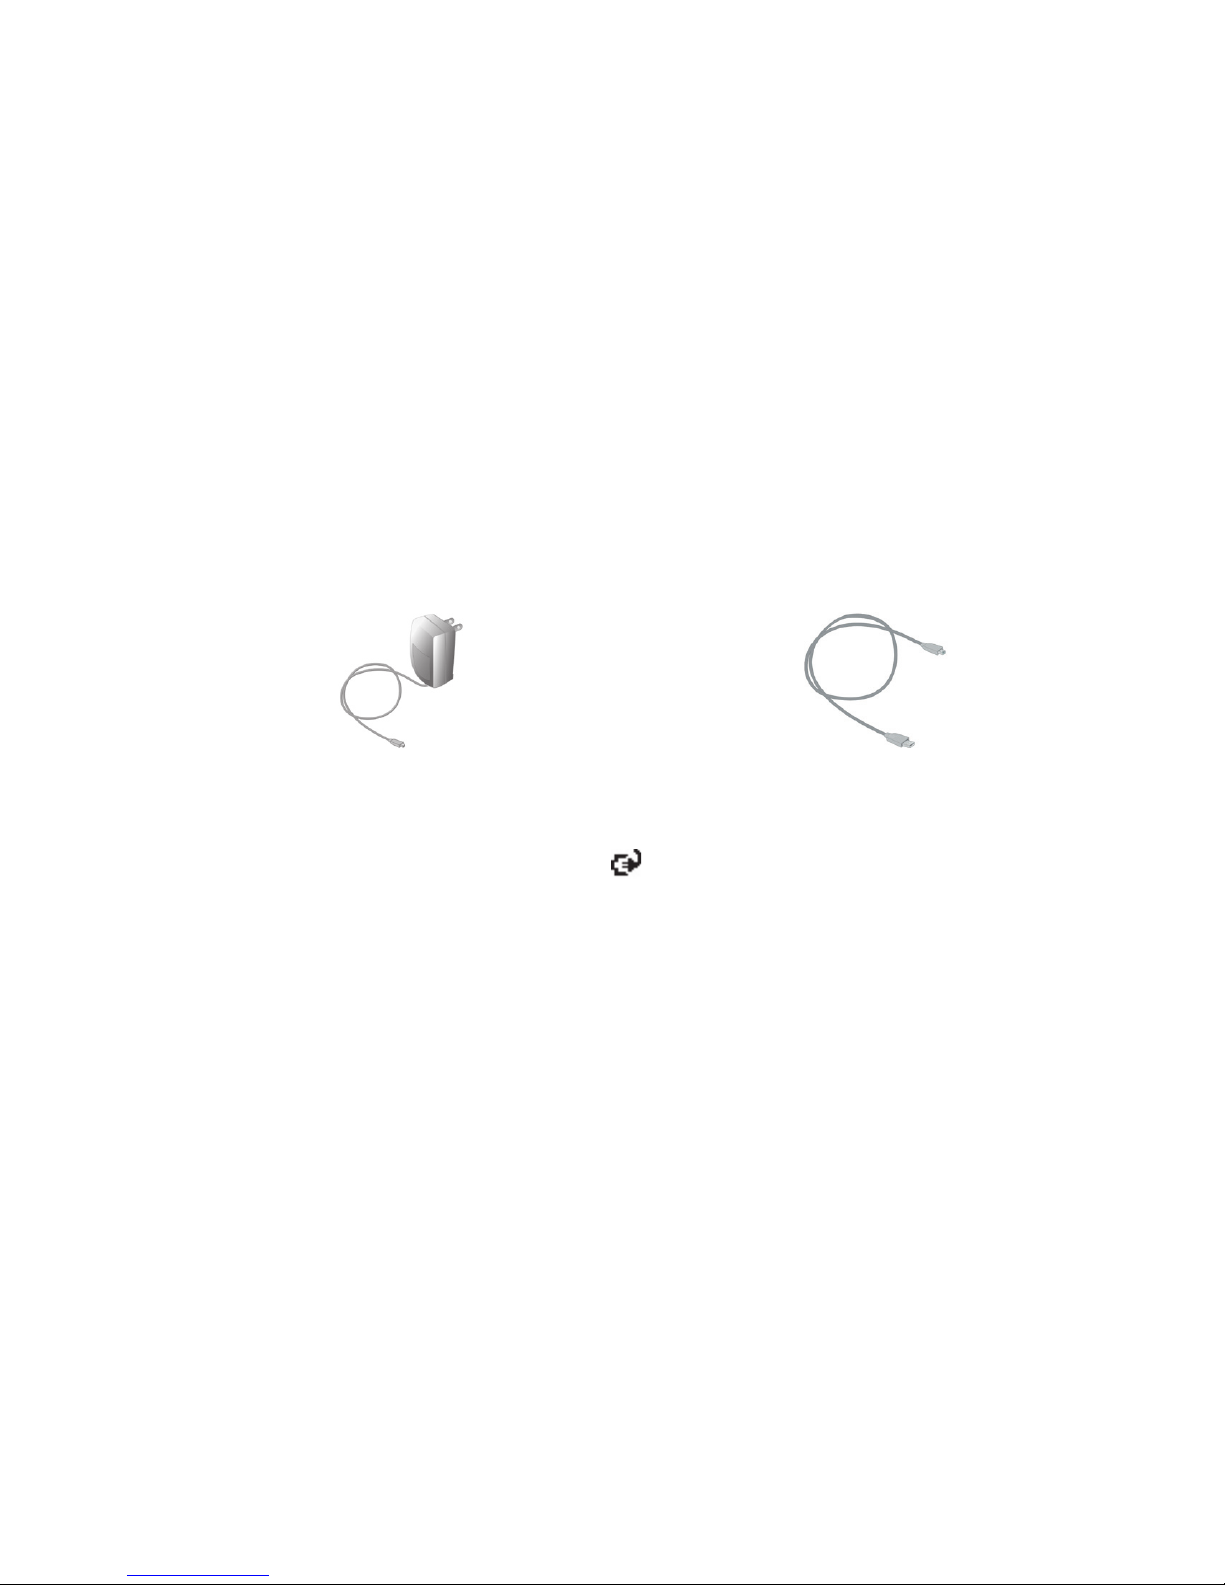
AC Adapter
USB Cable
Getting Started CD
User Manual and
Quick Start Guide
Battery

3
2. The Pocket PC Phone
2
6
4
3
1
1210
9
7
11
8
13
5
14
16
19
23
17
18
20
242221
15

4
Parts of the Device
No. Item Function
1
MMC/SD or SDIO
Card Slot
In this card slot, insert an MMC or SD card for storing data, or insert an SD
input/output card such as a network card.
2
CAMERA Button
Press to launch the camera; press again to take a photo or video clip,
depending on the specified capture mode.
3
Volume Controller
Slide up or down to adjust the volume.
4
COMM MANAGER/
RECORD Button
Press to open Comm Manager; press and hold to record a voice note.
5
Strap Holder
Lets you attach a strap for carrying your device.
6
Notification LEDs
Green and Amber LED for GSM standby, SMS message, GSM network
status, notification, and battery charging status.
Blinking Blue LED for Bluetooth system notification of powered-up and ready
to transmit radio frequency signal, and blinking Green for Wi-Fi status.
7
Touch Screen
Tap the stylus on-screen to write, draw, or make a selection.
8
Left SOFT KEY
Performs the command shown in the label above the button.
9
Right SOFT KEY
Performs the command shown in the label above the button.
10
TALK Button
Press to answer an incoming call or dial a number.
11
START Button
Press to open the Start menu.
12
Navigation Control
Press this multi-directional control up, down, left, or right to move through
menus, program instructions; carry out the selection by pressing the center
button.
13
OK Button
Press to confirm your data entries, or to exit the program in use.
14
END Button
Press to end a call.
15
Stylus
Use the stylus to write, draw, or select items on the touch screen.
16
POWER Button
Press to turn off your device temporarily. This switches your device to sleep
mode. To turn it off completely, press and hold (for about 5 seconds).
When your device is in sleep mode, you can still use the phone function
to receive calls. When you turn off the device completely, all functions
including the phone will be unavailable for use.
17
Infrared Port
Lets you exchange file(s) or data with other devices wirelessly.
18
Car Antenna
Connector
You can connect your phone to a car antenna to have better reception
quality.
19
Self-Portrait Mirror
Turn the back side of your device to face yourself so that your image reflects
on the mirror when taking self-portrait shots.

5
No. Item Function
20
Camera Lens
The camera lens on your device supports two shoot modes: Wide-angle
mode (normal) and Macro mode (close-up). To change the shoot mode,
push the switch up for wide-angle mode or down for macro mode.
21
RESET Button
With the stylus, press the RESET button to soft-reset your device.
22
Sync Connector
Use this connector for synchronizing data or recharging the battery.
23
Earphone Jack
Allows you to listen to audio media or use the phone’s hands-free kit.
24
Microphone
Speak into the microphone when receiving or making a phone call or voice
recording.
Accessory Function
AC adapter
Converts AC to DC for recharging the battery.
USB cable
Connects your device to a PC and synchronize data.
Stereo headset
Provides a volume control jog dial and a Send/End button. You can use the
button to pick up and hang up incoming and outgoing calls.

6
3. Getting Ready
Before you start using your device, you must install a SIM card and a charged battery. The
SIM card contains your phone number and service details, and it stores phonebook entries
and your messages.
Install the SIM card
1.
Make sure your device is turned off.
2.
Slide the cover latch to remove the battery cover.
Then remove the battery. Lift the battery up from the upper left side of the battery slot
using your fi nger.
3.
Insert the SIM card into the SIM card slot with its gold contacts facing down (the cut-off
corner of the SIM card should match the cut-off corner in the slot).
T
o
To T
take the SIM card out, use the stylus to press into the SIM card slot hole, and then
lightly lift up the SIM card while pressing the left-most side of the SIM card, and then
slide it out.
Slide the SIM
card into the
SIM card slot.
Press lightly to
slide the SIM
card out.
Use the stylus to
press into the SIM
card slot hole.
4.
Replace the battery (see instructions in the next section).
5.
Replace the battery cover.
7
Install and charge the battery
New batteries are shipped partially charged. Before you can use your device, you need to
install and charge the battery. To install the battery, remove the battery cover first, and then
insert the battery by aligning the exposed copper part of the battery pack with the protruding
copper conductor which is on the upper right side of the battery slot. Insert the right side of
the battery first, then gently push the battery into place, and replace the battery cover.
Some batteries perform best after several full charge/discharge cycles. You can charge the
battery in two ways:
•
Connect your device directly to an
electrical outlet using the AC adapter.
•
Plug the sync cable to the USB port on
your PC and to the sync connector on
your device.
When your device is turned off, charging is indicated by a solid amber light on the LED
indicator. When your device is turned on, charging is indicated by a solid amber light on the
LED indicator as well as a charging icon (
) in the title bar of the Today screen.

8
Check the battery power
•
Tap the battery level icon (
) in the title bar of the Today screen. The Power Settings
screen will then open where you can see the current battery power level.
Battery power indicator
When the battery power gets very low, a warning message will be displayed. When you
see this, immediately save your data by synchronizing with your PC, or save your data on a
secondary storage card, and then turn off your device. Do not attempt to restart your device
until you have connected it with the power adapter.
Turn on your Pocket PC Phone
Press POWER to turn on your device. When you turn on your device for the first time, you
are asked to complete a screen calibration process.
To turn off your device, press POWER again.
POWER button

9
4. Making a Call
Like a standard mobile phone, you can use your device to make, receive, and keep track of
calls and send SMS messages. You can also take notes while talking, and dial directly from
Contacts.
The Phone screen
From the Phone screen, you can access Call History, Speed Dial, and Phone settings. To
open the Phone screen, do one of the following:
•
Use the stylus to tap
Start > Phone
.
•
Press TALK on the device.
TALK button
Make a call
•
from the Phone screen
:
On the Phone screen, tap
the desired phone number, then tap
.
•
from
Contacts
:
On the Phone screen, tap
Contacts
.
Then, tap the desired contact and tap
or
press TALK.
•
from
Call History
:
On the Phone screen, tap
.
Then, scroll to the desired contact or phone number,
and tap
Call
.
Phone screen

10
5. Synchronizing Outlook Information
Using Microsoft
®
ActiveSync
® ActiveSync
®
®
, you can synchronize information on your device with
information on your PC, such as Outlook content. ActiveSync is already installed on your
device, but you need to install it on your PC if you don’t already have it. Insert the
Getting
Started CD
into the CD drive of your PC. Follow the instructions on the installation wizard
screen to install ActiveSync. Once installation is completed, connect the sync cable to your
device and plug it into your PC’s USB port.
To set up a partnership between your device and the PC, turn on your device. When the PC
detects a USB connection, it starts the
ActiveSync Synchronization Setup Wizard
. Follow
the instructions on the screen and select the Outlook items you want to synchronize.
Synchronization Setup Wizard
(Synchronization Options)
Autres manuels pour S200
1
Table des matières
Autres manuels QTek portable


