PAYCHEX TrueShift Manuel utilisateur

PLEASE READ THIS FIRST
QUICK START GUIDE
Version: 062016

Please confirm the contents of your system. If any item is missing,
contact our support line for a replacement: 1-877-234-1851.
Mounting
Bracket
15’Ethernet
Cable
15’USB
Cable
Power
Supply
TrueShift Biometric Time Clock
2 Screws
2 Keys
1UNPACK THE BOX
The comprehensive User Guide is available for download at:
www.trueshifttimeclock.com/userguide

2MOUNT ON THE WALL
A.
B.
C.
E.
F.
D.
Mount the time clock between
48 and 54 inches from the floor,
to enable the clock to capture
images for your shortest and
tallest employees.
Use the 2 wall mount screws to
mount the bracket to the wall.
Insert the key, turn it clockwise a
quarter of a turn.
Push the time clock onto the
mounting bracket so that the
tabs fit into the 3 matching
slots on the back of the clock.
Slide the clock downward
until the tabs click into place.
Use the key to lock the clock
to the mounting bracket.
Remove the key.

3
3SET THE DATE AND TIME
A.Plug the power supply into the power supply port located on the bottom
of the clock.
B. Plug the power supply into the wall outlet.
C. The display will state Set Date/Time.
D. Press or on the time clock to select the current month. Press Enter.
E. Follow the same procedure to advance through each step, setting the date
and time. If a mistake is made, press Clear to go back.
F. Once complete, the time clock will display Date and Time Set.
If the clock detects a wifi connection, it will display, Network detected press
Entry. Go to Panel 5
^
^
A. TrueShift Time Clock
B. Wall Outlet
B. Power Supply
Wall Outlet

The TrueShift time clock includes three standard connection options. Choose
your preferred connection method below, follow the corresponding
instructions later in the guide.
• Windows PC (Vista or above)
• An available USB Port
on the PC
4CHOOSE YOUR CONNECTION OPTION
1. Wifi Connection 3. USB Connection
PLEASE CHOOSE
ONE CONNECTION OPTION
BEFORE MOVING FORWARD
System Requirements
A.Plug the power supply into the power supply port located on the bottom
of the clock.
B. Plug the power supply into the wall outlet.
C. The display will state Set Date/Time.
D. Press or on the time clock to select the current month. Press Enter.
E. Follow the same procedure to advance through each step, setting the date
and time. If a mistake is made, press Clear to go back.
F. Once complete, the time clock will display Date and Time Set.
If the clock detects a wifi connection, it will display, Network detected press
Entry. Go to Panel 5
System Requirements
• Wireless router
• Available network
2. Ethernet Connection
System Requirements
• available network port on your
router, modem or switch.
Go to Panel 6
Go to Panel 5 Go to Panel 5
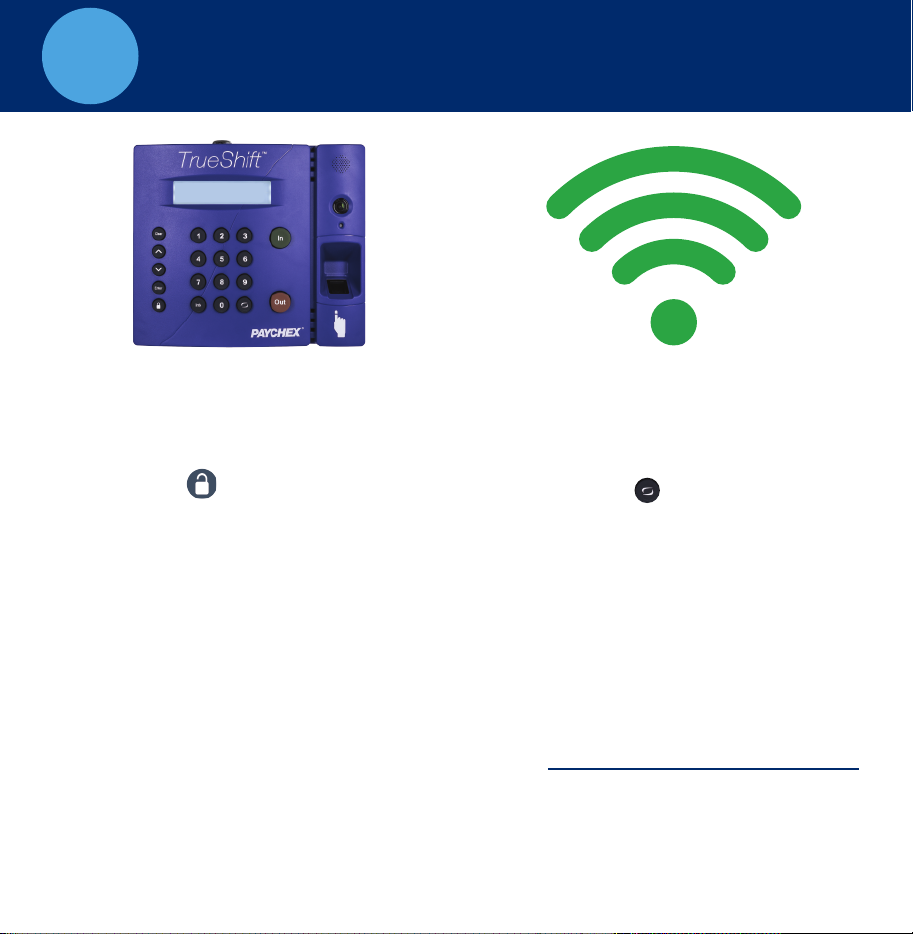
5CONNECT VIA WIRELESS NETWORK
TrueShift Time Clock WiFi Connection
A. If a wireless network is detected,
on boot up, press Enter and skip
to Step E. otherwise, go to Step B.
B. Press the key on the time
clock, to enter Supervisor Mode.
C. Enter default security code:
00 00 00.
D. Use the key to find Network
Settings, press Enter.
E. Find Wifi Settings. Press Enter.
F. Find view Networks. Press Enter.
H.Enter Network Password.
J. Go to Panel 9
^
• Use the Key to scroll
through the character options.
• Use the key to change
character mode: lowercase,
upper case # and symbol.
• Press Enter to accept a
single character.
• When complete, press
Enter twice to save the
password.
I. Write down IP Address
^
G. Choose a Network. Press Enter.

6
Tip: Network connection is not required at all times. Network connection is
required for accessing the time clock application and running reports.
CONNECT VIA ETHERNET NETWORK
Connecting Your Time Clock To The Network
A. Plug the Ethernet cable into the Ethernet port located on the bottom
of your clock.
B. Connect the other end of the Ethernet cable into an available port on
your router, switch or wall port.
C. Disconnect the power supply from the time clock and reconnect it
again to power cycle the time clock.
D. Check to see that the green and amber Ethernet link lights turn on where
the Ethernet cable plugs into the clock. This verifies that your time clock is
connected to your network. If the lights do not turn on, check
the cable connections.

7ETHERNET NETWORK - continued
Find the clock’s IP address
A. Press Padlock key
SECURITY CODE?
CODE# 00 00 00
E. Press the key on the time clock, to enter Supervisor Mode,
where additional administrator options are found.
B. Enter the default
F. Enter default security code – 00 00 00.
G. On the clock, press to scroll through and find the View IP Address option.
Press Enter.
H. Write down the clock’s assigned IP address below, for later reference.
I. Go to Panel 9
^
IP Address:

8
Connect your clock to the PC using USB
A. Plug the USB cable into the USB port located on the bottom of your
clock.
B. Plug the other end of the USB cable into the USB port on your PC.
C. Download the USB Communications Drivers from our website at:
D. Follow instructions listed to complete the driver installation.
E. Once complete, open your Web browser and navigate to:
Important: USB connection is compatible with Windows Vista and above.
If you are using a Mac, give us a call for alternative options.
www.trueshifttimeclock.com/connectusb
http://trueshift.timeclock or http://172.20.20.1
Home Lists Reports Print Files Settings
Customer Name | Sign-out
Timecards by Dept.
CONNECT DIRECT TO PC - USB

9
B. Set Your Password
• Enter your New Password
• Confirm your New Password
C. For instructions on adding your employees and completing setup click
the Help menu on the navigation bar to download the User Guide
LOG INTO YOUR TIME CLOCK
A. Open your computer’s Web browser and enter the clock’s IP address
in the address bar, press Enter.
A. Open Web
browser, enter the
clocks IP address
Home Lists Reports Print Files Settings
Customer Name | Sign-out
Timecards by Dept.
Table des matières


