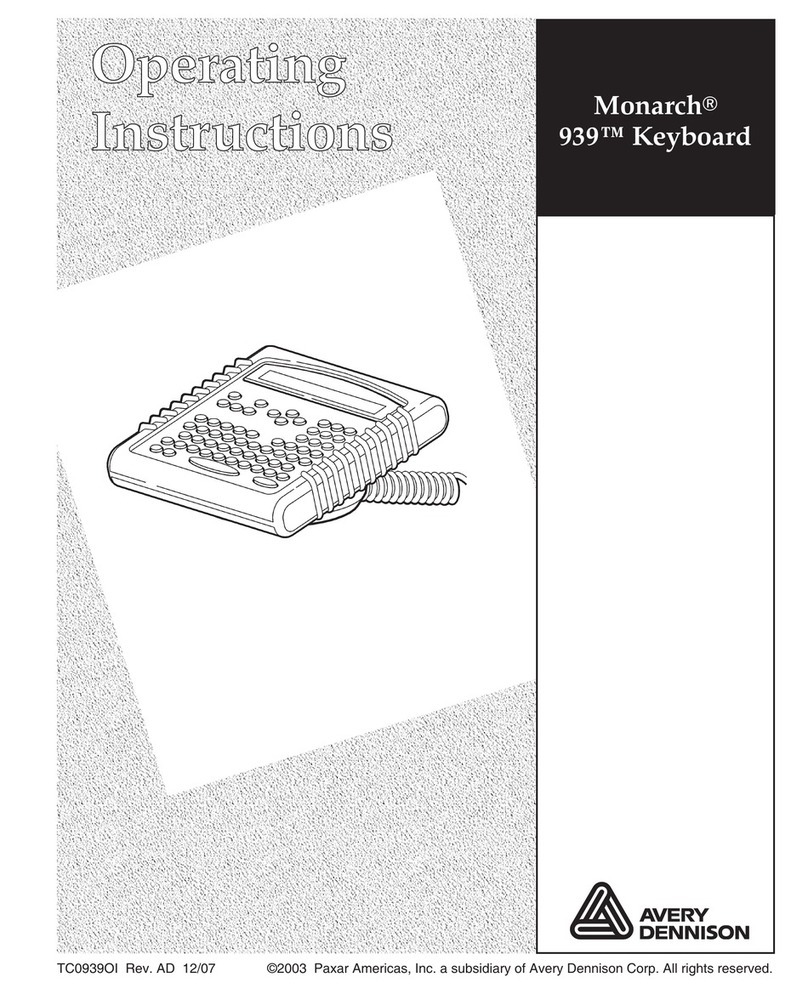
Paxar 939i Manuel utilisateur

Monarch®
939i™
Intelligent
Keyboard
TC0939iOI Rev. AF 12/07 ©2004 Paxar Americas, Inc. a subsidiary of Avery Dennison Corp. All rights reserved.

Each product and program carries a respective written warranty, the only warranty on
which the customer can rely. Paxar reserves the right to make changes in the product,
the programs, and their availability at any time and without notice. Although Paxar has
made every effort to provide complete and accurate information in this manual, Paxar
shall not be liable for any omissions or inaccuracies. Any update will be incorporated in
a later edition of this manual.
©2004 Paxar Americas, Inc. a subsidiary of Avery Dennison Corp. All rights reserved.
No part of this publication may be reproduced, transmitted, stored in a retrieval system,
or translated into any language in any form by any means, without the prior written
permission of Paxar Americas, Inc.
WARNING
This equipment has been tested and found to comply with the limits for a Class A digital
device, pursuant to Part 15 of the FCC Rules. These limits are designed to provide
reasonable protection against harmful interference when the equipment is operated in a
commercial environment. This equipment generates, uses, and can radiate radio frequency
energy and, if not installed and used in accordance with the instruction manual, may cause
harmful interference to radio communications. Operation of this equipment in a residential
area is likely to cause harmful interference in which case the user will be required to correct
the interference at his own expense.
CANADIAN D.O.C. WARNING
This digital apparatus does not exceed the Class A limits for radio noise emissions from
digital apparatus set out in the Radio Interference Regulations of the Canadian Department
of Communications.
Le présent appareil numérique n’émet pas de bruits radioélectriques dépassant les limites
applicables aux appareils numériques de la classe A prescrites dans le Réglement sur le
brouillage radioélectrique édicte par le ministère des Communications du Canada.
Trademarks
Monarch®, 938, 939, 939i, 9416®, 9825, 9855, and 9860 are trademarks of Paxar Americas, Inc.
Paxar®is a trademark of Paxar Corporation.
Avery Dennison®is a trademark of Avery Dennison Corporation.
UFST, Monotype, the Monotype logo, and CG Triumvirate are trademarks of Monotype Imaging, Inc.
Avery Dennison Printer Systems Division
170 Monarch Lane
Miamisburg, OH 45342

TABLE OF CONTENTS
GETTING STARTED. . . . . . . . . . . . . . . . . . . . . . . . . . . . . . . . . . . . . . . . . . . . . . . . . . . . . 1-1
Overview. . . . . . . . . . . . . . . . . . . . . . . . . . . . . . . . . . . . . . . . . . . . . . . . . . . . . . . 1-1
Power-Up Modes . . . . . . . . . . . . . . . . . . . . . . . . . . . . . . . . . . . . . . . . . . . . . . . . 1-2
About This M nu l . . . . . . . . . . . . . . . . . . . . . . . . . . . . . . . . . . . . . . . . . . . . . . . 1-2
About Scripts . . . . . . . . . . . . . . . . . . . . . . . . . . . . . . . . . . . . . . . . . . . . . . . . . . . 1-3
Unp cking the Keybo rd . . . . . . . . . . . . . . . . . . . . . . . . . . . . . . . . . . . . . . . . . . 1-3
Connecting the C bles to 9416 Printer . . . . . . . . . . . . . . . . . . . . . . . . . . . . . . 1-4
Connecting the C bles to 9825 Printer . . . . . . . . . . . . . . . . . . . . . . . . . . . . . . 1-5
Connecting the C bles to 9855/9860 Printer . . . . . . . . . . . . . . . . . . . . . . . . . 1-6
Connecting the Sc nner’s C bles . . . . . . . . . . . . . . . . . . . . . . . . . . . . . . . . . . . 1-7
Using the Keybo rd . . . . . . . . . . . . . . . . . . . . . . . . . . . . . . . . . . . . . . . . . . . . . . 1-8
Control Keys. . . . . . . . . . . . . . . . . . . . . . . . . . . . . . . . . . . . . . . . . . . . . 1-9
SETTING BATCH OPTIONS . . . . . . . . . . . . . . . . . . . . . . . . . . . . . . . . . . . . . . . . . . . . . . 2-1
Setting Prompts nd Def ults. . . . . . . . . . . . . . . . . . . . . . . . . . . . . . . . . . . . . . . 2-2
Non-Knife Setup. . . . . . . . . . . . . . . . . . . . . . . . . . . . . . . . . . . . . . . . . . 2-5
ENTERING BATCH DATA . . . . . . . . . . . . . . . . . . . . . . . . . . . . . . . . . . . . . . . . . . . . . . . . 3-1
Entering B tch . . . . . . . . . . . . . . . . . . . . . . . . . . . . . . . . . . . . . . . . . . . . . . . . . 3-2
Printing T gs Without Cutting. . . . . . . . . . . . . . . . . . . . . . . . . . . . . . . . 3-7
Using Print Multiple with Inc/Dec Fields . . . . . . . . . . . . . . . . . . . . . . . 3-8
Ex mples . . . . . . . . . . . . . . . . . . . . . . . . . . . . . . . . . . . . . . . . . . . . . . . 3-8
TROUBLESHOOTING . . . . . . . . . . . . . . . . . . . . . . . . . . . . . . . . . . . . . . . . . . . . . . . . . . . 4-1
T ble of Contents i

SPECIFICATIONS & ACCESSORIES . . . . . . . . . . . . . . . . . . . . . . . . . . . . . . . . . . . . . . A-1
Accessories & Options. . . . . . . . . . . . . . . . . . . . . . . . . . . . . . . . . . . . . . . . . . . . A-1
Fl t Surf ce Mount . . . . . . . . . . . . . . . . . . . . . . . . . . . . . . . . . . . . . . . A-2
W ll Mount. . . . . . . . . . . . . . . . . . . . . . . . . . . . . . . . . . . . . . . . . . . . . . A-3
CHARACTER SETS . . . . . . . . . . . . . . . . . . . . . . . . . . . . . . . . . . . . . . . . . . . . . . . . . . . . B-1
Supported Symbol Sets nd Code P ges . . . . . . . . . . . . . . . . . . . . . . . . . . . . . B-1
Intern l (St nd rd nd Reduced Font) . . . . . . . . . . . . . . . . . . . . . . . . B-2
Bold . . . . . . . . . . . . . . . . . . . . . . . . . . . . . . . . . . . . . . . . . . . . . . . . . . . B-3
ANSI . . . . . . . . . . . . . . . . . . . . . . . . . . . . . . . . . . . . . . . . . . . . . . . . . . B-4
Code P ge 437 . . . . . . . . . . . . . . . . . . . . . . . . . . . . . . . . . . . . . . . . . . B-5
Code P ge 850 . . . . . . . . . . . . . . . . . . . . . . . . . . . . . . . . . . . . . . . . . . B-6
CONFIGURING THE SYSTEM . . . . . . . . . . . . . . . . . . . . . . . . . . . . . . . . . . . . . . . . . . . . C-1
Accessing the Keybo rd’s M in Menu . . . . . . . . . . . . . . . . . . . . . . . . . . . . . . C-1
Oper ting in Script Mode. . . . . . . . . . . . . . . . . . . . . . . . . . . . . . . . . . . . . . . . . . C-1
About the Sc nner . . . . . . . . . . . . . . . . . . . . . . . . . . . . . . . . . . . . . . . . . . . . . . . C-2
Oper ting the Sc nner . . . . . . . . . . . . . . . . . . . . . . . . . . . . . . . . . . . . C-2
Troubleshooting the Sc nner. . . . . . . . . . . . . . . . . . . . . . . . . . . . . . . . C-3
Cle ning . . . . . . . . . . . . . . . . . . . . . . . . . . . . . . . . . . . . . . . . . . . . . . . C-3
Configuring the Sc nner . . . . . . . . . . . . . . . . . . . . . . . . . . . . . . . . . . . . . . . . . . C-4
Reset to Def ult V lues. . . . . . . . . . . . . . . . . . . . . . . . . . . . . . . . . . . . C-4
Set the Communic tions Port Def ults . . . . . . . . . . . . . . . . . . . . . . . . C-5
Set the Minimum B r Code Width. . . . . . . . . . . . . . . . . . . . . . . . . . . . C-7
ii T ble of Contents

GETTING STARTED 1
The Monarch® 939i keyboard allows you to easily configure the
printer and enter batch data. The keyboard works with the
Monarch® 9416®, 9 25, 9 55 and 9 60 printers. This
keyboard also works with non-Monarch printers. However, an
auxiliary power supply is required for the keyboard. See Appendix
A, "Specifications and Accessories" for the part number.
This chapter includes information about
Nunpacking the keyboard.
Nconnecting the cables.
Npower-up modes.
Nusing the keyboard.
Overview
The 939i keyboard is an "intelligent" keyboard that can be
programmed to show user prompts and collect data. Using the
Application Development Kit II (ADK2), an application, or script,
can be written to program the keyboard. See the ADK manual for
more information. Think of the intelligent keyboard like your PC,
where you can enter data using your PC’s keyboard or connect an
optional scanner to scan data.
With a script, you can
NCreate prompts for the user to enter data manually or using
a scanner. See Appendix C, "Configuring the System," for
more information.
NUse look-up tables, or files, to store data that will be
printed on labels.
NPerform additional data tracking, data conversion, and data
manipulation.
Getting Started 1-1

Throughout this manual, you will see references to the term
"script." The script is the program that runs on the keyboard to
perform a specific task, such as scanning or collecting data.
Monarch® offers custom script writing. Contact your Monarch
Representative for information and pricing on custom scripts.
Power-Up Modes
our 939i keyboard has the ability to operate in "terminal" mode
or in "intelligent" mode (using a custom ADK2 script). Te r m i n a l
mode is only available with the 9855 and 9860 printers.
If there is no ADK2 script loaded in the keyboard, the keyboard
operates in terminal mode. ou can enter data and configure the
printer. In terminal mode, the keyboard does not access the
intelligent functionality provided by a script.
If an ADK2 script is loaded in the keyboard, the script
automatically runs when the keyboard and printer are turned on.
The prompts you see and what you do are controlled by the
script.
About This Manual
This manual is arranged in several sections:
NUse Chapters 2 through 4 when your keyboard is operating in
terminal mode.
NUse Appendix A for keyboard specifications.
NUse Appendix B for the available character sets.
NUse Appendix C, with information for your System
Administrator on intelligent (script) mode and configuring the
scanner.
The information in this document supersedes information in
previous versions. Check our Web site (www.paxar.com) for any
updates.
1-2 Getting Started

About Scripts
This manual does not cover any specific information about what
may be in your script, because each script is different. Your script
is written based on jobs you need to perform. A script should
contain several basics features:
NA way to enter and exit the script.
NA way to enter terminal mode (required for 9 60 printer).
NThe prompts for entering the date and time each time you turn
on the printer if required by your script. The date and time are
not saved when the printer/keyboard are turned off.
NThe scanner’s configuration and setup (if you are using a
scanner).
Contact your System Administrator for more information about
these items.
Unpacking the Ke board
After unpacking the keyboard, look through all packaging material
for parts. Keep the box and packaging material in case the
keyboard ever needs repair.
1. Pull the long, coiled cable out from the bottom of the base.
2. Slide the first loop
in the cable slot as
shown.
Cable
Slot
Getting Started 1-3

Connecting the Cables to a 9416 Printer
When using the keyboard with the Monarch® 9416® printer, the
keyboard receives power from the auxiliary power supply (5V).
1. Tu r n OFF the printer before you connect the keyboard’s cable.
2. Plug the 9-pin coiled keyboard cable into the end of the
adaptor cable.
3. Secure the other end of the adaptor cable to the 9-pin port on
the printer. Tighten the screws on the cables.
4. Connect the power cord to both power supplies.
5. Connect the power supply (24V) to the printer.
6. Connect the auxiliary power supply (5V) to the adaptor
cable’s power connector.
7. Tu r n ON the printer.
Adaptor
Cable
Power
Connector
Ke board’s
Power Suppl
Power
Cords
Printer’s
Power Suppl
Ke board cable
goes here
Optional
Scanner Cable
1-4 Getting Started

Connecting the Cables to a 9825 Printer
When using the keyboard with a Monarch® 9 25 printer, the
keyboard receives power from the auxiliary power supply.
1. Tu r n OFF the printer before you connect the keyboard’s cable.
2. Plug the 9-pin coiled keyboard cable into the adaptor cable.
3. Plug the 25-pin serial
cable into the back of
the printer.
4. Tighten the screws on
the cables.
5. Plug the auxiliary
power supply into the
adaptor cable as
shown.
6. Plug the power supply
into an electrical outlet.
7. Tu r n ON the printer.
On the back of the
printer, press (I) to turn
on and (O) to turn off
the printer.
Auxiliar
Power
Suppl
Ke board cable
goes here
Getting Started 1-5

Connecting the Cables to a 9855/9860 Printer
When using the keyboard with a Monarch® 9 55 or 9 60
printer, the keyboard receives power from the printer.
1. Tu r n OFF the printer before you connect the keyboard’s cable.
2. Plug the 9-pin coiled keyboard cable into the back of the
printer.
3. Tighten the screws on the cable to secure the cable to the
printer.
4. Tu r n ON the printer. On the back of the printer, press (I) to
turn on and (O) to turn off the printer. You will see the
prompts for your job. If a script is not written for your job, the
keyboard displays
PRINT MODE
Ready
See your System Administrator for information about your job.
Ke board
Cable Goes
Here
ON/OFF
Switch
1-6 Getting Started
Autres manuels pour 939i
1
Ce manuel convient aux modèles suivants
1
Table des matières
Autres manuels Paxar Clavier