PaperFolder PH-Knife-17 Manuel utilisateur

The PaperFolder Co.
PH-Knife-17 Cross Fold System
a 17" 4-Fold Plate Paper Folding Machine
+
a Knife Folder
Operator Manual
(Revised 2-9-2021)
TABLE OF CONTENTS
Page 1
PaperFolder.com
800.520.6008

This manual covers the PaperFolder PH-17, a 4 plate pharmaceutical folding
machine. It also covers the Knife 17 Cross fold system, which pairs the PH-17
with a Knife folding machine.
The optional Stacker can be used with the PH-17 alone or with the Knife 17
cross fold system. It allows the operator to neatly stack paper that is folded
very small.
Installation of PH-17……………………….………………...............3
Unpacking……………………………………………………………..3
Output Tray and Wheels…………………………………………….4
Setting the Fold Plates for your Fold……………………………….6
Fold Chart……………………………………………………………....8
Installing the Fold Plates……………………………………………...9
Paper Creaser………………………………………….………….....10
Loading Paper………………………………………….……….…....11
Power & LCD Control Panel……………………………….….........11
Setting Pause Intervals…………………………………….….……..12
Specifications…………………………………….……...……..…...............13
Maintenance and Cleaning……………………………..….…...............14
Troubleshooting………………………………………….……….................15
Installation of A3 Knife Folder……………………………….…….............16
(Cross Fold System Setup)
Communications Cable……………………………….……..…......17
Positioning Machine with the PH-17……………………………....17
The LCD Control Panel……………………………………………....18
Emergency Stop……………………………………………………...18
Troubleshooting…………………………….………………………....19
Contact Us…………………………………..…………….…….…......19
Page 2
PaperFolder.com

INSTALLATION
The Knife 17 Cross Fold System is designed to process legal size paper (11" x 17") or smaller into smaller
cross folded pieces that will fit in small envelopes. It does this by performing to 1 to 5 fan-folds on the
length of the paper on the first machine, followed by a half-fold on the second machine.
It is very easy to set up and operate if you follow these instructions. You will need a sturdy table at
least 4' x 2' able to support up to 200 lbs.
We recommend the Iceberg Indestructible Too Table 24" x 48" item 65503 or better. You may want
bigger. When set up, the system is in an L shape that measures 40" x 28".
40" wide
28" deep
Start by unpacking and setting up the first machine, the PH-17. Run a few samples to make sure it is
operating properly before combining it with the Knife folder.
UNPACKING THE PH-17
Unpack the machine. Put the machine on a big table. Open the paper Feed Tray. Push the front of
the tray down to load paper.
Open the Cover. Cut any plastic ties.
Page 3
PaperFolder.com
PH-17
Knife
Output

Under the feed tray the output rollers are attached by a screw to the side. Unscrew by hand and
remove.
Remove the ties on the 2 bottom fold plates.
INSTALL OUTPUT TRAY
The PH-17 can be ordered with either a Knife folder to perform a cross fold, or a Stacker which neatly
stacks very small, folded pieces. FOLLOW THE GUIDES BELOW FOR YOUR SETUP
IF YOU ARE INSTALLING THE PH-17 TO OPERATE BY ITSELF
Slide the output tray into machine just below the rubber rollers. The 2 slots on the end fit on a bar.
Lower it with the slots fitting on the bottom on the outer bar. Make sure the gears are aligned on the
right side.
Install the output wheels by placing the side of the T-shaped mount with the spring in the hole closest
to the rollers on the left side of the machine. Note that it has to go under the cross bar. Press it in so
Page 4
PaperFolder.com

that you have clearance to put the right side in the hole on the right side. Attach the output wheels
as shown along with the output tray extension.
IF YOU ARE INSTALLING THE PH-17 WITH A STACKER OR KNIFE FOLDER
INSTALL THE OUTPUT TRAY ONLY (no wheels) TO TEST A FEW SAMPLES. You will not be using either the
output tray or the wheels on the PH17. If you have a stacker, it is not used. If you have the knife cross
fold system, the output tray will go on the knife folder. However, you need to test the machine to
make sure it works properly before installing the Knife folder or the Stacker.
Page 5
PaperFolder.com

SETTING THE FOLDS
Follow the instructions below to set up your fold if it has not already been done for you. When you
have it folding properly, remove the tray when you attach either the Knife folder or the Stacker.
The output tray will be installed on the Knife folder (see below), but it is not used with the Stacker.
On folding machines, a fold is made when the paper is fed into one of the fold plates, hits the stop
set by the user, and then is folded at that point by the rollers that push it through the machine. So for
instance, if you want a 4 panel fold on an 11 inch long paper, you would set the stop on fold plates 1,
2, and 3 at 2.75 inches, 1/4 the length, as shown below. The 4th fold plate would be closed. (To
close a fold plate, you remove it and replace it with a special Close Fold Plate that comes with the
machine).
IF YOU ARE OPERATING THE PH-17 BY ITSELF
You can perform any of the folds shown in the chart.
Fold Type
Image
Plate 1
Plate 2
Plate 3
Plate 4
Cross Fold?
Page 6
PaperFolder.com

Single (half)
1/2 e.g.,
5.5” on
letter size
(8.5” x
11”)
Closed
Closed
Closed
Yes
Letter
2/3
1/3
Closed
Closed
No
Z
1/3
1/3
Closed
Closed
Yes
Double
1/2
1/4
Closed
Closed
No
Engineering
1/4
1/4
Closed
Closed
No
Gate
3/4
1/2
Closed
Closed
No
4-panel
accordion
1/4
1/4
1/4
Closed
Yes
5-panel
accordion
1/5
1/5
1/5
1/5
Yes
Roller
3/4
1/4
Closed
1/4
No
Triple Double
1/2
1/4
1/8
Closed
No
Single +
letter
1/2
1/6
1/6
Closed
No
Single + Z
1/2
1/6
Closed
1/6
No
Page 7
PaperFolder.com

IF YOU ARE PERFORMING CROSS FOLDS
The only folds we recommend for cross folding are Fan-Folds, so called because they look like a fan
from the side. Here the folds you can perform on the PH-17 for cross folds:
IF A FOLD PLATE IS NOT NEEDED, IT MUST BE CLOSED. To do this, you remove the fold plates that are
not needed for that fold and replace them with the Close Plates that come with the machine.
HOW TO SET EACH FOLD
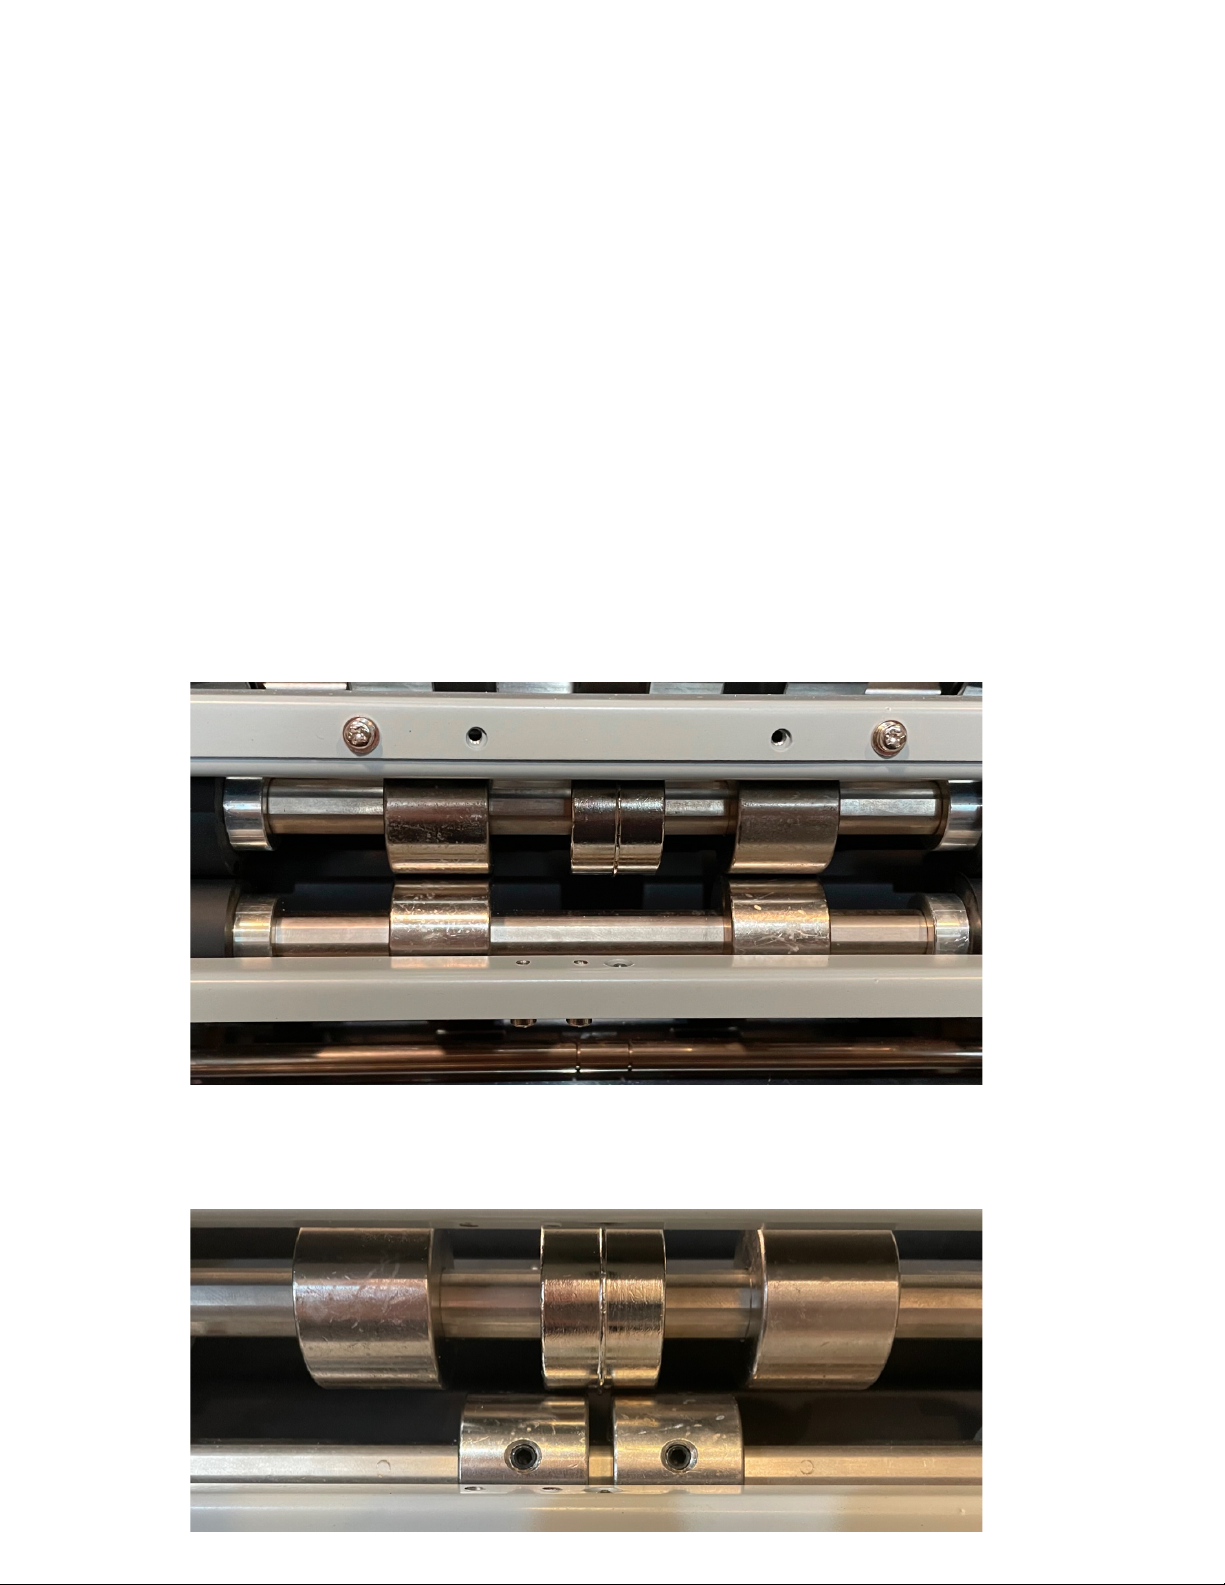
To set the size for the fold you want to perform, consult the chart. It will require that you measure the
paper you are folding and calculate where the stop(s) should be placed. Each fold plate has 2
knobs (this closeup just shows one). You loosen them and put them at the proper position for the
fold. Start with an approximate position for your fold. This one is set at 2.75" to perform a 4-panel fan-
fold on letter paper. Run a sample. Then adjust the fold as needed. It may take a few times to get
the fold precisely as you want. ONCE YOU GET IT THERE, PUT A MARK ON THE FOLD PLATE AND NAME
THE FOLD ON EACH SIDE. t will make it easier next time. IF YOU ARE PERFORMING A CROSS FOLD, YOU
CAN ONLY USE A HALF FOLD, Z FOLD, 4 PANEL FOLD OR 5 PANEL FOLD. SEE THE CHART.
SKEW
IF THE FOLD STOPS ARE NOT PRECISELY EVEN, THEY WILL SKEW. If the sides of the paper are not even
(SKEW), you must raise or lower one side or the other. If it is just one panel, adjust the fold plate for
that fold. In a fan-fold, the top fold on the paper is done by the first fold plate, the second fold on
the second plate and so on.
If the bottom of the fold sticks out to the bottom left, move the left side a bit higher. If the right side
sticks out to the bottom left, move the right side a bit higher. Then run a sample and compare it.
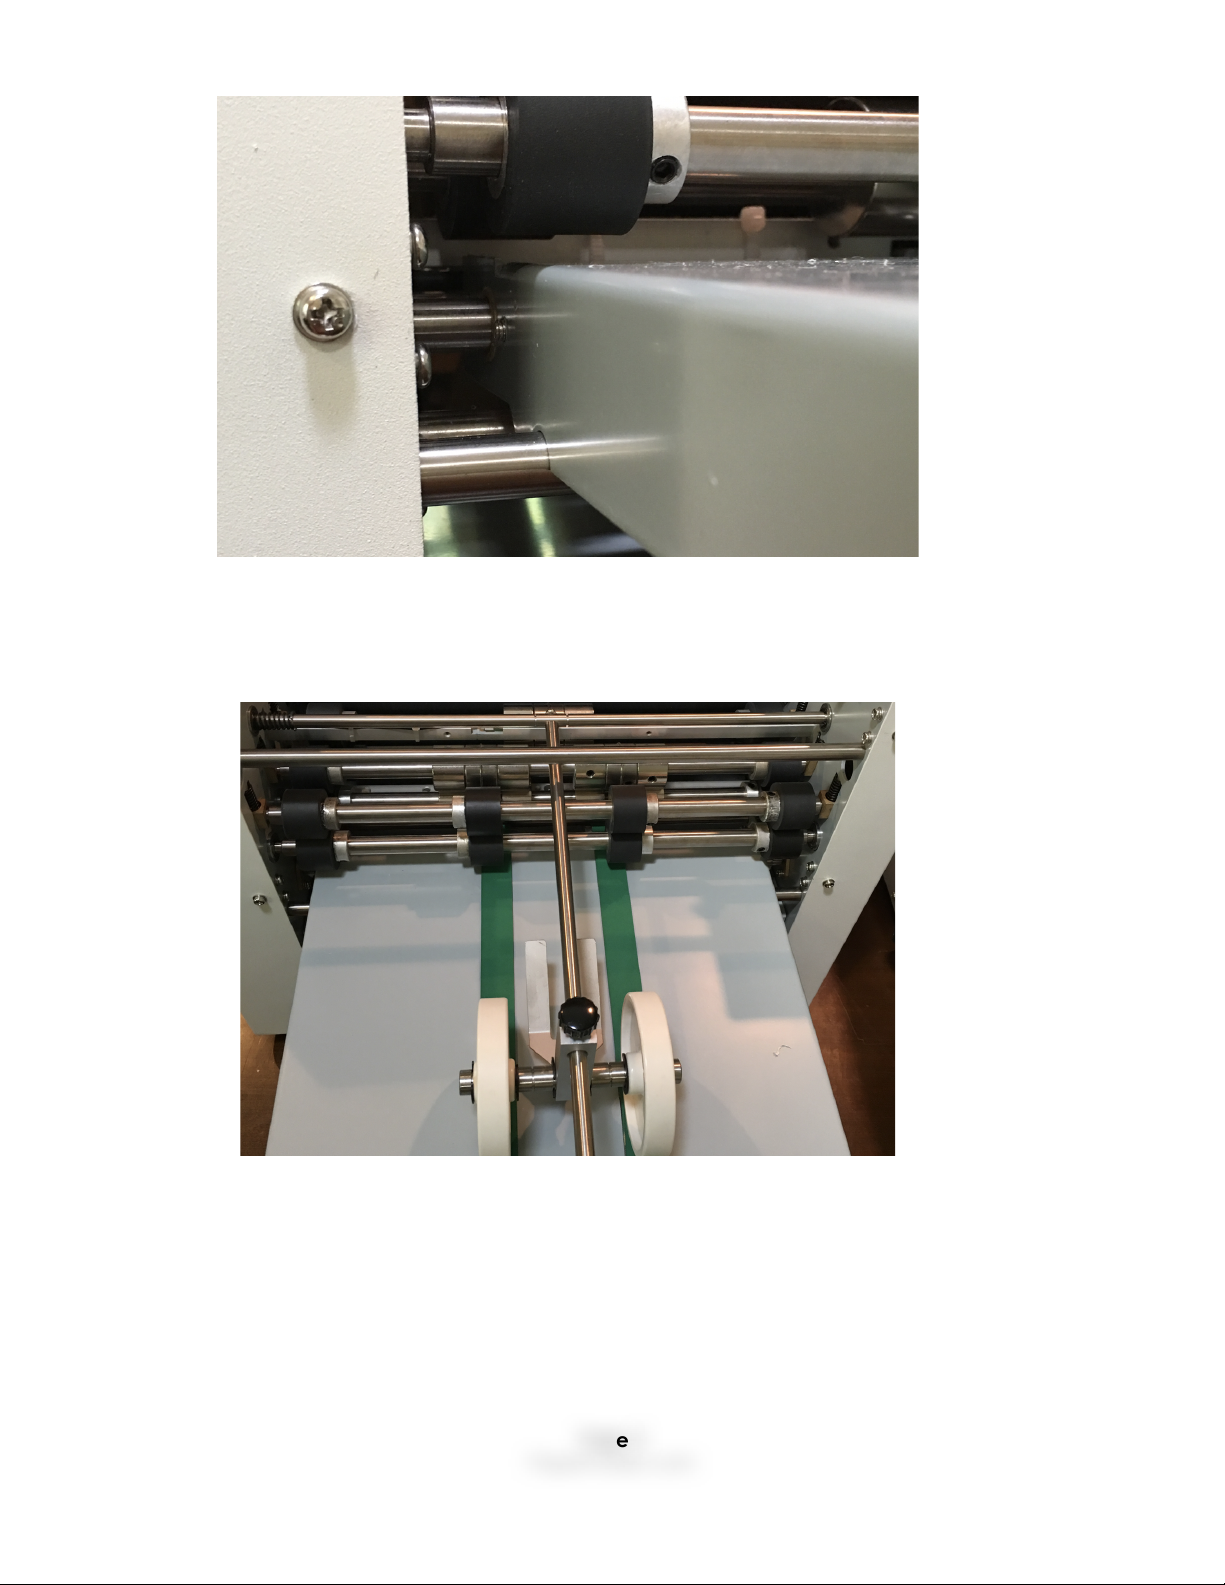
OUTPUT WHEELS
Adjust the output wheels for the type of fold. In for shorter; out for longer. Start longer and shorten if
needed. You do not want the paper to back up into the machine.
2 panel
Z 3 panel
4 panel
5 panel
Fold plate 1. All
others closed.
Fold plate 1 and 2.
All others closed.
Fold plate 1,2,3.
Fold plate 4 closed.
Fold plate 1-4.
Page 8
PaperFolder.com

INSTALLING THE FOLD PLATES
If you are installing the fold plates for the first time, please see the section above on setting the fold.
Two of the fold plates, 2 and 4, may come installed in the machine. Install any remaining fold plates
in this order: 4, 2, 3, 1. The trays have numbers on them. They fit on the 2 posts with the
corresponding numbers, e.g., Plate 4 goes on the 2 posts marked 4.
The slot on the end attaches to the inner post; the slot on the bottom fits over the outer post. IF THE
FOLD PLATES ARE NOT IN THE CORRECT ORDER THEY WILL NOT WORK PROPERLY. They should not
move installed correctly.
Page 9
PaperFolder.com

If a fold does not work as it should, check that the fold plates are properly installed and on the right
posts. THIS IS USUALLY THE PROBLEM IF THE FOLD IS NOT WORKING CORRECTLY OR THE PAPER JAMS. IF
THAT HAPPENS, TAKE THEM OUT AND REINSTALL THEM.
PAPER CREASERS
There is a paper creaser on the back of the PH17 which can be used when you want to perform a
cross fold. A crease makes the fold tighter.
To set the machine to make a crease, move the 2 lower side wheels under the creaser wheel, but not
under the creaser. it will place a crease in the middle of the paper to make a cross fold in half. Use
an Allen wrench to loosen the set screws so they can be moved, then retighten.
To stop creasing, move the wheels away from the creaser using an Allen wrench to loosen the set
screws. Put them directly under the wheels above as shown in the first image.
In this picture, the creaser is not set to crease the paper.
NO CREASE
SET TO CREASE
Page 10
PaperFolder.com
Table des matières
Autres manuels PaperFolder Plieuse
Manuels Plieuse populaires d'autres marques

Mathias Bauerle
Mathias Bauerle Multipli 35 Manuel utilisateur

Intelli-Fold
Intelli-Fold DF-304C Manuel utilisateur

Pitney Bowes
Pitney Bowes DI425 FastPac Manuel

Hwasung
Hwasung COMPODIS HMK-830 Series Manuel utilisateur

KRUG+PRIESTER
KRUG+PRIESTER IDEAL 8306 Manuel utilisateur

XPOtool
XPOtool 61574 Manuel utilisateur


