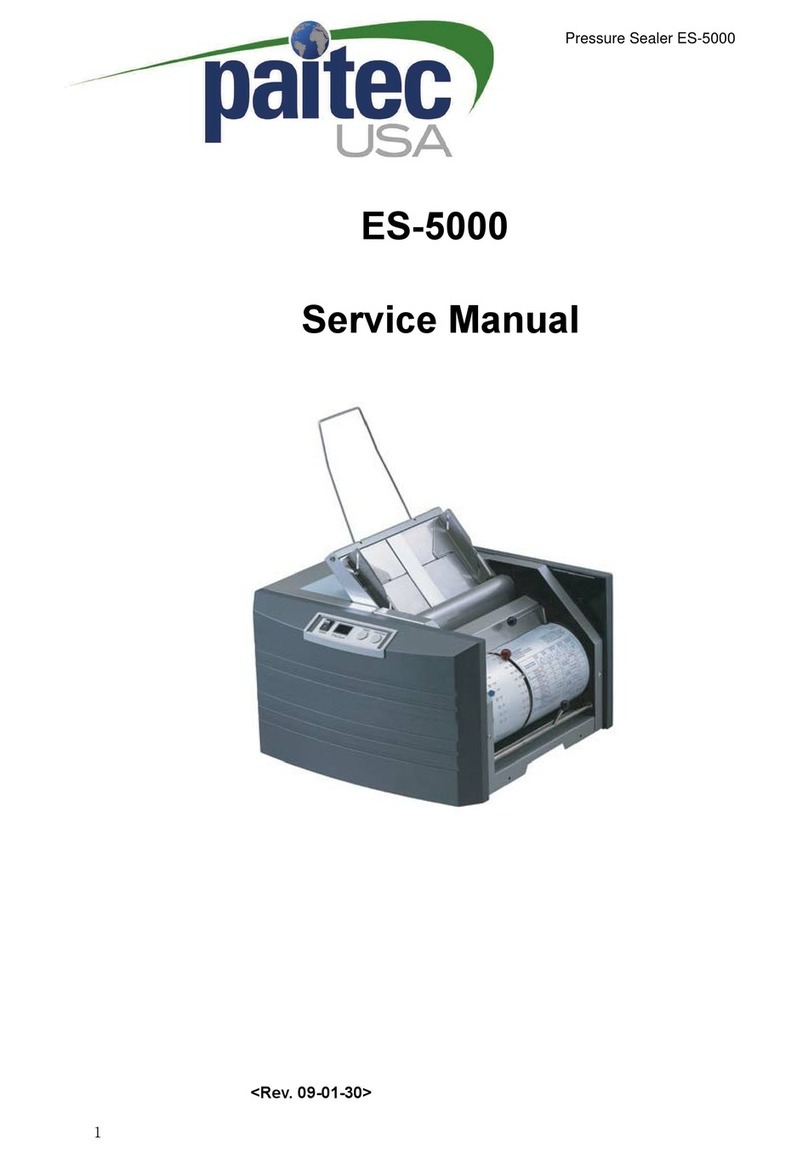
Paitec IM- 4000 Manuel utilisateur

Model IM- 4000
User Manual
This manual provides detailed information on how to
operate and maintain the Inline Model IM-4000.
Please read this manual before operating the machine
in order to prevent any damages caused by improper
handling.

TABLE OF CONTENTS
UNDERSTANDING OPERATING
SETUP MAINTENANCE SERVICE
SPECIFICATIONS...................................2
IDENTIFYING PARTS........................3,4,5
FOLD SETTING......................................9
BUTTONS AND MANUAL FEEDS...11-12
THANK YOU FOR
PURCHASING PAITEC USA
PRODUCTS.
UNDERSTANDING THIS
MANUAL WILL HELP YOU
ENHANCE YOUR USAGE OF
IM-4000
Copyright Information
All rights reserved.
Reproduction, or
translation without
permission is prohibited,
except as allowed under
the copyright laws.
WORKING WITH THE MACHINE
& MANUAL FEEDER.............................10
HANDLING CONTAMINATED PRESS
ROLLERS AND FOLDING ROLLERS
TROUBLESHOOTING
#
CHECKING THE CONTENTS................ 6
INSTALLING............................................7
AFTER THE SETUP.................................8
REPLACEMENT PARTS..................... 17
CONTAMINATION................................. 16
TROUBLESHOOTING ..................13 - 15
UNDERSTANDING
IM-4000........................... 18

UNDERSTANDING
SPECIFICATIONS AND COMPATIBILITY
- 2 -
IM-4000 (Inline Pressure Sealer)
- Attached to HP Laserjet printers, IM-4000 is an online pressure sealer that
can print, fold, and seal mails with a touch of a button.
SPECIAL FEATURES IM-4000
- Pre-glued forms have higher possibility of causing double feedings in the printer.
Fortunately, IM-4000 can separate double feeds or unrecognized sheets,
thus prevents any errors or jams before it occurs.
- Automated mailing system that print, fold, and seal documents keeps all the contents
confidential even to the operator.
- IM-4000 can handle 3,300 sheets per hour when on-line with the HP LJ4350 printer.
- Compared to the old pressure sealing technology, IM-4000 performs at a reduced
noise level , making it acceptable in anoffice environment.
- IM-4000 can fold different types of folds which makes its range of usage wider.
- User-friendly design allows easy maintenance without an engineer’s aid.
- Jetlink system between IM-4000 and HP LJ4350 enables the printer to display
current status of IM-4000 as well as triggers the printer to stop in the event of a
paper jam with IM-4000.
- IM-4000 triggers the printing job to stop when the security cover is not completey
closed.
COMPATIBILITY
- Compatible with HP Laserjet 4350,4250,4000,4200,4300,9000,9050,9060,9070 printers.
- As long as the height can be adjusted and a side output mechanism is supported by the
the printer, IM-4000 can be operated with wide range of printers.
- We strongly recommend HP printers since they are suitable for printing pressure seal forms.
SPECIAL FEATURES (IM-4000 Only)

UNDERSTANDING
IDENTIFYING PARTS
- 3 -
BY-PASS TRAY
Double fed sheets are detected
and are diverted into this tray
UPPER DOOR
EXTENSION STACKER
(Optional)
CABINET A (Optional)
INTERFACE GUIDE
CONTROL PANEL
Open this door to clear any paper
jams that take place inside the
interface unit.
This guide helps discharged
papers into the mailfinisher.
Attaching this unit is necessary when
using an extra tray (500 sheets)
for HP LJ4000 series.
Displays the process and
controls special functions.
FOLD POSITION
LOCKING LEVER
Release this lever to
change the fold setting.
BLUE KNOB
RED KNOB FOLD SETTING MANUAL
Counter Reset
Manual feeding
Reset
Total Counter
JOB COUNTER
THICKNESS
FOLDING UNIT CONTROL PANEL
Controls the second
fold setting.
Controls the first fold
setting.
This will quide the fold
setting.
Displays the thickness of
each processed paper. Display the job count.
This allows more space for
stacking.
SLIDE MOUNT BASE
(Optional)
This slide mount base for HP LJ
4000 series allows more
convenient clearing of paper
jams.

UNDERSTANDING
IDENTIFYING PARTS
- 4 -
INTERFACE GUIDE
MANUAL FEEDING
COMMUNICATION PORT
(IM-4500 only)
POWER SWITCH
AND
POWER INLET
DELIVERY UNIT
PRINTER CONNECTING
BASE PLATE
Interface guide enhances
the infeed process of each
processed forms.
A simple manual feeder allows
the processing of single or
damaged forms.
This optional port allows a connection
between the printer and IM-4500.


SETUP
CHECKING THE CONTENTS
- 6 -
CONDITIONS
MAIN BODY
BY-PASS TRAY
GUIDE
POWER CABLE
INTERFACE UNIT
IM-4000 is available in different voltages - 220V(60hz),230V(50hz),115V(60hz).
Please check the power suppy before installing the machine.
The power usage is about 110watts. Please check the outlet.
Please use the outlet with the ground.
Outlet without the ground may cause the machine to malfunction.
Please setup the machine on a stable ground.
Improper installment will create noise and cause the machine to malfunction.
Please operate the machine where there is an ideal room temperature.
If the surrounding temprature reaches below 0 degrees celsius, the machine will create
noise and will malfunction.
PRINTER CONNECTING
BASE PLATE
INTERFACE
GUIDE
Slide Mount Base
for HP LJ4000 series Cabinet A Extension Stacker
for Cabinet A
Pro Package (Optional)

SETUP
INSTALLING
- 7 -
Attach the interface unit onto the
main body.
Connect the main guide and the
interface guide together.
G
Assemble the upper tray guide.
Press with your finger to remove the
back cover of the priner.
Fix the interface unit onto the main body.
12
34
12
THE MAIN BODY
ATTACHING INTERFACE GUIDE
Place the interface guide as shown
in the picture.
Push the hinge and fix the interface
guide like the picture.
Lift up the interface guide.
34

SETUP
INSTALLING (PRINTER CONNECTING BASE PLATE)
- 8 -
AFTER THE SETUP
G
Make sure that the upper tray guide
wires are pointing downward.
Please set the fold type according
to the manual.
Please check the connection between
the main guide and the interface guide.
Attach the plate to the foot
of the printer.
Attach the plate to the foot
of the mailfinisher.
This finishes the base plate
assembling.

OPERATING
FOLD SETTING
- 9 -
Standard Drum (Does not support 14” Z-Fold)
1) Unlock the green release lever to change the fold setting.
2) Move the red arrow on the red knob to your desired position according to the manual.
3) Move blue arrow according to the manual.
4) After checking the blue and the red knob, lock back the green release lever.
There are two fold pockets, the red knob and the blue knob.
- The red knob is the first fold setting and the blue knob is the second fold setting
EX 1) Folding a Z-fold with an 8 1/2" X 11"
- red knob "186"(First fold 198mm), blue knob "93"(second fold 93mm)
EX 2) Folding a C-fold with an 8 1/2" X 11"
- red knob "92"(First fold 92mm), blue knob "94"(second fold 94mm)
EX 3) Folding a V-fold with an 8 1/2" X 11"
- red knob "140"(First fold 140mm), blue knob "0"(very bottom)
- Although we suggest that you follow the fold setting according to the manual, however,
the scale on the drum is NOT 100% accurate.
- Please use a plain paper to test the fold setting each time you alter the setting.
First Fold Locking Lever
Blue Arrow
14” Z-Fold Drum (Z-Folds Only)
1) Unlock the first fold locking lever to change the first fold setting.
2) Move the blue arrow according to the manual.
3) Lock the first fold locking lever to complete the first fold setting.
4) Unlock the fold drum handle by pushing it downward.
5) Pull the drum to gain access to the second fold drum setting.
6) Release the second fold locking knob.
7) Move the second fold stopper according to the manual.
8) Tighten the second fold locking knob and close the drum.
Standard Drum
Fold Locking Lever
Blue Knob (Second Fold Position)
Red Knob (First Fold Position)
Fold Drum Handle
Fold Drum Handle
Second Fold locking Knob
14” Z-Fold Drum
Second Fold Stopper
Table des matières
Autres manuels Paitec Imprimante