oticon ConnectLine Manuel utilisateur
INSTALLATION GUIDE
ConnectLine TV Adapter
Getting started
2 3
PURPOSE OF THIS GUIDE
READ THIS FIRST
Before your hearing instruments can receive sound from the TV, the adapter must
be connected to the TV and a power outlet.
This is an easy step-by-step guide through the installation of the TV adapter.
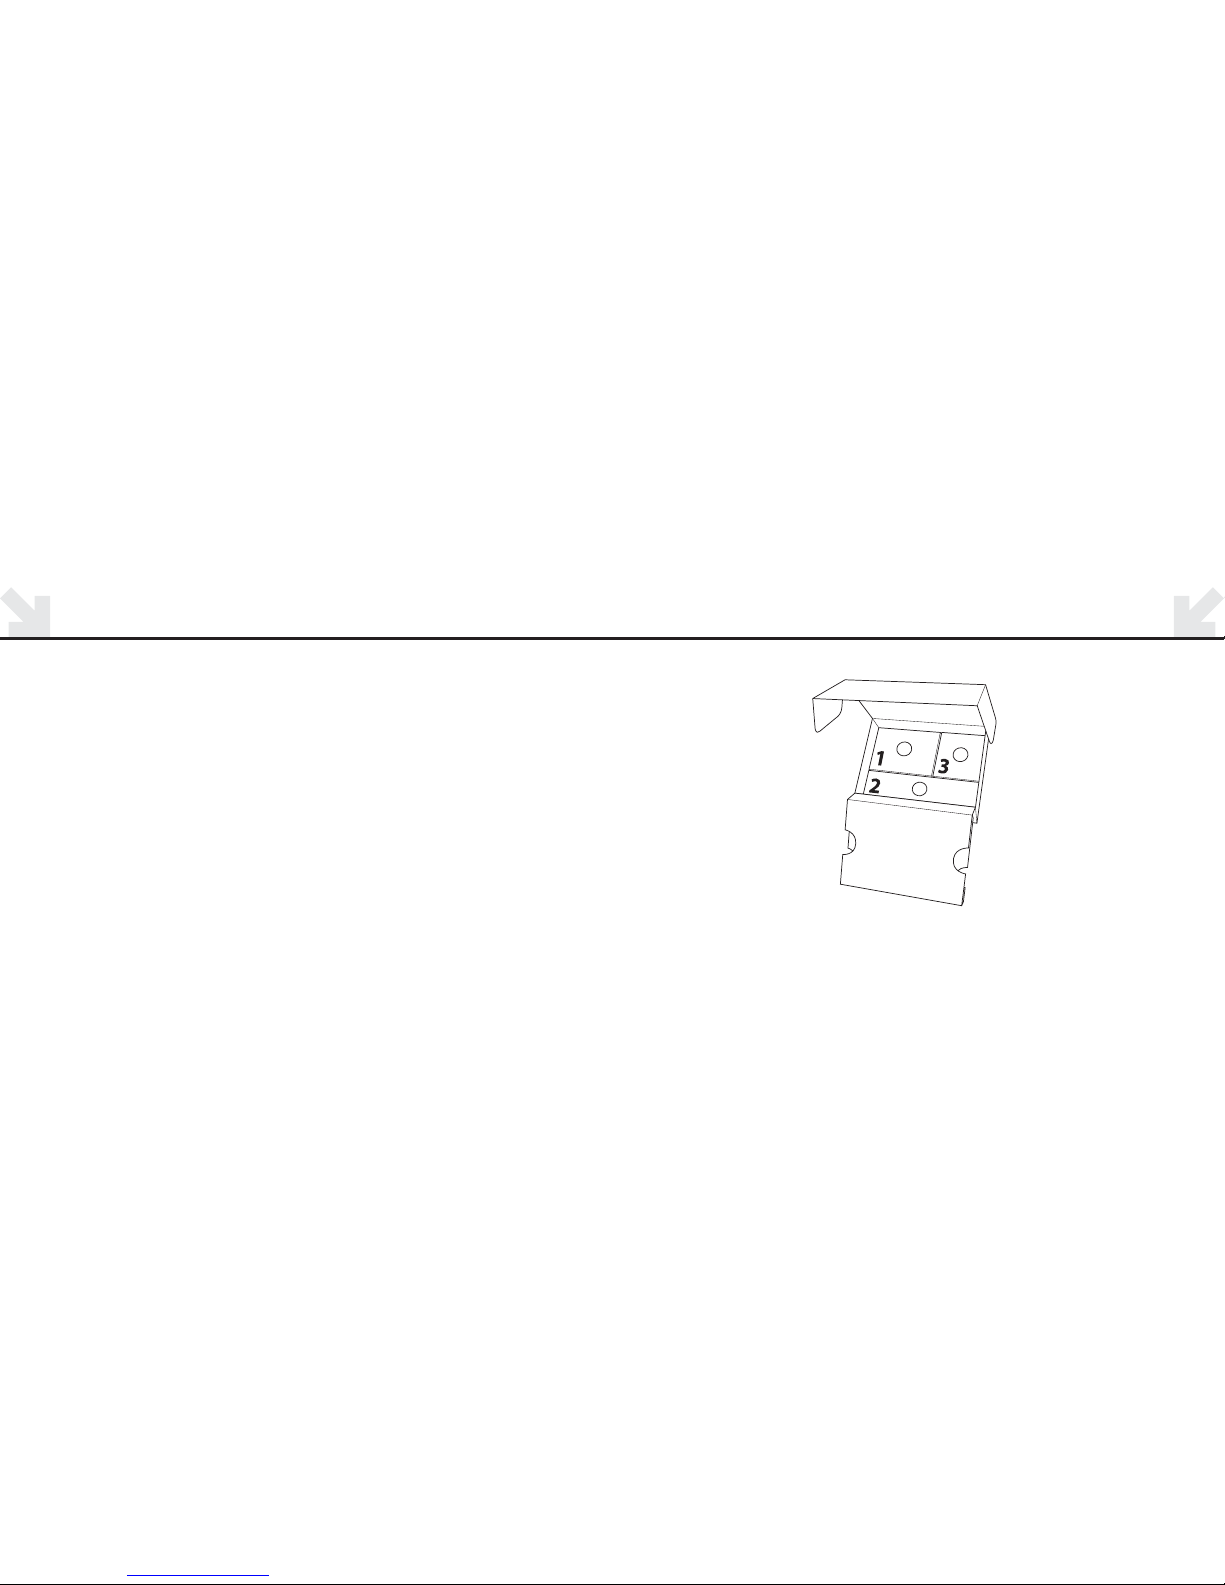
All needed parts for the installation are included in the package.
The connection parts are packed in numbered boxes from 1 to 3.
The numbers refer to each step in the installation.

4 5
TV ADAPTER OVERVIEW
TV connection
BC A
Power connection
Back
POWER INDICATOR
Light Meaning
Solid Green Power on
O Power o
STATUS INDICATOR
Light Meaning
Solid Orange Connected to
Streamer and
streaming
TV sound
O Stand-by
Flashing Pairing
Front
Mic. connection
6 7
CONNECTING TO POWER
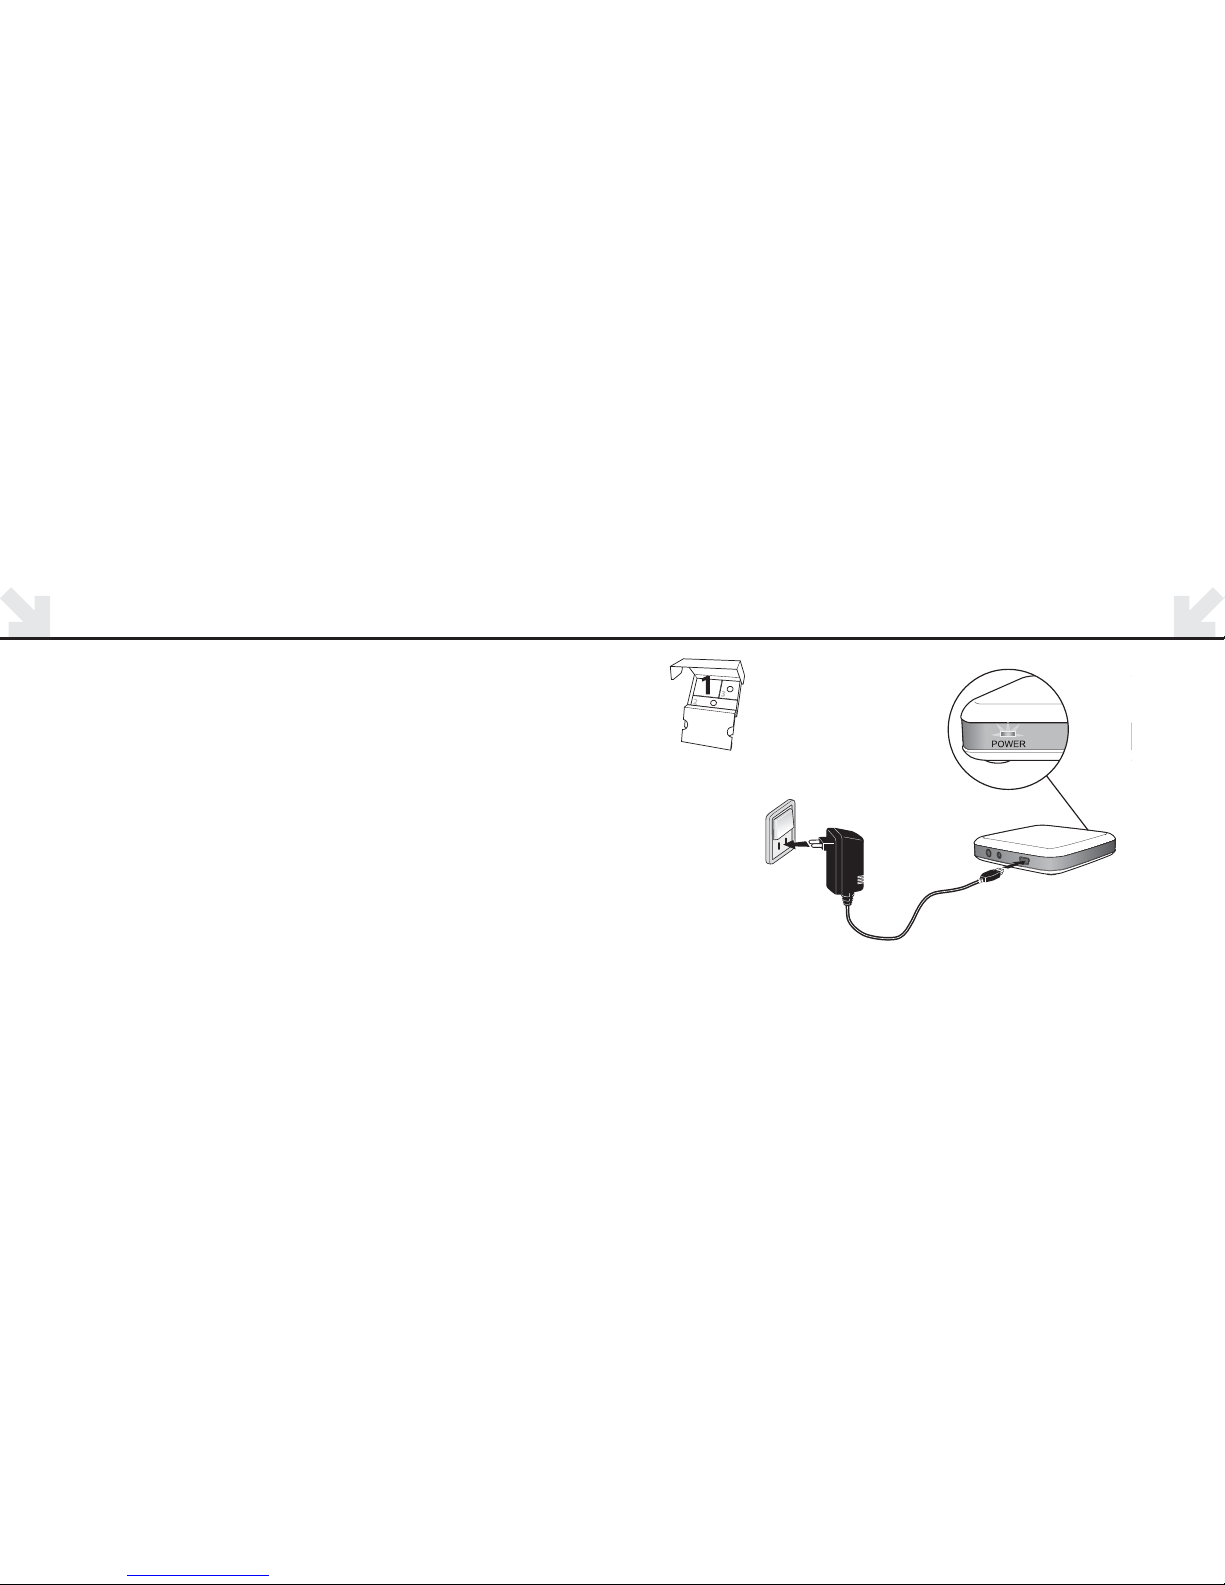
STEP ONE
Connecting Power Adaptor to TV adaptor.
Use the Power adapter from box no. .
– Plug the power adapter into the wall socket or another power source.
– Plug the power cord into the power connection marked A.
– Check that power is turned on. A solid green light will appear on the front of
the TV adaptor when power is turned on. See illustration page 7

8 9
CONNECTING TV CORD TO AUDIO OUTPUT TERMINAL
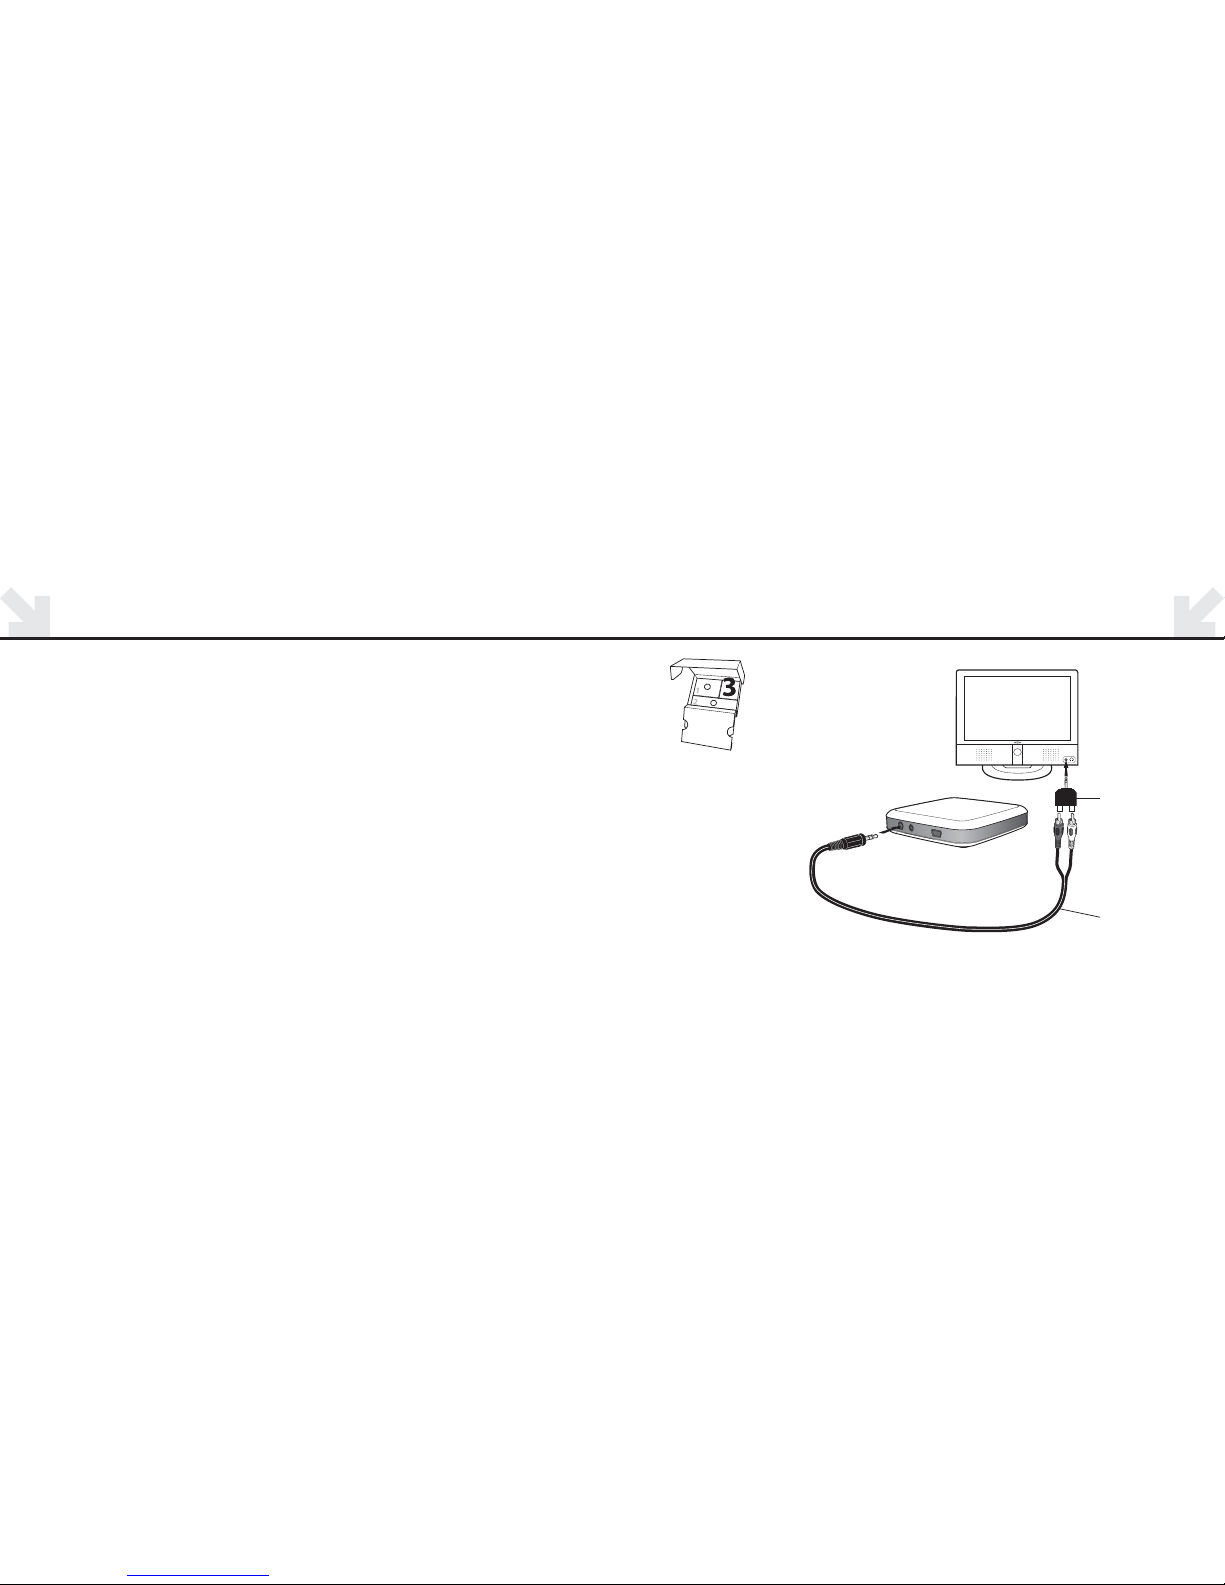
STEP TWO
Connecting the TV adapter to the TV.
Use the TV cord from box no. .
– Connect the black plug on the TV cord to the port marked B.
– Connect the red and white connectors to the “AUDIO OUT” terminals on the TV.
– The audio output jack is usually marked “L – R” “AUDIO OUT” and found on the back
of the TV.
Note: With this installation sound passes through the TV speakers as well
as the Bluetooth connection to the hearing aids. See illustration page 9.
Continue to page 16 for PAIRING instructions.
B
TV cord

11
ALTERNATIVE INSTALATION INFORMATION
If the TV does not have an AUDIO OUTPUT terminal, the jack adaptor found
in box 3 should be used for connecting the TV cord.
Note: This adaptor plugs into the HEADPHONE jack of the TV in which case
only the person wearing the hearing aids will hear the sound.
Proceed to page 12 for installation instructions.
12 13
OPTIONAL JACK ADAPTER INSTALATION OPTION : HEADPHONE CONNECTION
If connecting the TV box to the “AUDIO OUTPUT” jack is not possible for your TV, there are
two alternative hook ups available. The JACK ADAPTOR and MICROPHONE are found in
box 3.
JACK ADAPTOR
–Connect the TV cord to the port marked “B” on the TV adaptor. Plug the JACK ADAPTOR
onto the TV cord.
–Plug JACK ADAPTOR into the TV’s “HEADPHONE” output terminal.
–The “HEADPHONE” output terminal is usually located on the side or front of the TV.
See illustration page 13.
Note: This adaptor plugs into the headphone jack of the TV in which case only
the person wearing the hearing aids will hear the sound. The TV speakers are muted.
If this is not desired see alternative installation pages 8 or 14.
TV cord
Jack adapter

14 15
OPTIONAL MICROPHONE INSTALLATION OPTION : MICROPHONE INSTALLATION
MICROPHONE INSTALLATION
The TV cord is not used and must be removed from connector marked B.
– Connect the microphone cord to the TV adaptor “marked C”.
– Place the microphone on the TV speaker. Using the adhesive pad, attach the microphone
where the richest sound is found.
– The speaker outlet may also be found on the back or the side of the TV.
See illustration page 15
C
Microphone

16 17
PREPARE STREAMER FOR TV LISTENING PAIRING
The very first time your Streamer is used with the TV adapter, the two devices must
be paired together.
PAIRING:
1. When pairing, the devices must be placed close together. Place the Streamer
right next to the TV adapter. ( not more than 1 foot away)
2. Press and hold the Streamer “Connect Button” for seconds until the blue
light starts flashing rapidly.
3. The two devices establish a connection to each other. Wait one-two minutes.
4. After one-two minutes the TV adapter is connected to Streamer and pairing is
complete. The orange STATUS indicator on the TV adapter lights up.
Pairing is done only once and will normally not have to be repeated.
Connect Button
Press sec
Less than
30 cm/ ft
TV adapter
Streamer
Unlocked
STATUS
CONNECT
BUTTON
Turns on
when ready!

18
USING THE STREAMER AND SUPPORT
Place the TV adapter in a suitable spot close to the TV. (The adaptor can easily be attached
to the top or side of the TV with velcro) For using the Streamer with the TV adapter, refer to
the user guide.
Do I have to turn o the TV adapter when I’m not watching the TV?
The TV adapter uses very little power so it is not necessary to turn it o.
What is the TV sound range with Streamer?
TV adapter has a range of about feet depending on furniture and placement.
How often do I have to charge Streamer if I’m watching TV?
The Streamer charge will last up to 5 hours with continuous Streaming.
You can however watch TV with the Streamer plugged into its power cord.
For further support or tips you can check the ConnectLine information on
www.oticon.com/connectline
INTERNATIONAL WARRANTY
The TV adapter is covered by a limited warranty issued by the manufacturer for a period of 12 months from
the day of the original purchase. Please notice that extended warranties may apply in your country.
Please contact your local Hearing Care Professional for more information.
What is covered by this warranty?
Any electrical component, that because of workmanship, manufacturing or design defects fails to function
properly under normal use during life of this warranty will be replaced or repaired at no charge for parts or
labour when returned to the point of purchase.
If it is determined that repair is not feasible, the entire unit may be replaced with an equivalent unit upon
mutual agreement of the Hearing Care Professional and the customer.
What is not covered by this warranty?
Problems arising from improper handling or care, excessive use, accidents, repairs made by an unauthorized
party, exposure to corrosive conditions or damage due to foreign objects entering the device are NOT covered
by the limited warranty and may void it.
The above warranty does not aect any legal rights that you might have under applicable national legisla-
tion governing sale of consumer products. Your Hearing Care Professional may have issued a warranty that
goes beyond the clauses of this limited warranty. Please consult your Hearing Care Professional for further
information.
Autres manuels pour ConnectLine
10
Table des matières
Autres manuels oticon Accessoires TV


