Optoma IR Pen Interactive Manuel utilisateur
IR Pen Interactive
User manual

2
Table of contents
Usage Notice.......................................................................................................................3
Precautions...................................................................................................................3
How it works .................................................................................................................3
Package Overview...............................................................................................................4
Before Installation - Environment Check..............................................................................5
Installation guide..................................................................................................................6
Installation workflow......................................................................................................6
Installing the mount..............................................................................................................7
Step 1: Attach the wall plate to the wall ........................................................................7
Step 2: Attach the projector to the mount plate.............................................................8
Step 3: Attach the projector to the mount .....................................................................9
Step 4: Adjusting the projected image size.................................................................10
Step 5: Adjusting the tilt (vertical keystone)................................................................11
Step 6: Adjusting the tilt (yaw) ....................................................................................11
Step 7: Adjusting the tilt (horizontal keystone)............................................................13
Installing the whiteboard....................................................................................................14
IR Pen setup......................................................................................................................15
Step 1: Install Utility Software.....................................................................................15
Step 2: Interactive Mode.............................................................................................16
Step 3: Touch Area Setting.........................................................................................17
Step 4: Calibration......................................................................................................19
Step 5: Trouble-shooting Viewer ................................................................................20
Appendix............................................................................................................................21
Troubleshooting..........................................................................................................21
Distance calculator .....................................................................................................26

3
Usage Notice
Please follow all warnings, precautions and maintenance as recommended in this user's manual.
Warning - Do not disassemble the IR Pens.
Warning - Do not use, store, or leave the IR Pens near fire, or in places with a high temperature,
e.g., in direct sunlight, or in sun-heated cars.
Warning –Use a standard USB cable (maximum length: 5m). To extend the USB cable length over
5m, a certified active extension USB cable is required.
Warning - Do not allow liquid or foreign material to enter the IR Pen.
Precautions
The IR camera on the projector receives infrared signals from the IR Pen.
To operate normally:
The IR camera should face the projection area of the whiteboard.
Remove any obstacle in between the IR camera and the whiteboard.
Do not place other infrared communication devices, lighting equipment, or residential heating
equipment etc., nearby.
Maintenance: Gently clean the pen tip with dust blower.
How it works
The IR camera picks up the invisible IR light emitted from the tip of the IR Pen.
The camera module tracks multiple touch points and reports positions to a PC or laptop via USB.
To optimize the touch function the whiteboard needs to be flat and in good condition, without dents
or warping.

4
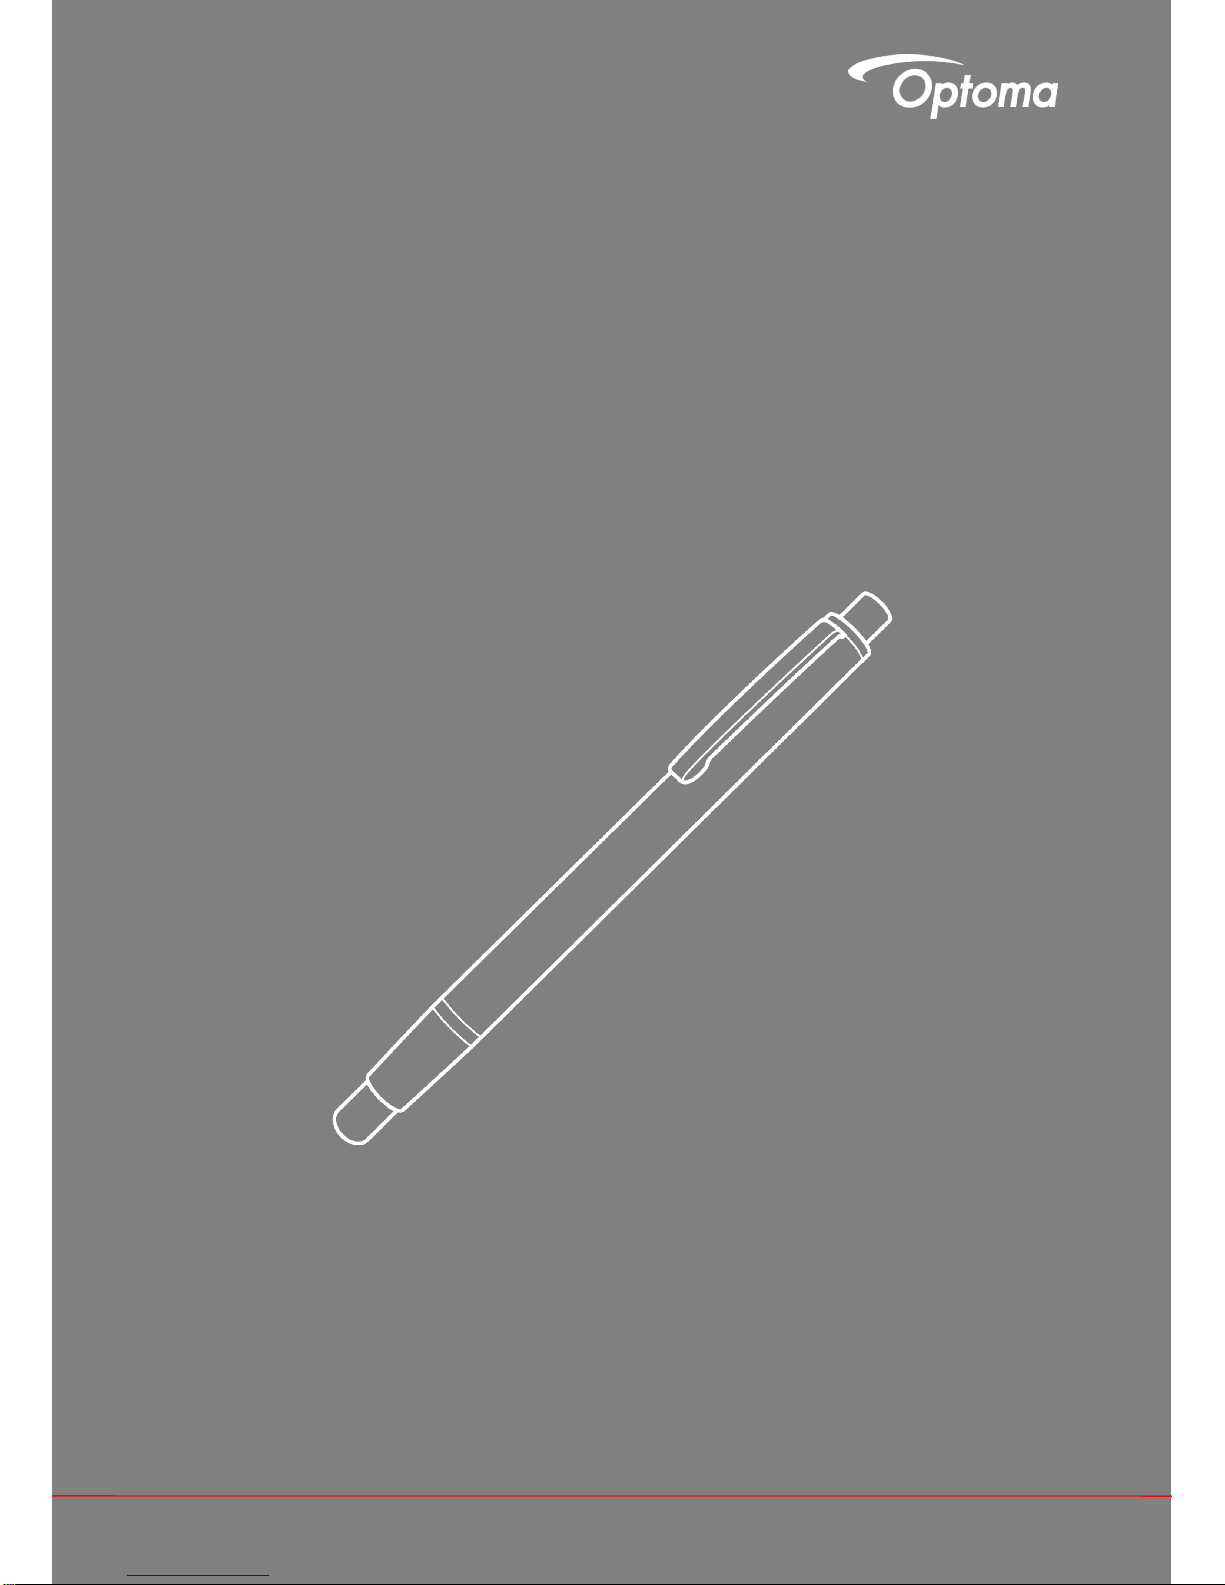
2x IR Pens*
Package Overview
Note: *Supplied with USTir version only.
5m USB cable
CD user manual

5
Before Installation - Environment Check
Before setting up and installing the projector ensure that the power supply and wiring work for the installation
location of the mount in advance.
Note:
Install the projector away from other electrical devices such as florescent lights or air conditioners.
Some kinds of florescent lights could interfere with the remote control of the projector
We recommend to keep source cable length less than 20 meters to reduce external noise
We recommend using a steel backed whiteboard
Make sure the projector is installed under the following conditions
- the projected image is a rectangular shape without any distortion
- the projector is tilted at an angle no more than +/-3 degrees vertically and horizontal in relation to
the screen
When using the interactive function install the projector so that the projected image is within reach
Do not install the projector or screen in a location subject to direct sunlight. If the projector and
screen are subject to direct sunlight, the interactive function may not operate correctly.

6
Installation guide
Installation workflow
oInstall the projector mount (See mount installation guide)
oAttach the projector to mount (See mount installation guide)
oConnect sources and USB to the projector
oAdjust projected images (See mount installation guide)
oInstall the whiteboard (See whiteboard installation guide)
oIR Pen setup and calibration

7
Installing the mount
Step 1: Attach the wall plate to the wall
For ease of installation mount the bracket on the wall using position 1 and mark other positions using
a spirit level.
Remove bracket and drill other positions
Use fixings suitable for your type of wall construction
Use all available fixing points
If in any doubt of the suitability of the wall, it’s construction or what type of fixings to use, consult a
qualified builder or installer
Note: Remove wall plate cover before attaching to wall. Retain fixings for re-attaching cover later.

8
Step 2: Attach the projector to the mount plate
Place the projector on a soft clean surface
Position the pre-assembled mounting plate on top of the projector
Insert 5xA (M4 x 10mm) screws from the fixing kit, tighten with a posidrive screwdriver

9
Step 3: Attach the projector to the mount
Lift the projector and mounting plate in to position –Fig 3A
Lift the projector so the two hooks slip over the protrusions on the black molding –Fig 3B
Position the washer Cand teardrop shaped locking washer Dagainst the hooks –Fig 3C
Insert bolt B(M8 x 75mm) and tighten it using the one of the allen keys provided –Fig 3D

10
Step 4: Adjusting the projected image size
Loosen the two bolts on the projector caddy –Fig 4A
Loosen the bot on the fine length adjustor –Fig 4B
Slide the caddy and fine adjuster together until the screen size is nearly correct –Fig 4C
Tighten the fixing bolt on the fine adjuster –Fig 4D
Adjust highlighted bolt to fine adjust the throw distance –Fig 4E
To reduce the projected image size, tighten the bolt clockwise using one of the allen keys provided to
move the projector closer to the screen
To increase the projected image size, loosen the bolt anticlockwise using one of the allen keys
provided to move the projector away from the screen
Once fine adjustment is done. Tighten the two caddy mounting bolts –Fig 4F
Table des matières
Autres manuels Optoma Présentateur numérique

Manuels Présentateur numérique populaires d'autres marques


Samsung
Samsung SDP-850 Manuel utilisateur

Dukane
Dukane DV-P303A Manuel utilisateur

RemotePoint
RemotePoint Presenter Global Manuel utilisateur

Kensington
Kensington Wireless Presenter with Laser Pointer Mode d'emploi

NEC
NEC DS1-MP10RX2 Manuel d'utilisation

Logitech
Logitech R800 - Professional Presenter Presentation Remote... Manuel utilisateur