7•noitarepO3502&1502sledoM
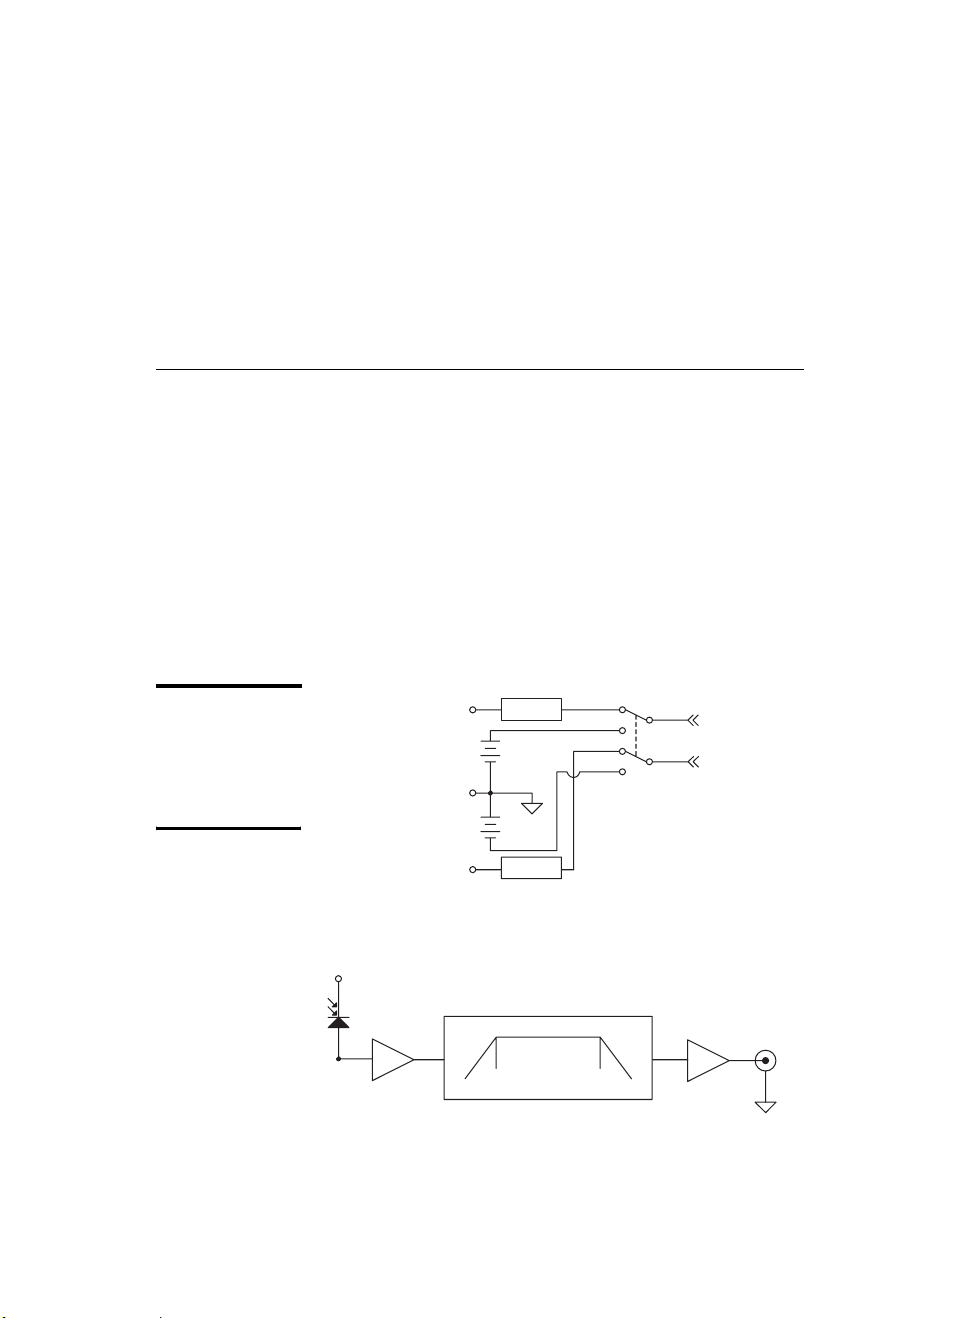
Using the Photoreiver
1. Mount the photoreceiver.Use the 8-32 thread (M4 for
metric versions) on the bottom of the casing to mount
the photoreceiver to a post or pedestal.
2. Supply power. Power the Model 205X using either two
9-volt alkaline batteries or a ± 15-V low-noise linear
power supply (such as the Newport Model 0901).
3. Connect the receiver output. Connect your voltmeter,
oscilloscope, or other instrument to the Output SMA
connector on the receiver.
If you wish to connect to a BNC cable, you can purchase a
BNC-to-SMA adapter such as the Newport Model 1225.
4. Turn on the photoreceiver power. For external power,
use±15 VDC ON; for battery, use Batt Mode ON.
5. Align the optical beam onto the detector. The
photodiode is not very large, so take care when aligning
the beam.
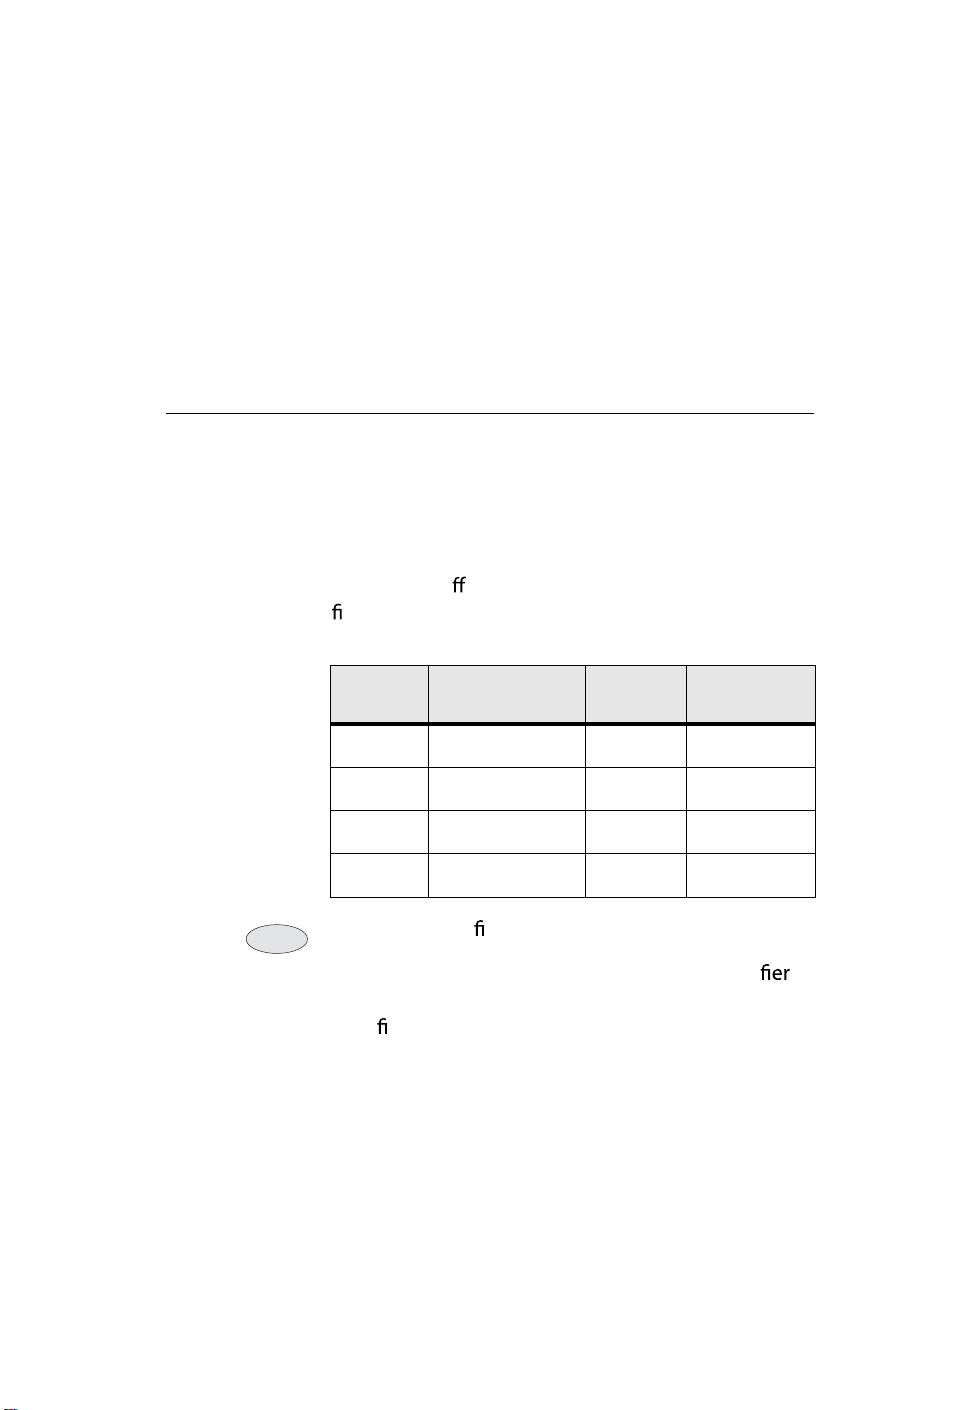
6. Adjust the gain.Use the knob and rocker switch on the
receiver to set the gain. The bandwidths vary with the
gain setting (see table on page 10).
7. Adjust the filters. Select low-pass and high-pass corner
frequencies using the knobs on the receiver.
8. Turn off the photoreceiver power. When you are
finished with the receiver, place the power switch in the
±15 VDC ONposition and switch off or unplug the
external power supply.
Checking the Batteries
The Model 205X can be powered by two standard
9-volt alkaline batteries. Under normal operating
Note:
Note: