MiDRONE SKY 160 WIFI FPV Manuel utilisateur

MiDRONE SKY 160 WiFi FPV
USER'S MANUAL
INTRODUCTION
We thank you for purchasing this product. This drone is equipped with a camera that lets you take
pictures and video during the flight. It can be controlled either with the remote control up to a distance of
about 30 meters. It can also be controlled via WiFi directly from your smartphone with a range of about
5 meters and transmit real-time images captured by the camera.
To take full advantage of this product and use it safely, please read this manual before use. Please also
keep this manual for future reference.
WARNING
This product is not a toy. It is a high-tech device that requires accurate assembly and proper use to prevent
any accidents. The user of this device must use it responsibly and ensure not cause any damage to third
parties or to objects belonging to third parties.
This product is not suitable for children under 4 years.
Please use this product only in places where it is legally permitted.
Please re er to the legislation on the use o drones in your country.
Midrone can not be held responsible for any damage, loss, injury or death caused directly or indirectly
by the use of this product, part of the product or the information contained in this manual.
Please refer to our website www.midrone.com for more information.
SAFETY INSTRUCTIONS
The propellers in movement can cause more or less serious injuries, which is why you should never use
the drone near the crowd or flying too close to other people or animals.
Accidents can be caused by improper assembly of the drone or a lack of control, and also by the use of a
drone and / or damaged remote.
Users of this product should be aware of the risks of potential damage and should therefore use it with
great caution.
. Avoid the crowds and obstacles : the speed and behavior of the drone can sometimes be unstable,
it is strongly advised to use it in places away from the crowds, tall buildings or trees, high voltage
cables, to prevent injury to the user or other persons or damages to the drone.
2. Do not fly the drone in bad weather (rain, wind, storm) to prevent damages or lost. Keep away
from wet places to avoid dis-functioning of electronic parts.
3. Do not use the drone if you're tired because the control requires maximum concentration. Be very
careful during learning until your control of the drone is acquired.
4. Keep the drone and the battery away from heat: this product is made of metal and plastic parts,
and electrical parts. Therefore it should not be exposed to high temperatures such as near fire, near

a heating radiator or exposed too long to direct sunlight.
5. Never leave small parts of drone to reach of children to avoid the risk of suffocation.
CHARGING AND USE OF THE LI-PO BATTERY
. Check that the battery is in perfect condition before charging. If the battery appears damaged you
do not charge it to avoid damage or injuries.
2. Always use the original charger to recharge the battery. Using a non-matching charger could cause
irreversible damage to the battery and cause an accident.
3. When charging, if the charge connector is overheating, this means an excessive load and this can
cause permanent damage to the battery. Please stop charging immediately if this happens.
4. Do not leave the battery unattended while charging and do not leave load near flammable material
or in a vehicle.
5. When the drone has just finished flight, the battery temperature is higher, it is preferable to wait
for 30 minutes, and charge the lithium battery when cooled, otherwise it may damage the battery .
6. Do not short-circuit the battery polarity when connecting the charger.
7. Do not expose the battery to excessive heat, never throw it into the fire to avoid any risk of
explosion.
8. Do not dispose of the battery in domestic waste but bring it to a collection point for recycling,
please check with your local authorities about it.
DESCRIPTION OF THE REMOTE CONTROL
The drone may be controlled in two ways. Or via the supplied remote control with a range of about 30
meters, or directly through the MiDrone SKY 60 APP on your smartphone in WiFi with a range of about
5 meters. This feature will be detailed later in this manual.
REMARKS : We recommend that you familiarize yourself with the buttons of the remote before you start
using the drone.

BATTERY INSTALLATION
1. Install batteries in the remote control
The operation of the remote requires 4 AAA batteries (not
included). Observe the battery polarity when inserting in the
compartment at the back of the remote. Remove the batteries from
remote control for a long period of non-use to avoid discharge and
leakage.
2. Charging and installing the Li-Po batteryPlug the USB connector of
the charging cable to a USB port on your computer or USB charger (not
included), and the other end directly to the battery connector. The charge
indicator LED will light in red on the charging cable when the battery is
fully charged.
It takes about 90 to 20 minutes for the lithium battery to be fully
charged, depending on the power of the USB charger used.
Install the fully charged battery into the slot provided for this purpose inside the drone as shown on the
image below.
NOTE : the LED lights of the drone will flash quickly when the voltage of the battery is too low. When
this happens, please proceed to landing and charge the battery before next flight.
REPLACEMENT OF THE PROPELLERS
If a propeller replacement is necessary pay special attention to the direction of rotation. The propellers
that rotate clockwise are marked with a letter A. Those that rotate in the anti-clockwise direction are
marked with a letter B.
PREPARATION FOR TAKE OFF
Before flying, settle in a space without obstacles with a clearance of about ten meters around you and five
meters in height. Ensure that the battery of the drone and batteries from remote control are fully charged.
Install the battery in the drone, the drone LED lights flash slowly. Then place the drone to the ground or
on a flat surface. Turn on the remote control, tle lights of the drone will stop to flash and stay on.
Before each flight you must establish the link between the drone and remote control by performing this
operation: Push the left joystick fully upward and then pull it to the bottom.
UNLOCK PROCEDURE
. Push the left joystick to the highest position (Figure ).
2. Pull down the two joysticks outward diagonally together to unlock the drone (Figure 2).
3. Pull down the two joysticks inward diagonally together to calibrate the gyroscope (Figure 3).

ONE KEY TAKE-OFF AND LANDING
After performing the unlock procedure explained above, you can
press the auto take-off button on the remote control. The drone’s
blade will start to rotate slowly, then the drone will ascend
automatically to the height of approx. ,5 meter.
When you press the one key landing button, the drone will descend
slowly to the land. The propellers will stop rotating after 3 to 5
seconds.
NOTE : you can still control the direction of the drone with the
remote control during automatic landing procedure.
MANUAL LANDING
You can also proceed to the landing of the drone manually. Pull down the throttle
joystick slowly and the drone will descend slowly to the ground.
FLYING CONTROL
ACCELERATOR (le t joystick)
LEFT / RIGHT TURN (le t joystick)
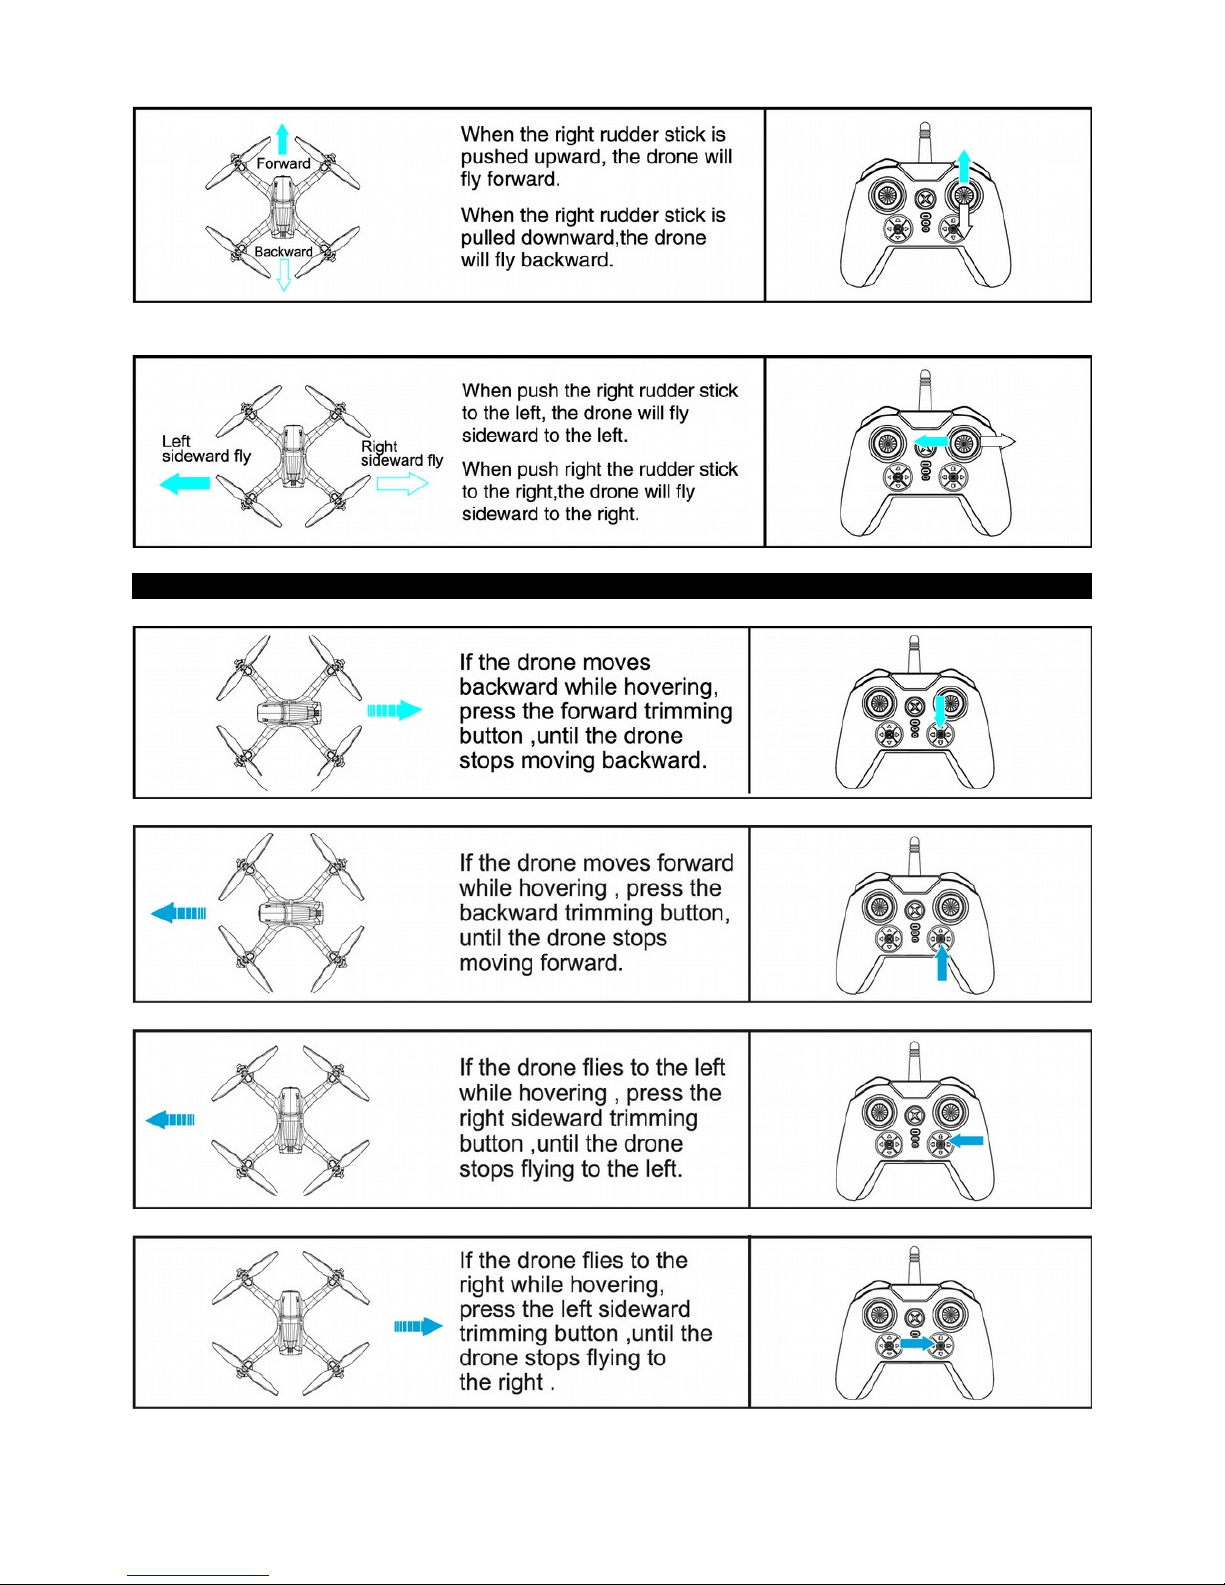
FORWARD / BACKWARD FLY (right joystick)
SIDEWARD FLY (right joystick)
FLYING MICRO ADJUSTMENTS (TRIM)

FLYING IN HEADLESS MODE (DIRECTION LOCK, HEADFREE)
When this mode is enabled, the drone uses the direction it has stored at the time of synchronization and
takes the pilot's position as a reference when using the right joystick on the remote. The movement front
or back of this joystick will move away the drone or let it come closer from the pilot, and regardless of
the orientation of the front of the drone.
The operation of this mode requires that the pilot remains in the same place as at the time of
synchronization and keeps the drone in front of him during the flight.
. FLY DIRECTION SETTING
Before the flight, place the drone in front of you with the back of the drone pointing to the remote control.
Perform the synchronization’s procedure as explained earlier in this manual in "preparation for take off"
section and proceed to take off.
2. Once this step is done and the drone is flying, press the mode
Headless button on the remote control to activate CF Mode /
Direction Lock. The LED lights of the drone will flash quickly to
confirm that this mode is engaged. Press again
the mode headless button on the remote to exit
the CF Mode / Direction Lock.
NOTE: If the drone is impacted by objects during flying, headless mode may not
keep flying straight, the drone may fly with drifting. If this happens, please proceed
to landing, and reset the gyro of the drone by pushing the 2 levers of the remote to
the center and the bottom with an angle of 45 degrees as shown on the image on the
right.
EMERGENCY STOP
If the drone crashes something during flying or if you need to stop it quickly, you
can press the emergency stop button on the remote control. The propellers will stop
to rotate immediately and the drone will fall down.
NOTE : never press this key if the drone is normally flying at a certain altitude or it
will fall down and will get damaged or cause injuries to people, animals or objects.

PROTECT FUNCTION
If the drone hit an obstacle during flying, the propellers will stop immediately to protect the motors, the
drone will fall down vertically. If this happens, when you restart the drone, you will need to calibrate the
gyroscope and start the unlock procedure again before new take off.
ONE KEY RETURN
The drone will return automatically to its starting point when you press the one key return button on the
remote control. The drone’s front and back lights flash quickly together. Press this button again or push
the forward joystick to exit this function, the drone will hover at its position.
360° ROLLOVER (3D FLIP)
When you are piloting the drone well in hand, you can now perform tricks of style!
Fly the drone up to 2-3 meters height. Press the 3D Flip button on the top left of the remote control. The
remote control will emit a beep sound. Then you can use the right joystick to control rollover direction to
achieve a 360° rollover forward, back, left or right .
INSTRUCTIONS FOR USE IN WIFI MODE
You can either control the drone by Midrone SKY 60 application on the smartphone, or mount the
smartphone on the remote control and use the smartphone screen only for video transmission. This second
option will be explained later in this manual.
WIFI CONNECTION BETWEEN THE DRONE AND SMARTPHONE
Download and install the application
The app Midrone SKY 60 is needed to control the drone through the smartphone. It is
available free for download on Google Play for Android phones and on the App Store for
iPhones.
WiFi connection
1. Connect the battery of the drone, the LED lights will flash to indicate that the drone is waiting for
a connection.
2. Go to the WiFi settings of the smartphone and start the search for new devices.
3. Select "MIDR_SD 60xxx » from the list and wait until the connection is successfully established.
4. Place the drone on a flat surface and start Midrone SKY 60 application on the smartphone.
Important in ormations
. It is recommended to set the smartphone in airplane mode during control of the drone to avoid
receiving a call during the flight or any other disturbance which could alter the signal and cause
loss of control of the drone.
2. Other WiFi networks nearby can disturb the video signal.
3. Do not use the drone near high-voltage cables or other magnetic fields to avoid the alteration of
the transmission signal and loss of control of the drone.
4. When the drone is turned off and on, verify that the wireless connection is restored correctly.
CONTROL THE DRONE THROUGH THE SMARTPHONE
It is possible to control the drone without the remote control directly through the smartphone screen.
Place the drone on a flat surface and make sure the WiFi connection is established.
Start MiDrone SKY 60 app on the smartphone.
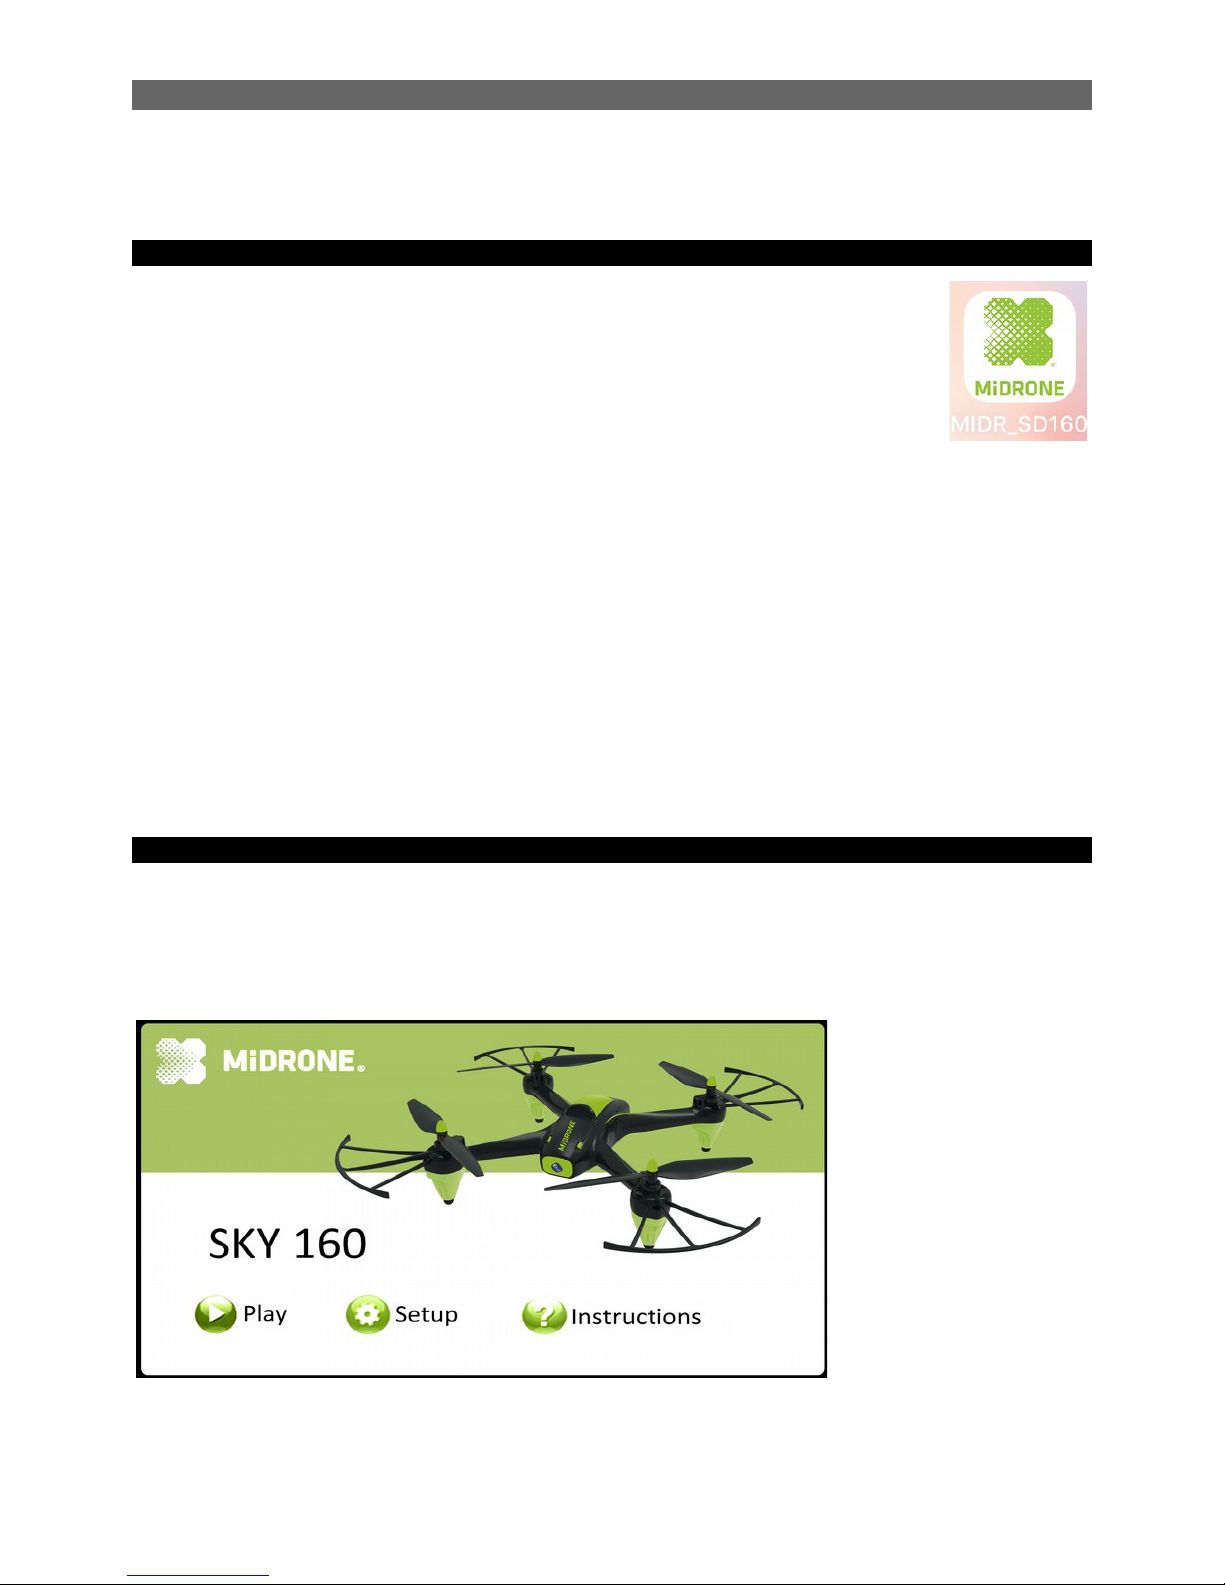
HOME SCREEN :
Play : press this button to show the control interface of the drone
Setup : press this button to enter the parameters menu of the APP.
Instructions : press this button to show the instructions of the APP.

CONTROL INTERFACE :
. Return to previous screen
2. Press once to take a picture
3. Press once to start recording video. Press again to stop the video recording
4. Photo album : press to see your recorded photos and videos.
5. Speed : press to select the flying speed of the drone (3 levels, level by default)
6. Altitude hold menu : press to show auto take-off/landing buttons and stop button
7. Gravity sensor : press to activate avatar mode (control the drone by tilting of the smartphone)
8. Press this button to show or hide the virtual joysticks and other controls of the drone.
9. Press this button to show or hide the setup menu
0. Headless mode
. Gyroscope calibration
2. Camera inversion
3. 3D view (split screen in 2 parts for VR Goggles)
4. One key unlock / take-off
5. One key landing
6. Emergency stop : press this key to stop the propellers immediately
7. Follow drawing : draw a flight pass on the screen and the drone will follow it. Make sure that the
drone is in a clear space with no obstacles around.
8. 3D Flip
9. Voice controls : the drone can respond to simple voice commands such as « Forward », see in the App
for more details.

20. Throttle control (Altitude)
2 /22 : Left / right turn
23/24 : Left / right side flying
25/26 : Forward / Backward flying
27/28 : Forward / Backward fine tune (TRIM)
29/30 : Left / right turn fine tune (TRIM)
3 /32 : Left / right side flying fine tune (TRIM)
FLIGHT WITH VIRTUAL JOYSTICKS
Start-up
. Show virtual joysticks on the control panel (icon 8 above image is ON)
2. The virtual joysticks work the same way as the physical joysticks of the remote control.
3. Please move slowly the ball of virtual joysticks for not losing control of the drone.
Accelerator
Slide the ball of the left joystick up to move the drone up and slide the ball down to move it down.
Turn le t / right
Slide the ball of the left joystick to the left to let the drone turn to the left and drag it to the right to let the
drone turn to the right.
Table des matières
Autres manuels MiDRONE Drone


 Manuel utilisateur")


