Maxima VRLA-AGM Instructions d'utilisation d'origine

JUBILEE STORE L.L.C
Installation &
Operation Guide
VRLA-AGM
BATTERIES

JUBILEE STORE L.L.C
Page - 2 - of 23
CONTENTS
1. Introduction…………………………………………………………………………….3
2. Safety precaution and protection kits……………………………………………..3
3. Battery storage and using circumstances………………………………………..4
4. Using conditions…………………………………………………………………..…..4
5. Installation of batteries…………………………………………………………...…..4
6. Use of battery……………………………………………………………..….………...12
7. Battery maintenance ………………………………………………….….…………15
8. Exchange of Batteries………………..……………………………….….…………18

Page - 3 - of 23
Jubilee Store sealed lead acid battery is
battery according to the following instructions before use:
1. Introduction
Jubilee Store produces world-class batteries based on years of research and development. Our products
are manufactured under the guidelines of ISO9001 quality system. Each battery undergoes a series of
strict manufacturing and quality control processes before shipment. We are committed to provide our
customers the best batteries, with 100% customer satisfaction. We believe that the Jubilee Store battery
is the ideal selection for your application and your ultimate DC power choice.
2. Safety precaution and protection kits
When working any battery system, be sure you have the necessary tools and safety equipment,
including but not limited to:
¾insulated tools
¾rubber apron and gloves
¾face protection/face shield
¾safety goggles
¾fire extinguisher
¾emergency eye wash and shower, if available
¾acid spill cleanup kit
Pay attention to the electrical warning symbols to avoid serious injury or death caused by electrical
shock or burns.
Multi-cell battery systems can attain high voltage and/or currents. Do NOT touch un-insulated
batteries, connectors or terminals. To prevent serious electrical burns and shock, use EXTREME
CAUTION when working with the system
Always wear safety protection clothes and protect all exposed skin and eye surfaces
Use non-conductive or insulated tools when working with ANY battery system.
All installation tools should be adequately covered with vinyl electrical tape or suitable no-conducting
material to minimize the possibility of shorting across connections.
Never lay tools or other conductive objects on the battery.
Avoid any possible reasons for shorting, explosions and personal injury.
Do NOT throw away any batteries or battery components, they are recyclable resources.
JUBILEE STORE L.L.C
shipped charged, handle
the

Page - 4 - of 23
3. Battery storage and using circumstances
Storage
¾If the battery has high temperature or poor ventilation during storage and delivery, self-
discharge will be increased. Therefore, keep good ventilation and keep away from fire, flame,
water and heat supply etc.
¾When storing the battery, disconnect charger and load, Store in dry and cool conditions.
¾After storing for any certain time, please charge the batteries before use.
Using circumstances
¾No fire, flame or heat supply should be near the battery;
¾Avoid operating near heat supply and in direct sunlight;
¾Avoid operating in humid / damp locations;
¾Do not operate in sealed enclosed or without ventilation.
4. Using conditions
Temperature range:
¾Charging : 0 ~ +400C,
¾Discharging : -20 ~ +550C,
¾Storage : -15 ~ +500C;
Parallel connection : recommended within 4 groups;
Multilayer installation : temperature among layers should be controlled within 3degC;
Heat dispersing : maintain 20mm inter-bloc distance between batteries.
Ventilation : Ensure batteries are stored and used in ventilated conditions.
Optimum ambient temperature : +50C ~ +350C.
Float charge (25℃) : limited current ≤0.30C10, voltage 2.23~2.30V/cell
Equalizing charge (25℃) : limited current ≤0.30C10, voltage 2.30~2.40V/cell
Mixing batteries : Do not mix new and old batteries, batteries from
Different manufacturers, if required consult Jubilee Store
technical support.
JUBILEE STORE L.L.C

Page - 5 - of 23
5. Installation of batteries
5.1 Unpack and check
Delivery: Prevent any force on the terminal; do not tamper with any seals.
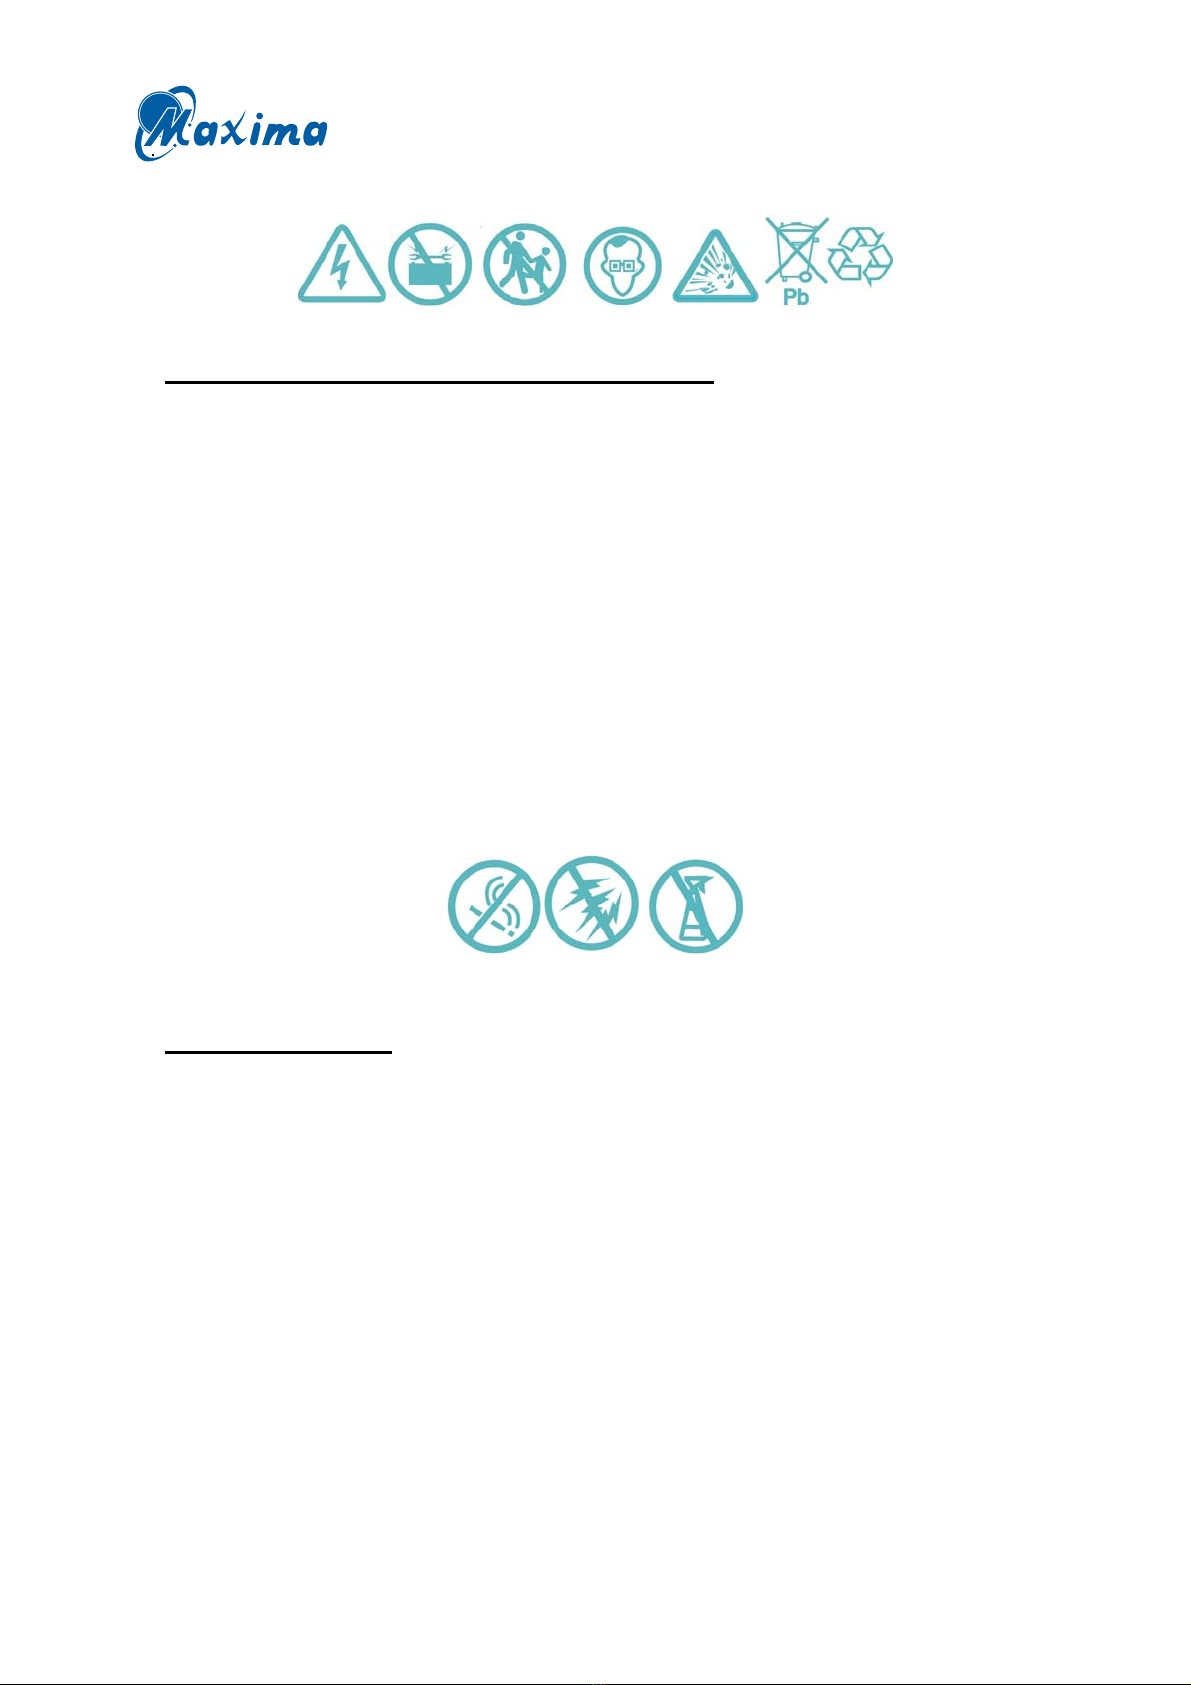
Do not place upside down, Do not throw or cause any impact to the battery;
Do not cause any metallic short circuit.
Inspection: packaging / appearance of battery for signs of damage;
Check parts list: battery quantity; accessories;
Reference: catalogue; installation drawing; other notices.
5.2 Notices before Installation
If no abnormity after check, install the batteries in the designated position;
If installing the batteries in the battery chamber, place them starting at the bottom of chamber;
Avoid installing the batteries near any heat supply such as transformers or heat exhaust of other
equipment;
A battery may cause flammable gas during storage, avoid enclosing with any apparatus which
produce flames / sparks
Before connecting, clean the terminals to bright metal.
Ensure that no conductive material can connect between positive and negative terminals.
Before installation all tools are insulated;
5.3 Installation and connection
Use insulated tools only;
Connect batteries, then connect battery group with charger or load;
When multi-group batteries are parallel connected, connect in series first and then parallel
connection;
To ensure good ventilation, the batteries per row should keep around 10 - 20mm inter-bloc spacing;
Before connection, clean the battery terminals to bright metal;
Before and after connection, apply antirust compound such as petroleum gel on the surface of
battery terminal;
After batteries are installed, test the voltage of the battery group, if correct link battery to load.
Use correct torque on all terminals, ensuring every connecting nut and screw is secure; see torque
settings as table 1
Table 1 Suggested torque table
JUBILEE STORE L.L.C

Page - 6 - of 23
S/N Range Torque
1 M5 2.0~3.0N*m(20~30kgf*cm)
2 M6 3.9~5.4 N*m(40~55kgf*cm)
3 M8 11~14.7N*m(111~150kgf*cm)
5.4 Pre Installation Check
Floor bearing: Batteries are heavy check the floor loading is not exceeded. Check rack/enclosure
complies with any load spread requirement.
5.5 Battery rack assembly
example
follow the procedures below:
Step 1 : Insert cross bolt from bottom to up into lower-layer backstop steel hole of lateral frame,
then put lateral frame vertically.
Step 2 : Set under layer on the screw of lateral frame, lock the nut (notice not too tight).
Step 3 : Put the upper layer crosspiece between two lateral frame, fix them with M8*25 bolt
(notice not too tight);
JUBILEE STORE L.L.C
To Assemble a battery rack,

Page - 7 - of 23
Step 4 : Collate the four angles of rack with tape measure to make sure that the rack is upright
and stable, then tighten the connection bolt between upper-layer pallet lateral frame and
under-layer pallet lateral frame;
Step 5 : Move and fix middle-empty rack to the appointed place. Mark the four holes with aiguille,
then move rack away and dig vertically to 55mm from the mark point with percussive
drill. Nail finestra with M8*70 floor hole bolt. Strain it with spanner. Remove rack.
Put wrench directly into four holes. Install nut and tighten it.
Step 6 : According to connection plan, start installing battery from bottom (notice the polarity as
placing batteries), use to separate batteries. Once finish installing a level, tighten bar to
lateral frame with M8*16 bolt.
Step 7 : According to connection plan, install connector and component, if there is a junction box,
refer to junction box installation specification.
Note : junction box installation instructions
JUBILEE STORE L.L.C

Page - 8 - of 23
¾Fix 2 high-voltage porcelain on the middle part of connection plate with hexagon bolt (M10*25).
¾Place connection plate and connection copper bar to parallel station, be close to high-voltage
porcelain; Hexagon bolt was put through the 2 central holes of copper bar, which fastening copper
bar on the porcelain.
¾Place connection plate and 2 shield supporting plate vertically, be close to connection plate.
¾Lift junction box be up close to corresponding site of shelf, and fastened with hexagon bolt.
¾After connecting strings, paste P/N on in the middle part of glass cover and plug the cover into
opposite groove of shield supporting plate.
5.6 Batteries mounting on racks
Rack mounted Jubilee Store batteries follow the procedures below:
Step 1 : Carry batteries close to the rack, and then tear the box along its four corners.
JUBILEE STORE L.L.C

Page - 9 - of 23
Step 2 : Remove all bit poly-foams out from the bottom of the battery.
Step 3 : Hitch the battery with belt loops from the bit poly-foams, and then let the lever through
the belt loop.
JUBILEE STORE L.L.C

Page - 10 - of 23
Step 4 : Carry the battery up to the top of baffle.
Step 5 : Put the battery close to a side for a little gap and remove loops out.
STEP 4
JUBILEE STORE L.L.C
Table des matières


