Manhattan T2-R Fiche technique

Check Freeview HD coverage
in your area by visiting
freeview.co.uk
For assistance,
call us on 020 8450 0005
or visit manhattan-tv.com/support
Check Freeview HD
coverage in your area by
visiting freeview.co.uk
For assistance,
call us on 020 8450 0005
or visit manhattan-tv.com/help
GET STARTED

2
INSTALLING YOUR T2•R
Unpack the following from your Giftbox:
You’ll need:
• A TV with an HDMI input
• A coaxial TV aerial cable
Before you plug in, please read the Safety section of the Important
Information booklet.
Manhattan T2•R
HDMI cable Power adapter
2x AAA batteries
Remote control

3
Connect Up
• Connect the coaxial TV aerial cable from your aerial wall socket to your T2•R.
• Next, connect the T2•R to your TV using the HDMI cable provided.
• To view Freeview’s free and premium streaming channels or receive software updates
over the internet, connect the T2•R to your router using an Ethernet cable.
• Finally, plug the AC power adapter into a wall socket that is turned o, then connect the
other end to the T2•R.
If you want to use your TV’s tuner, connect the Loop Out connector to the Aerial input of your TV.
If your TV doesn’t have an HDMI input, the T2•R has an analogue AV output that you should be
able to connect to your TV using the Manhattan AV Kit (not included). See the included leaflet or
contact us for more details.
Switch On
• Open the battery compartment cover on the back of the remote by sliding the cover.
Insert the batteries, matching the + and – symbols to what is marked on the inside of
the compartment. Replace the cover.
• Turn on the wall socket you connected the Manhattan T2•R to and it will switch on.
• Turn on your TV set and choose the HDMI input you connected your Manhattan T2•R
to. Most TV remotes use a button labelled ‘AV’, ‘SOURCE’, ‘INPUT’ or , with each
press cycling through your inputs.
Your Manhattan remote can be used to change your TV’s input, adjust its volume and turn it on
and off. See page 13 for details.
Follow the on-screen instructions to set up your T2•R. It takes about 5 minutes, which is
the perfect amount of time to read the rest of this Guide!

4
WATCHING TV
The Channel Browser
While watching TV, press OK on your remote control to display the Channel Browser, then
use the directional pad to browse what’s on.
• When a programme on now is highlighted, press OK to change channel and watch it. If
the programme is on later, pressing OK sets a reminder.
• To set a recording, press ®. If the programme is part of a series, you can choose to
record the entire series or just the episode.
• To view detailed info about a highlighted programme, press INFO.
Quickly Changing Channel
There are 3 ways to directly change channel while watching TV:
• Press P-UP or P-DOWN to change to the channel above or below.
• Enter a channel number with the number buttons.
• Press SWAP to change to the last channel you were watching.
Entering Live Pause
Press PAUSE to enter Live Pause. You can also rewind or skip back (see page 6).
Volume & Accessibility
• Turn the volume up or down with +-. Mute and unmute the sound with .
• Toggle Subtitles and Audio Description on and o with the SUB and AD buttons.

5
TV GUIDE
Press GUIDE to display the full TV Guide and see what’s on across the next 7 days. As with
the Channel Browser (see opposite page), use the directional pad to browse what’s on, OK
to watch programmes or add reminders, ®to set recordings and INFO to view detailed
programme info.
Record Icons
Scheduled or in-progress recording Recorded programme
Scheduled or in-progress series
recording
Recorded episode that is part of a
series recording
Quickly Navigating
As there are lots of channels and programmes to browse, you can get around more
quickly by:
• Entering a channel number with the number buttons
• Pressing P-UP or P-DOWN to page up or down
• Holding LEFT or RIGHT to skip through time
• Pressing or to skip 24 hours backwards or forwards
When you’ve browsed ahead, press to skip back to what’s on now.
Lists
The TV Guide can be filtered to show only HD, Radio or your Favourite Channels.
Press to select a list. You can also choose to edit your Favourites.

6
LIVE PAUSE
The T2•R is always recording the channel you’re watching and will store (‘buer’) up to the
last 2 hours. When you change channel, what had previously been recorded is cleared
and recording starts again. There are many ways to take advantage of Live Pause:
• Press PAUSE when you need to get the door, make a cup of tea, etc.
• Press LEFT to instantly skip back 10 seconds; helpful if you’ve missed some dialogue or
want to replay a great moment.
• Press to seek backwards to a specific point. Each press of increases the seek
speed. Press PLAY to start playback again.
Depending on how long you’ve been watching a channel, there can be more than one
programme in the buer. The playback bar always shows the current programme and
channel being viewed. As you rewind back past the start of a programme, the playback
bar will update to show the previous programme. To move forward:
• Press to seek forwards. Each press of increases the seek speed. Press PLAY to
start playback again.
• Press RIGHT to skip forwards 30 seconds
To return to live TV, press STOP or EXIT.
When watching a programme and you press ®, anything that’s in the Live Pause buer will
be saved along with the rest of the programme.
The skip forward and backward durations can be changed in the Recording & Playback section of
Settings.

7
RECORDINGS
Press RECORDINGS to display a list of all your recordings. Use UP/DOWN to browse the
list and LEFT/RIGHT to select a section:
• SCHEDULE – Your planned recordings and reminders
• SERIES – Recordings that are part of a series
• MOVIES – Movies that have been recorded
• KEPT – Recordings you have chosen to keep
• TRASH – Recordings you have deleted but have not been permanently removed yet
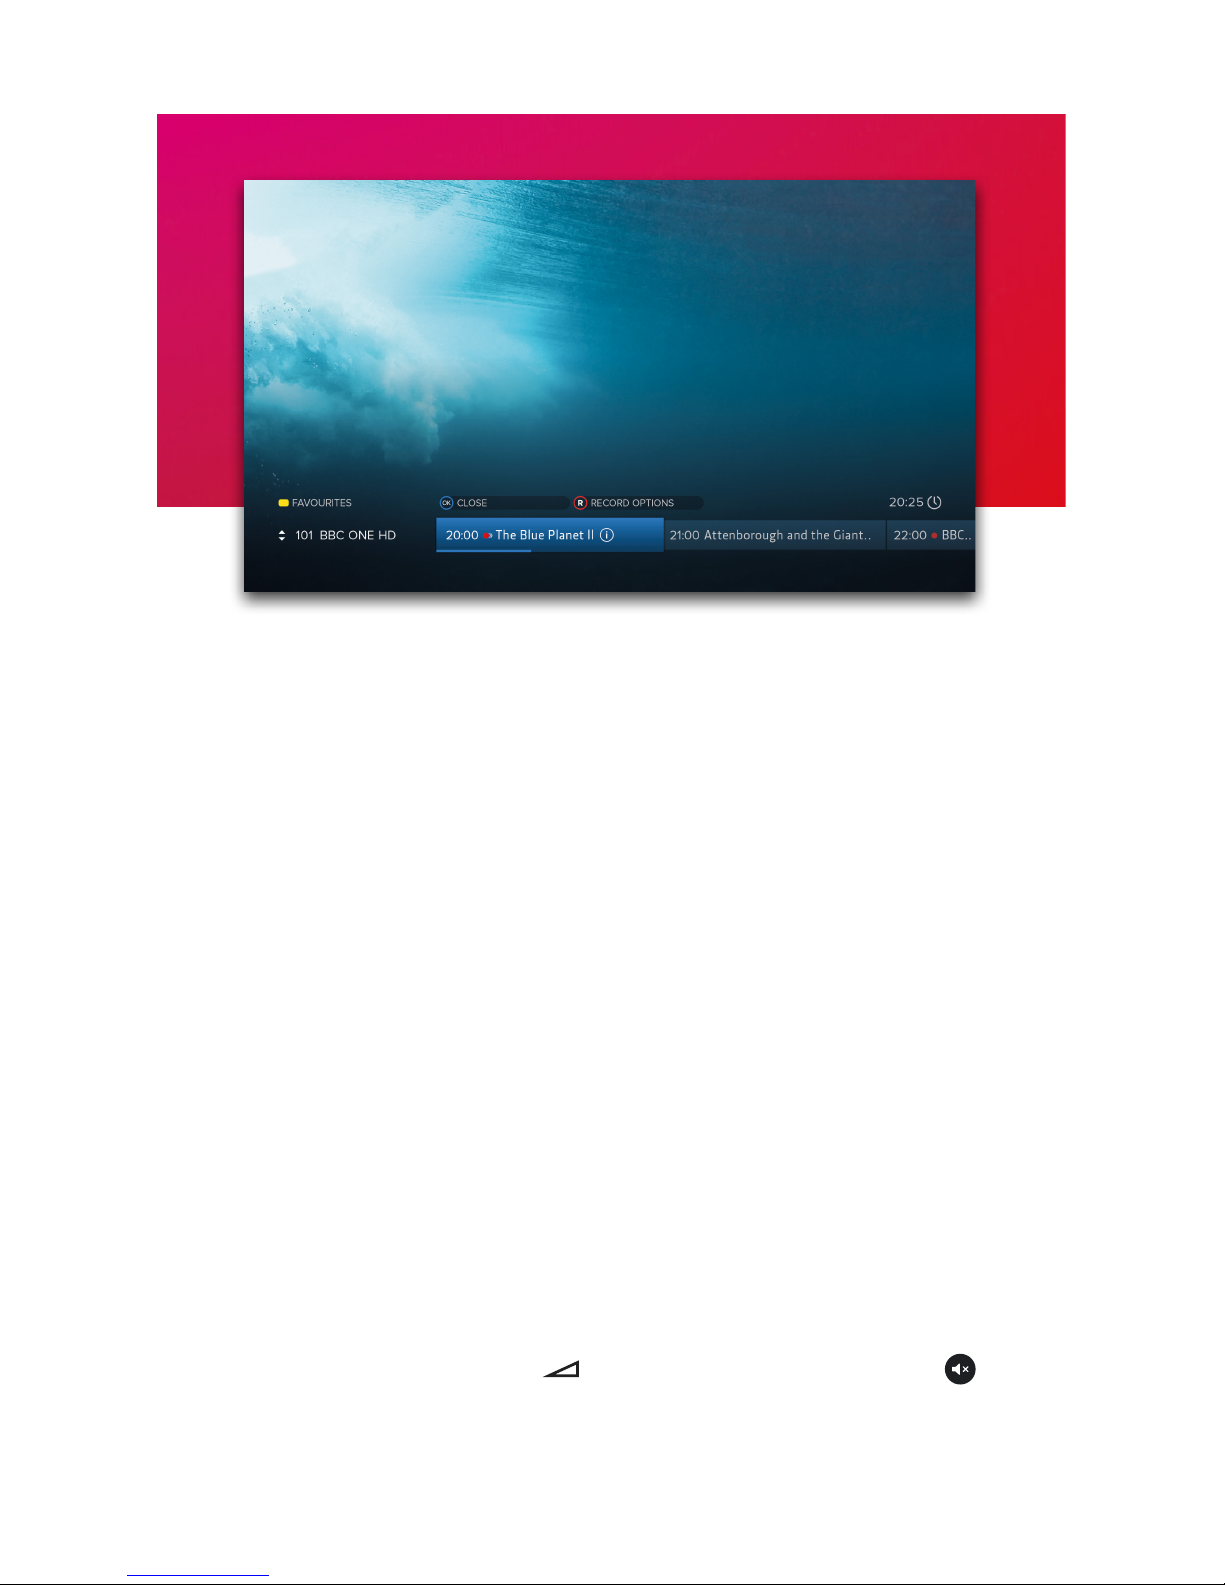
To open a series folder or play a recording press OK. To keep or delete a recording, press
®and select the option. Deleted recordings are sent to the Trash and automatically
removed after 30 days or as needed to make space for new recordings. Kept recordings
will never be deleted automatically.
The watched status of a recording is indicated before its name: unwatched with a filled
circle, partially watched with a hollow circle and watched with nothing at all. When a
partially watched recording is highlighted, playback progress is indicated by a blue bar.
All upcoming recordings and reminders are displayed in the SCHEDULE. To edit a
recording, press ®and select an option. To cancel a reminder, press OK.
Playback
• Press or to seek backwards or forwards to a specific point. Each press increases
or decreases the seek speed. Press PLAY to start playback again.
• Press LEFT to skip back 10 seconds or RIGHT to skip forward 30 seconds.
• Hold LEFT or RIGHT to skip in 10% jumps.
• When the Playback Bar is on-screen, press to display the Go To menu. Enter a
specific time to go to with the number buttons or press again to restart playback.
• Press STOP or EXIT to end playback and return to the Recordings Menu.

8
PROGRAMME INFO
The info screen displays the description, genre and other key information for a
programme. It is displayed by pressing INFO when watching TV, using the Channel
Browser, the TV Guide or the Recordings Menu.
Icons
Part of a series
In HD
Surround sound audio
Programme is in two or more parts (e.g. a movie split by the evening news).
Subtitles
Audio Description
Guidance
Browsing Series & Repeats
• If the programme is part of a series, you can press UP to browse all episodes in the
schedule.
• If the programme is showing again on any channel, you can press DOWN to browse
repeats in the schedule.

9
MENUS
Press MENU to display the Main Menu. Use UP or DOWN to highlight an option and OK to
select it.
Press BACK to go back to a previous menu or EXIT to return to full screen TV.
Main Menu Options
TV Guide
View what’s on across the next 7 days. You can also press GUIDE (see page 5).
Recordings
View and manage your recordings.
Channels
Manage your favourite and protected channel lists or delete channels (see page 10).
Settings
View and modify the T2•R’s settings.
Help
View information about using the T2•R and detailed System Info for troubleshooting.

10
CHANNELS
Favourite Channels
Select ‘Edit Favourites’ in the Channels Menu to choose channels for your favourites list.
As explained on page 5, your favourites can be used to filter the TV Guide. They can also
be quickly browsed using the Now & Next Browser:
• While Watching TV, press OK to display the Channel Browser. Notice that in the top left
of the browser it shows: FAVOURITES
• While the Browser is displayed each press of cycles through your favourite
channels
Protected Channels
Protected Channels are hidden and can only be shown by entering your PIN. To choose
channels to protect, select ‘Protected Channels’ in the Channels Menu and enter your PIN.
When you want to temporarily show your protected channels, highlight ‘Protected
Channels’ in the Channels Menu and then select the ‘Show’ option that appears to the
right. After entering your PIN, all Protected Channels will be shown until the T2•R next
enters standby or you choose the option to hide them again.
Deleting Channels
Channels can be deleted entirely by selecting the ‘Delete Channels’ option in the
Channels Menu. If you want to restore them in the future, select the ‘Smart Retune’ option
in the Tuning section of Settings.
Table des matières
Autres manuels Manhattan Instrument de mesure
Manuels Instrument de mesure populaires d'autres marques

Endress+Hauser
Endress+Hauser Proline Promag 50 Caractéristiques techniques

Siemens
Siemens SITRANS F Coriolis FCT030 Manuel de la liste des pièces

KLINGER
KLINGER CMF V Series Manuel utilisateur

EXFO
EXFO FTB-2 Manuel d'exploitation et d'entretien

Keysight
Keysight M8290A Manuel utilisateur

ADTEK
ADTEK MW-5 Manuel utilisateur


