Jet-tech F 14 Manuel utilisateur
1
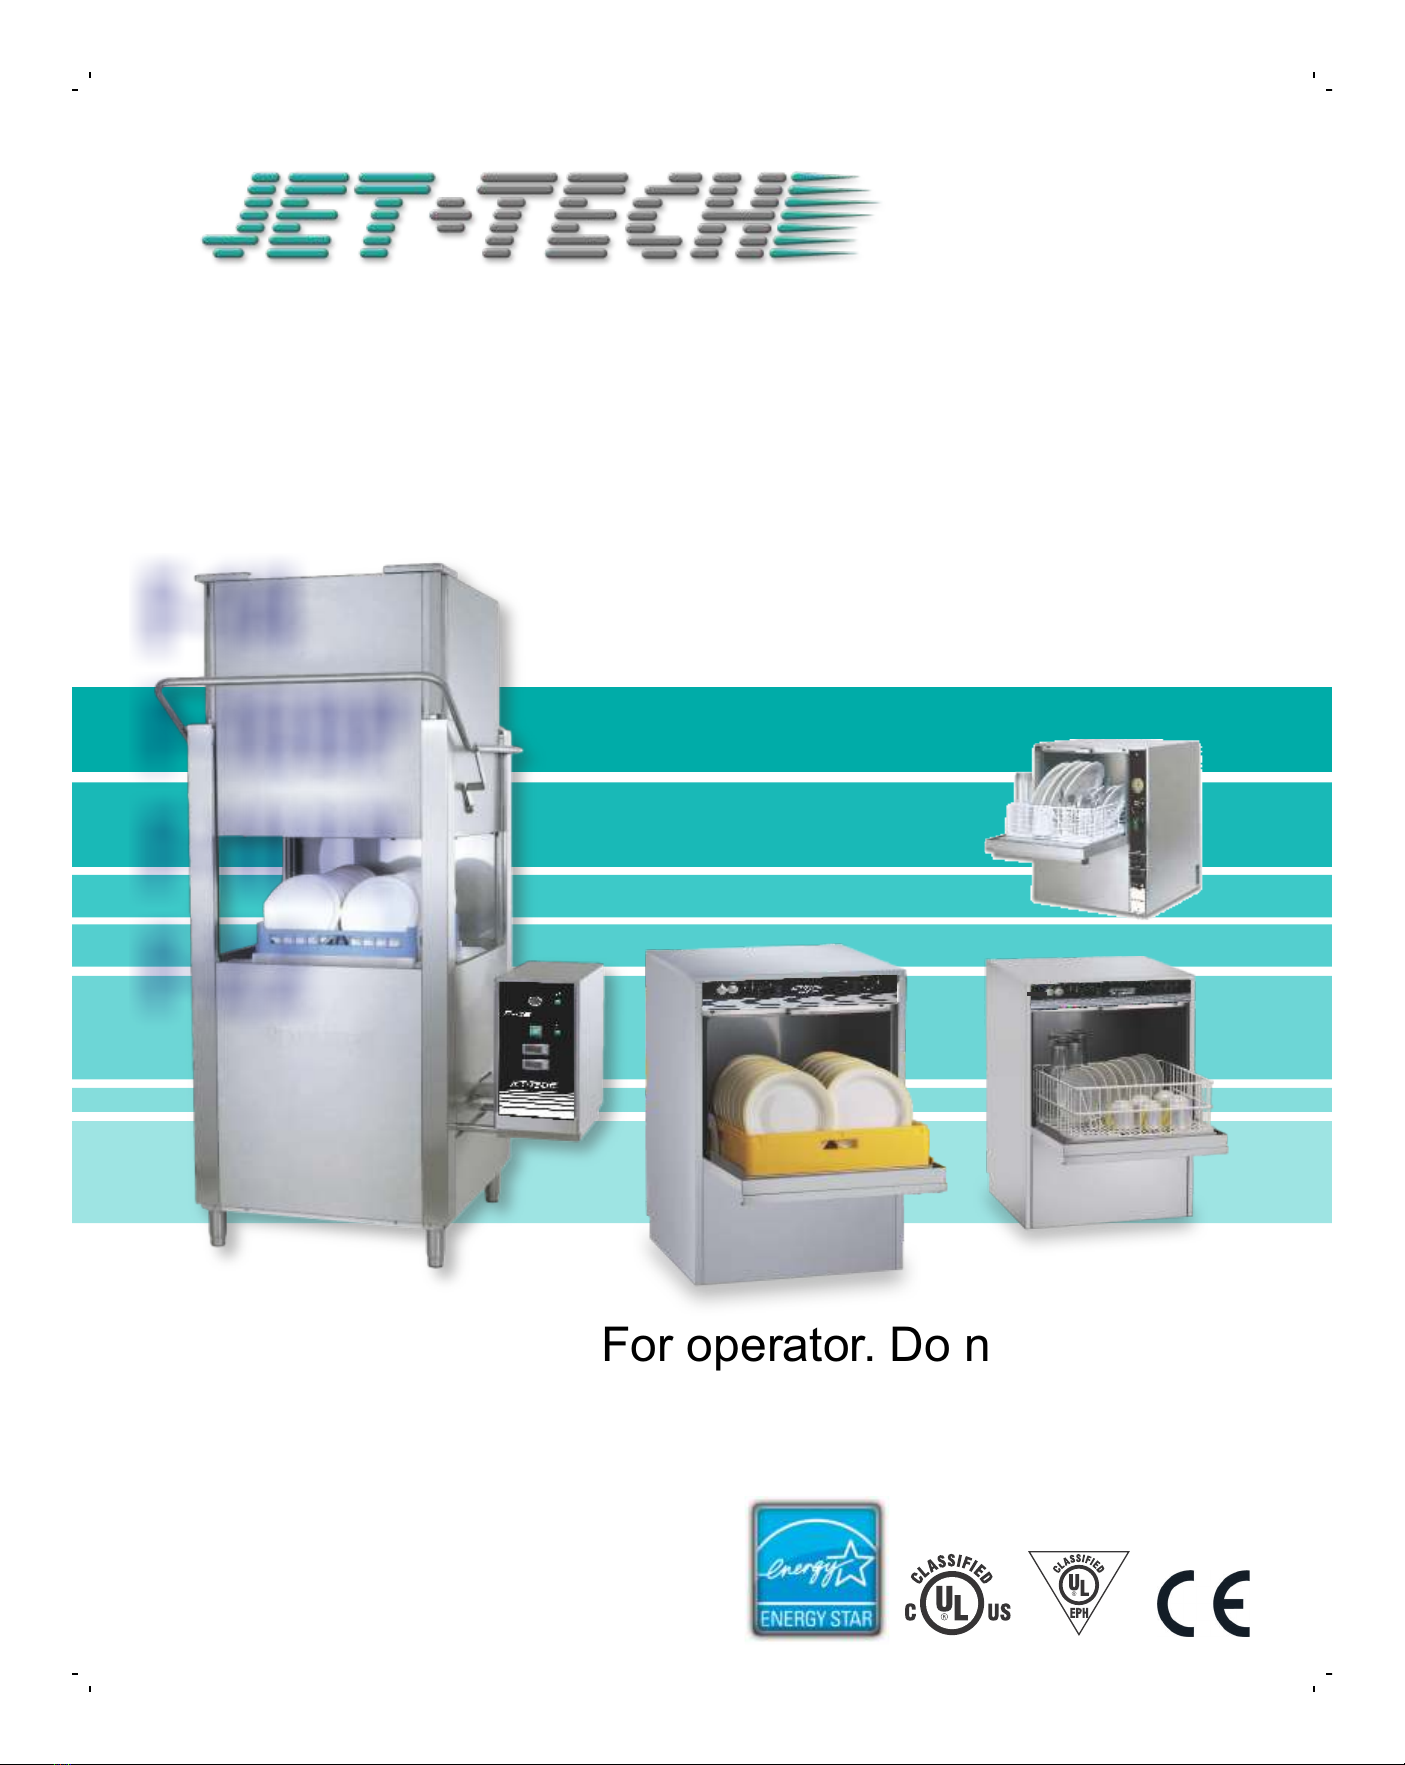
DISHWASHER MANUAL
For operator. Do not discard.
2019 03
F-14
F-16DP
F-18DP
F-22
INSTALLATION AND MAINTENANCE
JET TECH DISHWASHER OPERATOR MANUAL 2018 english only
1 mars 2019 07:06:50

2
Welcome to JET TECH
“Creating endless possibilities!”
This manual was created specifically for you, the end-user.
We have included information to resolving some problems. General information pertaining to our hi-temp ware
washers will be covered in this section. Specific information on our current models is available upon request,
model by model.
If you find any discrepancy or can't find certain information, please contact us. We will be glad to be of
assistance.
--
JET TECH DISHWASHER OPERATOR MANUAL 2018 english only
1 mars 2019 07:06:50
3560 NW 56th St.
Fort Lauderdale, FL 33309 USA
Telephone: (786) 600-4687
Toll Free Telephone: 1-844-218-8477
Fax: (786) 661-4100
Email: [email protected]
5659 Royalmount Ave.
Montreal, QC H4P2P9 CANADA
Telephone: (514) 737-9701
Toll Free Telephone: 1-888-275-4538
Fax: (514) 342-3854
For service call 1-888-275-4538

3
Manufacture’s Warranty......................page 4
Technical Data.....................................page 5
Instal lation Guidelines......... .................pa ge 6
Remo vin g Pan els.... .... ....... .... ....... .... ...p age 7
Electrical...............................................page 9
Water Supply........................................page 11
Drain Connection..................................page 12
Chemical Pumps...................................page 13
Basic Steps To Start.............................page 14
Trouble Shooting...................................page 15
Maintenance ..............................................page 17
Contact Information...............................page 18
ENGLISH
JET TECH DISHWASHER OPERATOR MANUAL 2018 english only
1 mars 2019 07:06:51

4
ENGLISH
MANUFACTURERS LIMITED WARRANTY
THIS WARRANTY COVERS THE FOLLOWING MODELS:
F-14, F-16DP, F-18DP, F-22, 727E, 737E, 747HH, 757E, 777, 787
MVP Group (JET TECH) hereby warrants all new ware-washers bearing the name “JET TECH” and
installed within the continental united states of America or Canada to be free from defects in material
or workmanship, under normal and regular usage and operation, for a period of one (1) year
following the date of original installation, (unless specified otherwise) but in no event can exceed
eighteen (18) months from the date of shipment from the factory.
If a defect in material(s) or workmanship is detected; or found to exist within the stated period above,
MVP Group at its sole discretion, shall either repair or replace any part which has proven to fail within
the machine; providing that the equipment has not been altered or tampered with in any manner, has
been installed correctly as per the owner’s manual, and maintained and operated in complete
accordance with this manual.
The labor cost to repair or replace any part proven to be defective, as per above clause(s), shall be
covered by MVP Group, within the continental United States of America or Canada; provided that:
prior authorization for this labor was approved by MVP Group, the service work was performed by an
authorized service agency; and that this agency installed an original and genuine JET TECH part in
the machine. Any repair work performed by a non-authorized service company remains the sole
responsibility of the user, and MVP Group will not be held responsible. The installation of any generic
part will not be valid; and therefore voids this warranty. All authorized labor coverage shall be limited
to regular hourly rates only. Any supplemental hourly rates or charges, such as weekends or
emergency premiums remain the responsibility of the user.
MVP Group hereby states that: warranty travel time shall be limited to, and without exception, a
round-trip total of two (2) hours or mileage up to a maximum of one hundred (100) miles round-trip.
Any charges exceeding those stated herein must have prior authorization by the factory.
Exceptions to above warranty are: (a) damages resulting from shipping, handling or abuse. (b)
Incorrect installation and/or connections. (c) Unauthorized adjustments or calibration of any
thermostats or timers. (d) Faults due to lack of regular maintenance or cleaning of any internal
part(s). (e) Replacement of any wearable items such as: curtains, or peristaltic squeeze tubing or
gaskets. (f) Excessive lime, mineral, alkali or hard water conditions and (g) poor results due to: use of
an incorrect type of detergent (for non-commercial type applications or chlorinated), and excessive
or inadequate water temperature or pressure conditions.
MVP Group states that there are no other warranties, expressed or implied, that are not set forth
herein, MVP Group shall assume no other responsibility, either direct or non-direct, or be liable for
any other or additional loss or damage whether being direct or consequential, as a result of its
equipment.
Exceptions: Model F-14 - 90 days labor & one year parts.
The manufacturer reserves the rights to alter design and specifications without notice.
JET TECH DISHWASHER OPERATOR MANUAL 2018 english only
1 mars 2019 07:06:51

5
Technical Data
JET-TECH – Technical Data
DESCRIPTION
F 14
F 16DP
F-18DP
F 22
voltage 120V 60 Hz 208-240V 60
Hz
208-240V 60
Hz
208-240V 60
Hz
Maximum absorption 1500 W 2770 W 4850 W 9950 W
Washing pump motor 100 W 370 W 750 W 930 W
Drain pump motor n/a 100 W 100 W n/a
Booster element 1400 W 2400 W 4000 W 9000 W
Tank element 1400 W 2000 W 2800 W 4000 W
Amp 13,5 12.9 23.5 47 (1ph)
27 (3ph)
HYDRAULICA DATA
Solenoid valve capacity 10 l/minute 10 /minute 10 l/minute 10 l/minute
Booster capacity 0.53 us gal
2.0 litres
0.79 us gal 3
litres
1.85 US
GAL
7 Litres
2.7 us gal
10.2 litres
Tank capacity 2.1 us gal
8 litres
3 us gal
11 litres
6.34 US
GAL 24 L
4.75 us gal
18 litres
Water consumption x cycle 0.5 us gal
2,9 litres
0.53 us gal
2 litres
0.74 US
GAL 2,8 L
1 us gal 3.8
litres
Water pressure 30 +/- PSI
2.07 BAR
30 +/- PSI
2.07 BAR
30 +/- PSI
2.07 BAR
30 +/- PSI
2.07 bar
Water connection ¾” ¾” ¾” ¾”
Water drain 1.1 inches
28 mm
1.1inch
28 mm
1.1inch
28 mm
1.5 inches
38 mm
DIMENSIONS
High 23.825
inches
605 mm
29.75 inches
755 mm
33 inches
840 mm
81 inches
2060 mm
Length 19.75 inches
500 mm
20.25 inches
514 mm
23.62 inches
600 mm
39.25inches
996 mm
Deep 19.75 inches
500 mm
20.25 inches
514 mm
23.62 inches
600
30 inches
736 mm
Weight 72.5 lbs 33
Kg.
116 lbs
53 Kg.
150 lbs
68 Kg.
342 lbs
155 Kg.
JET TECH DISHWASHER OPERATOR MANUAL 2018 english only
1 mars 2019 07:06:52

6
Installation Guidelines
This commercial dishwashing machine must be installed by licensed technicians. All utilities
must comply with local codes. If you need a list of qualified technicians, please call our
office.
It is important to carefully unpack the machine and inspect as soon as it is received. Any
damage must be reported immediately. All packing material should be well
discarded. The plastic protective sheets covering the stainless must be removed.
Do not use the wood pallet on which the unit was shipped as a stand. Taller legs and
metal stands are available.
The unit must be installed on a hard, level surface or allow for easy levelling of the
unit. Enough room should be allowed around the unit to allow for servicing. The units come equipped
with hoses, ready to connect and install. The electrical wire (except for the F-14) needs to be supplied
by the electrician and will be “hard-wired” on a dedicated circuit.
Some models are equipped with automatic drain pump.
The dishwasher must be installed on a non-combustible surface. Installation on hard-wood
floor is forbidden.
All Panels must remain on the equipment when the installation is finished.
The unit can become very hot. Keep away from children.
Using this unit will cause a small amount of water to spill on the floor when the basket is
removed from the wash cabinet, making the floor slippery. The floor near the unit should have
a non-slippery surface, or anti-skid.
A floor drain near the unit is recommended.
This instruction Manual must remain with the operator. The operator must read this manual.
This unit must be registered upon installation for the warranty. MVP Group will send a technician
(some condition applies) free of charge to verify the unit and the installation.
JET TECH DISHWASHER OPERATOR MANUAL 2018 english only
1 mars 2019 07:06:52

7
Removing Panels
In order to get access to some of the component for the installation, some of the panels need
to be removed from the machine. It is important to pay attention on the assembly aspect of
the machine. The panels must be replaced exactly once the job is completed.
IMPORTANT NOTE: IF THE MACHINE IS ALREADY CONNECTED TO POWER OR
WATER, make sure that both the power and the water is shut off before the panels are
removed.
F-16DP
Only the front bottom panel needs to be removed to access
the chemical pumps. Should it be necessary to access the
inside of the machine, the panels should be removed in a
specific sequence.
1) using a phillips screw driver, remove the two screws
located at the back of the top panel (A).
2) Once removed, the panel should slide towards the back
and pull up.
3) the rear panel is held by two phillips screws, one on either
side (B).
4) the panel must be lifted up and pull away.
F-14
On the F-14, the rear panel can removed by taken
out the six phillips screws(A). The front panel can
be removed by prying it out. Insert a flat tool on the
edge of the panel and pry out.
A
A
B
JET TECH DISHWASHER OPERATOR MANUAL 2018 english only
1 mars 2019 07:06:52

8
Removing Panels
cont.
F-18DP
A)The front bottom panel needs to be removed
to access the chemical pumps.
To connect the electrical wire it will be
necessary to access the inside of the machine.
The panels should be removed in a specific
sequence.
1) using a phillips screw driver, remove the two
screws located at the back of the top panel.
2) Once removed, the panel should slide
towards the back and pulled up.
3) the rear panel is held by three phillips
screws, at the bottom of the panel.
4) the panel must be lifted up and pull away.
1
2
3
A
F-22
A)The front bottom panel needs to be removed
to access the chemical pumps.
To connect the electrical wire it will be
necessary to access the inside of the machine.
The connection is made in the control panel
situated on the right side of the machine. four
(4) phillips screws need to be removed to
access it. The panel will slide as a drawer (B).
Pull gently on the bottom edge of the panel.
The drawer should extend about 20 centimeter
(8 inches).
A
B
JET TECH DISHWASHER OPERATOR MANUAL 2018 english only
1 mars 2019 07:06:52

9
ELECTRICAL
- Referring to the local electrical code, wires must be large enough to carry the electrical load used by the dishwasher. The
electrical breaker must be large enough to protect those wires. Normally the breaker size or fuse size should
not exceed %110 of total current load (ex.: 23 amps requires max fuse size of 25 amps).
- All units must be grounded.
- Except for the F14(110 volts), all the high-temp dishwashers do NOT require a neutral.
- For tri-phase model, three live wire are required and the rotation of the pump(s) must be verified.
-Only a licensed electrician can make sure the unit is installed with the proper set-up, according to local codes.
F-14
F-16DP
F-18DP
120 volts, 60hz, 13.5 amps
(power cord with NEMA 5-20 plug included)
The Outlet (5-20) should be a maximum of 4 feet (1,2 m) from the
machine on a dedicated circuit.
208 to 240 volts, single phase (no neutral) 60hz,
12.9 amps. The terminal block connector is
located behind the unit next to the water inlet
valve and the drain connection
L1
L2
G
208 to 240 volts, single phase (no neutral) 60hz,
23.5 amps. The electrical terminal block is located
inside the unit, in the back, on the right side
(viewed from the front), behind the rear panel.
Both top and rear panels must be removed.
Gnd
L1
L2
JET TECH DISHWASHER OPERATOR MANUAL 2018 english only
1 mars 2019 07:06:52

10
F-22
208 to 240 volts, single or three phase (no neutral)
, 60 hz. The model on three phase can not be
connected or converted to single phase. The
electrical connection is made on the terminal block
located in the control panel, to the right of the
machine.
To connect a wire in the electrical block, a small
flat screw-driver will be inserted in the square hole.
With the screw-driver, you will push down the
internal tab, allowing to insert the bare portion of
the wire‚. Once the wire inserted, ƒyou will pull
out the screw-driver. To make sure the wire is
inserted properly, you will pull gently on the wire.
ELECTRICAL (Cont.)
G
L1
L2
G L1 L2 L3
F-22 1
F-22 3
IMPORTANT!
Verify motor rotation on 3 phase unit.
JET TECH DISHWASHER OPERATOR MANUAL 2018 english only
1 mars 2019 07:06:53
Ce manuel convient aux modèles suivants
3
Table des matières
Autres manuels Jet-tech Lave-vaisselle

Jet-tech
Jet-tech 757E Manuel utilisateur

Jet-tech
Jet-tech 737E Manuel utilisateur

Jet-tech
Jet-tech X-35C Manuel utilisateur

Jet-tech
Jet-tech X-33 Manuel utilisateur

Jet-tech
Jet-tech X-32 Manuel utilisateur

Jet-tech
Jet-tech 737E Manuel utilisateur

Jet-tech
Jet-tech EV18 Instructions d'installation et d'utilisation

Jet-tech
Jet-tech XG-37 Manuel utilisateur

Jet-tech
Jet-tech X-33 Manuel utilisateur

Jet-tech
Jet-tech X-32 Manuel utilisateur


