JessEm Pocket Mill Pro Manuel utilisateur

'HVEULVD\$YH
0RQFWRQ1HZ%UXQVZLFN&DQDGD
((*
7ROO)UHH
Email: [email protected]
:HEVLWHwww.jessem.com
32&.(7
0,//352
Model # 08250
TM
*Please refer to this manual if you have the angle or after you have set
up your workstation

Thank you for choosing this product from
JessEm Tool Company. We appreciate your
support and hope that our product serves
you well. This product is designed to provide
many years of reliable service provided it is
used as intended and taken care of.
This user manual will assist you in assembly
and general operation of this product. It is
not our intent to teach you about
woodworking. It is assumed that you are an
experienced woodworker with the basic skills
and experience necessary to use this product
safely. If after reading the following
instructions, if you are unsure or
uncomfortable about safely using this
product we urge you to seek additional
information through widely available
woodworking books or classes.
As part of our Continuous Product
Improvement Policy, JessEm products are
always advancing in design and function.
Therefore there may be differences
between what is shown in our catalogs,
website or at retail display and what is sold
at time of purchase. We reserve the right to
make positive changes to our products at
our discretion.
$'',7,21$/5(&200(1'('
722/6$1'$&&(6625,(6
µ+DQG'ULOO&RUGHGRU&RUGOHVV
5300LQ
9DFXXPVXFKDV6KRS9DF
%HQFK9LVHIRUKROGLQJMLJDQGZRUNSLHFH
,03257$17
:$51,1*7+,6352'8&7,6)2586(
:,7+$+$1''5,//21/<
:$51,1*'2127$77(0377286(7+(
0257,6((1'0,//RUDQ\GULOOELW,1$1<
7<3(2)5287(5'(9,&($66(5,286
,1-85<0$<2&&&85
5($'$'',7,21$/:$51,1*6213$*(
%()25(86,1*7+,6352'8&7
,03257$17
5HDGDQGXQGHUVWDQGWKHFRQWHQWVRI
WKLVPDQXDOEHIRUHDVVHPEO\RU
RSHUDWLRQRIWKLVSURGXFW
2

Before operating any machinery or power
tool, read and understand all safety
instructions in the owner’s manual for the
tool or machine.
If you do not have a manual, contact the
manufacturer and obtain one before using
any tool or machine.
Always wear eye protection in compliance
with ANSI safety standards when operating
any power tools or machinery.
Always use proper guards and safety devices
when operating power tools and machinery.
Carefully check drill bits before each use. Do
not use if damage or defect is suspected.
Do not exceed the recommended RPM for
any drill bit.
Do not wear loose clothing or jewelry that
may catch on tools, machinery or equipment.
Unplug the tool or machine when mounting
or making any adjustments to mechanical
performance.
29(59,(:2)7+(32&.(70,//352
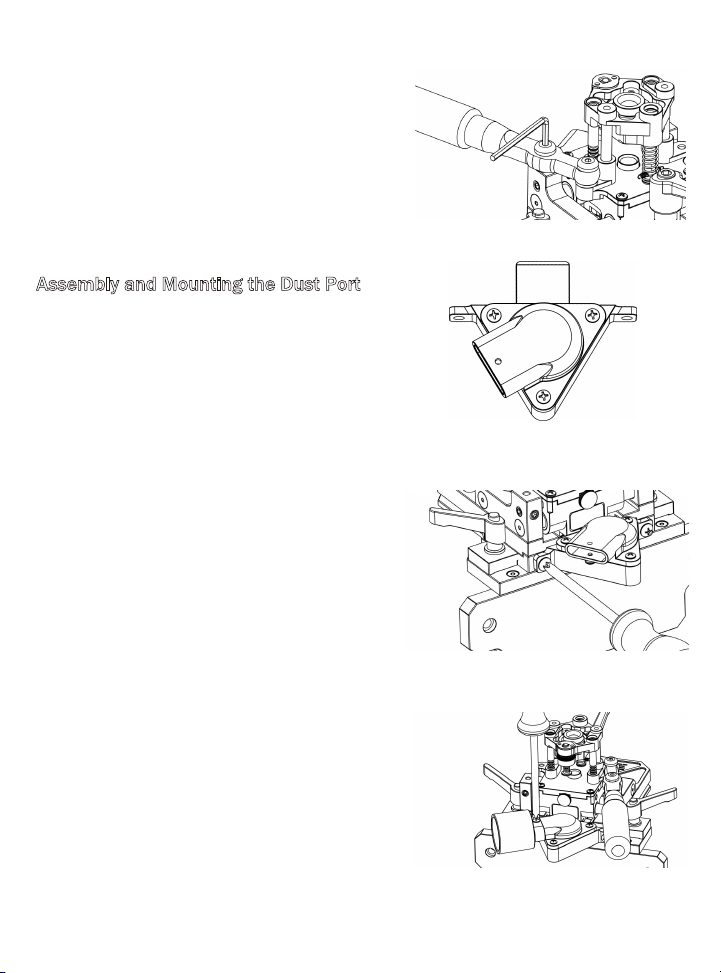
7KH3RFNHW0LOO3UR/RRVH7HQRQ-LJLVD
XQLTXHMRLQHU\V\VWHPGHVLJQHGWRFXW
PRUWLVHVLQZRRGIRUWKHSXUSRVHRIORRVH
WHQRQMRLQHU\7KHSDWHQWSHQGLQJVWHSGRZQ
GHVLJQDOORZVWKHXVHUWRFXWDSHUIHFW
PRUWLVHXVLQJRQO\DKDQGGULOODQGWKH
3RFNHW0LOO3UR7KLVSURGXFWRIIHUVDPHDQs
RIDFFXUDWHO\SRVLWLRQLQJPRUWLVHVLQWZR
ZRUNSLHFHVWKDWFDQWKHQEHMRLQHGZLWKD
ORRVHWHQRQ
7KH0RGHOFRPHVZLWKDPP
&DUELGH(QGPLOODWWDFKHGWRDVWDLQOHVVVWHHO
GULOOH[WHQVLRQDQGVWRSFROODU
,03257$176$)(7<35(&$87,216
:$51,1*'2127$77(0377286(7+(
0257,6('5,//%,7RUDQ\GULOOELW,1$1<
7<3(2)5287(5'(9,&($66(5,286,1-85<
0$<2&&&85
'ULOOELWVDUHQRWGHVLJQHGIRUWKHKLJK530
RXWSXWRID5RXWHUDQGFRXOGFDXVHWKHGULOOELW
WREHQGDQGEUHDNDQGFDXVHVHULRXVERGLO\
LQMXU\7KHPRUWLVHGULOOELWVDUHIRUXVHLQD
KDQGGULOORQO\
'212786($5287(52)$1<7<3(:,7+
7+,6352'8&77KLVSURGXFW·VJXLGHEXVKLQJ
DQGEHDULQJVDUHQRWGHVLJQHGIRUWKHKLJK
530RXWSXWRIDQ\SRZHUURXWHUGHYLFH
(1) - ” hex key
(1) - PP&DUELGH(QGPLOODQG'ULOO
([WHQVLRQ
(1) 6top collar w/set screw
CONTENTS OF PARTS BAG
3
WARNING: This product can expose you to
chemicals, including chromium which is known to the
State of California to cause cancer and birth defects or
other reproductive harm. For more information go to
www.P65Warnings.ca.gov
WARNING: Drilling, sawing, sanding or machining
wood products can expose you to wood dust, a sub-
stance known to the State of California to cause
cancer. Avoid inhaling wood dust or use a dust mask or
other safeguards for personal protection.
www.P65Warnings.ca.gov/wood

6(77,1*837+(32&.(70,//352 ON THE ANGLE
),*
),*
4
),*
Take (1) Clamping Block3DUW,
(1)1/4"Stainless Washer 3DUW
and (1)SmallAdjustable knob3DUW
and SODFHWKHPoverthe
Clamping Bolt. Repeat thisstep forthe
opposite side.6HH)LJXUH
To mount the Pocket Mill Pro to the
angle, loosen the two Vmall DGMXVWDEOH
NQREV3DUWon either side of the
angle and line upeachFODPSLQJ block
3DUW on either side of the
mounting plate. Slide the Pocket Mill
Pro onto the slots on the angle shown
in Figure 2. Tighten down the locking
handles.
** These handles are adjustable
locking knobs. To reset or adjust, lift
the handle up and rotate it until they
lock into place.
$77$&+,1*7+(+$1'/(/,1.$*(
.7RPRXQWWKHKDQGOHFKRRVHZKLFK
VLGH\RXSUHIHUWRXVHWKH3RFNHW0LOO
3URRSSRVLWHWKH KDQG\RX XVHyour
GULOOZLWKStart by puttingthe (2) 1/4"
washers3DUW followed by the
handle3DUW and (2) [
Stainless Steel SKRXOGHU%ROWV3DUW
.(See Figure 3.)

5
),*
Using the 1/8" Hex Key tighten the
6KRXOGHU%ROWV.
$VVHPEO\DQG0RXQWLQJWKH'XVW3RUW
$IWHUFKRRVLQJ which side your
handlewill be attached onto the
PocketMill Pro position the dust
port3DUWfacing the opposite
direction.
Attach the bottom and top
portion of the Dust port using (3) #8
-16 x ½” PRH Threaded Screws
3DUWmaking sure the dust
chute isfacing the opposite way
than yourhandle
3. Once assembled, use (2)
10-32 x 3/8” Pan Head MS to
mount the dust port to the
mounting plate&KRRVHwhich
vacuum SRUW you ZLOOQHHG,QFOXGHG
LV D 35mm 3DUWor D1-3/8”
connector3DUW andattach it to
the dust port using (2)#6 x 3/16
PRH Threaded Screws3DUW
),*
),*
),*

Setting your Work Piece with the Pocket Mill Angle
%HJLQ by scribingDFHQWHUOLQHRQ\RXU
work piece7KLVZLOOLQGLFDWHwhere your
mortise(s) willEHSRVLWLRQHG.**Once you
set your PocketMill Pro,continuous cuts
will be the sameuntil youre-adjust the
PRXQWLQJSODWH.6HH)LJXUH
Once you have your center location,
clamp your material down in avice or hROGLW
LQ place using clamps.6HH)LJXUH
Loosen the adjustable locking
handles and adjust your SODWH until the
center line is lined up with the lines that are
laser engraved on our referencing window.
6HH)LJXUH
/ock both of the adjustable locking
handleson each side of the Pocket Mill Pro.
6HH)LJXUH
5. Slide the shaft mount base forward,
covering the referencing window and lock
the large adjustable locking handle in place
** 127(60DNHVXUHWRORFNWKHVKDIW
PRXQWEDVH3DUWDOOWKHZD\IRUZDUG
WRDYRLGGULOOLQJWKHPRXQWLQJSODWH
The location for your mortise will no longer
be visible but it will be directly below where
your Endmill Drill extension enters.
6
),*
),*
),*
),*

7
SETTING THE STOP COLLAR
Always be sure to set your stop collar to the
top line of the drill extension and secure the
set screw with the 1/8" Hex Key provided.
Setting the stop collar to this line, ensures
maximum depth of your cut.
** 127(Make sure you return it back to the starting position after your project and
before you begin your next project to avoid a depth issue
Original Position Depth Stop Lowered
),*
** 127(Be sure to check your endmill and setWLQJV before beginning another project to
make sure you do not cut tRo deep or not enough
ADJUSTING THE DEPTH STOP
The Pocket Mill Pro plunges into your material up to 0.8267 or 21mm however
if you do not want to go that deep, you can lower the built in depth stop by
turning the brass dial3DUW. Each revolution is 1mm or 0.039 inches.6HH)LJXUH
),* ),*
End Mill Size Cut Depth in MM
5 MM 17 mm
6 MM 21 mm
8 MM 27 mm
10 MM
Cut Depth in Inches
0.668"
0.825"
1.061"
1.061" 27 mm
1/4" .750" 19.05 mm
3/8" 1.00" 25.4 mm

8
MILLING THE MORTISE
With one hand holding the drill,
insert the drill extension down through
the upper bearing and into the lower
bushing and place your other hand on
the handle.6HH)LJXUH
As you pull the trigger on the drill
begin moving the KDQGOH from side to
side. As you apply pressure and slide
the handle from one side to the other
the plunger pin on either side of the
carriage engages and drops the Pocket
Mill Pro down 0.050 thousandths of an
inch. Continue this VLGHWRVLGHprocess
until youUHDFK\RXUGHSWK
2QFH\RXKDYHUHPRYHG\RXU
HQGPLOOSXVKWKHFDUULDJHUHWXUQ
SOXQJHUEXWWRQDQGWKH3RFNHW0LOO3UR
UHWXUQVWRLWVRULJLQDOSRVLWLRQ6HH
)LJXUH
/RRVHQWKHODUJHDGMXVWPHQWNQRE
DQGVOLGHWKHPRXQWLQJSODWHEDFN
UHYHDOLQJ\RXUPRUWLVH6HH)LJXUH
/RRVHQ\RXUFODPSRUYLVHDQGVOLGH
\RXUPDWHULDOLQWRLWVQH[WSRVLWLRQDQG
UHSHDWWKHVWHSVDERYHRUremove your
workpiece and DWWDFK\RXU work SLHFHV
WRJHWKHU
** 127(Should you have a set depth you would like to achieve, revert back to
Adjusting the Depth Stop in this manual.
),*
),*
),*
),*
),*

Due to the variables in aligning the
position of the mortises it will be necessary
to make test cuts and check for the
desired fit of the tenons in the mortise.
Small adjustments to the tightness of the
mortise can be made with the width
adjustment screws3DUWUse the
1/8" hex key provided and adjust each
side equally on the Pocket Mill Pro until
your desired sizeLVDFKLHYHG6HH)LJXUH
127( $OZD\V UHPHPEHU WR UHVHW
WKH ZLGWK DGMXVWPHQW VFUHZV IRU \RXU
QH[WSURMHFW
Once the correct positioning is determined,
repeatable accuracy is easy to achieve
with the Pocket Mill Pro.
9
),*
),*
),*
CHECKING THE TENON FIT AND ALIGNMENT

10
1
2
3
4
5
6
7
8
9
10
11
12
13
14
15
16
17
18
19 20 21
22
23 24 25
26
27
28
Pocket Mill Dust Port
Pocket Mill Pro Lower Assembly
1
2
5
3
4
6
7
Item #
Item
Quantity
1
No. 8 x 1/2" thread forming screw
3
2
Upper vacuum port body
1
3
Lower vacuum port body
1
4
No. 6 x 3/16" thread forming screw
2
5
1.25" Vacuum port
1
6
2" Vacuum port
1
7
No. 10 x 3/8" button head screw
2
Ce manuel convient aux modèles suivants
1
Table des matières
Langues :
Autres manuels JessEm Outils


