InvizBox Go Manuel utilisateur

InvizBox Go
User Manual
Author: Vincent Riou
Version: 4.0.11
Copyright: InvizBox Ltd 2019


Contents
1 Device Description 5
1.1 Start/Stop Button 5
1.2 Charging the InvizBox Go 5
1.3 Using the InvizBox Go as a charger 5
1.4 Wi-Fi LED display 6
2 First Connection to the InvizBox Go 6
2.1 Starting the InvizBox Go 6
2.2 Connecting to the InvizBox Go 6
2.3 Accessing the InvizBox Go interface 6
3 Installation Wizard 7
3.1 Welcome Page 7
3.2 Choose Network Page 8
3.3 Wizard Complete Page 10
4 Using the InvizBox Go (Basic Mode) 11
4.1 Authorization Required (Login Page) 11
4.2 Basic Mode Menu 12
4.3 Status Page 13
4.4 VPN Location Page 15
4.5 Privacy Mode Page 16
4.6 Hotspot Page 17
4.7 Account Details Page 19
4.8 Logout Link 20
4.9 Expert Mode Link 20
5 Expert Mode 21
5.1 Expert Mode Menu 21
5.2 Tor Configuration Page 22
5.2.1 Tor Status 22
5.2.2 Bridge Configuration 22
5.2.3 Proxy Configuration 22
5.2.4 Country Options 22
5.3 Tor Advanced Page 22
5.4 System Page 22
5.5 Administration Page 22
5.6 Backup / Flash Firmware Page 23
5.7 System Log Page 23
Section Page 3

5.8 Kernel Log Page 23
5.9 Update Log Page 23
5.10 Reboot Page 23
5.11 Adblock Page 23
5.12 Wireless Page 23
5.13 Diagnostics Page 23
5.14 Realtime Graphs Section 23
5.15 Basic Mode Link 23
6 Networking Management 24
6.1 Supported Networks and Encryptions 24
6.2 Storing and Reconnecting to Networks 24
7 Troubleshooting/Support 24
Page 4 Section

1 Device Description
This section will give you an overview of the InvizBox Go device.
1.1 Start/Stop Button
The start/stop button is in fact the logo on the top part of the casing. In order to press that button, just
press the logo on the casing until you feel the button being pressed underneath (this gets easier with a bit
of practice). In order to know if you've successfully pressed that button, keep an eye on the battery lights
which will come on (or off).
1.2 Charging the InvizBox Go
One side of the InvizBox Go is dedicated to the battery and charging. On that side of the casing, you can
find:
• a micro USB port which you can use to charge your InvizBox Go
• a battery shaped LED display to let you know the battery state
1.3 Using the InvizBox Go as a charger
On the other side of the InvizBox Go casing you can find a USB port. This port is used when you're using
your InvizBox Go as a charger.
Just plug your usual devices to this port to charge them.
Section 1 Device Description Page 5

1.4 Wi-Fi LED display
Also on the non charging side, you can find a Wi-Fi shaped LED display. The purpose of this display is to
keep you informed on the networking state of the InvizBox Go.
2 First Connection to the InvizBox Go
2.1 Starting the InvizBox Go
In order to start your InvizBox Go (or stop), you need to press the top part of the casing where the InvizBox
Logo is. Under the case, there is a button which once pressed will start your device.
Within a couple of seconds after having pressed that button (keep it pressed for about 2s), the Wi-Fi LED
will be green, indicating that the device is booting.
That light will then switch off until the device can determine in which state its networking is. For example,
until the setup is complete, that light will be red (indicating that the InvizBox Go is not connected to any
network).
2.2 Connecting to the InvizBox Go
In order to connect to the InvizBox Go, you will need to identify the Wi-Fi hotspot that it is running and
connect to it. Initially, that network will be called "InvizBoxGo".
Just connect your phone or computer to that network as you would normally connect to any Wi-Fi network.
2.3 Accessing the InvizBox Go interface
Now that you are connected to your InvizBox Go, you need to access the Administration Interface.
•Some operating systems automatically identify that the hotspot requires a setup and will give you a
link to the setup page automatically. If this is the case, don't hesitate to use that link.
• On most devices, you will need to open your favourite browser and go to http://inviz.box
•Some devices are unable to access that URL, if it is the case for you, you will then need to go to
http://10.153.146.1
At any stage, you can access the InvizBox Go administration interface using http://inviz.box
(http://10.153.146.1 for some of you). And therefore, I would recommend that you bookmark that page as
you will need to access it when you want to change network or VPN Location in the future.
Now that you have accessed your device Administration Interface, you are ready to go through the
Installation Wizard as described in the next section.
Page 6 Section 1.4 Wi-Fi LED display
3 Installation Wizard
This section will help you complete the Installation Wizard which is a once off process on your InvizBox
Go.
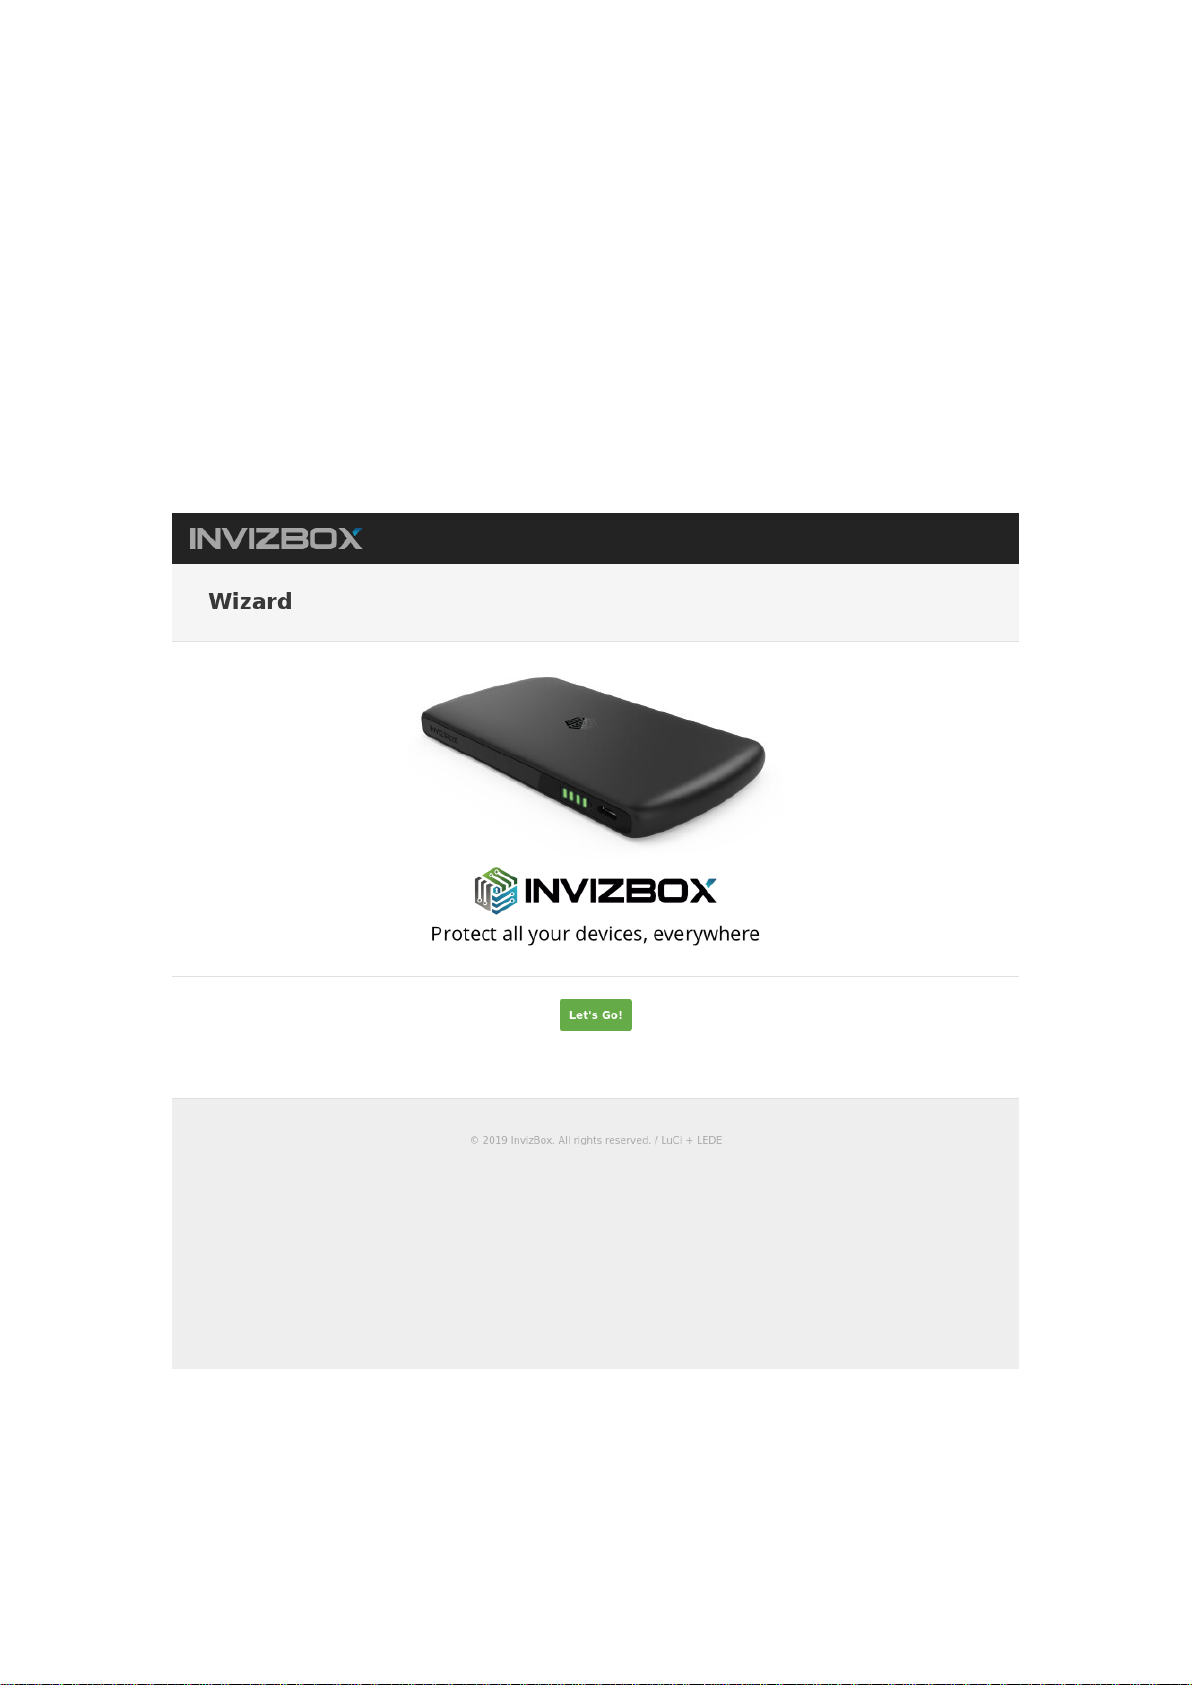
3.1 Welcome Page
In this page, you just have to click on the "Let's Go" button to proceed with the rest of the wizard.
Note that when clicking "Let's Go" on this page, you have accepted the Acceptable Use Policy (box cannot
be unticked since if you're not willing to accept that Agreement, you cannot go any further and should stop
using the device)
Section 3 Installation Wizard Page 7

3.2 Choose Network Page
In this page, you have to select a network to connect to.
The InvizBox Go will perform a scan of all networks available to you and list them in order of how strong
their signal is. It also adds information regarding the fact that these networks require a password or not.
There is a green refresh icon beside the networks which can be clicked to perform another scan for
networks if the network you're looking for is not in the list.
As the InvizBox Go scans for networks, your device may disconnect you. If this is the case, simply
reconnect to the InvizBox Go WiFi hotspot to continue.
After having selected your network of choice, you will be prompted to enter its password. No passwords
are required for "Open" networks.
You can also select "Connect to Hidden Network" and enter the name of the network to connect to a
hidden network.
Once you have chosen a network and (if necessary) entered the password for it, click Finish to go to the
final wizard page.
If you have entered in the wrong password on this page, then you will need to connect to the network
again once you have finished the wizard. This can be done by returning to the "Choose Network" page of
the Administration Interface in the InvizBox Go section of the menu.
Page 8 Section 3.2 Choose Network Page

Section 3.2 Choose Network Page Page 9

3.3 Wizard Complete Page
Congratulations, you have set up your device and are ready to access the Internet through a secure
router.
The next page you get to is the Status Page which if the main page of the Administration Interface and will
show you the main information related to your InvizBox.
Page 10 Section 3.3 Wizard Complete Page
Autres manuels pour Go
2
Table des matières
Autres manuels InvizBox Routeur réseau


Manuels Routeur réseau populaires d'autres marques


NETGEAR
NETGEAR FS526T - Switch Manuel utilisateur

Korenix
Korenix JetNet 5710G Series Manuel utilisateur

Automated Logic
Automated Logic ZN551 Manuel du propriétaire

Cisco
Cisco ASR 1000 Series Manuel de l'opérateur

EnGenius
EnGenius ESR-9710 Manuel utilisateur

Cisco
Cisco 805 Series Instructions d'utilisation et de sécurité