1
2
3
4
5
6
7
8
9
10
11
IMPORTANT
►Replace the Viton front plate O-ring at least
every 2 years or if damaged/ discoloured and
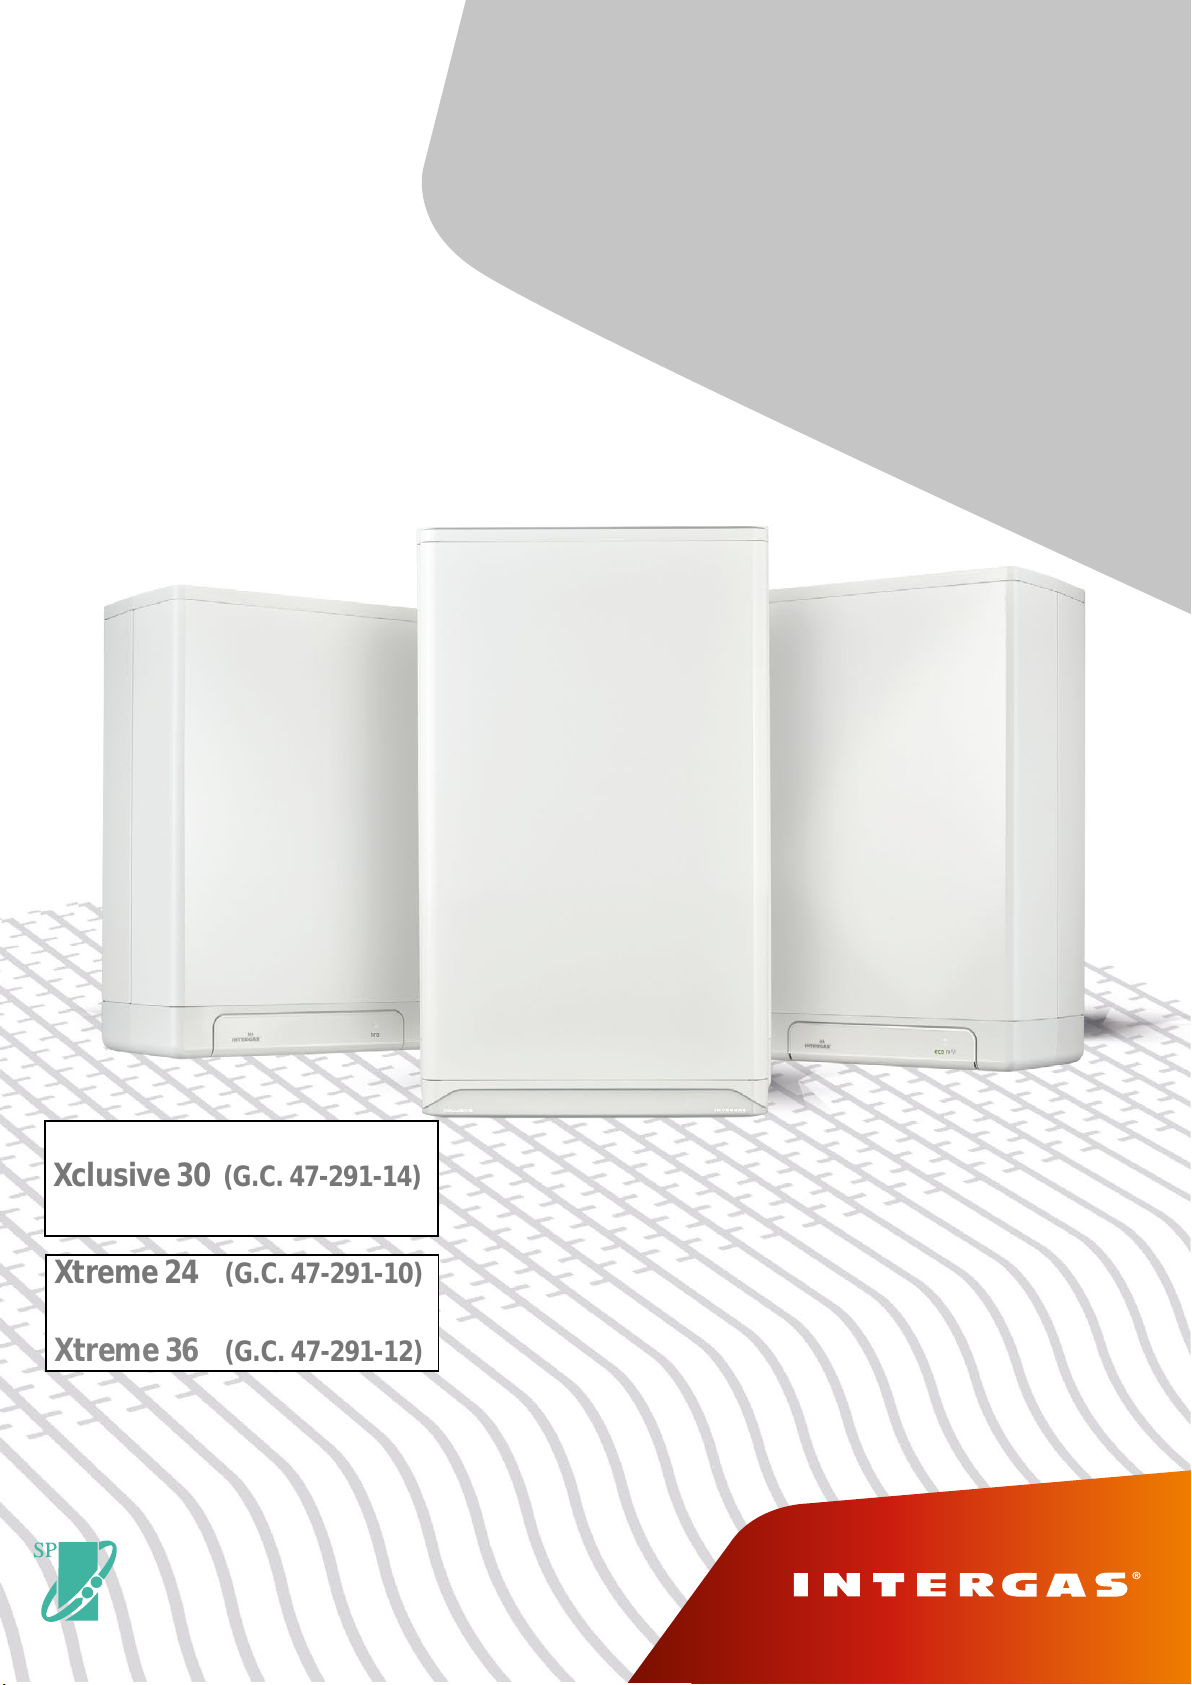
Art.no: (Black Viton) — Xtreme 24/30
(Black Viton) — Xtreme 36
►
Check and replace any other worn gaskets
(see page 11, 18 & 22) check they are
correctly located.
Annual service (B) (re-assemble)
A
►Check whether there is a thin layer of ceramic grease both
sides of the front plate where the shoulder bolts protrude
especially between the flange of the shoulder bolts and
the front plate. itself
►If there is insuicient grease present, extra must be applied
using the foam application tool (A) within the kit (ceramic
grease kit available to order, part number 9587).
►Ensure the Viton O-ring seal is pushed fully into the
O-ring chamber around the whole front plate.
Place the front panel back on the heat exchanger and
attach it with the 6mm Allen key shoulder bolts.
Tighten the shoulder bolts (1 to 11)* by hand, working
diagonally. The order of tightening is shown in the diagram.
►Fully tighten the Allen shoulder bolts with a torque wrench
set at 10-12 Nm when available to ensure uniformity.
►Check and tighten the burner bolts diagonally by hand.
►Replace the gas valve and when necessary replace the seals
►Reinstate the electrical connector to the gas valve and fan.
►Open the gas isolation valve and check both of the gas
unions for tightness.
►Check and repair any water leaks within the boiler.
►Turn the expansion vessel back to its original position. Make
sure the vessel is secured by the lip on the cable cover.
►Check a 3amp fuse is fitted before re-establishing the
power.
►Switch on the boiler.
►Check the front panel, the fan seal, fan connection to the
front panel, also check the flue components for leakage,
repair or replace as required.
►Check the gas/air control and also test the gas outlet
union on the gas valve for tightness.
►
Check the domestic hot water facility for correct operation.
* Do not overtighten
Clicking noise (expansion) during operation is normally due
to overtightening of the front panel bolts or lack of ceramic
grease.
Please check suicient ceramic grease has been applied and
the correct torque settings adhered to before calling the
Intergas service team.
086474
086504
10
►
►
IMPORTANT
Once the boiler has been serviced or
the front plate seal has been replaced
a seal integrity test must be completed
by operating the boiler in high fire 'H'
then using your calibrated E.F.G.A to
sweep around the entire outer edge of
the front plate.
Analyser readings should not be
above that of the ambient room or
compartment the boiler is sited within.
All red Silicon front plate seals must be
replaced, regardless of age with the below
or if the front plate has been removed.