1. Products Introduction
1.1 Packing Contents
Objects packed inside the box include one host and ten fittings as follows. Please charge the Li-ion battery for 6 to 8 hours for the first
time.
Name Qty Name Qty
Host of Portable
Microscope
1 Li-ion Battery 1
USB1.1Transmissio
n Line
1 User’s Guide 1
Adaptor 1 Installation CD 1
Protection Bag 1 Wrist Strap 1
Cleaning Cloth 1 Supporter 1
Calibrator 1
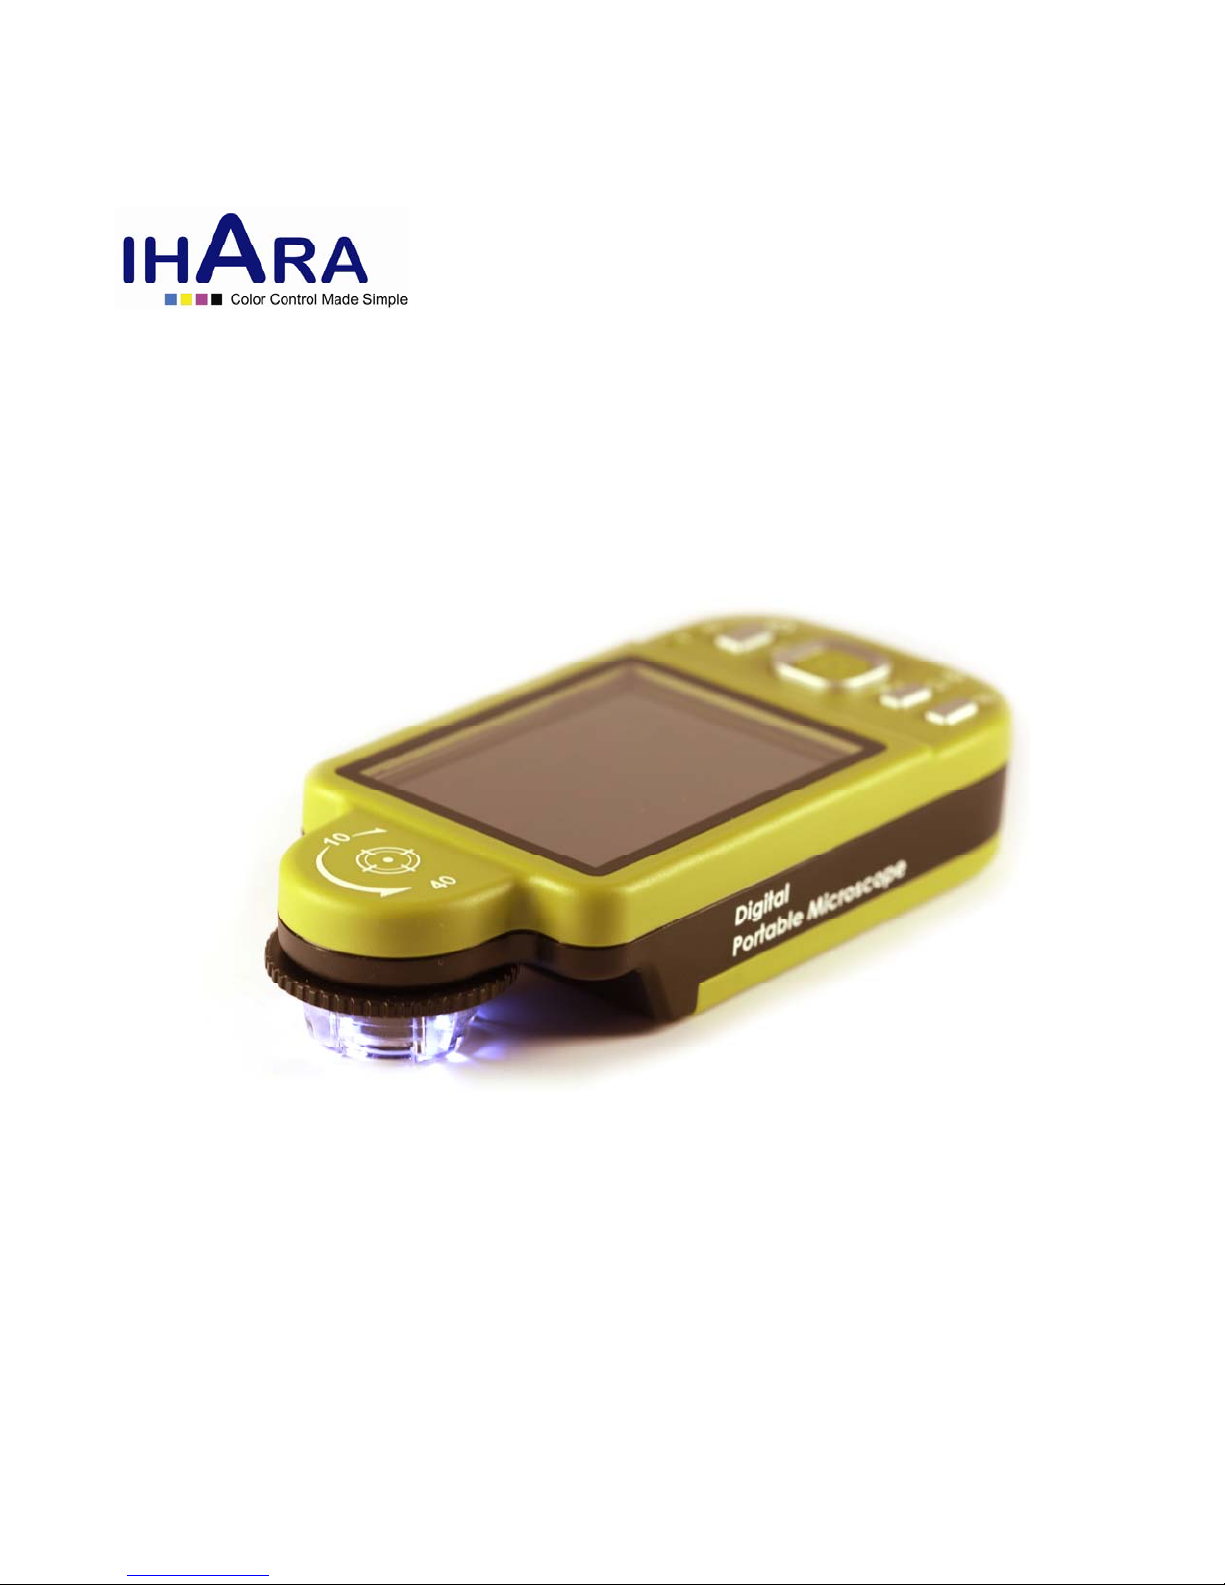
1.2 Functions of Microscope
Microscope appearance is composed of buttons, transmission and storage interfaces. For the functions of interfaces, please refer to the
following contents:
(1) Camera/Video REC : the button is applied to photograph in observing mode [please refer to item (1) of Section 1.4]. Press the button
for a long time to enter/quit Comparison mode. In the Video Play mode, it can open video files [please refer to item (2) of Section 1.4].
In Video REC mode [please refer to item (3) of Section 1.4], the button is used to start/stop recording video.
(2) Zoom Out : the button is applied to zoom out digital image [please refer to (F)and (G) of item (1) of Section 1.4].
(3) Zoom In : the button is applied to zoom in digital image.
(4) Charging Display Light : The red light is to show the charging status if it is on. The red light will turn off when the charging is
completed [please refer to (G) of item (1) of Section 1.4].
(5) Power Supply Display Light : a green light to show the machine is switched on.
(6) Power Supply : press the button for 3 seconds to switch on/off the machine
(7) Progressive-Brightness of Lights /: brightness can be adjusted at 8 levels [please refer to (D) of item (1) of Section 1.4]. In
observing mode, the button is used to increase brightness of illumination (auxiliary sources). In the video play mode the button is used
for stop playing video. In other modes, it is used for choosing ‘up’.
(8) Select ‘right ’ button: Press the button for 2 seconds to show Crossing Alignment in the center of the LCD Display. Or the button is
used to next sequent ‘right’ function.
(9) Diminishing-Brightness of Lights /: the button is used to decrease brightness of illumination. Press the button for 2 seconds to
switch to the Scene mode. [please refer to ( c ) of item (1) of Section 1.4]. Or the button is used to next sequent ‘down’ function.
(10) Select ‘left ’ button: Press the button for 2 seconds to show Alignment in Range in the center of the LCD Display. Or the button is
used to next sequent ‘left’ function.
(11) Confirmation Button : a switching button between special effects under observing mode and video recording mode. [please refer to
(C) of item (1) of Section 1.4].
(12) Function Menu /Delete : after entering observing mode, press the button to skip to the Function Menu. In the review “Album”
mode, press the button to delete photos. In the “Video Play” mode, it is used for delete the video.
(13) Preview Photos : Press the button to preview photos in observing mode, and back to previous level or exit image in other modes.
(14) Display Screen: To display image pictures.
(15) Wheel Focus: a button to adjust optical focus [please refer to item(1) of Section 1.3and (E) of item (1) of Section 1.4]. The indicator is
to select the times of magnification.