5
Setting Up the SNAP Pro Analyser
Note: The analyser should be placed on a level surface in a well-ventilated area away from
obvious sources of heat, direct sunlight, cold, humidity, or vibrations. For optimum results, room
temperature should be at 15°C–30°C (59°F–86°F) and relative humidity should be at 30%–85%.
To Set Up the SNAP Pro Analyser
IMPORTANT: If you are planning to wirelessly connect your analyser to an IDEXX VetLab*
Station, you must set up the IDEXX VetLab* wireless router and confirm the wireless
antenna is enabled on the IDEXX VetLab Station (Settings > Advanced > Edit > Wireless
Settings > Enabled) before completing the steps below. For more information about
setting up the IDEXX VetLab wireless router, read its accompanying documentation.
1. Open the battery compartment on the back of the SNAP
Pro* Analyser and then place two batteries (provided),
negative end first, into the compartment.
IMPORTANT: Do not switch on the SNAP Pro Analyser
until you have completed steps 2 and 3.
2. Connect the appropriate adapter for your region to the
power cord using these steps:
a. Remove the protective insert while sliding the
locking key towards the cord.
b. Insert the adapter top-side first and then snap into place.
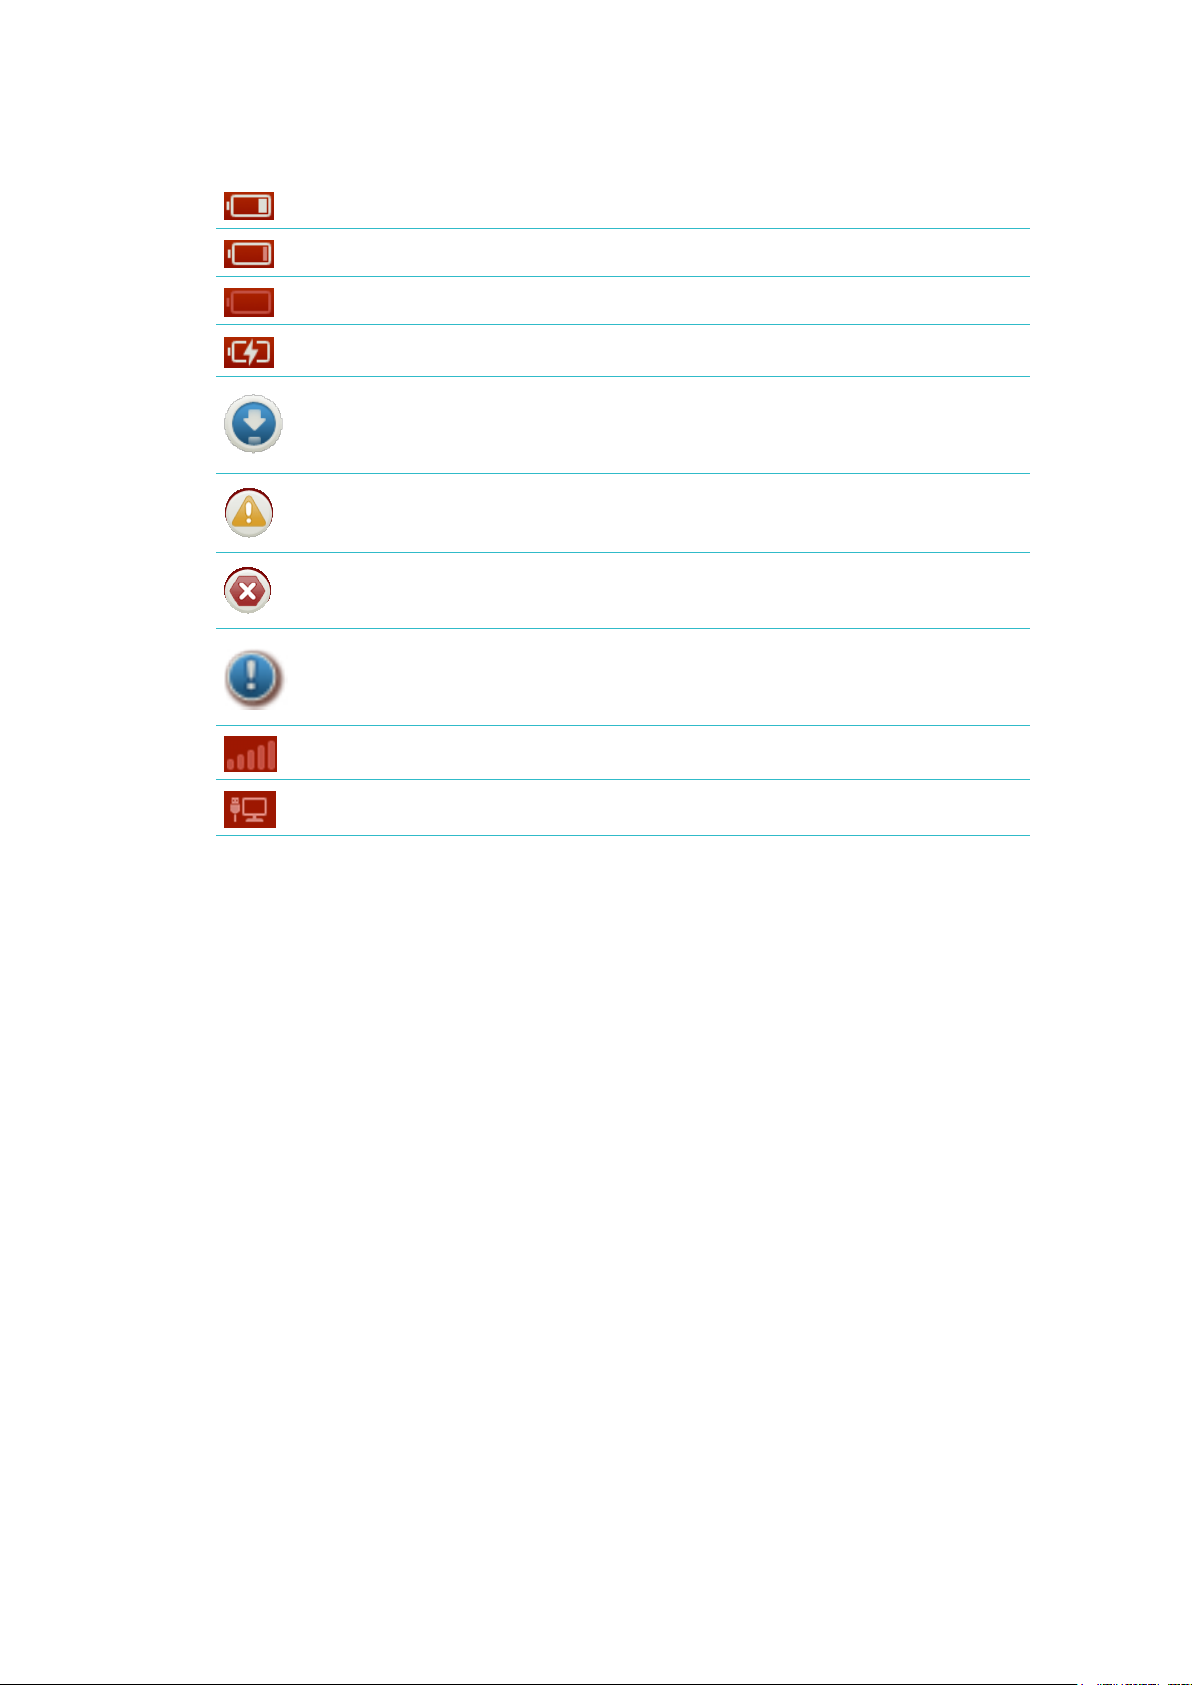
3. Connect the power cord to the analyser and an appropriate electrical outlet. The status
light should appear steady yellow.
Note: It will take up to 8 hours to fully charge the analyser (the status light will turn green
when fully charged). The analyser may be used while charging.
4. If you are planning to connect the analyser wirelessly to an IDEXX VetLab Station,
proceed to step 5.
Note: Wireless router required.
OR
If you are connecting the analyser to an IDEXX VetLab Station using a wired router,
connect the analyser to a numbered port on the router using a CAT5 cable (provided).
5. Press the Power button at the top of the back of the SNAP Pro Analyser to switch it on.
After the startup screen, follow the on-screen instructions.
6. When prompted, do the following:
a. Select your language and then tap the Next icon.
b. Select your location and then tap the Next icon.
c. If you are connecting the analyser to an IDEXX VetLab Station, tap Yes, select the
IDEXX network from the list, and then tap the Next icon. If the IDEXX network
is not listed, tap the Refresh icon.
OR
If you are not connecting the analyser to an IDEXX VetLab Station, tap No and then
tap the Next icon. When prompted, confirm that you are not connecting the
analyser to an IDEXX VetLab Station.
d. Select the desired date format, enter today’s date using the numeric keypad, and
then tap the Next icon.
Getting Started