HOZO Design MEAZOR Manuel utilisateur

1
Multifunctional Laser Measure
USER INSTRUCTIONS
Access to multilingual instruction manuals
in:
English | Simplified Chinese
Traditional Chinese | Japanese | German |
Spanish | Italian | French | Arabic
-Download at hozodesign.com/meazorapp
-Scan the QR code to download the
MEAZOR APP to view

2
OVERVIEW
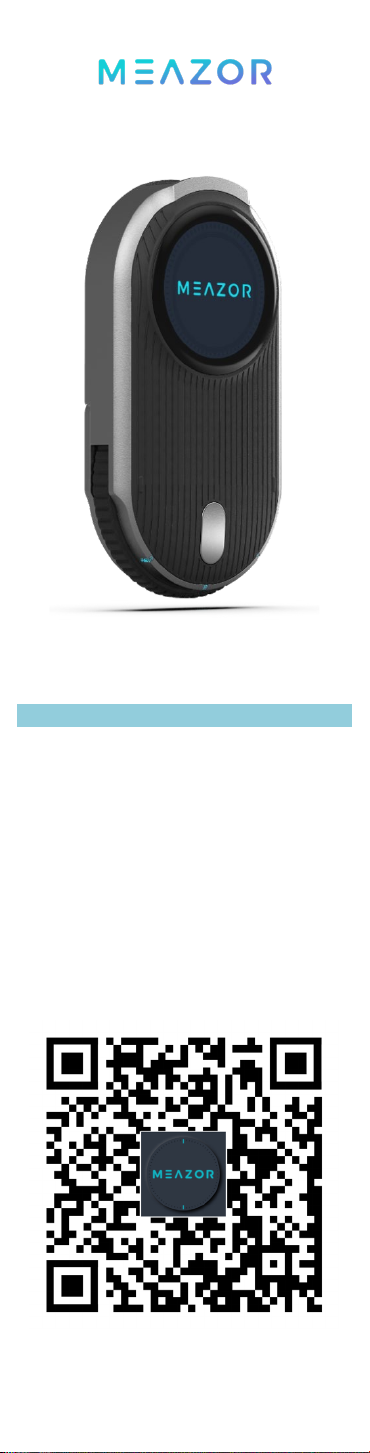
The MEAZOR is a portable and multifunctional
measuring device. It has an 82feet (25m) laser
distance module and a 4096 grade rolling ruler
module with high accuracy, as well as the ability
to measure straight lines, curves, and compound
shapes. It is equipped with a plotting app available
for Android and iOS, which allows data collection,
floor plan drawing and editing, document
receiving, and sharing. The standard edition of the
device has the following measuring functions.
Look out for more new features in the cloud
update package.
SAFETY INSTRUCTIONS
For the safe use of this multifunctional measure,
please read the instructions below carefully.
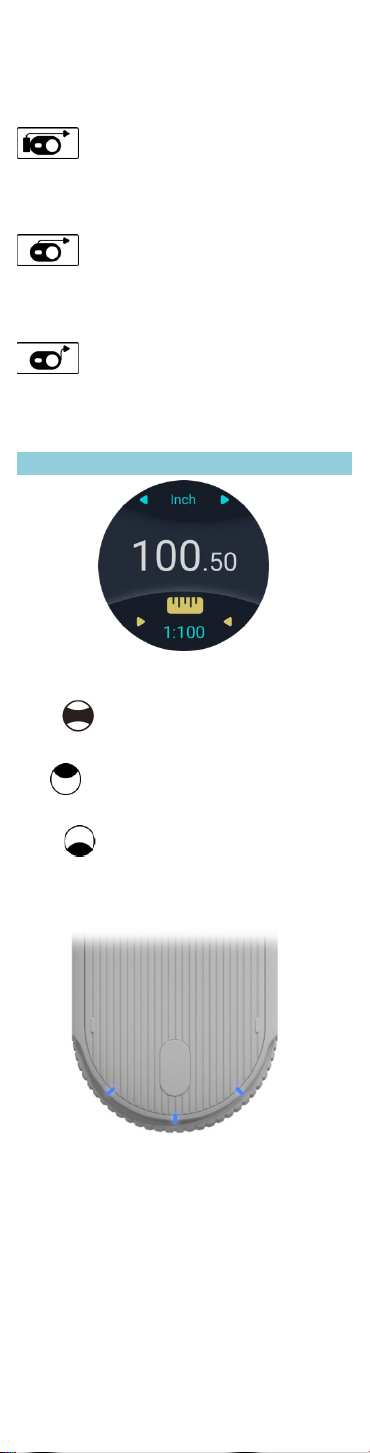
The device is categorized as a Class 2 laser
product. DO NOT stare directly at the laser or
shoot the laser at other people or animals, or it will
cause damage to the eyes.
This product is in accordance with strict standards
and testing regulations through its development
and manufacturing, but this does not preclude the
product from being subjected to external
environmental influences and interference.
Please DO NOT use this product in
extremely hot (>40°C) or extremely cold
(<0°C) environments.
Please DO NOT use this product in an
explosive or corrosive environment.
Please DO NOT use this product near
medical devices.
Please DO NOT use the product on a
plane.
Disposal:
This product contains a rechargeable lithium
battery, which must NOT be disposed of with

3
household waste. Please dispose of the product in
accordance with the national regulations in force
in your country/region.
Scope of Responsibility:
We will not be responsible for any damage
caused by improper use below:
Using the product without instruction;
Use of accessories from other
manufacturers without approval from us;
Carrying out modification or conversion of
the product.
POWER SUPPLY
A Type-C charging port is used. The battery has a
rated capacity of 650mAh. 5V-1A charger is
supported. The charging time is approximately
two hours.
*Note: This product does not support dual-
ended Type-C charging cables or chargers for
fast charging.
BASIC OPERATION
1Laser distance measuring module – Class
2 laser product. DO NOT stare directly at
the laser.
2Screen – Touch screen allows you to
select and use each function on the screen
by tapping, swiping left and right
and swiping up and down .
3Power/HOME Button - Long press

4
the button for 3 seconds to switch on/off the
device. Short press the button to return to
the main menu.
4Type C charging port
5Tripod Hole - The hole is mounted on the
back of the roller, and you can tighten the
tripod by turning the product's rollers
clockwise.
6The wheel module – Roll the product
across a surface and measure the length of
straight and curved lines. See the
description of the wheel scale function for
details of how to use it.
Stand - Flip the back flap. The flap is
attached to the product's frame at an angle
of 90°.
BASIC OPERATION AND
SETTINGS
Switching on/off
Long press the power button for 3 seconds
to switch on/off the device.
If the device remains inactivity for up to a minute,
it will automatically go into sleep mode. If the

5
device remains inactive for up to 30 minutes, the
device will automatically be switched off.
Selecting functions
You can swipe left and right on the main
menu to switch between functions.Tap on the
selected function icon to enter the function page.
LASER MEASURE
Middle: Tap on the number to record data
Top: Measurement Units
Bottom: Align Mode
The setting of the measurement units: set
at initialization or
In the setup page , the user can select
between imperial or metric units. When
measuring, the user can also switch
between units by tapping on the top area.
Imperial units include Yard, Feet, Inch, Inch
fraction, Feet+inch. Metric units include M,
cm, mm.
Settings of Align Mode:

6
Rear Align: measure along the bottom of the
MEAZOR's roller as a starting point
Stand Align: with the stand open, measure from
the bottom of the stand
Tripod Align: measure from the center of the
tripod hole
Front Align: measure from the top of the product.
SCALE RULER
Middle : Tap on the number to record data
Top : Measurement Units
Bottom :Switch Scales
When the wheel is used for measurement, the
reference points at the bottom light up. The user
can select the start/endpoints to be used for
reference by selecting the position in which it is
customarily held.
The setting of the measurement units:

7
In the initial setup and settings page, the
user can choose between imperial or metric
units. The user can switch between units by
tapping on the top during
measurement.
Imperial units include Yard, Feet, Inch, Inch,
Feet+Inch (Mile unit is included in scale
mode). Metric units include meter, cm, mm
(KM unit is included in scale mode.)
Setting for scale:
Bottom : Return to scale measuring
Top :Return to 1:1 scale
Middle :swipe up and down to switch
between scales
POINT SCANNER (FLOOR PLAN SCANNER)
The Point Scanner is a patented function of
MEAZOR. Place MEAZOR on a tripod or flat
surface. The user can scan floor plans precisely
by following the steps as follow:
Aim laser at the corners/reference points - take
the point - turn - repeat the operation. The
scanning results can then be transferred to the
MEAZOR App for further editing. Please read
these instructions carefully to get the most
accurate scanning results.

8
Middle :current scanning plot, tap to record
reference points
Undo
Save Data
Basic Operations:
As shown in the diagram, place the MEAZOR in
the middle of the room. Align the laser beam with
point 1 and tap on it to record the first reference
point, turn and align it with point 2, record, rotate,
and align it with points 3,4,5 and record each time.
After completing the above steps, all the reference
points of the room are captured. After tapping on
Save , the data will be sent to the
MEAZOR APP.
CURVE SCANNER

9
The Curve Scanner is a patented function of
MEAZOR. Place MEAZOR on a tripod or flat
surface. The user rotates the product to capture
the object's outline through which the laser
passes to complete an accurate scan of the
curve's outline. The user can then transfer the
scanning result to the MEAZOR App for further
editing. Please read the following instructions
carefully to obtain the most accurate scanning
results.
Middle :Current scanning plot
Top :Save Data
Bottom :Undo
Basic operations:
As shown in the diagram, place the MEAZOR in
the middle of the room. Align the laser beam with
point 1 and tap on it to record the first reference
point, slowly rotating MEAZOR to point 2
2. Tap on to save and send data to
the MEAZOR APP.
Undo : restart scanning
PRO LASER

10
Step 1 - Select function
Middle :Slide to switch between functions
Top :Measurement Units
1. Pythagorean Measurement – Measure side
A, side B, and the angle ∠ab. The length of
the third side is automatically calculated.
2. Rectangular Area Measurement – Measure
the length A and the width B. The area is
automatically calculated.
Look out for more functions in the update
package.
Step 2 - Measure
Middle :Measuring Dimensions
Top :Switch between Align Modes
Bottom left < : last step
Bottom right > : next step
Middle bottom: current measurement
Table des matières
Manuels Instrument de mesure populaires d'autres marques

Endress+Hauser
Endress+Hauser Proline Promag 50 Caractéristiques techniques

Siemens
Siemens SITRANS F Coriolis FCT030 Manuel de la liste des pièces

KLINGER
KLINGER CMF V Series Manuel utilisateur

EXFO
EXFO FTB-2 Manuel d'exploitation et d'entretien

Keysight
Keysight M8290A Manuel utilisateur

ADTEK
ADTEK MW-5 Manuel utilisateur


