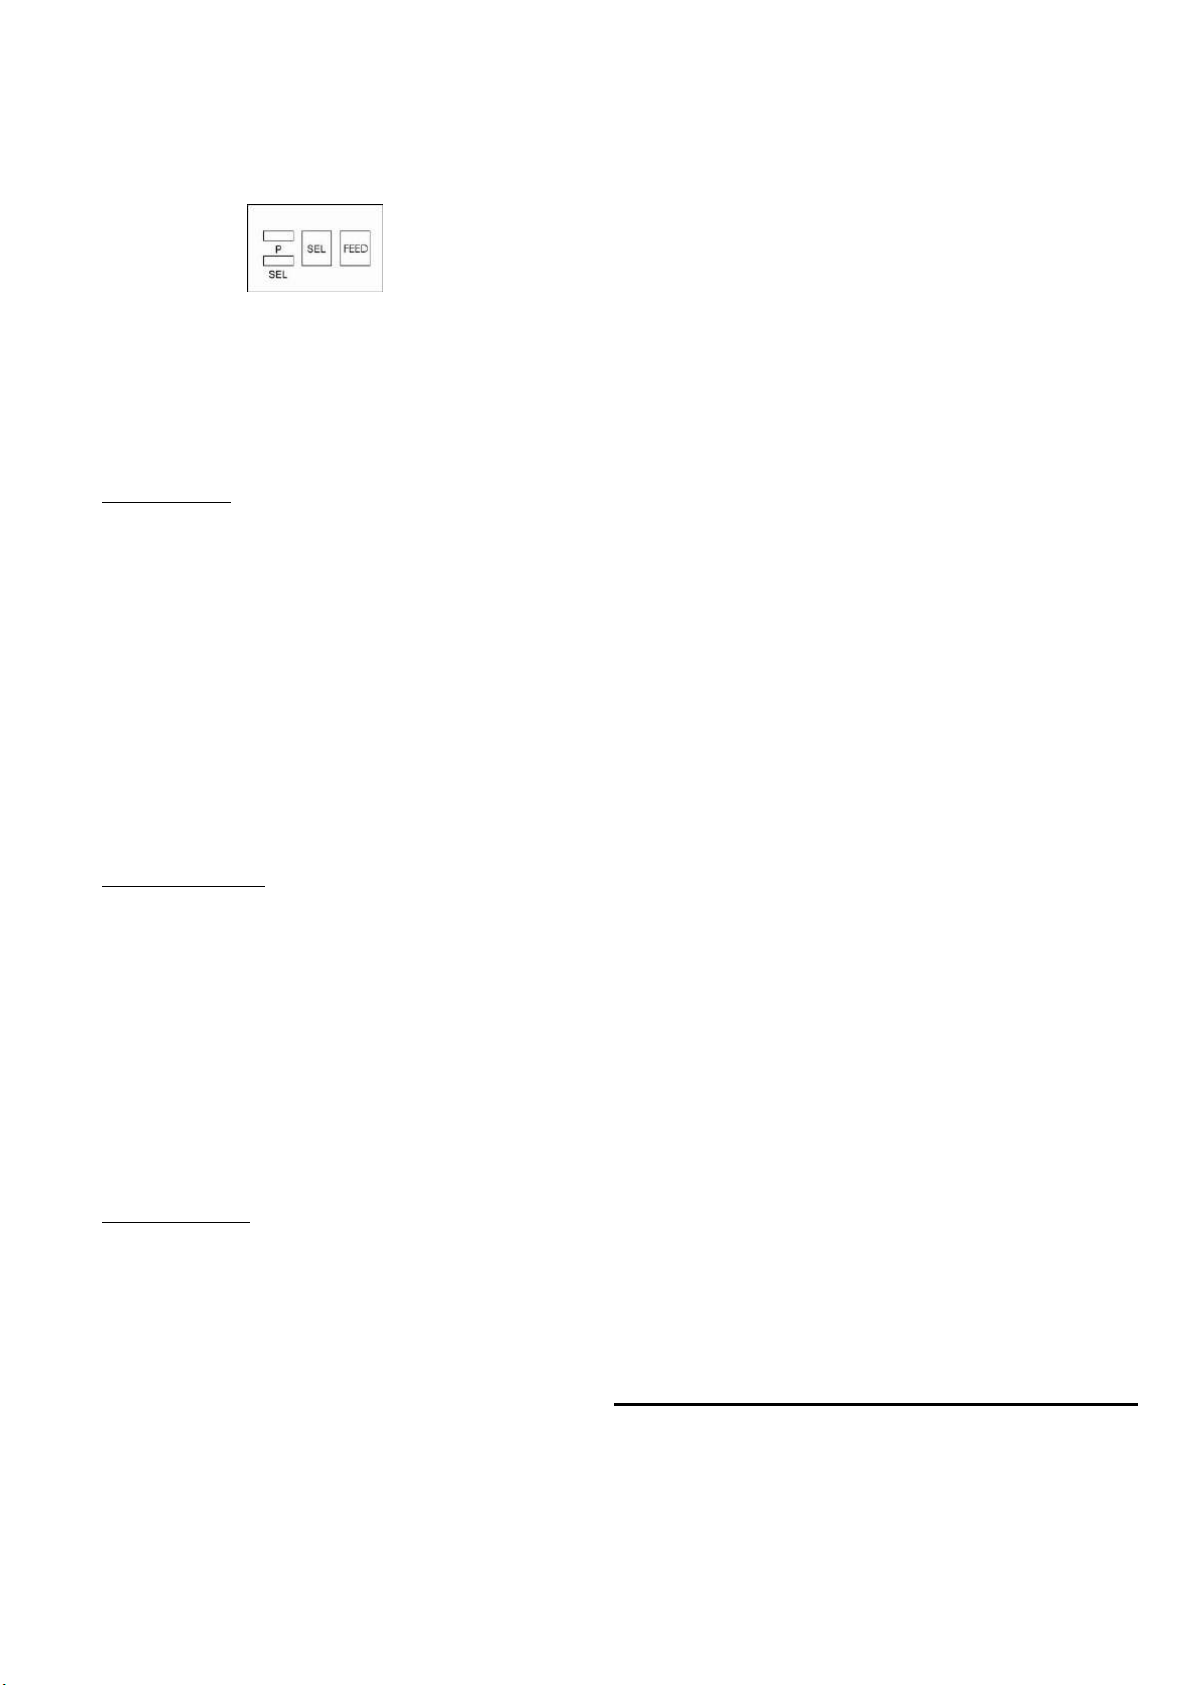
There are two indicators and two button switches on the
panel of the printer. The power indicator is labeled “P”. The
other is the SEL indicator. A button switch is labeled “SEL”
for selecting ON/OFF line. Another is labeled “FEED” for
paper line feeding. (See Figure 3-8.)
Figure 3-8. Indicators and switches
The SEL button can change the SEL indicator’s status. When
the SEL indicator is on, the printer is On- Line.
The printer working mode can be changed with button SEL
and FEED among three modes –self-test, on/off line and
paper feed.
<1>. Self-Test Mode
There are two ways to enter the self-test mode.
(1) Press SEL button when power on the printer. After few
seconds then release, The SEL indicator then turns off and
the printer prints out the self-test sample.
(2) To enter the self-test mode when the printer is on already.
With printer in Off-Line status, press FEED button then press
SEL button. Release both buttons, the printer will enter
self-test mode.
There also are two ways to exit the self-test mode.
(1) The printer will exit self-test mode automatically after
finishing the self-test sample print out.
(2) When the self-test sample is being printed, it can be
terminated by pressing the SEL button. The printer will exit
self-test mode.
<2>. On/ Off Line Mode
After switching on the printer or being in the Self-test mode,
the printer enters On-Line mode. The SEL indicator lights up.
Press the SEL button, SEL indicator lights up. Press the SEL
button, SEL indicator lights off, Printer enters the Off-Line
mode. When printer is in Off-Line mode, it can not receive
data. Press SEL again, Printer re-enters the On-Line mode.
SEL has another function –to interrupt the printout. If SEL is
pressed and then released during a printout, the printer will
stop after completing the current line. At this point you can
load more paper. To complete the printout, press and release
the SEL button again. The printer will run again at the point
printout was interrupted.
<3>. Paper Feed Mode
When print procedure is interrupted, SEL off, the printer
enters Off-Line mode. If paper has to be replaced, press LF
button, then release. Printer will feed paper without printing.
Re-press LF, then release. Printer will stop paper feed.
Printer can also re-enter On-Line mode in the Paper Feed
procedure by pressing the SEL button.
3.3 Self-Test
Self-Test checks condition of printer. If the printer prints out
the Self-Test sample correctly, the printer is working
normally. Other faults will be caused by the interface or
master computer. If there’s a problem with the Self-Test, the
printer or power supply needs repairing.
Self-Test prints out all characters in the fonts. Then print the
messages about interface type and printer head model.
After Self-Test the printer enters On-Line mode. It can then
receive data from the master computer.
3.4 Printer Initialization
Initialization includes default values settings. Default values
are: 3 dot lines spacing, 40 lines form length, 0 values of
vertical tab and horizontal tab, 0 values of right margin and
left margin, normal alphanumeric and graphic character size
(i.e. enlarge factor to receive commands and data)
There are three ways to realize initialization. First is to run
the initialization software on master computer. Master
computer sends initialization commands (ESC@ commands)
to printer.
Second is through self-test procedure.
Third is power on initialization.
3.5 Command Set Selection
There is one command set in NT-T16S: ESC control codes,
other setting –ESC control codes ex-factory.
4. Printing Commands
Summary
NT-T16S provides up to 35 printing commands.
These commands specify the functions of the printer:
(1) Define formatting.
(2) Enlarge or condense characters.
(3) Print image graphics.
(4) Select font.
(5) Define special characters.
(6) Other
Some of these commands are one byte control codes. Some
are ESC code sequences. These sequences start with “ESC”
code, followed by alphanumeric characters.
Printer’s control codes (especially ESC control codes) are
not standardized. Every printer manufacturer has its own
code system. Control codes for the NT-T16S were designed
with reference to the popular IBM and EPSON printers.
Hence, they are compatible with most printers.
5. Operating Note
( 1) Do not dismantle printer head!
( 2) Do not leave power on when not is use for a long period.
( 3)Switch off, if printer does not work normally.
( 4)Power supply must match requirement. See Section 2.5.
( 5) Do not lubricate the printer head.
( 6) Fluff and dust from paper are harmful to printer head.
Check and clear the head when replacing paper roll.
( 7) When replacing ribbon, do not press the cassette too hard.
Otherwise the plastic wheel on the head may be damaged.
( 8) Keep the main circuit board clean.
( 9) Do not remove the IC chips in the main board.
(10) Never use ribbon oil. It may damage printer head.