HARFO F01 Manuel utilisateur
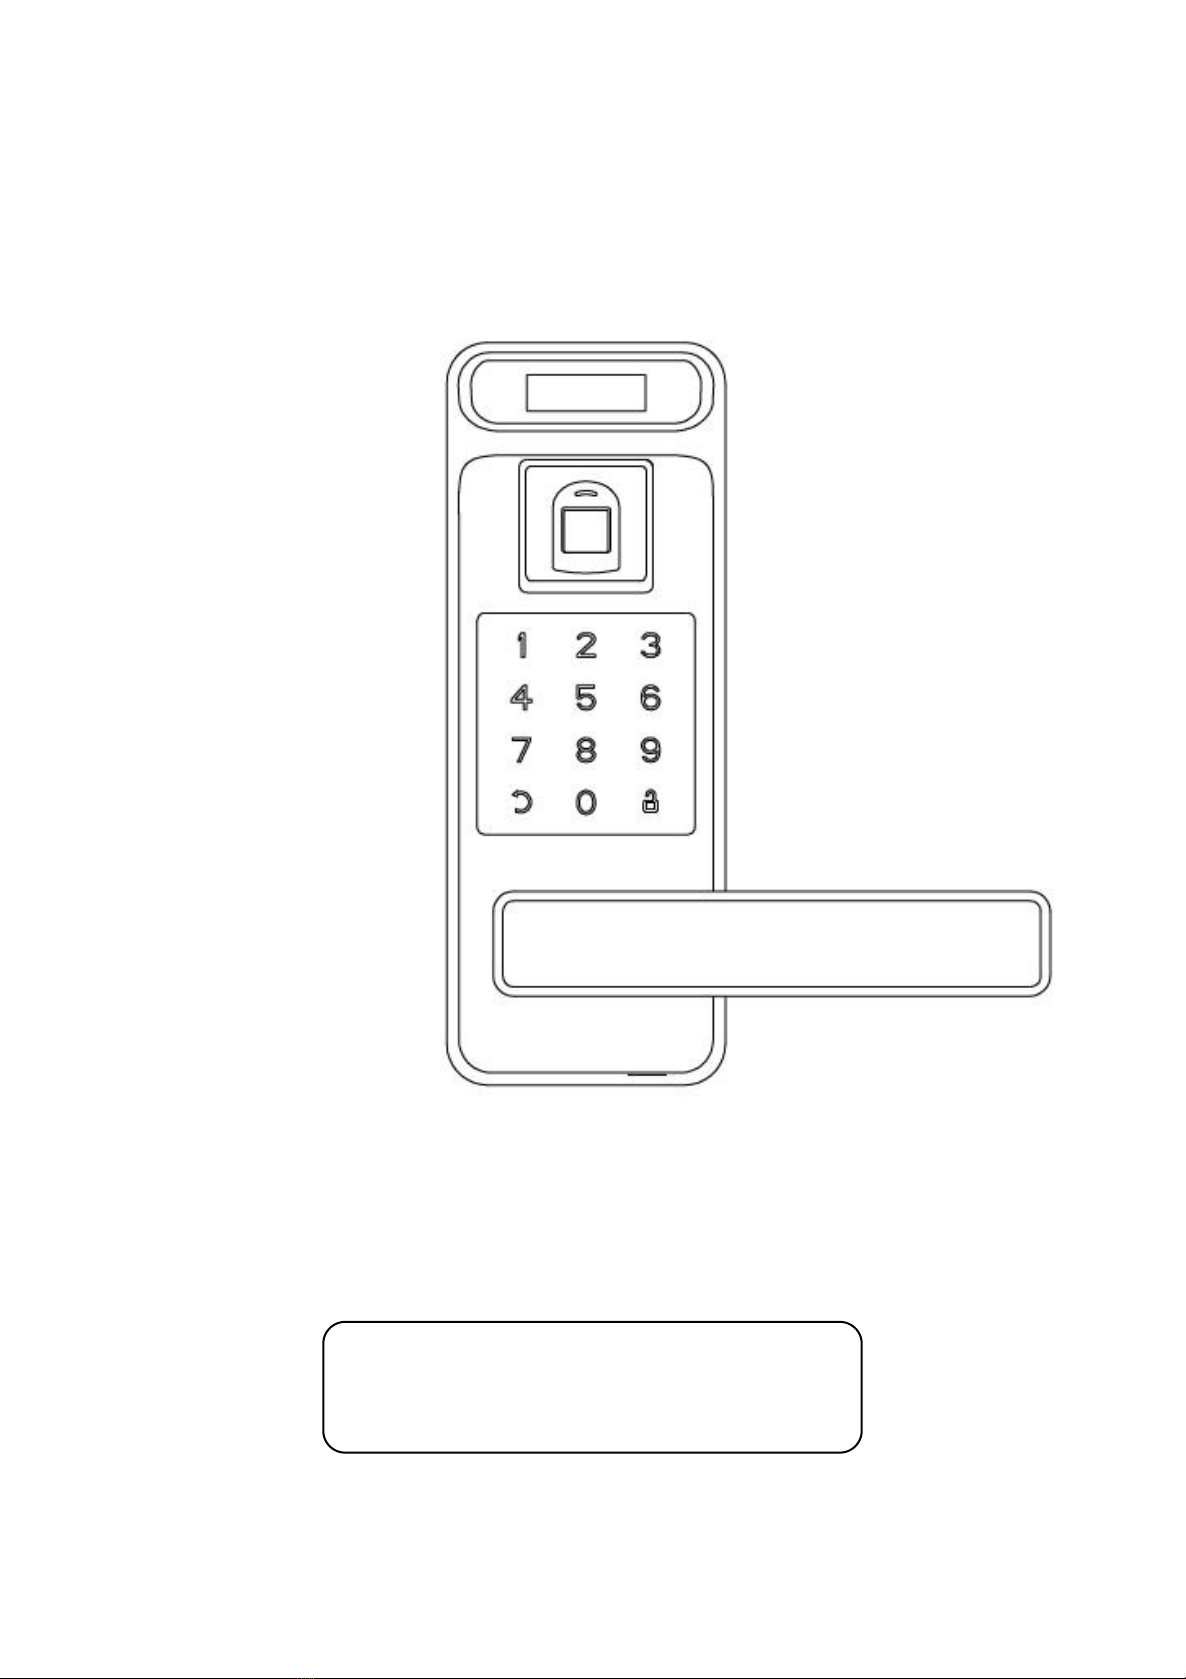
HARFO F01 USER MANUAL
Customer Service Email
harfoseller@hotmail.com

After Sales Service Letter of Commitment
Thank you for choosing HARFO door lock!
Please rest assured that we have 12 months warranty to ensure your investment.If
you have any question in the future,please be free to contact us by Email and we
will help you solve it as soon as possible.Usually the Amazon customer service
can’t solve the technical problems, please contact our email at first. Our after-sales
service team will provide technical support.
Looking for installation video?
Visit our Amazon store for installation videos, FAQs and more.
Search F01 fingerprint door lock installation video on YouTube.
E-mail:harfosel[email protected]m
HARFO Amazon store: www.amazon.com/harfo
Please contact us before returning the lock. We will try our best to help you.

Catalogue
I. Introduction
1.Technical Parameter......................................................................................1
2.Private Lock..................................................................................................2
3.Backup Key...................................................................................................3
4.Initialization..................................................................................................3
II. Installation Guide (also can Search F01 fingerprint door lock installation video on YouTube)
1. Change Handle Direction............................................................................4
2. Overview.....................................................................................................5
3. Installation Diagram....................................................................................6
III. Operation Programing
Opration Menu................................................................................................9
1. Create User
1.1 Create Admin............................................................................................10
1.2 Create Normal...........................................................................................11
1.3 Create Casual............................................................................................12
2. Edit User
2.1 User Blacklist............................................................................................13
2.2 Delete By ID.............................................................................................13
2.3 Delete by Type..........................................................................................14
3. System Setting
3.1 Date Time..................................................................................................15
3.2 Verify Mode...............................................................................................15
3.3 Passage Mode............................................................................................15
3.4 Language&Voice.......................................................................................16
4. Unlock Records
4.1 Query By Time..........................................................................................17
4.2 Query By Type..........................................................................................17
Ⅳ. Others
1. Low Power..................................................................................................18
2. Emergenct Power Supply............................................................................18
3. Alarms.........................................................................................................18
4. Temporary Mute..........................................................................................18
5. Password Peep-proof Protection.................................................................18
Password Memo..............................................................................................19

1
I. Introduction
1. Technical Parameter
Battery Type
4pcs 1.5v AA battery (No include)
Working Voltage
4.5~6v
Unlock Ways
Fingerprint, Password, Access Card, key
Scanner Type
LED 3D Live fingerprint sensor
Scanner Element
508dpi 192*192pixel
FRR, FAR
≤1%,≤0.001%
Work Environment
Temperature:-20~60℃
Humidity:0~95%
Quiescent Current
<50μa
Working Current
<300ma
Unlock Record Capacity
2000
Password Capacity
Max 300 users, 001~009 for admin users,
010-300 for normal users. Every user has only
1 type unlock way.
Fingerprint Capacity
Card Capacity
Center Distance
60mm or 70mm (2-3/4” or 2-3/8”)
Door Thickness
35~55mm (1-8/3”~2-1/8”)
Password Length
4~12digits
Initial Password
123456
Unlock response time
0.3s

2
2. Private Lock
Private mode
Only the administrators can unlock it by password, fingerprint,card and backup key.
General mode
Every added users can unlock it by password, fingerprint,card and backup key.

3
3. Backup Key
Remove the cover cap (2 ways).
Method 1: Press the end of the outer handle to pry up the cap.
Method 2: Insert a needle into the little hole to push the cap off.
Insert the key and turn right 90 degree. Press down the handle to open door.
Notice: Please put the backup keys in other place.
4.Initialization
Remove the battery cover and press the “SET” button for 5 seconds, lock will sound a
short beep, and the screen shows “Initializing. Please wait…” After initialization, all the data
and settings will be cleared, the lock will back to default setting. The initial admin password
is “123456”.


5
2.Overview
1. Outer Handle 2. Outer Lock 3. Screws Pillar 4. Data Wire
5. Square Spindle 6. PVC Sheet 7. Latch 8. Strike Plate 9.Bottom Case
10. Metal Plate 11. Inner Lock 12. Battery Cover 13. Pin (fixed square spindle)

6
3.Installation Diagram
3.1 Install the latch
1.Adjust the length of the latch
according to the distance from the door
hole center to the door edge.(60mm or
70mm)
2.Insert the latch in the hole and tighten
screws.
3.Install the bottom case and strike plate
on door frame.(Accessories numbered 8
and 9 on the page 5 Overview)

7
3.2 Install the outer lock with square spindle
1.Select the suitable square spindle that
fit your door thickness. (shorter :
35~45mm; longer: 45~55mm)
2.Find the little pin in the accessories bag.
Install the square spindle, through the
little hole with the pin to fixed the
spindle on the outer lock and Bend the
bottom of the little pin to hold it in
place. (Please be sure align the position of
the little hole)
3.3 Get the metal plate
1. Find the inner lock and take off the
battery cover.
2. Remove these 3 screws.
3.Get the metal plate and PVC
sheet(Numbered 10 and 6 on the page 5
Overview).
3.4 Install the outer lock
Let the data cable goes on the top of
latch. Make sure the square spindle and 2
screws pillar through the latch holes.
Table des matières
Autres manuels HARFO Serrure de porte


