
Geneinno T1 Pro Manuel utilisateur
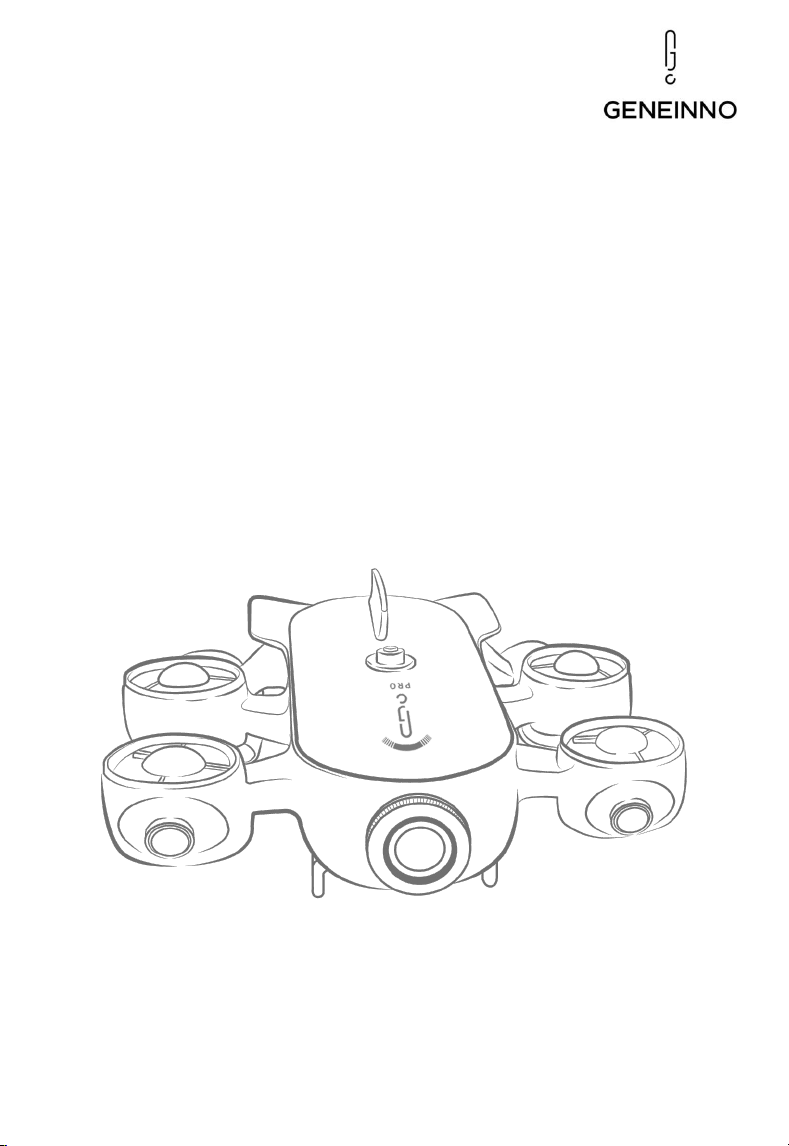
Geneinno Intelligent
Robot T1 Pro
User Manual
V1.0.1 2020.12
Shenzhen Geneinno Technology Co., Ltd
www.geneinno.com

2
© 2020-2022 GENEINNO All Rights Reserved.
1. Collisions and burns occurred not caused by product quality issues;
2. Damage caused by unauthorized modification, disassembly, and main
shell opening; Any violations of the official instructions result in injury,
disease or property loss of the user;
3. Damage or leaking water caused by incorrect installation, usage and
operation not following the user manual instructions;
4. Damage caused by the customer's self-repair, assembly and installations
not following official instructions;
5. Damage caused by unauthorized circuit modifications, improper use of
battery packs, non-standard chargers;
6. Any damage caused by improper diving activities and underwater filming
not following user manual instructions;
7. Damage caused by application in harsh environment, such as in strong
current, against big waves and etc.;
8. Damage caused by applications in a complex electromagnetic
environment or near strong interference source, such as mining areas,
transmission towers, high-voltage lines, transformer substations and etc.;
9. Device malfunctions caused by applications when interfering with other
wireless devices, such as high-power transmitter, image transmission
device, Wi-Fi signal interference and etc.;
10. Further damage caused by usage when the parts are aged or damaged;
11. Damage caused by reliability and compatibility issues when used with
non-certified third-party components;
12. Damage caused by insufficient discharge when the battery capacity is low,
or using battery with quality issues;
13. Failure or damage caused by third-party products, including products
provided or embedded into T1 Pro by GENEINNO at your request;
14. Damage caused by unofficial technology or third-party guidance, such as
incorrect product settings, installation, and firmware upgrades;
15. Problems caused by operations in sensitive areas (military bases, nature
reserves, marine conservation bases and etc.);
16. Damage caused by force majeure, such as operation in dark currents,
cave collapse, animal hunting and etc.;
17. Products or parts which labels or identification codes have been replaced
or deliberately daubed;
18. Water droplets or water marks may appear on the product. These may be
caused by testing after production, and they will not affect the use of the
product.
Disclaimer

Geneinno T1 Pro is a light industrial-grade intelligent underwater robot
able to dive to 175m depth. CarriedA17/A7 dual cores CPU, support
H264/265 ultra-HD 4K video codec, built-in 12-million-pixel class
professional camera, 3000lm led fill light in front. built-in dedicated image
processing DSP, significantly improve the graphics processing capabilities of
various scenes, meantime, the whole machine apply industrial-grade
waterproof solution. Max speed underwater is 2m/s. With 2 lateral thrusters,
4 vertical thrusters, Using closed-loop control algorithm, can effectively
achieve 360° full attitude motion control, apply functions such as underwater
hovering, self-balancing, tilting, fixed depth and orientation, and one-button
floating. Has a strong anti-current ability to handle with complex
environments. Built-in large-capacity lithium battery guarantees long
operating hours. Geneinno T1 Pro also supports omnidirectional scanning
sonar, water quality detector, laser ruler, etc. peripheral devices, meets
requirements including aquaculture, hull inspection, underwater sampling,
salvage, rescue and various underwater exploration and operation.
I. Introduction
2
© 2020-2022 GENEINNO All Rights Reserved.
②
①
②
③
④
④
④
④
④
④
⑥ ⑦
⑤
① Camera ② LED light ③ Signal/ Charging port
④ Thruster ⑤ Extension port ⑥ Drainage hole
⑦ Multifunctional slide (for install balancing weights, manipulators and other accessories)
②
① ①
③
④ ⑤ ⑥
⑦
⑧
⑨
⑩
① Wireless relay antenna ② Signal/Charging port ③ Wireless relay connector
④ Host connector ⑤ Battery indicator ⑥ Connection status indicator
⑦ Winding handle ⑧ Cable winder support rod ⑨ Buoyancy cabl
⑩ Support chassis

3
1. Please use our product in open water and in an environment with
relatively clear water quality. Try to avoid operating in an environment with
too many aquatic plants, too turbid, or very complicated underwater
structures.
2. Make sure there are no dense radio devices or huge metal objects around
the wireless relay and turn on the antenna correctly to avoid affecting the
reception of the wireless relay signal.
3. Please use the official standard charger to charge, please charge in time
after the battery is alarmed, and do not completely use up.
4. After use, please rinse with fresh water and dry in time to avoid seawater
corrosion, and store in a dry and ventilated place.
5. The host is designed with positive buoyancy before installed buoyancy
material. It is recommended not to install buoyancy material in fresh water,
in seawater can be installed buoyancy material, please adjust the
installation position according to the actual balance of the host, subject to
the best balance the host can achieve
6. The wireless relay is designed as low-grade waterproof standards, please
do not use it directly in water or wash it directly with water.
7. Before using/charging, please check all waterproof connectors if any liquid
left such as water, please make it clear before connect. It is recommended
to connect the wireless relay first, then connect to the host, the system will
boot, when finish using, only needs to disconnect the cable and the host.
8. Please carefully check the motor and propeller make sure it clear before
use, do not put your fingers or other body parts into the thruster net cover
when the product is working, please clean the surface attachments of the
motor and propeller after the machine is off, and wash with fresh water.
9. Aged 16 and below must be under surveillance of adults when use this
product, please control the speed while using, avoid excessively fast
movement in case scratches or damage equipment.
10. Do not place heavy objects on this product, do not expose it to the sun,
and do not store it in a very humid/corrosive environment.
11. Please connect the host and the wireless relay and connect to the APP,
follow the instructions to calibrate the compass, and check that the video,
data transmission and control are normal, then put it in the water.
According to the use environment, should set sea water or fresh water in
the APP to avoid affecting the water depth data.
Safety Guide
© 2020-2022 GENEINNO All Rights Reserved.

II. User Manual
4
1. APP Download
lScan QR code to download “Geneinno”APP.
lOpen APP, Please register as a Geneinno member and log in.
2. Start
lSeparately insert the two buoyancy cables into the T1 PRO and the wireless
relay then tighten the fastening nut.
Note: Check whether the O-ring on the waterproof connectors
missing or damaged. If missing or damaged, please replace it in
time.
Device Connect:
lOpen APP choose T1 Pro, click “Device not connected” icon, jump to the
Wi-Fi setting page, find and connect the Wi-Fi named GENEINNO-5G-
XXXX/GENEINNO-XXXX, default code is: 88886666
lAfter Wi-Fi connected, back to APP main interface, click “Device connected”
icon to enter the control interface.
© 2020-2022 GENEINNO All Rights Reserved.

5
3.Device Operation
lOperate via the virtual joystick and function buttons on the APP
control page.
lIt can also be connected to a Bluetooth controller for precise operation
with professional controllers.
lDetailed APP operating instructions can be viewed in the “Beginner
Help” of APP or download the latest version of the operating
instructions on the official website of Geneinno.(www.geneinno.com)
© 2020-2022 GENEINNO All Rights Reserved.
Control wheel (Up/Down)
Return to
homepage
Float to surface
Custom
depth
Custom
heading
Slow start
switch
Auto
balance
Bluetooh
Controller
Running time
Depth
Water
temperature
Live-stream
delay
Battery
System
settings
Shot/Record
switch
Shutter
Camera
settings
Tilt up/down
Posture recovery
Speed gear
Control for accessory
3D Real-time
posture and
compass
LED switch
and lumen
adjust
Depth lock
Direction lock
Control wheel
(Forward/Backward/Left/Right)

6
4. Bluetooth Controller
a. Switch On:
Flip the left switch to “On”, hold the Home button (2 seconds) till LED1
and LED2 are flashing, controller is power;
b. Controller connection:
After the controller enters the connection mode, open the menu on the
right side of the APP homepage, choose “Bluetooth Controller ”, click to
search Bluetooth controller , it can find the Bluetooth controller
(GENEINNO-XXXX), click “Connect”, after the connection is successful,
the controller LED1/2 will always be on;
c. Switch Off:
Flip the left switch to “Off”, controller will power off. If the controller is
not connected for 3 minutes after power on, the controller will
automatically shut down; after 5 minutes without any operation since
Bluetooth controller connected, the controller will automatically shut
down.
d. Recharge:
Pull down the right joystick of the Bluetooth controller , when LED1/2
become off, the controller is in low battery state and needs recharge,
LED1/2 are always on when charging. When LED3/4 are flashing, LED3/4
are always on, the controller is fully charged.
© 2020-2022 GENEINNO All Rights Reserved.
X:increase gear
Y:reduce gear
L:Record
L2:Shot
Dive up/down
Direction
control
Stick:
up/down
left/right
A:Confirm
B:Quit

7
Accessory Buoyancy Block Installation
① Align the mounting hole with the hole on bracket, with the arrow of
buoyancy block upward.
② Install the wing screw through the hole, insert from the outside to the
inside, and tighten the nut by hand.
Note: External battery needs 4 blocks; other devices do not need
to install buoyancy blocks.
Underwater Gripper
Installation
① Match the mounting bracket of the underwater gripper to the mounting
hole at the bottom of the host, and fix with screws.
② Insert the connector of the underwater gripper into the extension port,
and tighten it clockwise.
Device
After underwater gripper plugged in, APP will automatically identified
and showing the icon on the interface, it can operate by click the icon.
III. T1 Pro Special Accessory Guideline
②
①
②
①
© 2020-2022 GENEINNO All Rights Reserved.

Lateral Thruster
Installation
① Unscrew the sealing metal cover of the extension port of the intelligent
underwater robot counterclockwise. Match the slot of thruster to the
slide rail in the bottom of the host, slide the thruster according to
direction indicated by the arrow.
② Fix by screws when it is in right position.
③ Insert the connector of the thruster into the extension port . Tighten it
clockwise.
Note: The connector has an anti-reversal insertion design, please pay
attention when inserting, please do not rotate when inserting, to avoid
damage to the pin and its internal structure.
Using
lInstall and connect the Lateral Thruster to underwater robot first, and
then power on the robot. Use a tablet or smart phone to connect, and
enter the control page in the Geneinno APP.
lOperate the right joystick to control the horizontal movement, the
left and right direction is the movement direction of the T1.
8
①
③
②
© 2020-2022 GENEINNO All Rights Reserved.

External Battery with LED
Installation
① Unscrew the sealing metal cover of the waterproof connector of the
intelligent underwater robot counterclockwise. Match the slot of battery
to the slide rail in the bottom of the host. Slide the battery according to
direction indicated by the arrow.
② Push the tail lock to the right to lock the position of the support, the
bearing does not move back and forth.
③ Push the lock in place, install the screws to locate.
④ Insert the connector of the battery into the waterproof connector.
Tighten it clockwise.
Note: The connector
has an anti-reversal insertion design, please pay
attention when inserting, please do not rotate when inserting, to avoid
damage to the pin and its internal structure.
9
①
③④
②
© 2020-2022 GENEINNO All Rights Reserved.
Table des matières
Autres manuels Geneinno Robotique


Manuels Robotique populaires d'autres marques

STEMCenter USA
STEMCenter USA Pi-Bot v2.00 Manuel utilisateur

SunFounder
SunFounder PiDog Manuel utilisateur

Universal Robots
Universal Robots UR5 Manuel utilisateur

Universal Robots
Universal Robots E Series Manuel utilisateur

YASKAWA
YASKAWA MOTOMAN-MPL80 II Manuel utilisateur

EFORT
EFORT ECR5 Manuel d'instructions


