Franklin Chef FWC35 Manuel utilisateur

28-Bottle Wine Cellar
Enfriador de vinos 28-botella
Rafraîchisseur à vin 28-bouteille
Use and Care Guide (pages 1 - 12)
Manual del usuario (las páginas 13 - 24)
Mode d’emploi (les pages 25 - 37)
Be sure wine cellar is standing upright 24 hours
prior to plug-in.
Esté seguro que el enfriador de vinos esté parado en posición
vertical 24 horas antes que sea conectado.
Soyez sûrs que le rafraîchisseur à vin se tient debout 24 heures
avant que l'unité se branche.
Model/Modelo/Modèle
FWC35
Tel.: 1-877-261-9867
FRANKLIN INDUSTRIES, LLC
4100 First Avenue
Brooklyn, NY 11232-3321
Tel.: 877-261-9867
Website: www.franklinindustries.com


IMPORTANT SAFEGUARDS
Read all instructions before using this appliance. When using
this appliance, always exercise basic safety precautions,
including the following:
1.Use this appliance only for its intended purpose as
described in this instruction manual.
2.This Wine Cellar must beproperly installed in accordance
with the installation instructions before it is used. See
grounding instructions in the Installation section.
3.This model can be built in or free-standing. Built-in units
ventatthebottomfront,andairflowat thefrontofthisvent
must be unimpeded. Allow clearances of at least 1/4”at
sides, 1/2”at rear and 1”at top.
4.Iftheunitisplaced onastand, thefrontsurfaceofthedoor
must be 3”or more back from the edge of the stand in
order to avoid accidental tipping of the appliance during
normal usage.
5.Never unplug the unit by pulling on the power cord.
Always grip the plug firmly and pull straight out from the
outlet. Repair or replace any cord that is frayed. Do not
usea cordthatshowscracksorabrasionsalongits length.
6.If the unit has a plug in the moisture channel on the floor
ofthe unit,removethis plugandallow thedraintoremain
clear at all times when in operation.
SAVE THESE INSTRUCTIONS!
DANGER!
Avoid the risk of child entrapment. If product is to be discarded,
removethedoorsothatsmallchildrencannotgettrappedinside.
1

Table of Contents
Safety Instructions · · · · · · · · · · · · · · 1
Technical Specifications · · · · · · · · · · · 2
Location of Parts · · · · · · · · · · · · · · · 3
Installation · · · · · · · · · · · · · · · · · · 4
Operation of Your Wine Cellar · · · · · · 5 - 7
Cleaning and Maintenance · · · · · · · 8 - 10
Troubleshooting · · · · · · · · · · · · 10 - 11
Limited Warranty · · · · · · · · · · · · · · 12
Technical Specifications
Model Number: FWC35
Capacity: 28 standard wine bottles
Electrical Input: 115VAC, 60Hz
Current Rating: 1.8A
Unit Dimensions: 14.6“W x 24.4“D x 33.5“H
Unit weight: 77 lbs
2

Location of Parts
Control Panel
3
Vents Adjustable legs
Glass door
Wine racks
Control panel
Compressor Run Indicator
Temperature Display
Light
Switch SET
Button LCD
Display UP/DOWN
Buttons
Alarm Indicator
Vents Adjustable legs
Glass door
Wine racks
Control panel

Installation
Remove the exterior and interior packaging. Use a soft dry
cloth to wipe down the outside of the wine cellar thoroughly.
Use a clean cloth dampened with lukewarm water to wipe
down the inside of the cellar.
The cellar should be located in a well-ventilated area. Avoid
placing it near any source of heat or moisture, or in direct
sunlight. Direct sunlight may affect the finish,and nearby heat
sources will cause higher electrical consumption.
The FWC35 wine cellar is designed to be either built-in or
free-standing. A motorized fan at the bottom of the unit directs
compressor-generated heat away from the compressor and
through the vents at the front of the unit. If the unit is built-in,
allow minimum clearances of ¼”at the sides, ½”at the back
and 1”at the top. Airflow from the vents at the front of the unit
must be unimpeded.
Once the wine cellar is positioned, the adjustable legs should
be turned to level the appliance. This will reduce vibrations.
Electrical Connection
Important! For your personal safety, this appliance must
be properly grounded. In the event of an electrical short
circuit, grounding reduces the risk of shock by providing an
escapewireforthe electric current.Thisappliance isequipped
with a cord havinga grounding wire witha grounding plug. The
plug must be inserted into an outlet that is properly grounded
and installed. Consult a qualified electrician if you do not
completely understand these grounding instructions.
DONOTUNDERANYCIRCUMSTANCESCUTOR REMOVE
THETHIRD(GROUND)PRONGFROMTHEPOWERCORD.
Use of an Extension Cord
Avoid the use of an extension cord because of potential safety
hazards under certain conditions.
4

Operating Your Wine Cellar
IMPORTANT: Do not plug in the wine cellar for 24 hours after
unit is set in place. Failure to do so may result in the unit
working improperly.
Plug inthe wine cellar to turn it on automatically. (After the unit
has been on for about 6 hours, the compressor will shut down
for thirty minutes to allow for automatic defrosting.)
If you wantto use theAutomatic Temperature (default)setting,
do nothing further. The unit will automatically set the
temperaturein thecompartmentat55° F(13°C). Ifyouwantto
set another temperature, see below.
Temperature Setting
Wine Storage Temperatures: While wines store best at
temperatures around 56-58° F, your unit also allows you to
store wine at drinking temperatures. Generally, RED WINE
should be kept at 55-65° F and WHITE WINE, which is usually
served chilled, should be kept at 45-55° F. Sparkling wines like
Asti Spumante do well at about 46° F.
To adjust the temperature, press the SET button, then use the
_ _/___keys to navigate to the preferred temperature. The
range of set temperatures is from 46 to 64° F. For example, if
youare storingred wine,youmay wantto seta temperature of
61° F. When the correct temperature appears in the display
window of the control panel, press SET again to confirm. The
actual temperature inside the unit will now appear in the
window. This temperature will vary depending on the number
of bottles stored and how frequently the door is opened.
If the temperature of the room is over 80° F, set the unit
temperature between 50° and 55° F to avoid overheating the
compressor. If room temperature is between 64° and 80° F,
set the unit temperature in the range of 46° to 60° F.
5

PLEASE NOTE: Cold air falls and warmer air rises, and there
will be a temperature variation from the bottom to the top of the
unit. The temperature sensor is located near the center of the
wine storage compartment and records the temperature in
that vicinity. The temperature at the bottom of the unit will
always be slightly colder. Red wines do best near the top of
the wine cellar, while white and sparkling wines thrive in the
cooler temperatures of the lower racks.
To temporarily stop the cooling cycle, unplug the wine cellar.
To shut it down for longer periods of time, disconnect the plug
and leave the door partially open.
NOTE: If you unplug the wine cellar, allow 3 minutes before
plugging back in. The unit will not restart in less than 3
minutes.
Memorized Temperature Setting
The FWC35 has been designed to “remember”the last run
mode to which it was set. If there is a power outage or any
other power cutoff, the unit will automatically return to the
previous temperature setting after power is returned.
Compressor Run Indicator
When the unit’s compressor is running, the control panel will
display a moving icon representing a running fan. If the
compressor stops running, the icon will stop running as well.
About the Liquid Crystal Display (LCD)
When you press any button on the control panel, a backlight
will appear in the display. If no other button is pressed, the
backlight will automatically go out after 2 minutes.
ALARM Mode
In the event that there is a fault in the unit, an ALARM
indication will appear on the screen.
6

In ALARM mode, the unit will make a beeping sound and
display an alarm message.
If the LCD on the control panel displays any of the following
messages: PROBE ERROR, LOW TEMP or HIGH TEMP,
consult the Wine Cellar Troubleshooting section of this
manual.
Interior Light
The interior light can be operated manually by pressing the
ON/OFF button on the control panel. The light will auto-
matically turn off after 5 minutes.
NOTE: Avoid overuse of the interior light since the heat
generated can raise the temperature of the stored wine.
Shelving
The wine racks in your unit are chrome-plated so they will not
rust. These racks pull out only 1/3 of the way. This is a safety
feature so that neither the machine nor the rack will tip over.
The five upper racks are designed to hold five bottles each,
with alternating bottles on each rack pointing in opposite
directions. These racks are removable and reversible. To
remove a rack, take out the bottles on the rack and pull it out
until it stops. Then lift up the front of the rack and remove it
from the unit.
The lowermost shelf is tilted and can hold three bottles. It is
designed for storage as well as for display.
7
WCOM-3-EFS Printed in China

Cleaning and Maintenance
Cleaning the Outside
Clean the outside of your unit with mild soapy water. Dry
thoroughlywithasoftcloth. Tocleanthedoorgasket,useonly
mild soapy water. Never use harsh cleansers or scouring
pads to clean any part of your wine cellar.
Cleaning the Inside
Unplug your wine cellar and remove allbottles. Wipe the inner
surfaces with a soft, clean cloth dampened with plain water.
Dry the chrome trays. Avoid getting excess water inside the
machine since it will flow into the water trap near the
compressor and possibly overflow.
Defrosting the Cellar
The cellar uses an automatic defrost system in which the
refrigerated surfaces of the wine cellar defrost automatically.
Defrost water drains into a hole in the floor of the wine storage
compartment and is channeled into a drain pan located at the
back of the cellar near the compressor. Heat transferred from
the compressor evaporates any water that has collected in the
pan. Be sure the drain hole in the floor of the wine cellar is
clear and unobstructed.
Changing the Light Bulb
NOTE: Be sure to unplug the unit before changing the bulb.
The bulb can be replaced with any standard U-shaped, 2-pin
compact fluorescent bulb of 5, 7 or 9 watts.
Don’t use any unusual force to remove the old bulb. No tools
should be necessary.
Follow steps A through D in the diagram on the following page
to remove the old bulb:
8
Autres manuels pour FWC35
1
Table des matières
Langues :
Autres manuels Franklin Chef Refroidisseur de vin

Franklin Chef
Franklin Chef FWC36 Manuel utilisateur

Franklin Chef
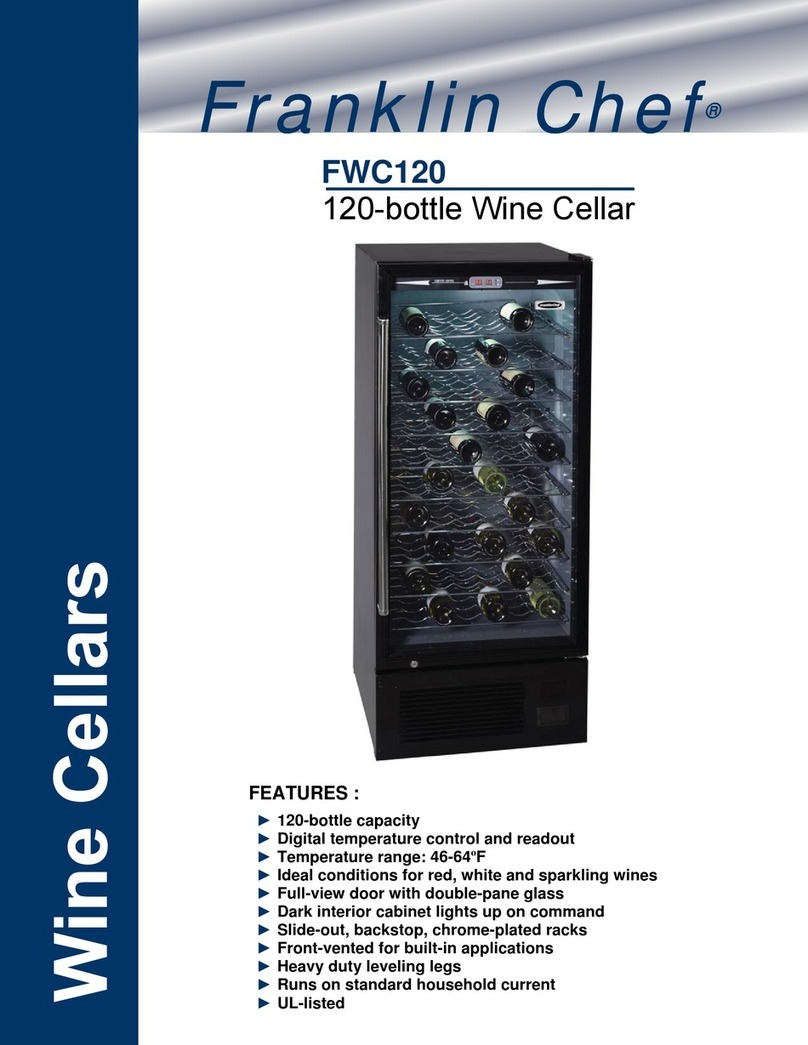
Franklin Chef FWC120 Manuel utilisateur

Franklin Chef
Franklin Chef FWC36 Manuel utilisateur

Franklin Chef
Franklin Chef FWC20T Manuel utilisateur

Franklin Chef
Franklin Chef FCW100 Manuel utilisateur

Franklin Chef
Franklin Chef FWC35 Manuel utilisateur

Franklin Chef
Franklin Chef FCW16T Manuel utilisateur

Franklin Chef
Franklin Chef FCW120 Manuel utilisateur

Franklin Chef
Franklin Chef FWC24 Manuel utilisateur

Franklin Chef
Franklin Chef FWC120 Manuel utilisateur