This document is a property of ElectroFlip LLC (www.ElectroFlip.com).
No unauthorized reproduction is allowed.
7
Using the Memory Card
1. Insert the memory card of your iSee to a card reader then connect the card reader to your
computer.
2. Open My Computer and locate the removable disk pertaining to your memory card. It
may be labeled as D:, E:, or F:.
3. Open the removable disk drive and drag and drop the video clips from the memory card to
your desktop (or whichever location you prefer to save the files). You can also do copy and
paste.
4. Play the video files using QuickTime, RealPlayer or any video player that supports the video
format of the device. It is recommended to playback video files directly from the hard drive
of your computer to ensure a smooth playback.
5. After you are finished uploading the files, make sure that you use the hardware removal
tool located on the browsers tool bar. Failure to do so can corrupt or damage the devices
data storage.
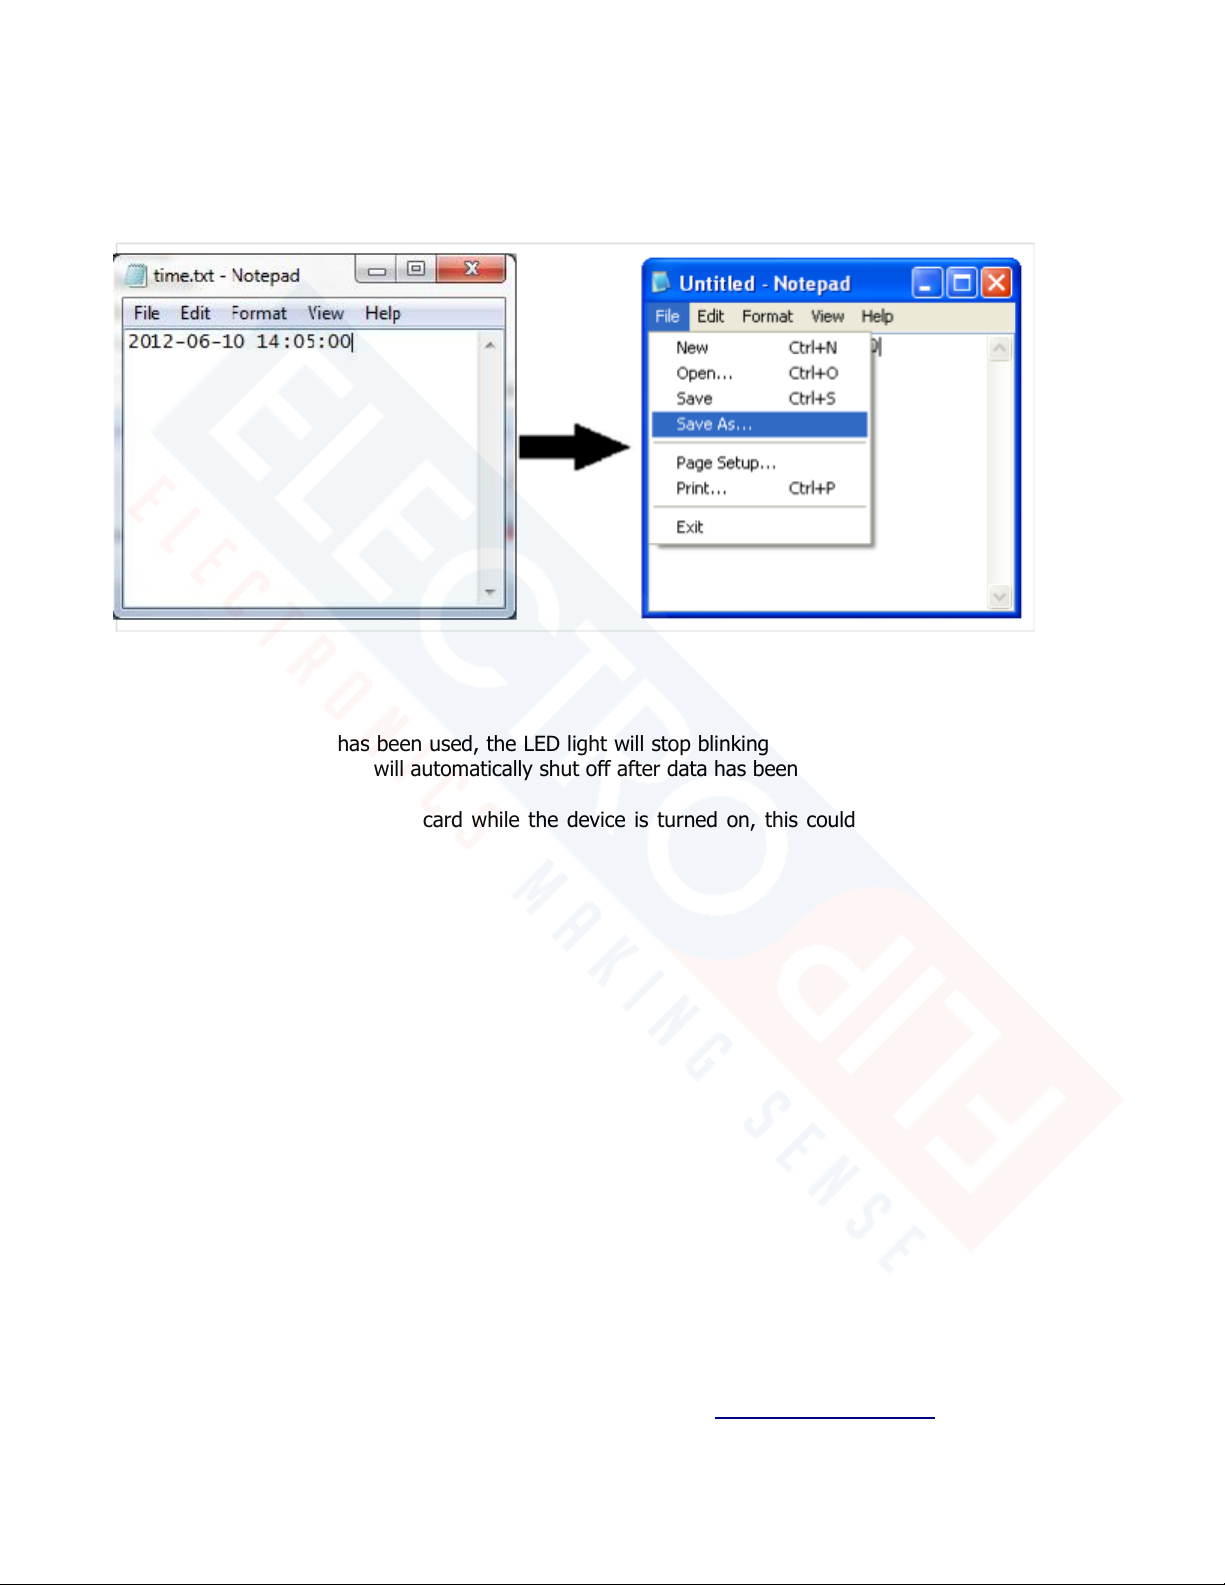
TIME AND DATE WATERMARK
1. After your first recording the camera unit will have created a time.txt in the root of your memory
card. This file will have the follow formatted date/time:
2014-12-25 15:11:22
YYYY-MM-DD HH:MM:SS (Note: Time is in military format)
2. Adjust the date and time accordingly. Then, save the as the same name file name “time.txt” in
the same folder location you found it on your memory card.
3. Follow the video or photo procedures above to take a video or photo all videos and photos going
forward will have the updated time and date watermarked on them.
4. Keep in mind, two very important points. To retain the Date/Time each time you check the video or
photo footage you will need to DELETE the newly created time.txt file (this file has the old default time)
to avoid overwriting the internally saved Date/Time file of your camera device.
Please see screen shots on the next page.