
ECOWITT WH0291 Manuel utilisateur

Instruction Manual
1
Soil Moisture Monitor with Time Display
Model: WH0291
Contents
1. Introduction............................................................................................... 2
2. Get Started................................................................................................ 2
2.1 Parts List........................................................................................ 2
2.2 Soil Moisture Sensor Set Up........................................................ 2
2.3 Display Console Set Up................................................................ 3
2.3.1 Display Console Layout............................................................. 5
3. Console Operation................................................................................... 6
3.1 Time setting mode........................................................................ 6
3.2 Custom mode................................................................................ 6
4. Function................................................................................................... 10
5.Appendix.................................................................................................. 10
6. Specifications......................................................................................... 11
7. FCC Statement....................................................................................... 11
8. Warranty Information............................................................................. 13

Instruction Manual
2
1. Introduction
Thanks for your purchasing of the WH0291 Soil Moisture Monitor with
Time Display. To ensure the best product performance, please read
this manual and retain it for future reference.
2. Get Started
Note: Power up sequence can be performed in the order shown in this
section: insert battery in the Soil Moisture Monitor(Receiver) first, then
Soil Moisture Sensor(transmitter).
2.1 Parts List
One Soil Moisture Monitor (Receiver)
One Soil Moisture Sensor
One User Manual
2.2 Soil Moisture Sensor Set Up
1. Open the battery cap of the soil moisture sensor as shown in
Figure 1

Instruction Manual
3
Figure 1
1
LED Indicator (RF transmission)
2
Battery Cap
3
Soil Moisture Sensor
2. Insert one AA battery.
3. After inserting the battery, the remote sensor LED indicator will light
for 4 seconds, and then flash once per 70 second thereafter. Each
time it flashes, the sensor is transmitting data.
4. Close the battery cap.
5. Insert the sensor totally into the soil of your potted plant.
2.3 Display Console Set Up
1. Remove the battery door on the back of the display, as shown in
Figure 2. Insert one AA (alkaline, lithium or rechargeable) battery
in the back of the display console.

Instruction Manual
4
Figure 2
1. Integrated Hanging Hole
2. Tabletop Stand
3. ADD+ Button
4. Set Button
5. Battery Compartment
6. Battery Compartment Cover
All of the LCD segments will light up for a few seconds to verify all
segments are operating properly.
Full Display

Instruction Manual
5
2. Replace the battery door and fold out the desk stand and place
the console in the upright position.
The console will instantly display the default time (12:00). The soil
moisture value will update on the display within a few minutes.
While in the search mode, the reception search icon flash.
If the remote does not update, please contact our Customer Service
for support.
2.3.1 Display Console Layout
Figure 3
1. Time Display
2. Soil Moisture Value Display
3. Soil Moisture Grade Display

Instruction Manual
6
3. Console Operation
Note: The console has two program modes: Time setting mode and
Custom mode.
If no operation for 20s, display will return to normal mode.
3.1 Time setting mode
Long press SET button to enter the time setting mode:
a. Short press ADD+, choose between 12/24hr display
b. Short press SET, step into Hour setting, Short press ADD+ to adjust
hour.
c. Short press SET, step into Minute setting, Short press ADD+ to
adjust minute.
3.2 Custom mode
Custom OFF:
Moisture level is calculated based on default dry and wet definition:
Dry (0%AD) AD: 70
Wet (100% AD) AD: 500
Soil Moisture = (moisture AD –70) * 100% / ( 500 –70 )
Example: when sensor moistureAD is 310, calculated moisture is:
(310 –70)*100% / (430) = 56%.
This is a fixed slope rate linear system.
Custom ON:
When pot soil at dry or wet condition is not giving the moisture sensor
output value that is close to its default assumption, it will give
inaccurate moisture level results. It is commonly happening with
different soil type that gives very different output value at same
moisture level condition. We introduced this custom mode to make this
slope flexible so that it can match your soil type.
This becomes a variable slope rate linear system.

Instruction Manual
7
Adjusting principle:
0%AD is used to adjust for dry condition reading inconsistency.
When the displayed moisture readings are too high at dry soil
condition, you could lower the slope rate by increasing the 0%AD
value.
100%AD is used to adapt for wet condition reading inconsistency.
When the displayed moisture readings are too low at extremely wet
soil condition, you could decrease the 100%AD value to fix it.
Please refer to the below example for better understanding.
For example:
When you use this product at the first time, please turn off the custom
mode and test the product at the following two situations:
Situation One:
You watered your potted plant with enough water and the soil should
be extremely wet, however the displayed moisture readings is much
lower than 95%(e.g.70%).
Solution:
Enable custom mode, and enter 100%AD setting mode.
Hold the ADD+ button, till the 100%AD value reaches 1000 and roll
over back to 80 ( if your 0%AD is 70 and not changed). Now the
100%AD value will start from 80 while the displayed moisture readings
will be calculated to be 100%.
Hold the ADD+ button till the moisture readings start to decrease until
it shows 95%.
Record the 100%AD value for future use (when batteries changed).
Situation Two:

Instruction Manual
8
Your potted plant hasn't been watered for very long time and soil is
extremely dry. When at this dry condition, displayed moisture readings
are much higher than 10%(e.g.40%).
Solution:
Enable the custom mode and enter 0%AD setting mode.
Hold theADD+ button till the moisture readings lowers to 10%(±).
Record the 0%AD value for future use (when batteries changed).
Note: The soil moisture sensor should be inserted totally into the soil
for accurate result.
Operation Steps:
Short press SET after the time setting finished to select “Custom ON”
and it will enter the custom setting mode:
a. Short press ADD+ , enable/disable the custom function
b. If enable the custom function, short press ADD+ to adjust the 0%AD
value from 70-200. The numbers will change rapidly when hold the
ADD+ button.

Instruction Manual
9
c. Short press SET to enter 100%AD setting mode. short press ADD+
to adjust the 100%AD value from 0%AD+10 ~ 1000.
d. Short press SET to return to the normal mode.
There is no “-“ button available on this item. If you need to enter a
value that is less than the value display, you need to keep press the “+”
button until a rollover happens.
Important Note:
When adjusting, you should look at the displayed moisture readings
change. Stop immediately when the expected moisture readings is
displayed. If you keep pressing the button and the setting value will
be increased beyond its sensing sensitive range, resulting in making
the system much less sensitive. When this happens, please turn off
Instruction Manual
10
the custom mode and start over the custom calibration procedure.
4. Function
1) 12/24hr digital time display
2) Current soil moisture.
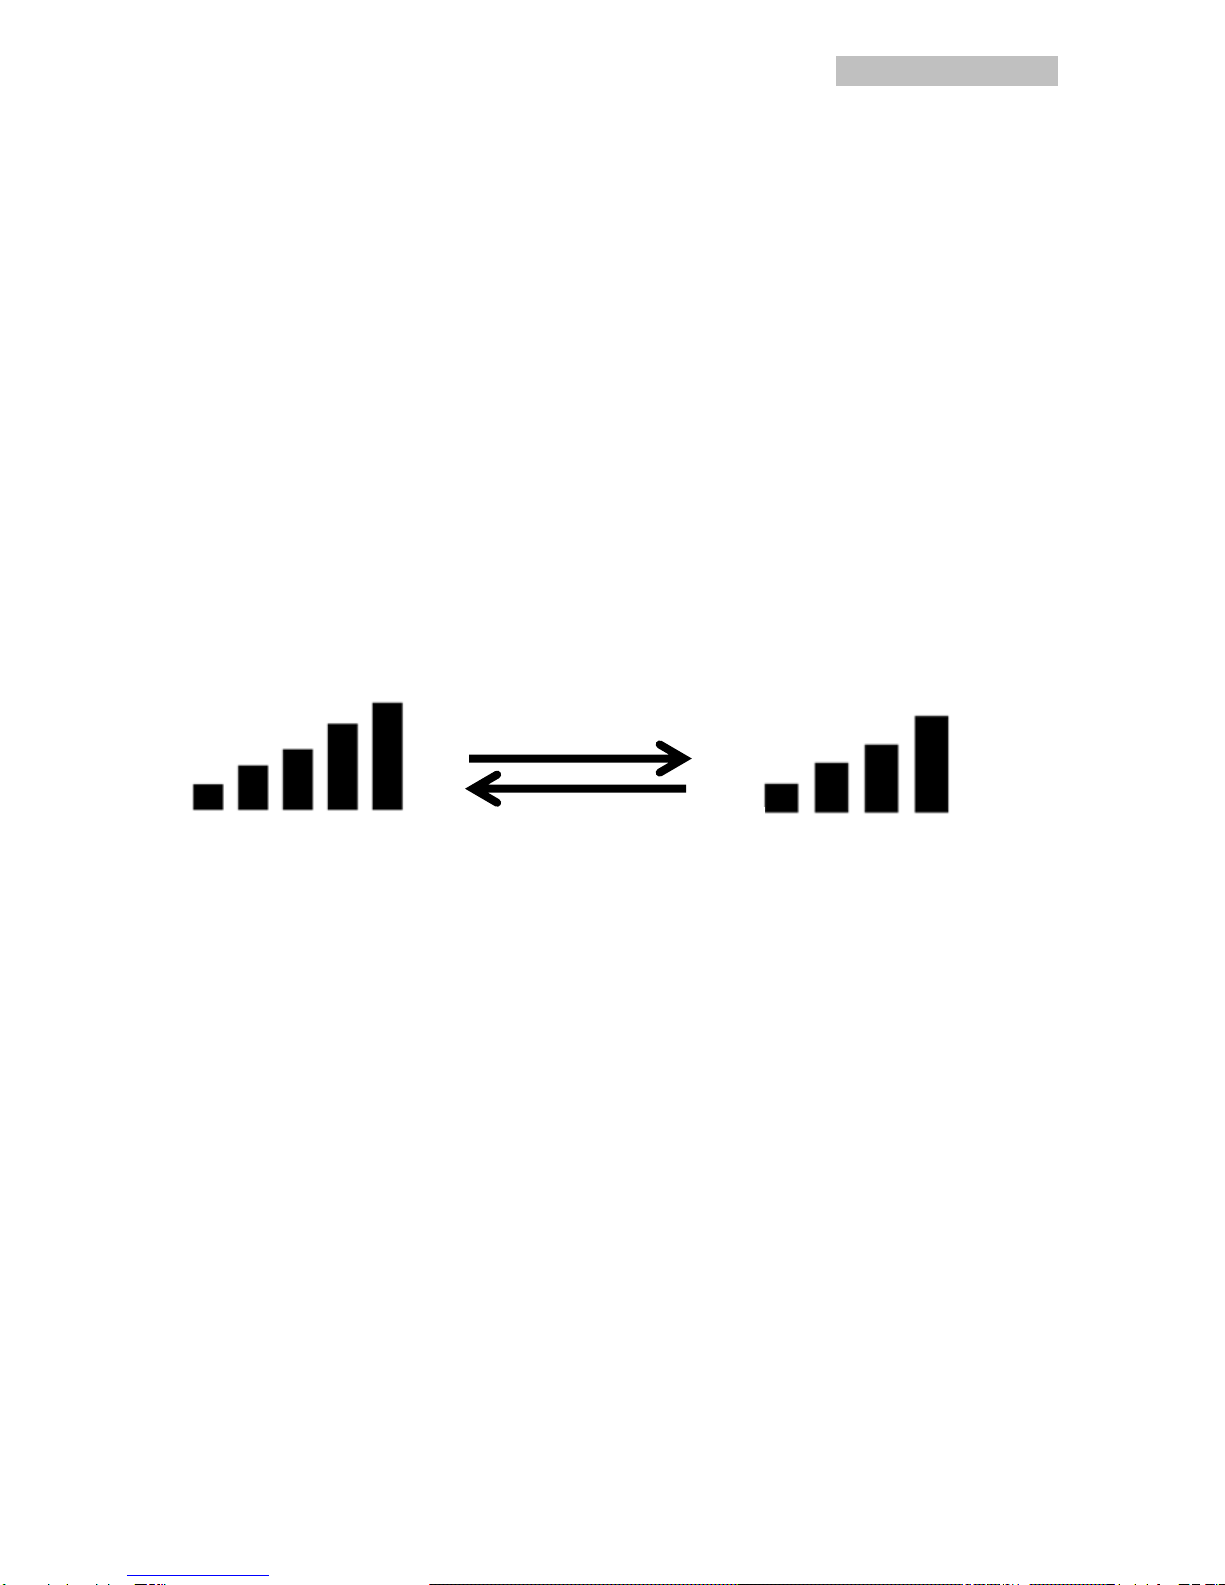
3) Every 70 second the unit will receive soil moisture sensor.
4) Wireless Signal Strength Indicator
During the synchronization, it will reduce one signal segment if it
have not received the signal once from the transmitter. It will
increase one signal segment if it has received the signal once.
5. Appendix
Moisture grades display on the flower pot icon:
Humidity range: 4%~0%:Display 0 grid moisture
Humidity range: 14%~5%:Display 1 grid moisture
Humidity range: 24%~15%:Display 2 grids moisture
Humidity range: 34%~25%:Display 3 grids moisture
Humidity range: 44%~35%:Display 4 grids moisture
Humidity range: 54%~45%:Display 5 grids moisture
Humidity range: 64%~55%:Display 6 grids moisture
Humidity range: 74%~65%:Display 7 grids moisture
Humidity range: 84%~75%:Display 8 grids moisture
Humidity range: 94%~85%:Display 9 grids moisture
Humidity range: 100%~95%:Display 10 grids moisture
Lost the signal
once
Received the signal
once
Table des matières
Autres manuels ECOWITT Instrument de mesure


Manuels Instrument de mesure populaires d'autres marques


Endress+Hauser
Endress+Hauser Proline Promag 50 Caractéristiques techniques

Siemens
Siemens SITRANS F Coriolis FCT030 Manuel de la liste des pièces

KLINGER
KLINGER CMF V Series Manuel utilisateur

EXFO
EXFO FTB-2 Manuel d'exploitation et d'entretien

Keysight
Keysight M8290A Manuel utilisateur

ADTEK
ADTEK MW-5 Manuel utilisateur